User Data
Use the User Data panel to add information about an node or image.
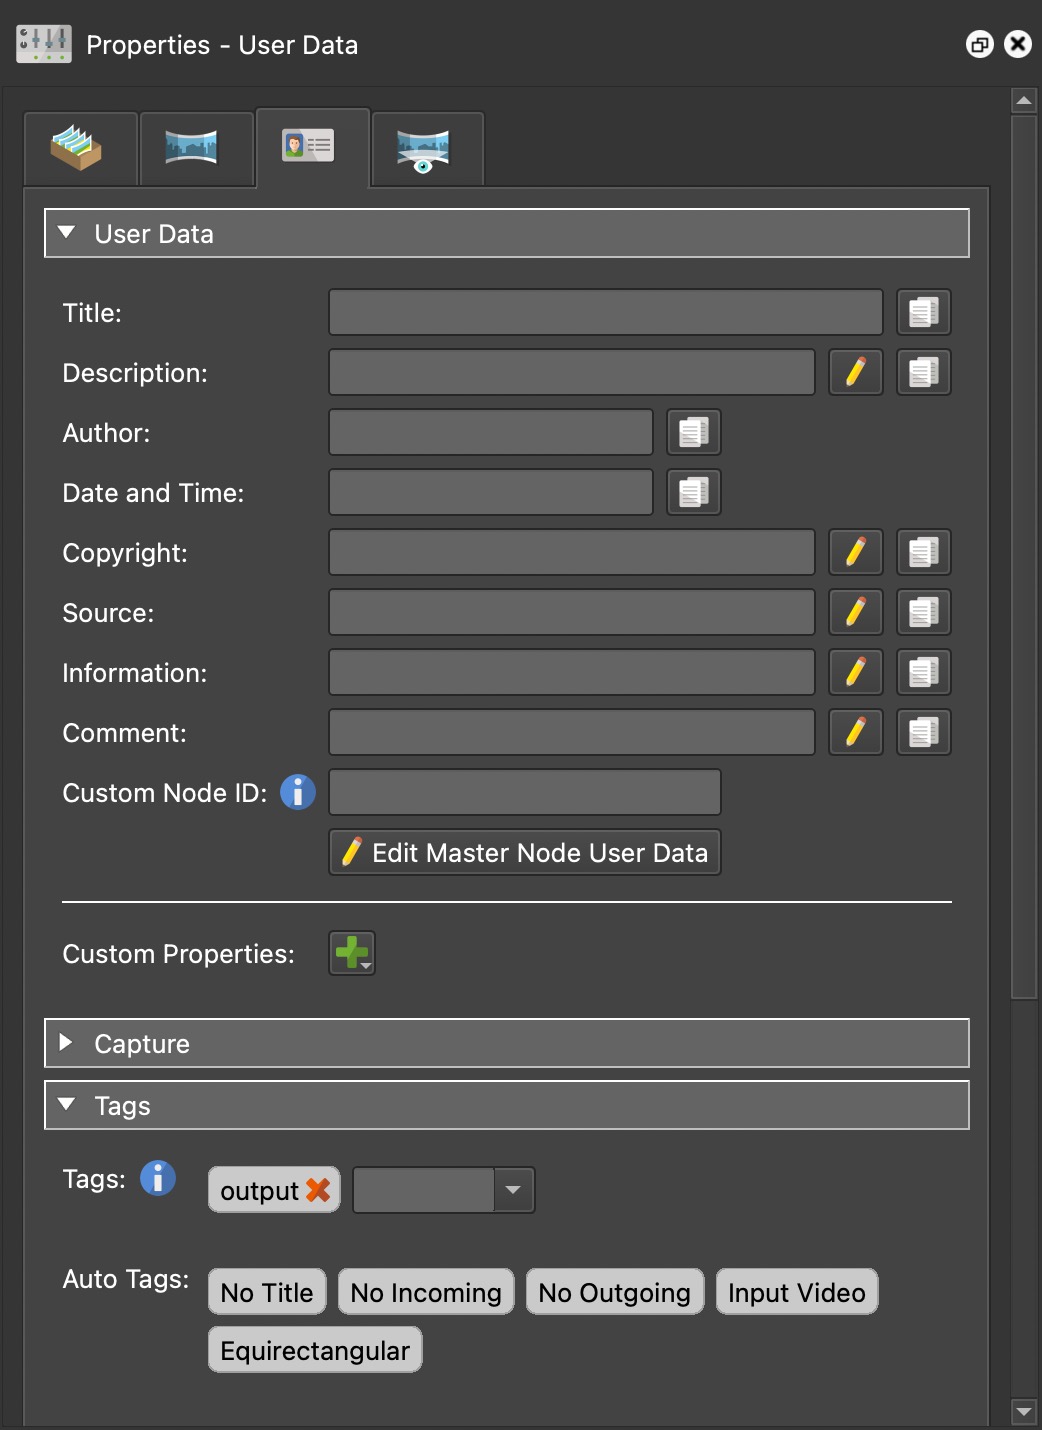
User Data
The following text fields are what comprise of User Data. Copy the data to all other nodes by clicking the copy to all nodes button. If more editing space is required, click the pencil button to open the Rich Text Editor.
If the panoramas have Exif data, then some fields will be occupied with that data.
- Title
- Description
- Author
- Date and Time
- Copyright
- Source
- Information
- Comment
- Custom Node ID – Provide a custom ID for the node.
Custom Node ID
Here you can create custom IDs for each node in a tour. For example, the custom
ID can describe a room in a tour of a house. It can then be used in the URL to
open a tour in a specific node: ../index.html#kitchen. To use, select Direct
node access in the
HTML Normal Template.
Placeholders can be used. For
instance, you could go to Edit Master Node, and put $(ut) into the Custom
Node ID field to use the user data title as the custom node ID in each node.
Learn more about Direct Node Access.
Edit Master Node
The master node acts like a template that will be used across all nodes within a tour.
For instance, you can add user data, a patch, or hotspots and these would appear on all nodes. You can also edit the Master Node by going to the Tour menu and choosing, Edit Master Node.
Once the data is added, it’ll be seen in the User Data of all nodes. The text will be gray. The Master Node data can be overwritten in each node.
To get out of the Master Node, click on a node in the Tour Browser.
Custom Properties
If the project requires more user data fields, you can add them here. Click the plus button to add a custom property. A dialog appears where you define the parameters of the custom property:
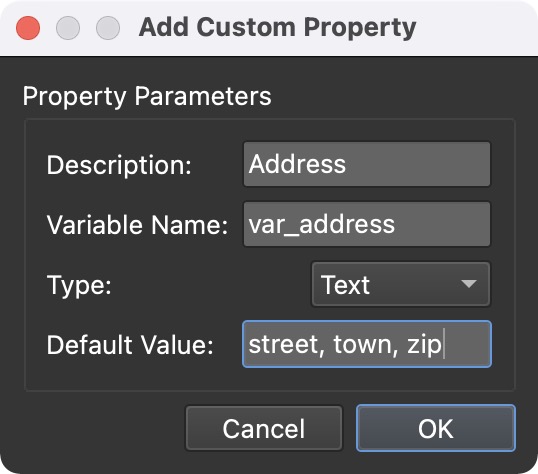
The custom property is a variable that is used in the skin. For Type, choose from Text, Number, or True/False as the variable type.
Once a skin is opened from the Web Output, the variable created here will be added as a variable in the skin properties.
Use the Copy button to copy the custom property to all nodes or to selected nodes in the Tour Browser.

Learn how to add custom properties
Capture
Capture Date and Time
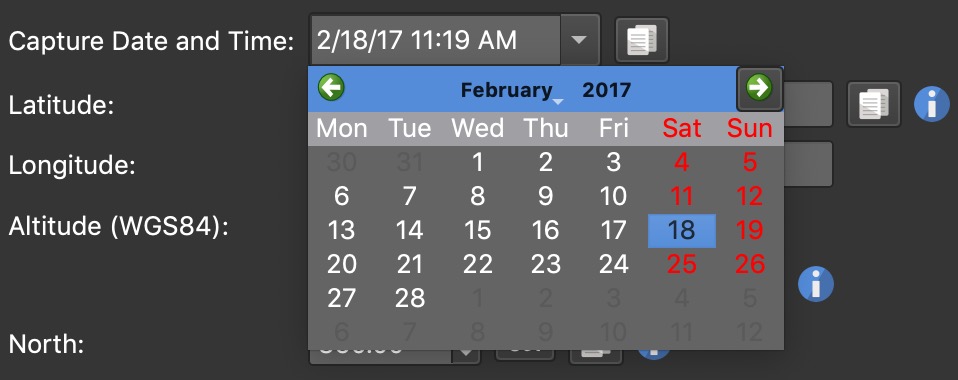
Imports the image’s capture date and time. If the time and date changed at some point in the workflow, it can be changed here by selecting the correct date. This field will be used when uploading to Street View using the image’s Exif data assuming Date and Time Exif has been selected in Pano2VR’s settings.
Latitude and Longitude
For Latitude and Longitude, you can either manually add GPS coordinates or add location data by opening the tour map, search for the location and click the flag on the map. Your coordinates will be updated in the User Data.
Altitude
If altitude has been added to the metadata, then this field will be automatically filled. You can, however, manually add the altitude.
Clicking the satellite button will open a dialog asking for the height of the tripod. Enter the height and Pano2VR will add this height to the altitude. Altitude is fetched from Google Maps. If you’re using your API key, add Google’s Maps Elevation API to your API key (Google may charge for this).
To apply elevation data for an entire tour, not a single node, select all nodes in the tour in the tour browser and then click the satellite button.
Use Clear to remove the altitude data of the selected nodes.
North
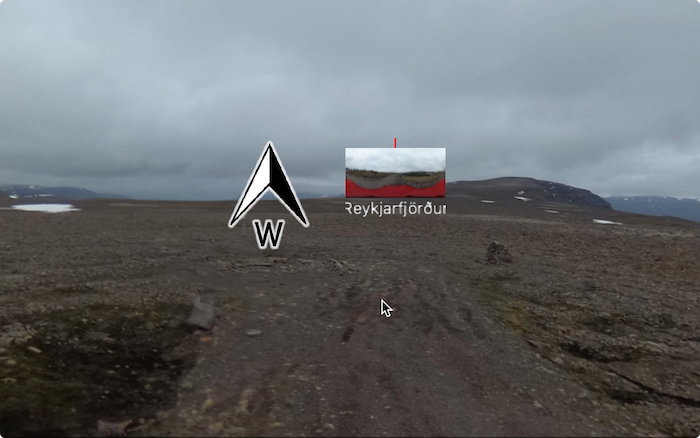
Indicates North. If North was recorded by the camera, this will be automatically filled. If not, you can set North manually:
North can be set by holding the N key and dragging the panorama to achieve the correct heading. If the nodes are linked, you will see a thumbnail of that panorama to help guide placement.
Set – Click to set North. This will take the current view in the Viewer as North and set it.
Tags
Use Tags to organize images within a tour and to help trigger skin elements.
Use tags to filter in the Tour Browser or within a Node Marker.
Right-click a tag to do the following actions:
-
Rename – Rename the tag.
-
Remove from Project – This removes the tag from the entire project.
-
Assign Color – Choose a color to assign to the selected tag. This color will then be visible in the node’s thumbnail image in the Tour Browser.
-
Assign Symbol – Choose a symbol to assign it to the selected tag. The symbol will also be displayed in the Tour Browser.
Auto Tags
Each panorama is automatically given a set of tags to help with filtering and to provide some useful information. Tags can be anything from No Title to Has Polygon Hotspots. When you have many nodes in a project, you can use these Auto Tags to filter in the Tour Browser.
Auto Tags can be exported to the Skin Editor so that you can build actions based on the tags. Learn how.