Create a 360º Video Tour
Create 360 video tours by adding them to the Tour Browser and linking them together with point hotspots, polygon hotspots, or buttons.
In this example, we create a basic 2-node tour using point hotspots. Our video panoramas have a resolution of 3840 × 1920 for ease of playback on mobile devices.
It’s important to note that high resolution videos (greater than 4k) cannot play back or do not play back well on mobile devices as they have limted bandwidth within the browser. Therefore, if you’d like the tour to play well on both desktop and mobile, you’ll need a few versions of each video. We recommend 3840 × 1920 as the max resolution for mobile. Learn how to build a tour with multiple resolutions.
-
Drag in all the video panoramas (360º video) to the Tour Browser.
The starting video panorama will appear in the Viewer with playback controls. And Pano2VR will extract frames from the videos (if FFmpeg is installed). This frame is used if the video cannot be played back.
★ Tip If a video begins with a black frame, use the Grab Frame button (to the right of the seek bar), to create a different poster frame. -
(Optional) Add alternative files. Create and add web-optimized videos in the (see: Convert Video). The browser will pick the format it prefers for playback. For example, create a
webmversion of your video which will create a much smaller file without much loss in quality.Note that conversion will take time.
-
Provide Titles in User Data for each node. This information will get applied automatically when adding point hotspots in the next step.
-
Create the tour. With the first node selected in the Tour Browser, drag the second node to the Viewer and drop it to create a node type point hotspot. Then, select the second node and drag the first node into it. Continue for the rest of the nodes in the project.
-
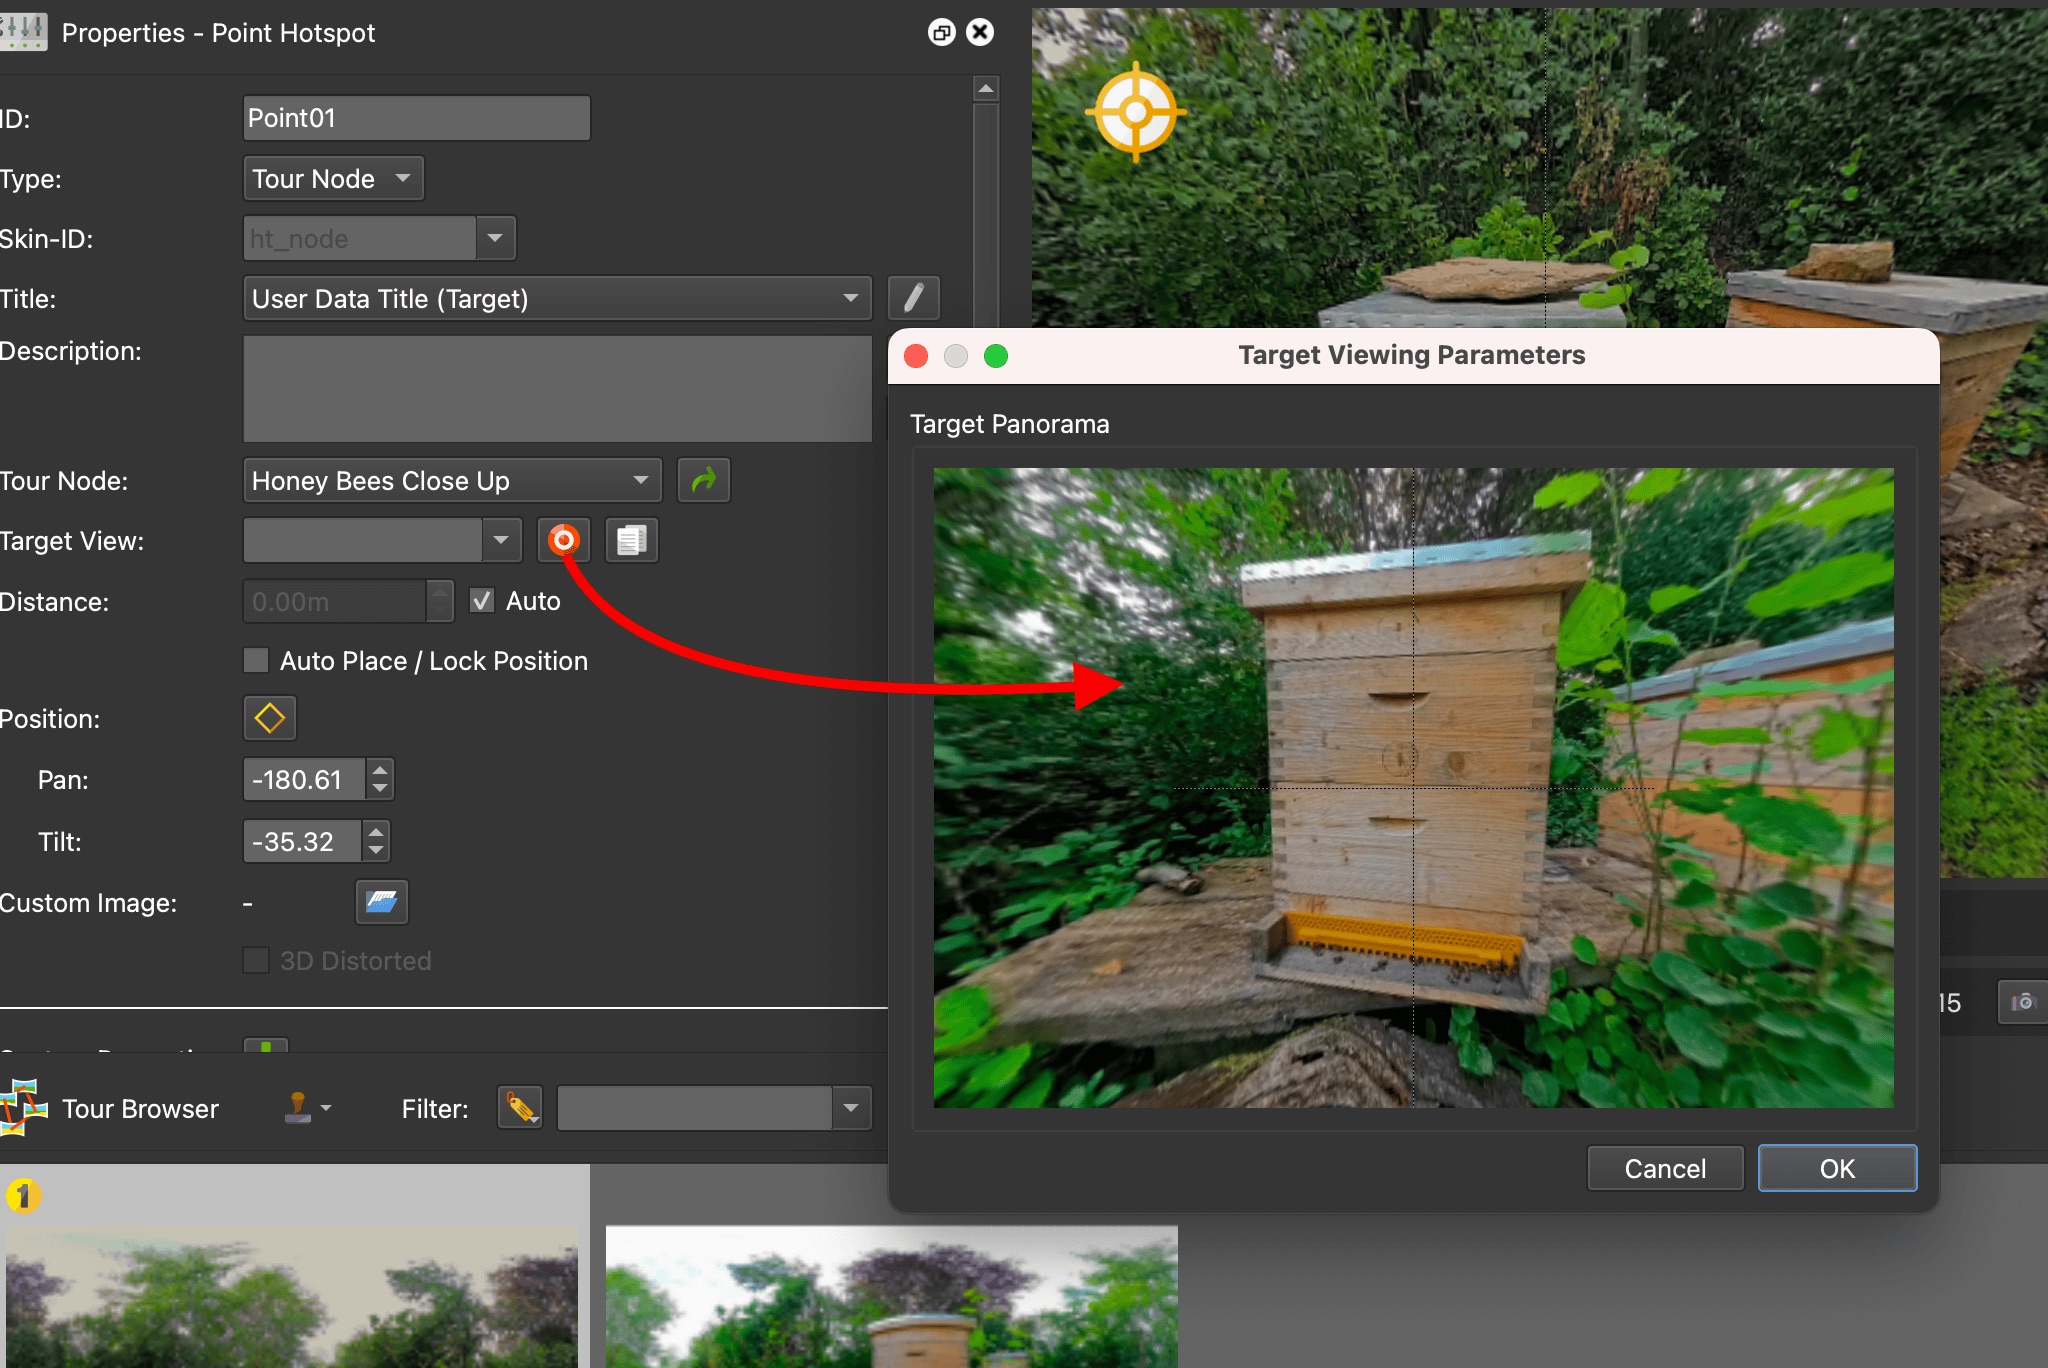
Adjust the Target View. This is the view when coming from a hotspot. Select the Point Hotspot in the Viewer and click the target icon for Target View. This opens the Target Viewing Parameters. Spin the image to where the video panorama should open at when clicked through.
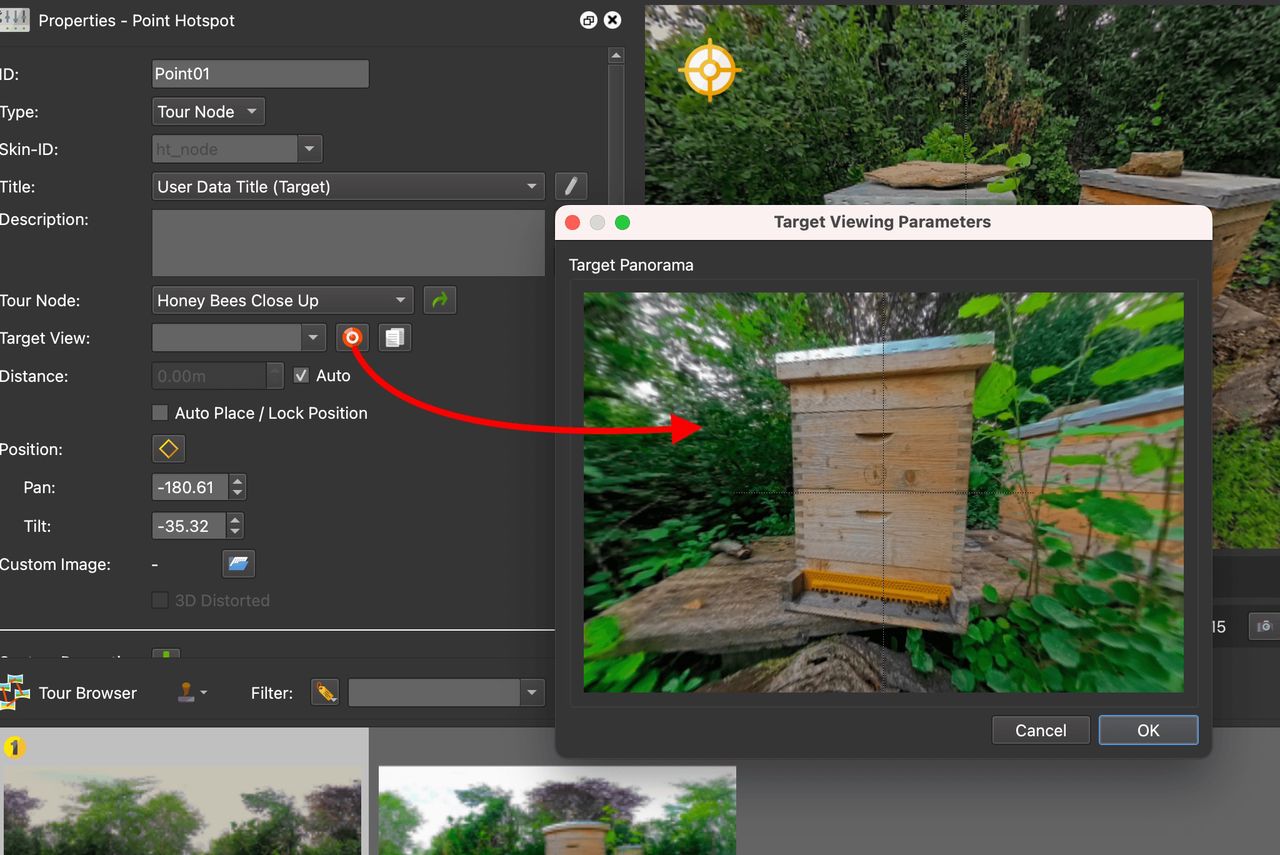
Open the Target Viewing Parameters to adjust the Target View. -
Now is a good time to save the project, if you haven’t already done so.
-
Open the Output panel and add a Web output.
-
Add any of the built-in skins so you have nice graphics for the hotspot icons. Optionally, add your own skin.
-
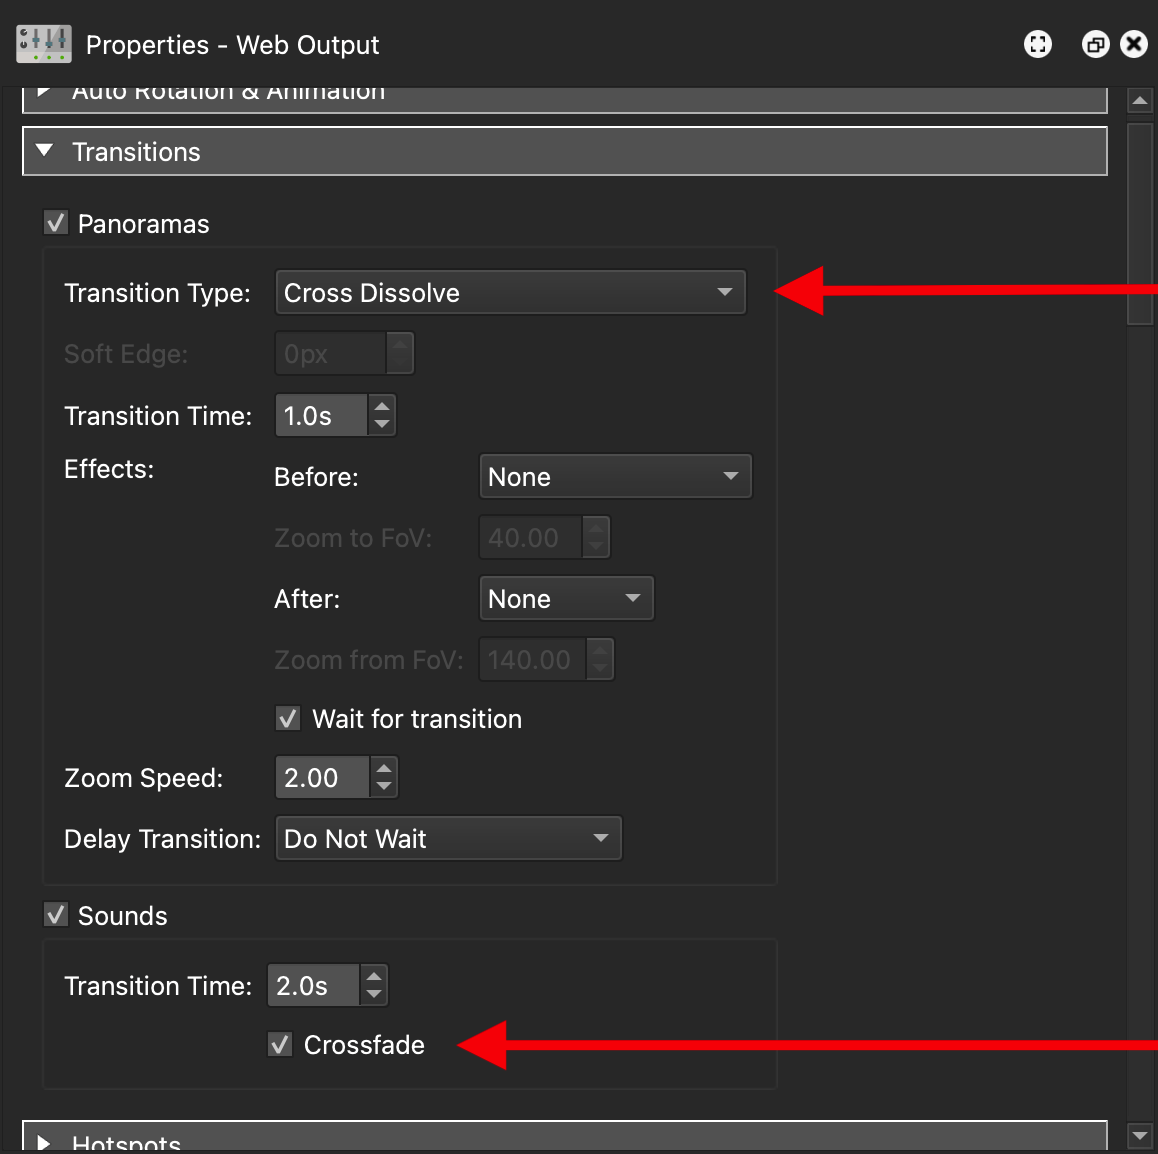
(Optional) Add transitions. For example, add a cross dissolve between the nodes to move smoothly from one node to the next. In the Transitions pane, select Panoramas to enable the transitions. Choose, any transition from the menu. Leave the rest at the defaults.
To make sure the audio crossfades too, select Sounds to enable the feature, and then select, Crossfade.
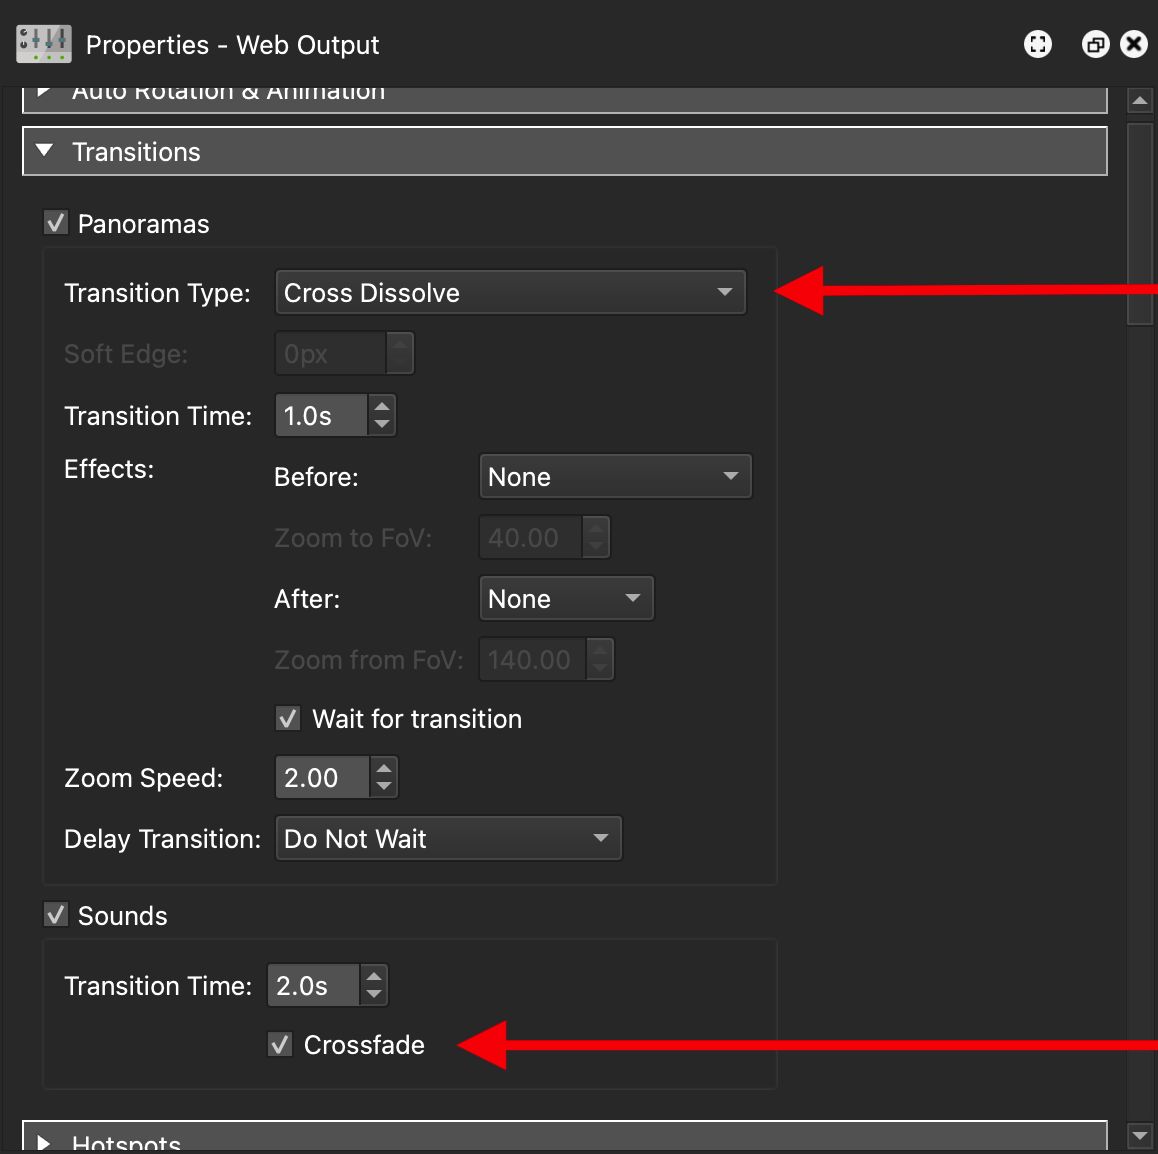
Transitions add in Web Output settings. -
Click the Generate Output button to output the project. The project will automatically open in your default browser using the Integrated Web Server.
-
Test the project on mobile devices before uploading by following these intructions.
-
Upload your project (the output folder and all its contents) to your website or export a package format for a CMS website, or upload to Gnome Cloud. Learn more about exporting options.
If you want better resolution for displaying on desktop computers and on mobile devices, you’ll need to add multiple resolutions/versions to the Tour Browser. Learn how.