Using Custom Map Tiles
Custom map tiles can be added in the Tour Map. These maps can then be used in the skin using the Map Element.
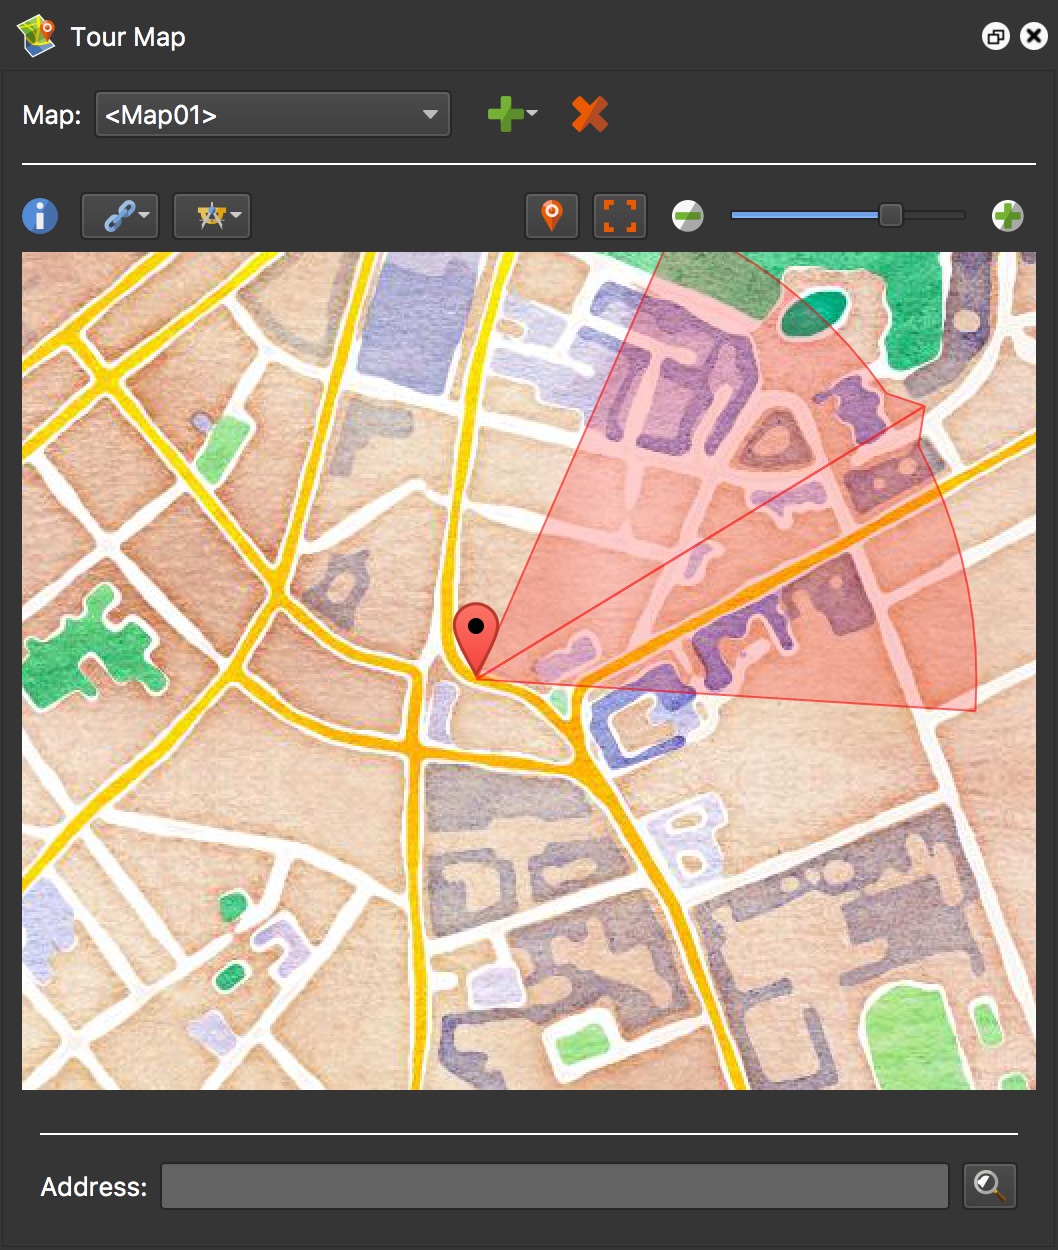
Currently, you can add the following custom maps:
-
OpenStreetMap
-
Mapbox
-
Google Custom Styles
Add a Map
-
In the Tour Map panel, click the Add Map button, then choose Add Map.
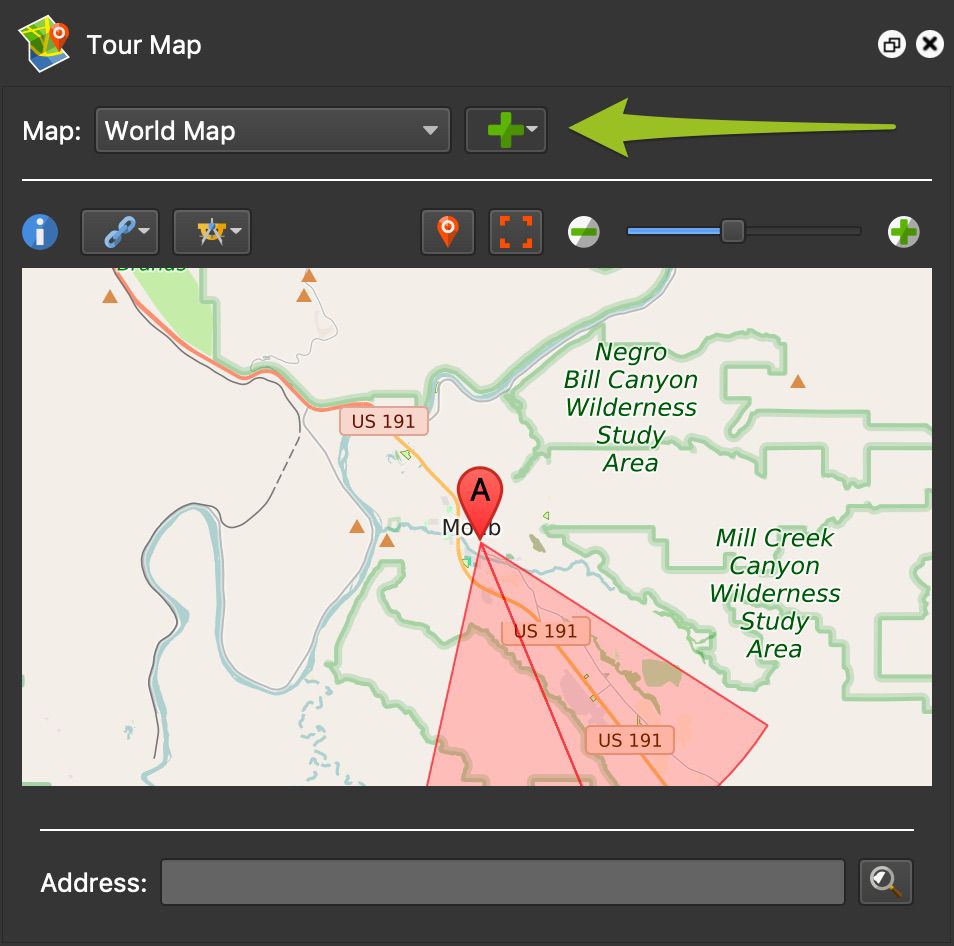
Add a map. -
Open the Properties panel.
-
In the Properties panel, choose a map provider. Settings for the particular map will then appear.
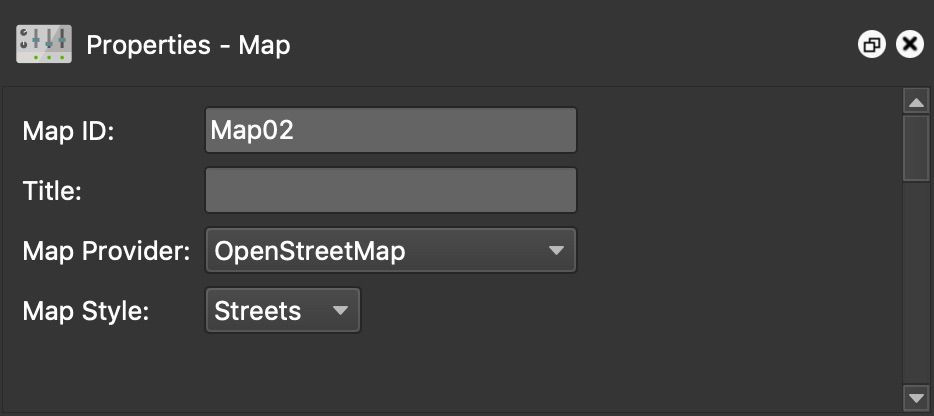
Choose a map provider. -
The Map ID will be set and will be unique. You can leave this as it is or add your own ID.
-
Give the map a Title. The title will be used to identify it in the map list in the Tour Map.
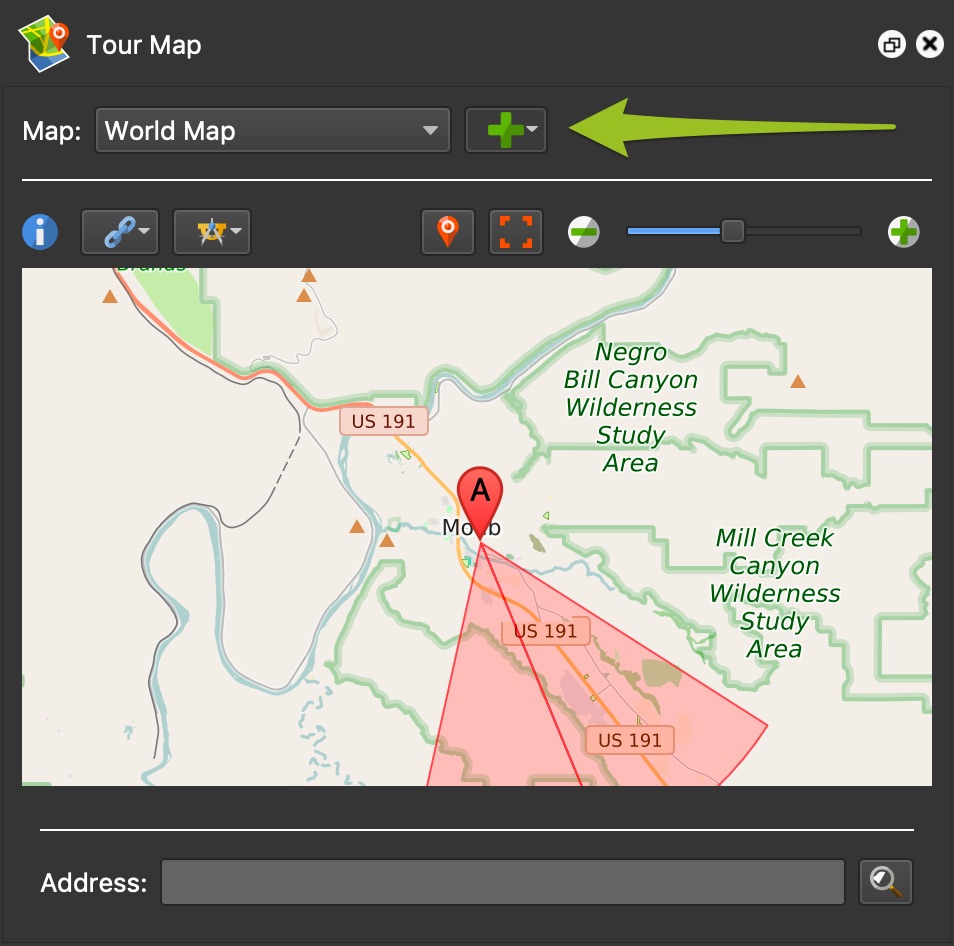
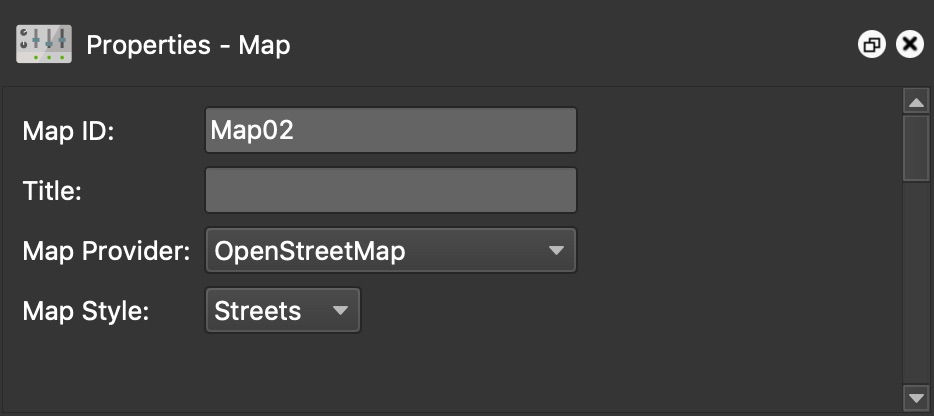
Add an OpenStreetMap
Add a map using the instructions above.
OpenStreetMap is a good choice if you do not want to use Google (and their API keys).
You can choose from two map styles:
-
Streets
-
Terrain
Add a Mapbox Map
Mapbox is a great alternative to Google. Although the tiles are free to use initially, they do require an access token to use and depending on your needs/use, may cost a fee.
-
Add a map using the instructions above.
-
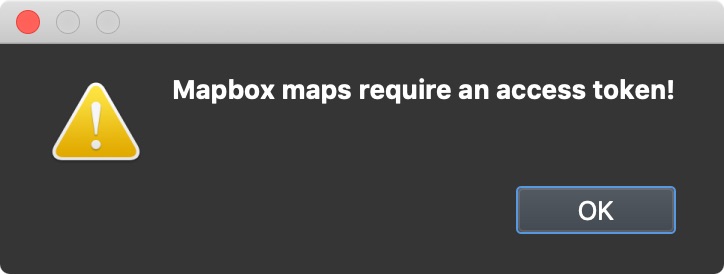
Choose Mapbox from Map providers. You will immediately be reminded that you need an access token. Until you provide a token, no map tiles will be seen.
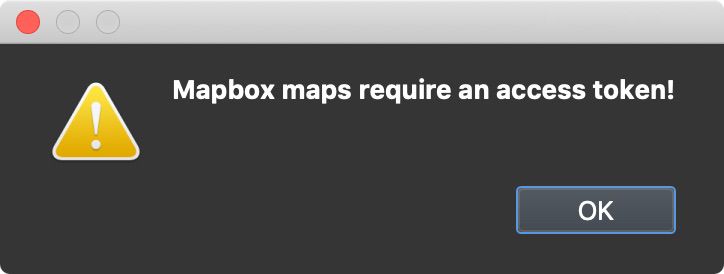
Mapbox warning -
Choose the type of style. Note that depending on your custom style, some styles here (street, terrain, satellite) might not be available for your custom style.
-
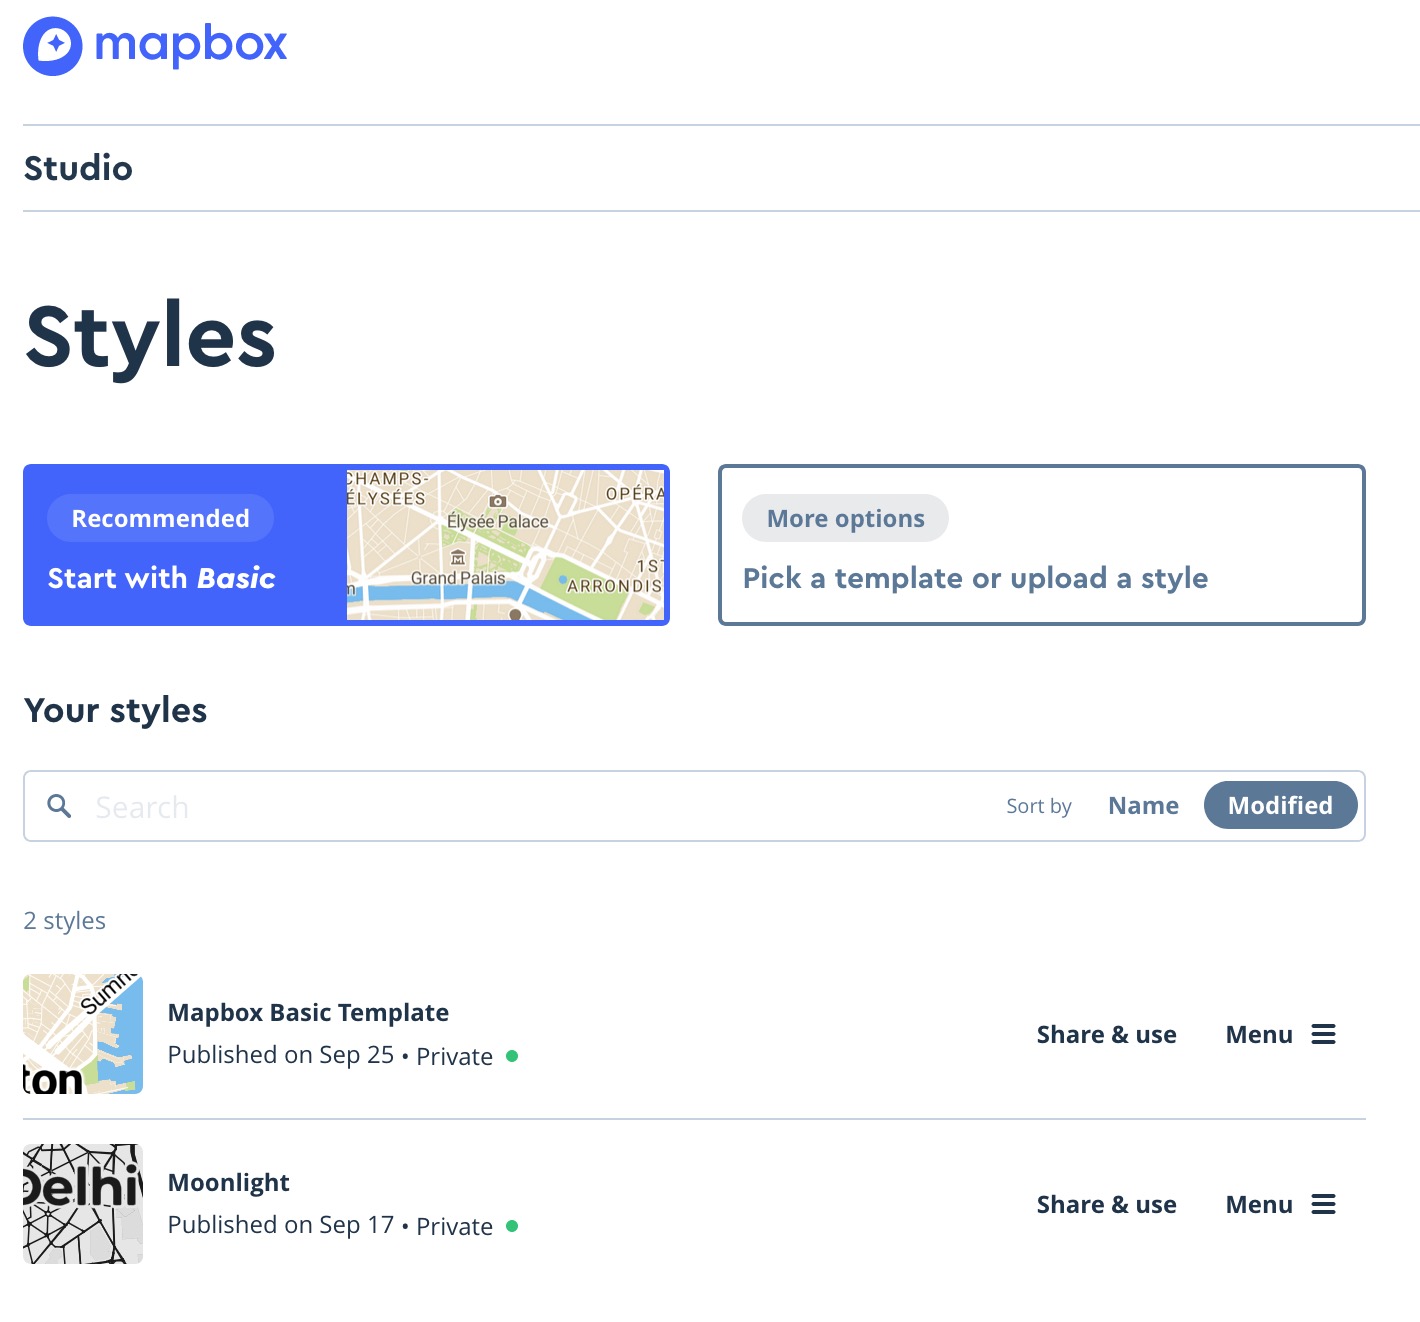
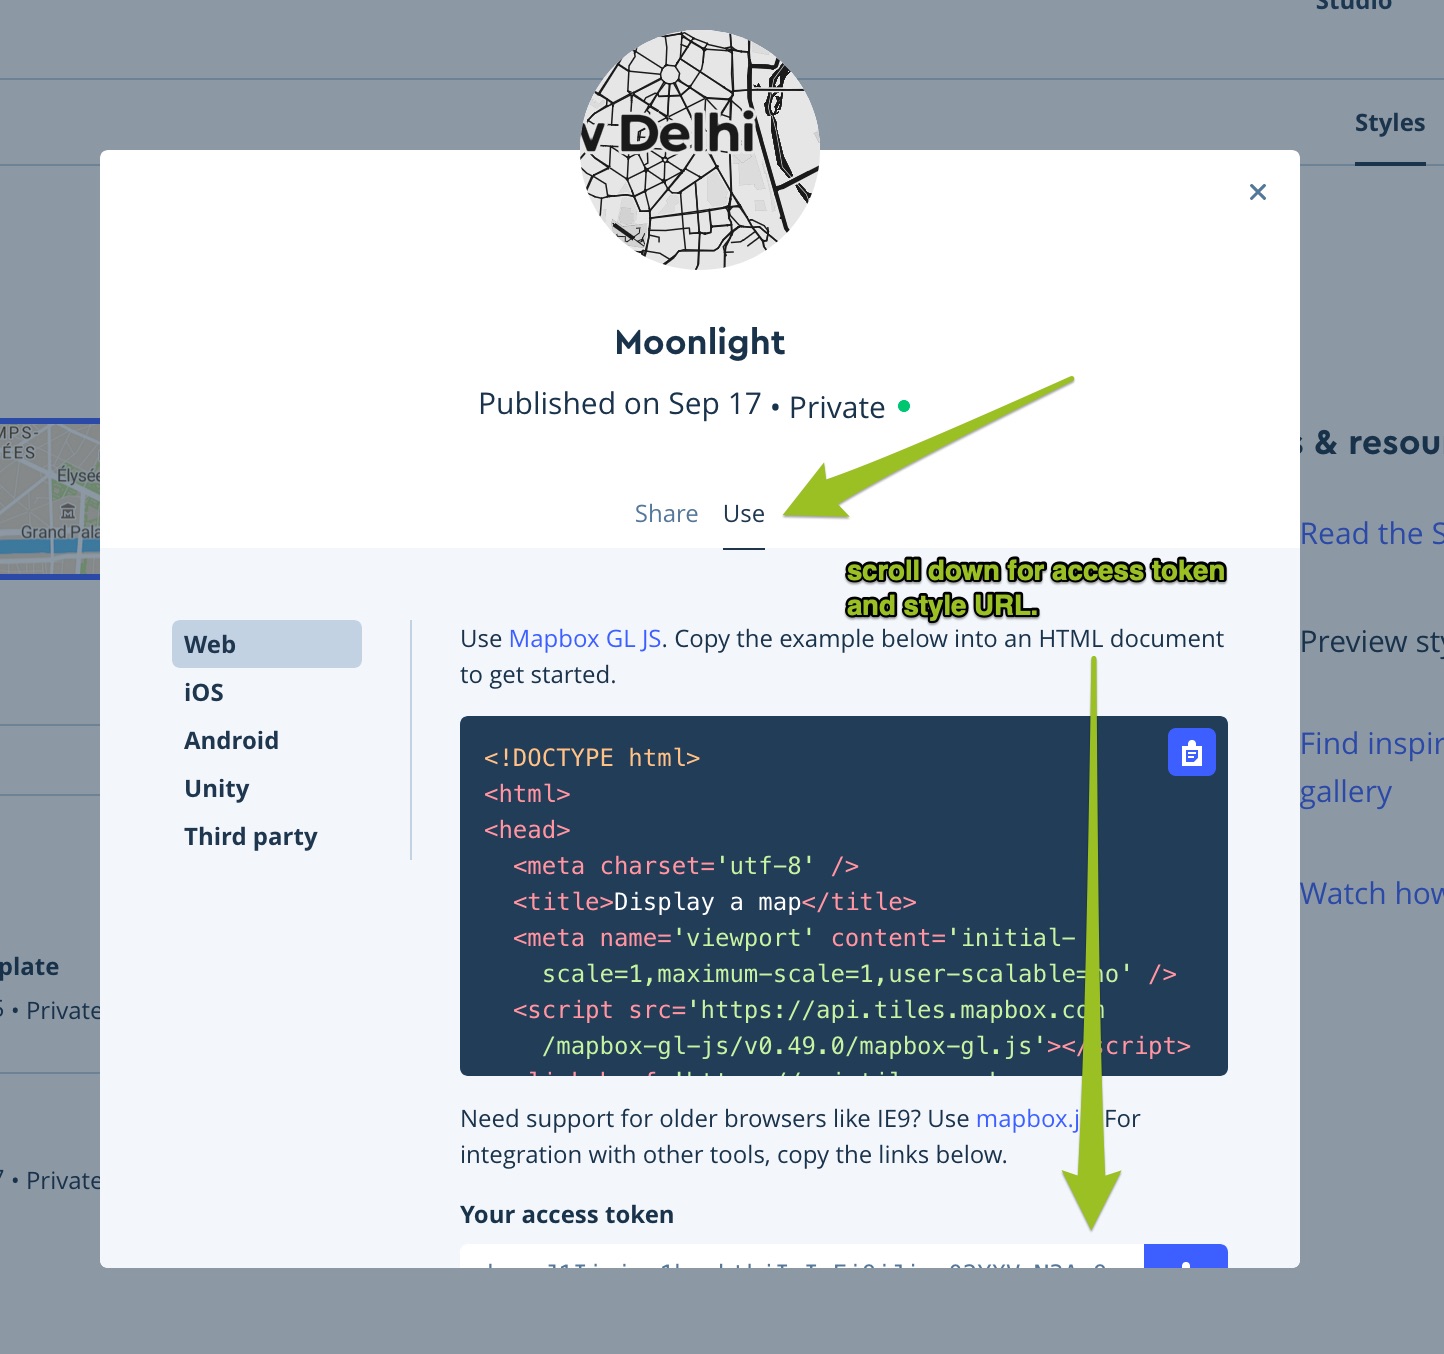
Add your Access Token. You can get your access token from your Account page or via a custom style share and use dialog. Use the weblink button below to go directly to Mapbox’s custom styles site.
-
Add your Style URL. Once you’ve created a style using mapbox studio, click, Share & use and then click, Use. With Web selected in the side bar, scroll down until you see both the access token and style URL.
Add a Google Custom Styles Map
-
Add a map using the instructions above.
-
Choose Google Custom Styles Map from the list of map providers.
-
Add the Google API key. If your client has their own key, you can add it here. If there is a key in the skin’s Map element, it will be ignored and will use this key.
-
Add the custom style code. Styles can be created using the Google Maps Platform Styling Wizard. When you’re done, click Finish in the wizard and copy the JSON code into the Google Custom Style Code field.
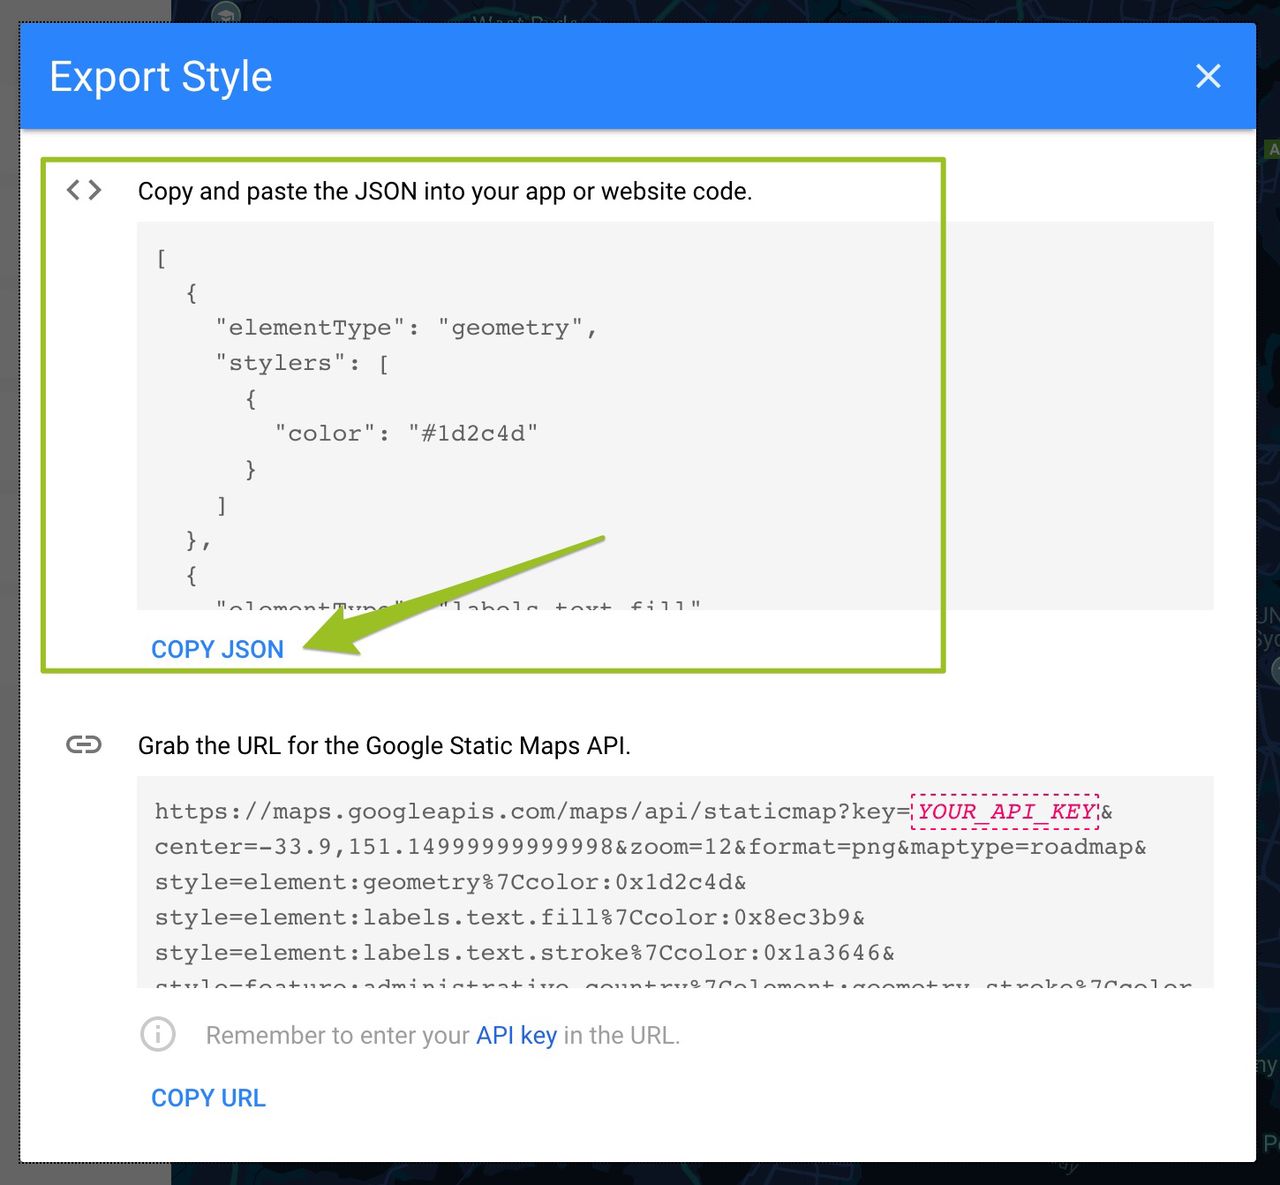
Copy the JSON code.
Using a Custom Map in the Skin
Once you have added the map in the Tour Map, you will want to make this map visible in your output. You can do this using the Map element in the Skin Editor.
-
Open the Skin Editor.
-
Add a Map Element.
-
Go to the Map panel. This holds all the settings for the map element.
-
For Map Type, choose Map.
-
For the Map, choose your custom Map, indicated by the map’s ID.
-
Choose an API for how the map is displayed. Google requires an API key which may incur costs. If you added a key in the map properties, you do not have to enter it again here. ★ If you’ve chosen a map that uses Google tiles (in the Map properties), you can only use the Google API for this map. Leaflet is an open-source Javascript Maps API. With Google, you’ll get the familiar look with a radar, map controls and pins. You will also have Google’s logo and copyright notice. Leaflet does not display a logo or copyright notice.
-
Customize further if needed using the other settings (i.e. change the color of the radar beam ,etc.). Learn more.
-
Save the skin and output the project.