Embedding Fonts
Fonts can be embedded in Pano2VR’s skin. This means that the fonts are served locally, rather than fetching them from third-party servers like Google Fonts.
In this example, Google Fonts are used. However, you can use any font available to you. For example, you may find fonts on Font Squirrel.
We’re using the WOFF2 font format. But any file that is supported on the web
like TTF can also be used.
Get the fonts
Here, Google Fonts is used to find a font and then a webtool is used to create the CSS needed, and to download the font files. If you’re familiar with font files and CSS, you can skip this step.
-
Find your font. We’ve chosen Kalam from Google Fonts for this example.
-
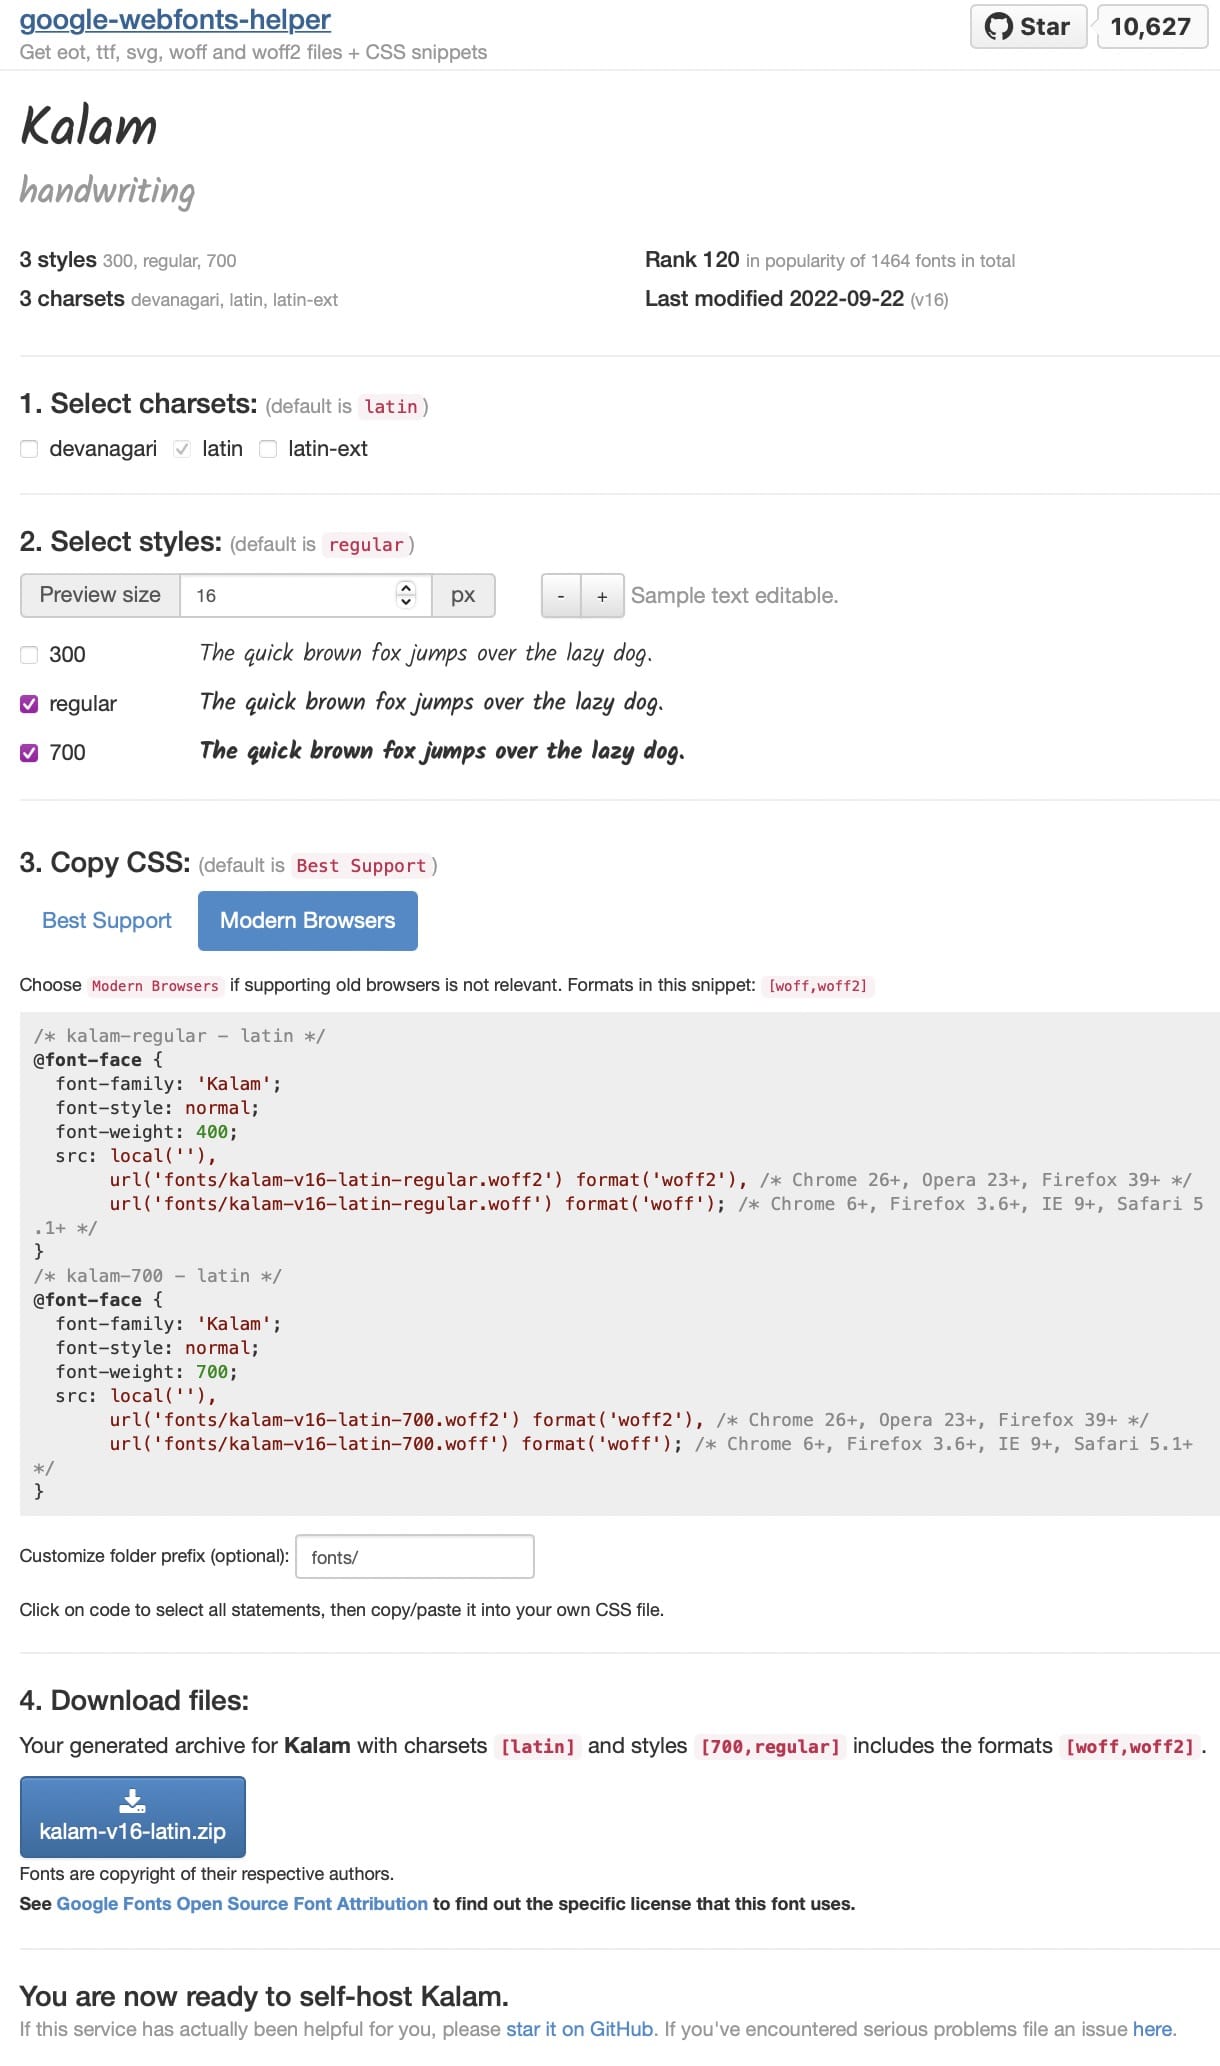
Once you’ve found your font, go to this web fonts helper to download the files and copy the needed CSS.
-
In the web fonts helper, select the CSS styles you’d like to use. We’re using regular and 700.
-
Choose, Modern Browsers.
-
Customize the folder prefix. This is optional. But, if you’d like to store your fonts in a subfolder, you can set this here. In our example, we’re using
fonts/. -
Copy the CSS code.
-
Download your fonts.
Add the fonts to the skin
Now, it’s time to add those fonts to the skin.
-
Open a skin or create a new one.
-
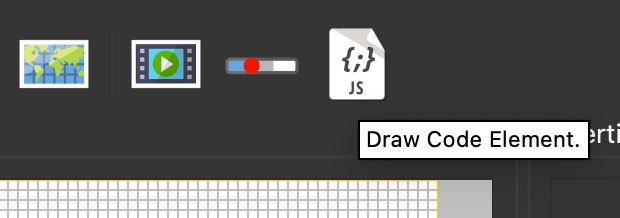
Add a Code Element.
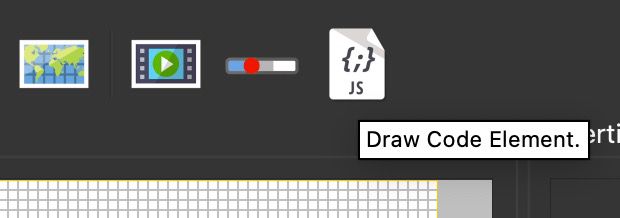
Draw Code Element. -
Give the element an ID, like
local_fonts. -
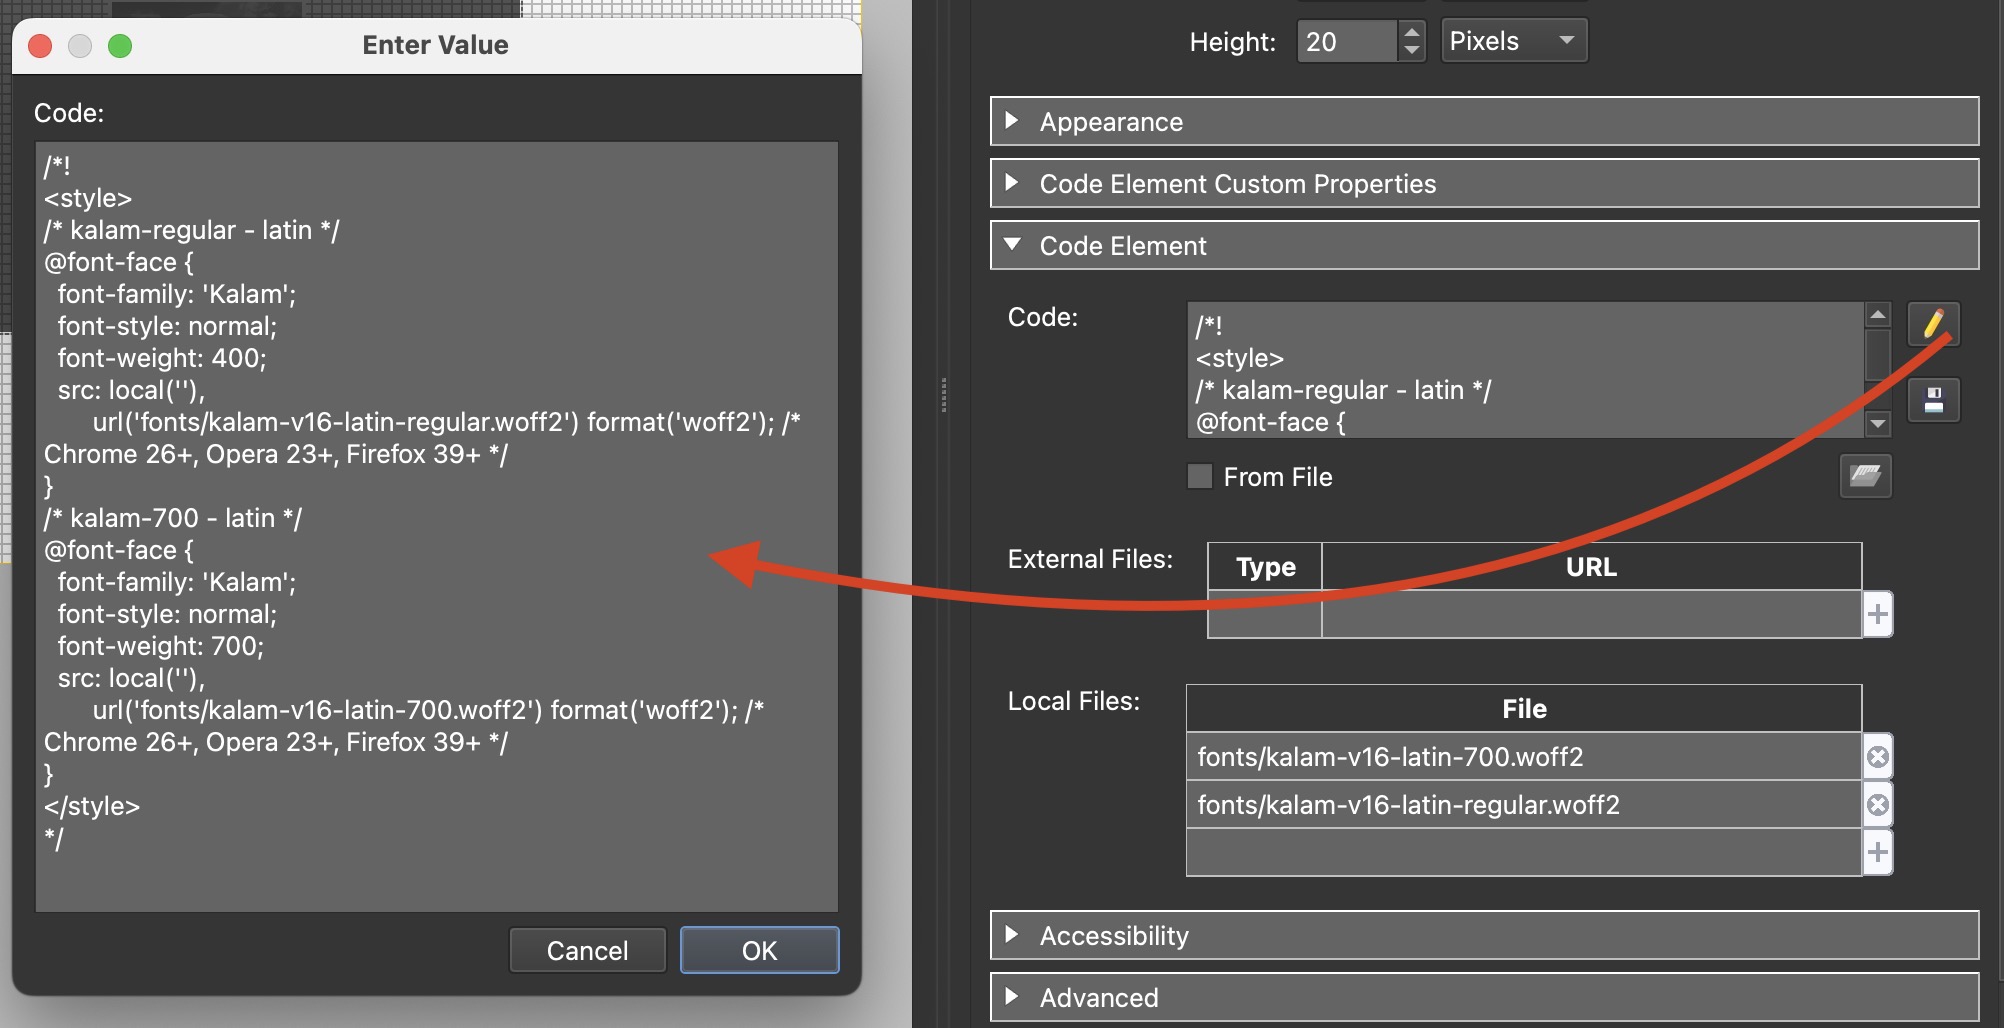
In the Code Element properties, paste the CSS you copied earlier to Code. Click to the pencil icon to open a larger editor.
-
Modify the code. The Code Element is primarily used for Javascript, but we can also add CSS there. The CSS is wrapped with a special comment block that tells Pano2VR that this is CSS code and not Javascript.
- Add
/*!to the first line. And then add*/to the last line. This is a special comment block that needs to be added when using CSS in the Code Element. - Add the style tag,
<style>. When using CSS in the Code Element, the CSS must be wrapped in the style tag. - Remove the line that uses
format("woff")if there. - Replace the comma
,afterformat('woff2')with a semi-colon;.
The final code should look like this:
- Add
/*!
<style>
  /* kalam-regular - latin */
  @font-face {
    font-family: "Kalam";
    font-style: normal;
    font-weight: 400;
    src: local(""), url("fonts/kalam-v16-latin-regular.woff2") format("woff2"); /* Chrome 26+, Opera 23+, Firefox 39+ */
  }
  /* kalam-700 - latin */
  @font-face {
    font-family: "Kalam";
    font-style: normal;
    font-weight: 700;
    src: local(""), url("fonts/kalam-v16-latin-700.woff2") format("woff2"); /* Chrome 26+, Opera 23+, Firefox 39+ */
  }
</style>
*/
Add the files
-
In the Code Element, add the font files to Local Files. Click the plus sign, navigate to the files on your computer and select them to add.
-
If you added a subfolder to the CSS code, add it here as well (click to edit):
fonts/kalam-v16-latin-700.woff2. Pano2VR will create the fonts folder and place the fonts in this folder. -
Make the Code Element Permeable so it doesn’t block mouse input. Go to the Advanced pane and select Permeable.
Apply the fonts to skin elements
In this example, we’ll apply this font to an information pop-up text.
-
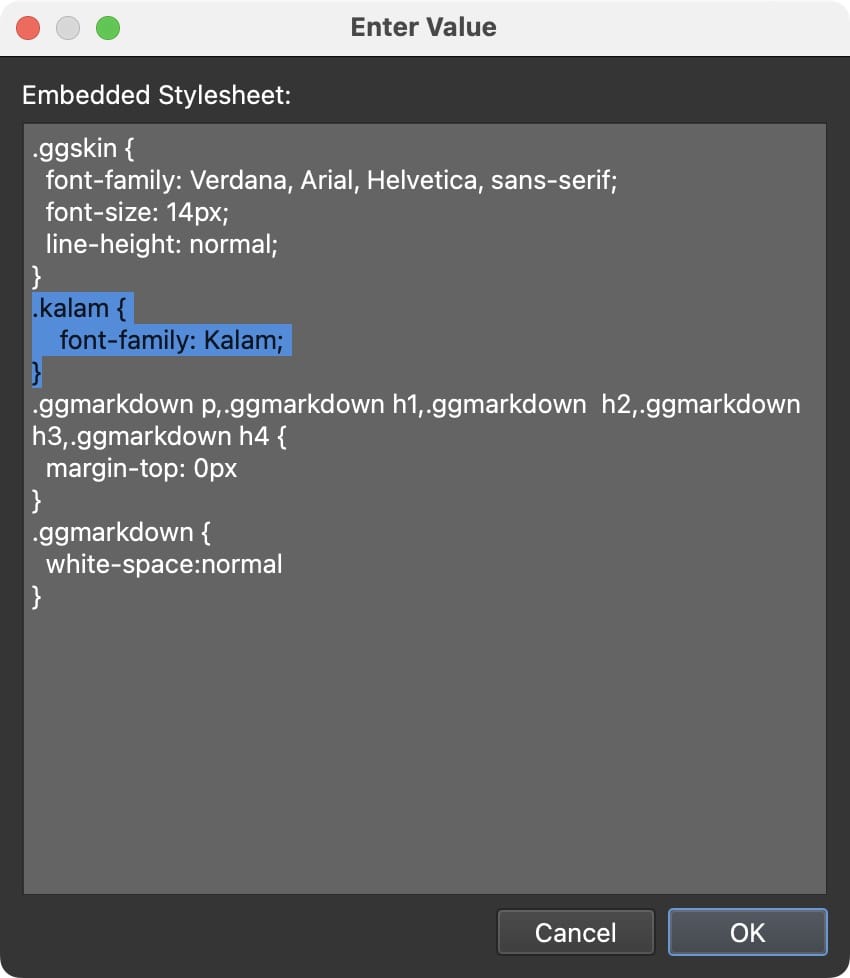
Open the Embedded Stylesheet. Get to the Embedded Stylesheet by clicking in the skin’s Canvas to open the skin properties. Click on the Pencil button to open a larger editor.
-
Add the font as a class.
.kalam {
  font-family: Kalam;
}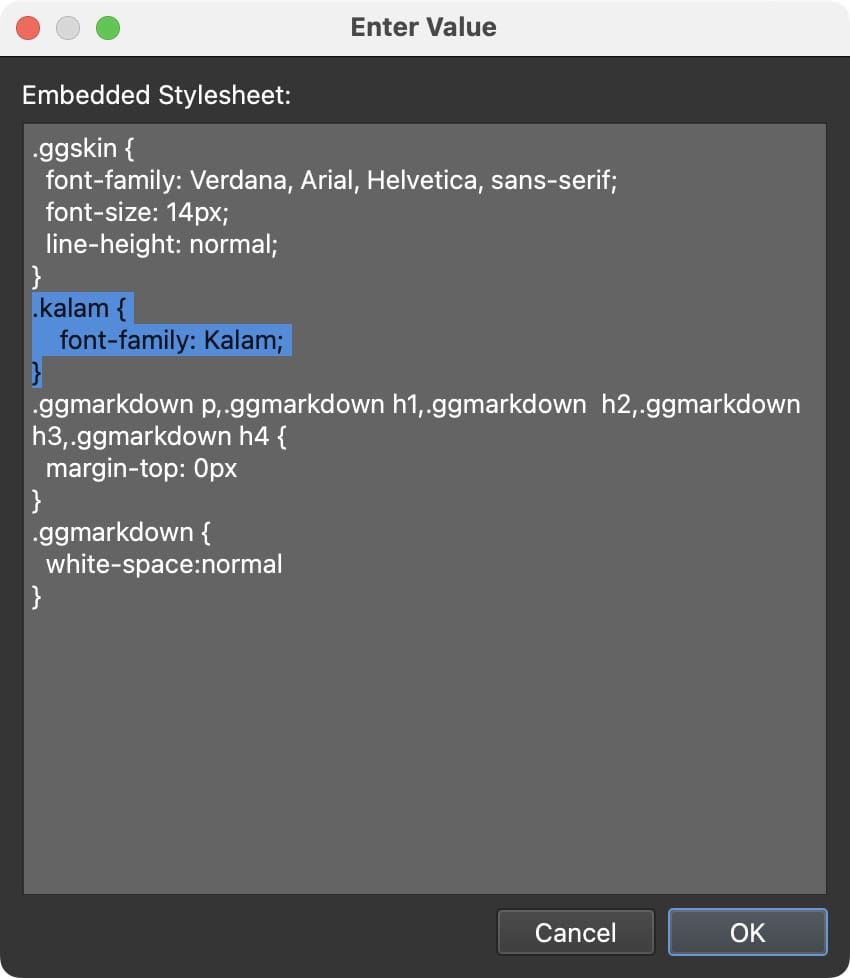
Kalam font added as class in the Embedded Stylesheet. -
Select the Text Box in the Tree, or add one.
-
In the Advance panel, find CSS Classes. Type
kalam. -
Save the skin and view the changes.
Add the font globally
Open the Embedded Stylesheet and add Kalam to the default styles, listed
first. If you added the style from above, you can remove this part:
.ggskin {
  font-family: Kalam, Verdana, Arial, Helvetica, sans-serif;
  font-size: 14px;
  line-height: normal;
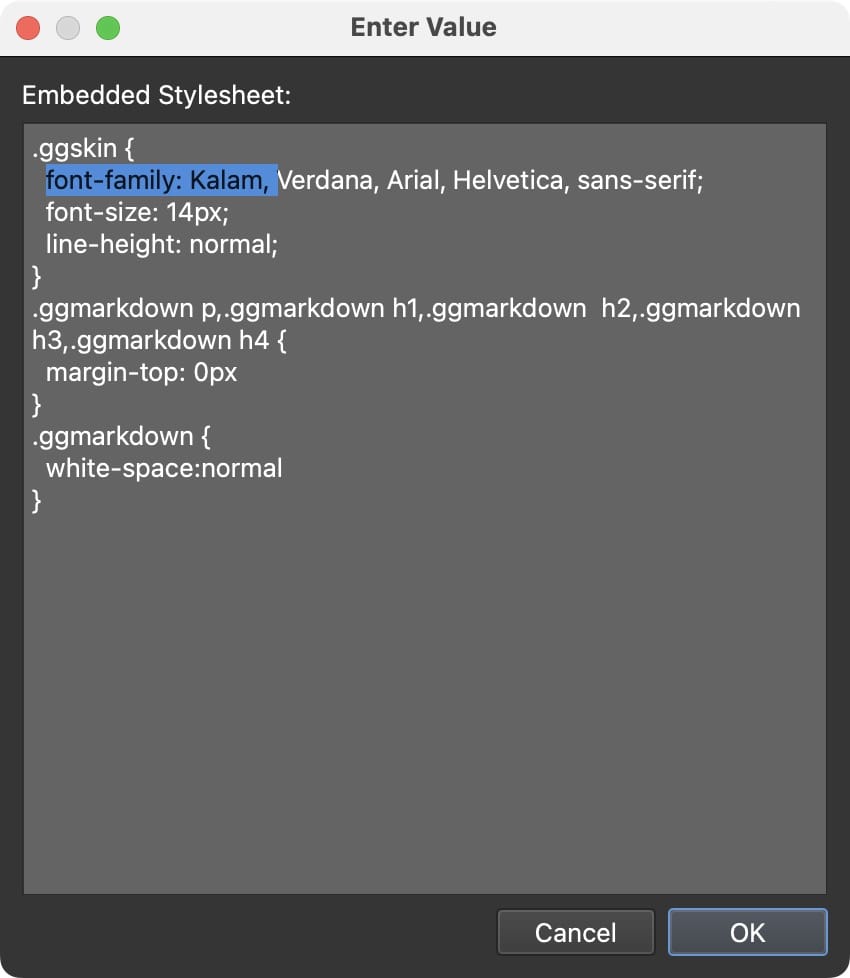
Now, the entire skin will use the font by default. Also note that since we also downloaded the bold style (700), you can also make text bold using the font weight options in the text box’s parameters.
Change the font with a button
This would be useful to change the fonts in a project for accessibility purposes, for example.
-
Add a button (or text or rectangle element) in the skin.
-
Add a variable,
var_fontand set its type to True/False. -
Add the following action: Mouse Click > Set Variable Value > var_font > Not.
-
Remove
kalamfrom the CSS Classes that was added earler. -
Add a logic block for the CSS Classes: Trigger = var_font = true, CSS classes: kalam.