Adding User Data
Adding User Data is a crucial step in the workflow, especially for organization. Information added here, like Title, Description, and Copyright can be used in the skin and the HTML template.
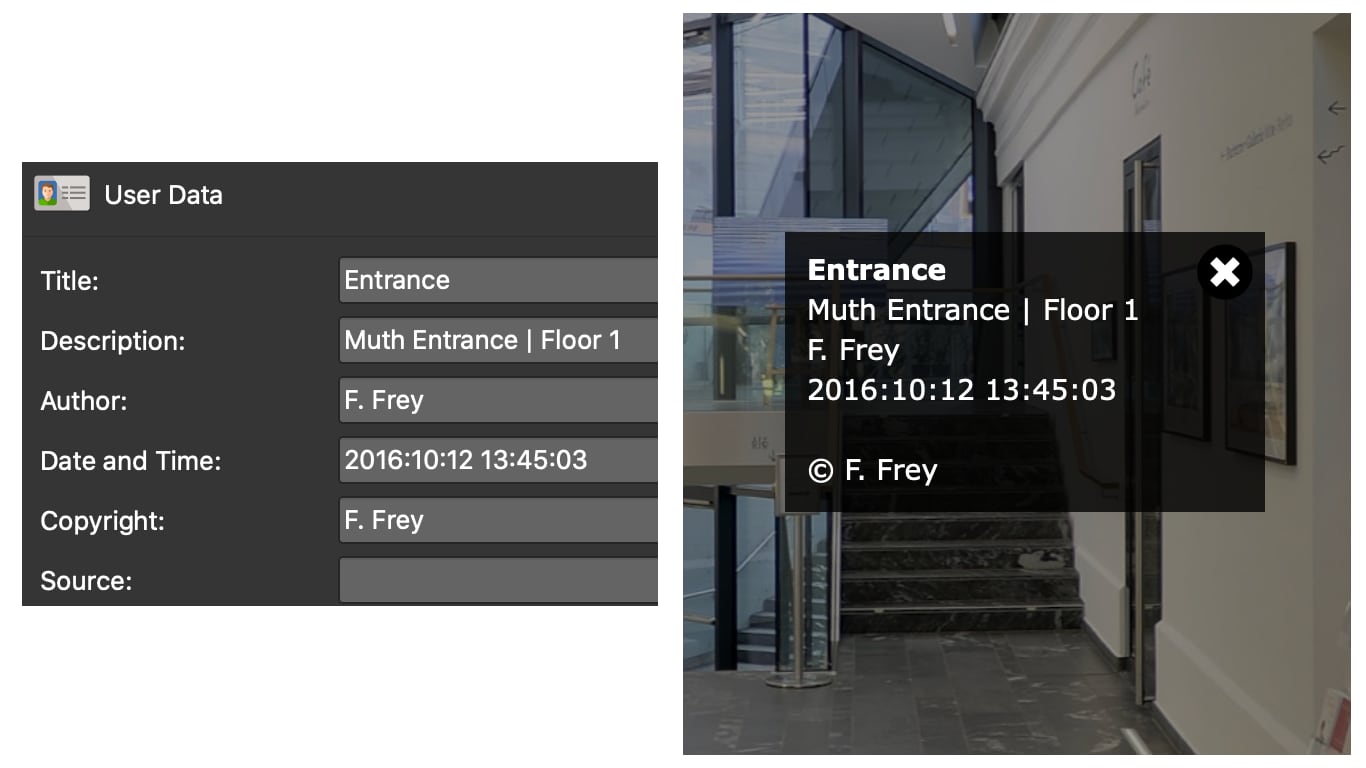
User Data is also known as metadata. It’s used to provide information about the current image or node. When building skin elements like a hotspot popup with a title or tooltip, this is where the text is coming from. Each input field in the User Data can be imported in to the skin using Placeholders. Hover over the text fields to see the placeholder hints.
Add User Data
-
Open User Data in the Properties panel.
-
Fill in the user data (at the least, Title).
✭ Enable Exif import in the preferences/settings to have some fields automatically filled.
✭ You can copy the data to all nodes by clicking the Copy to all nodes button to the right of each field.
✭ If you need more space to type, click the pencil icon to open a larger text field. These will open a rich text editor that supports Markdown.
Data entered here will be used in the information popups in the built-in skins.
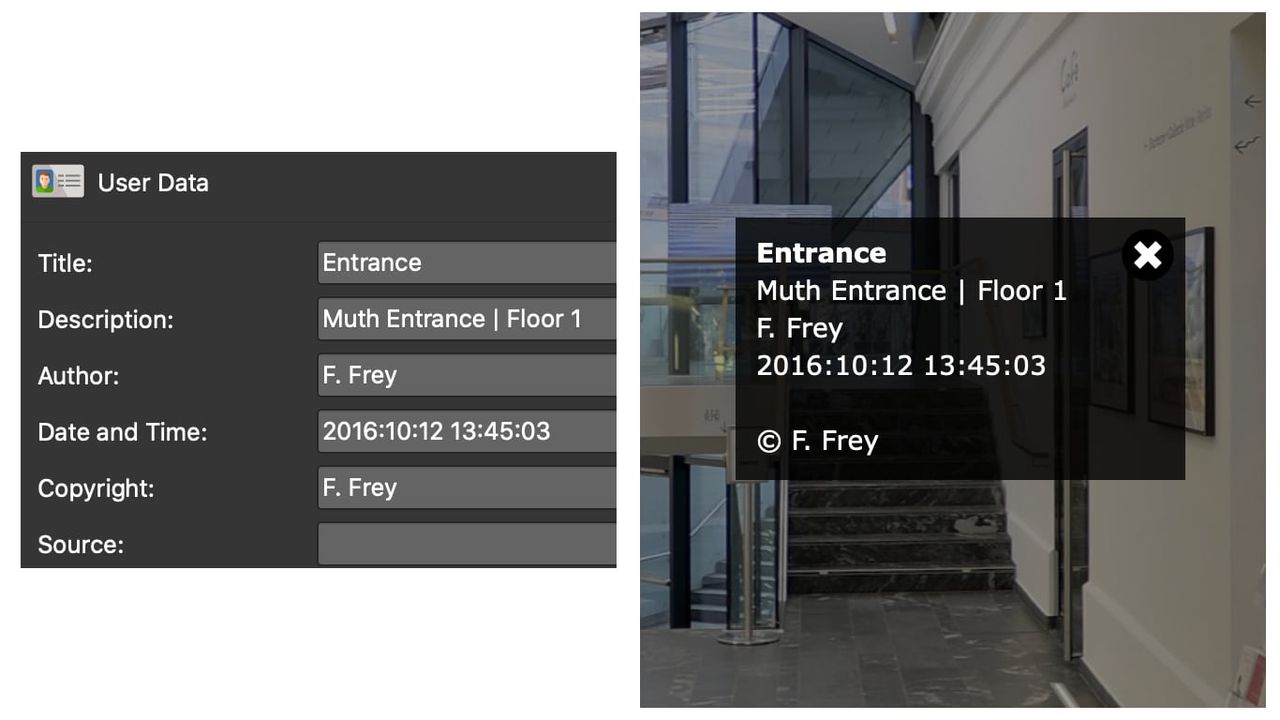
User Data in Pano2VR and on output -
Give each node a custom ID. (optional)
Each node can have a unique ID like, kitchen, bedroom, entrance. These IDs can then be used in the URL:
http://www.example.com/my-house/kitchen.htmlusing Direct Node Access. This URL will direct the user to the node with the ID, kitchen. If no custom ID is given, the default will be node01, etc., depending on it’s initial location in the tour browser. -
Add Tags.
Tags are tools for organization. Add as many tags as needed to the node. You can then filter the tags in the Tour Browser or use them in the Skin Editor.
Add Custom Properties
Custom properties give you extra fields or properties that can be targeted by the skin.
When a skin opens from the Web Output, the custom properties will be added to the skin as variables. Learn More.