Learn how to remove large objects, like yourself, from one-shot panoramic images from cameras like the Qoocam and Insta360.
This method requires you to take duplicate images where, you, the photographer
will move within the scene. (If anyone has used a pano head, you may have used
this same technique to make it easier to remove the bar of the pano head in
nadir shots.)
Take 2 shots. Stand on side of the camera and take a picture, then move to
the opposite side and take another picture.
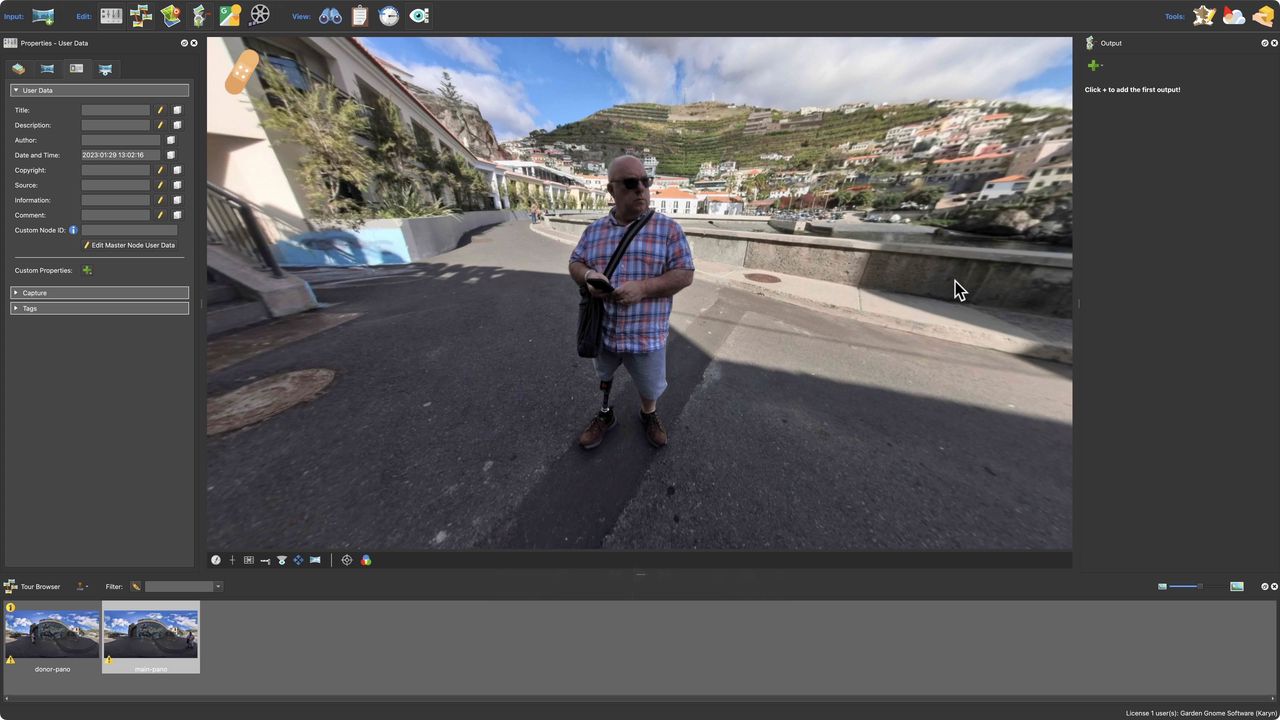
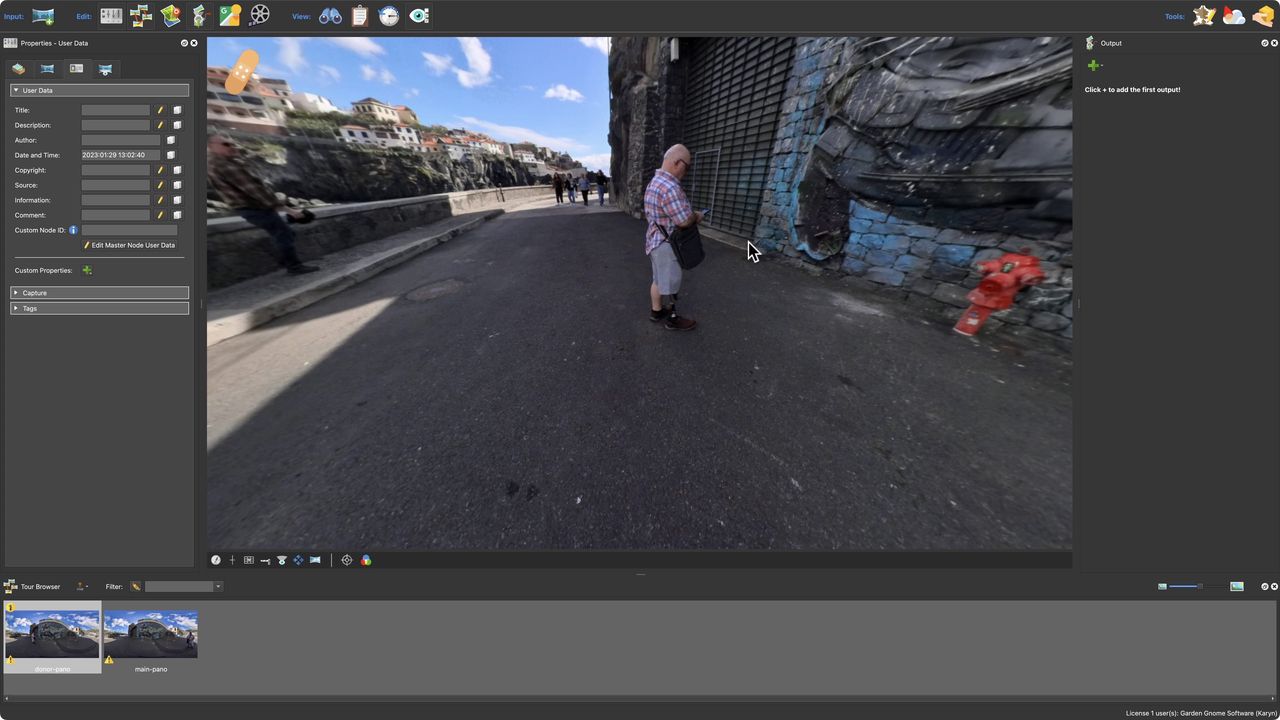
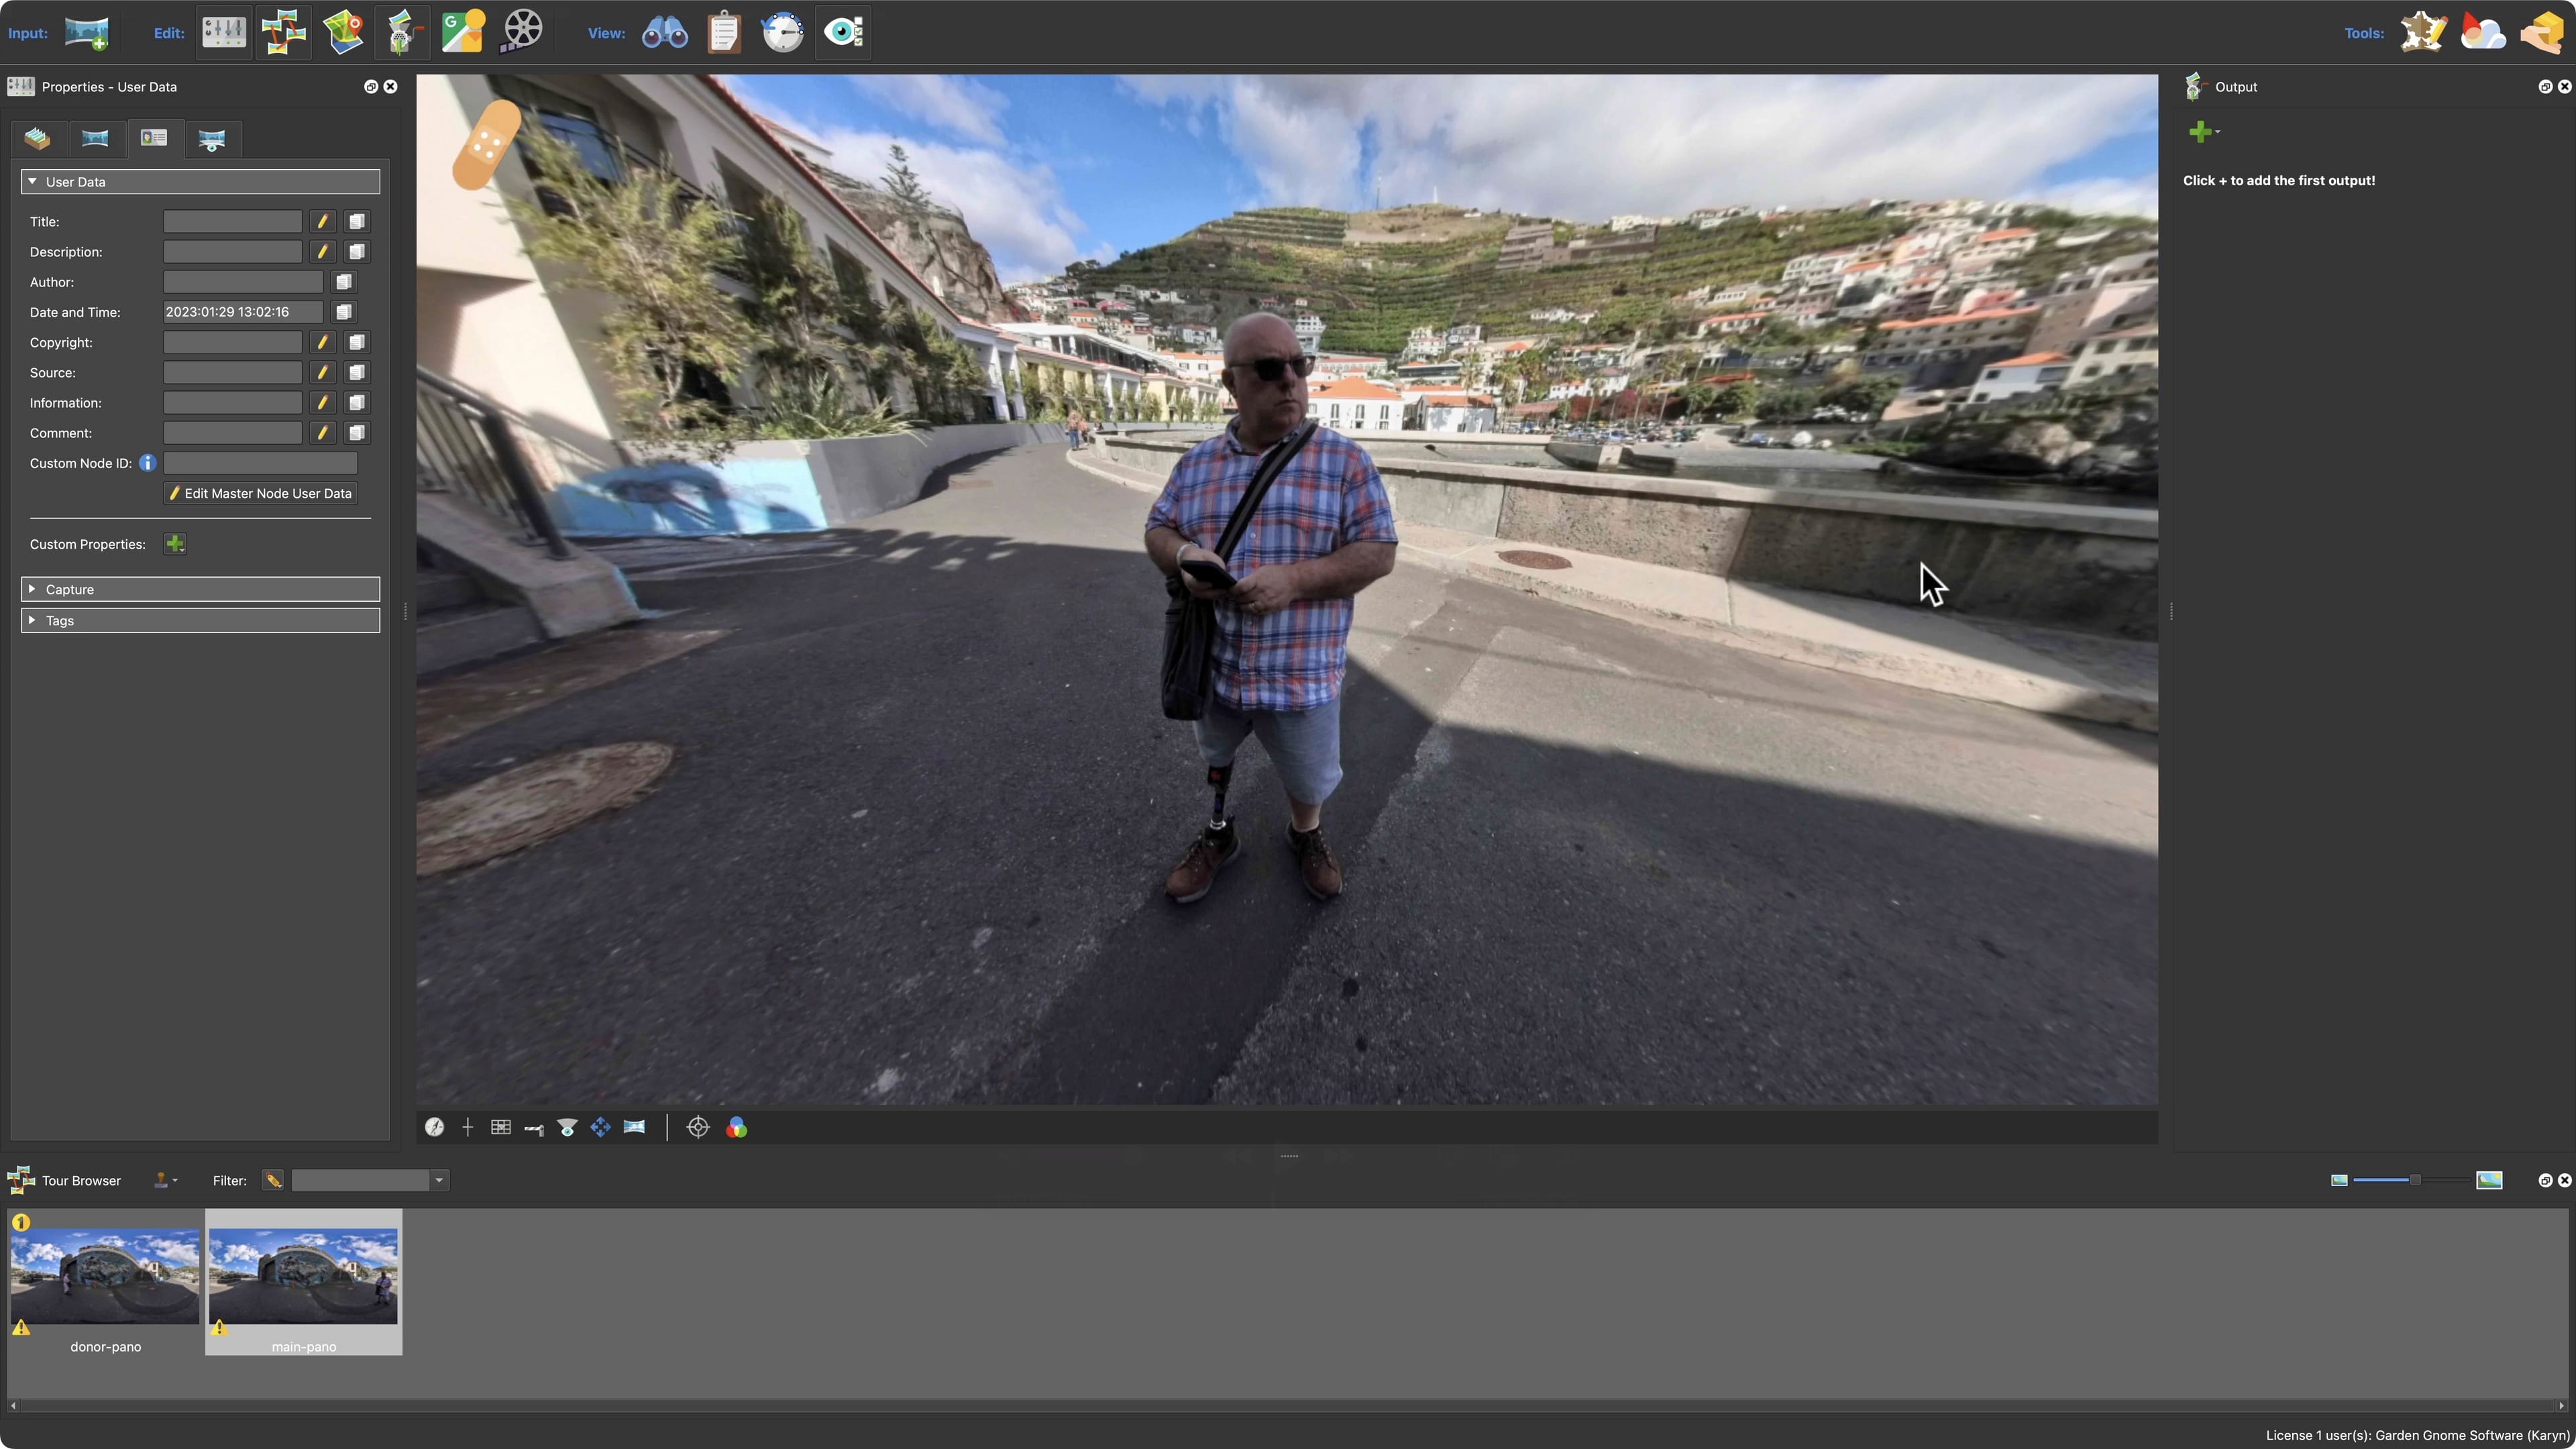
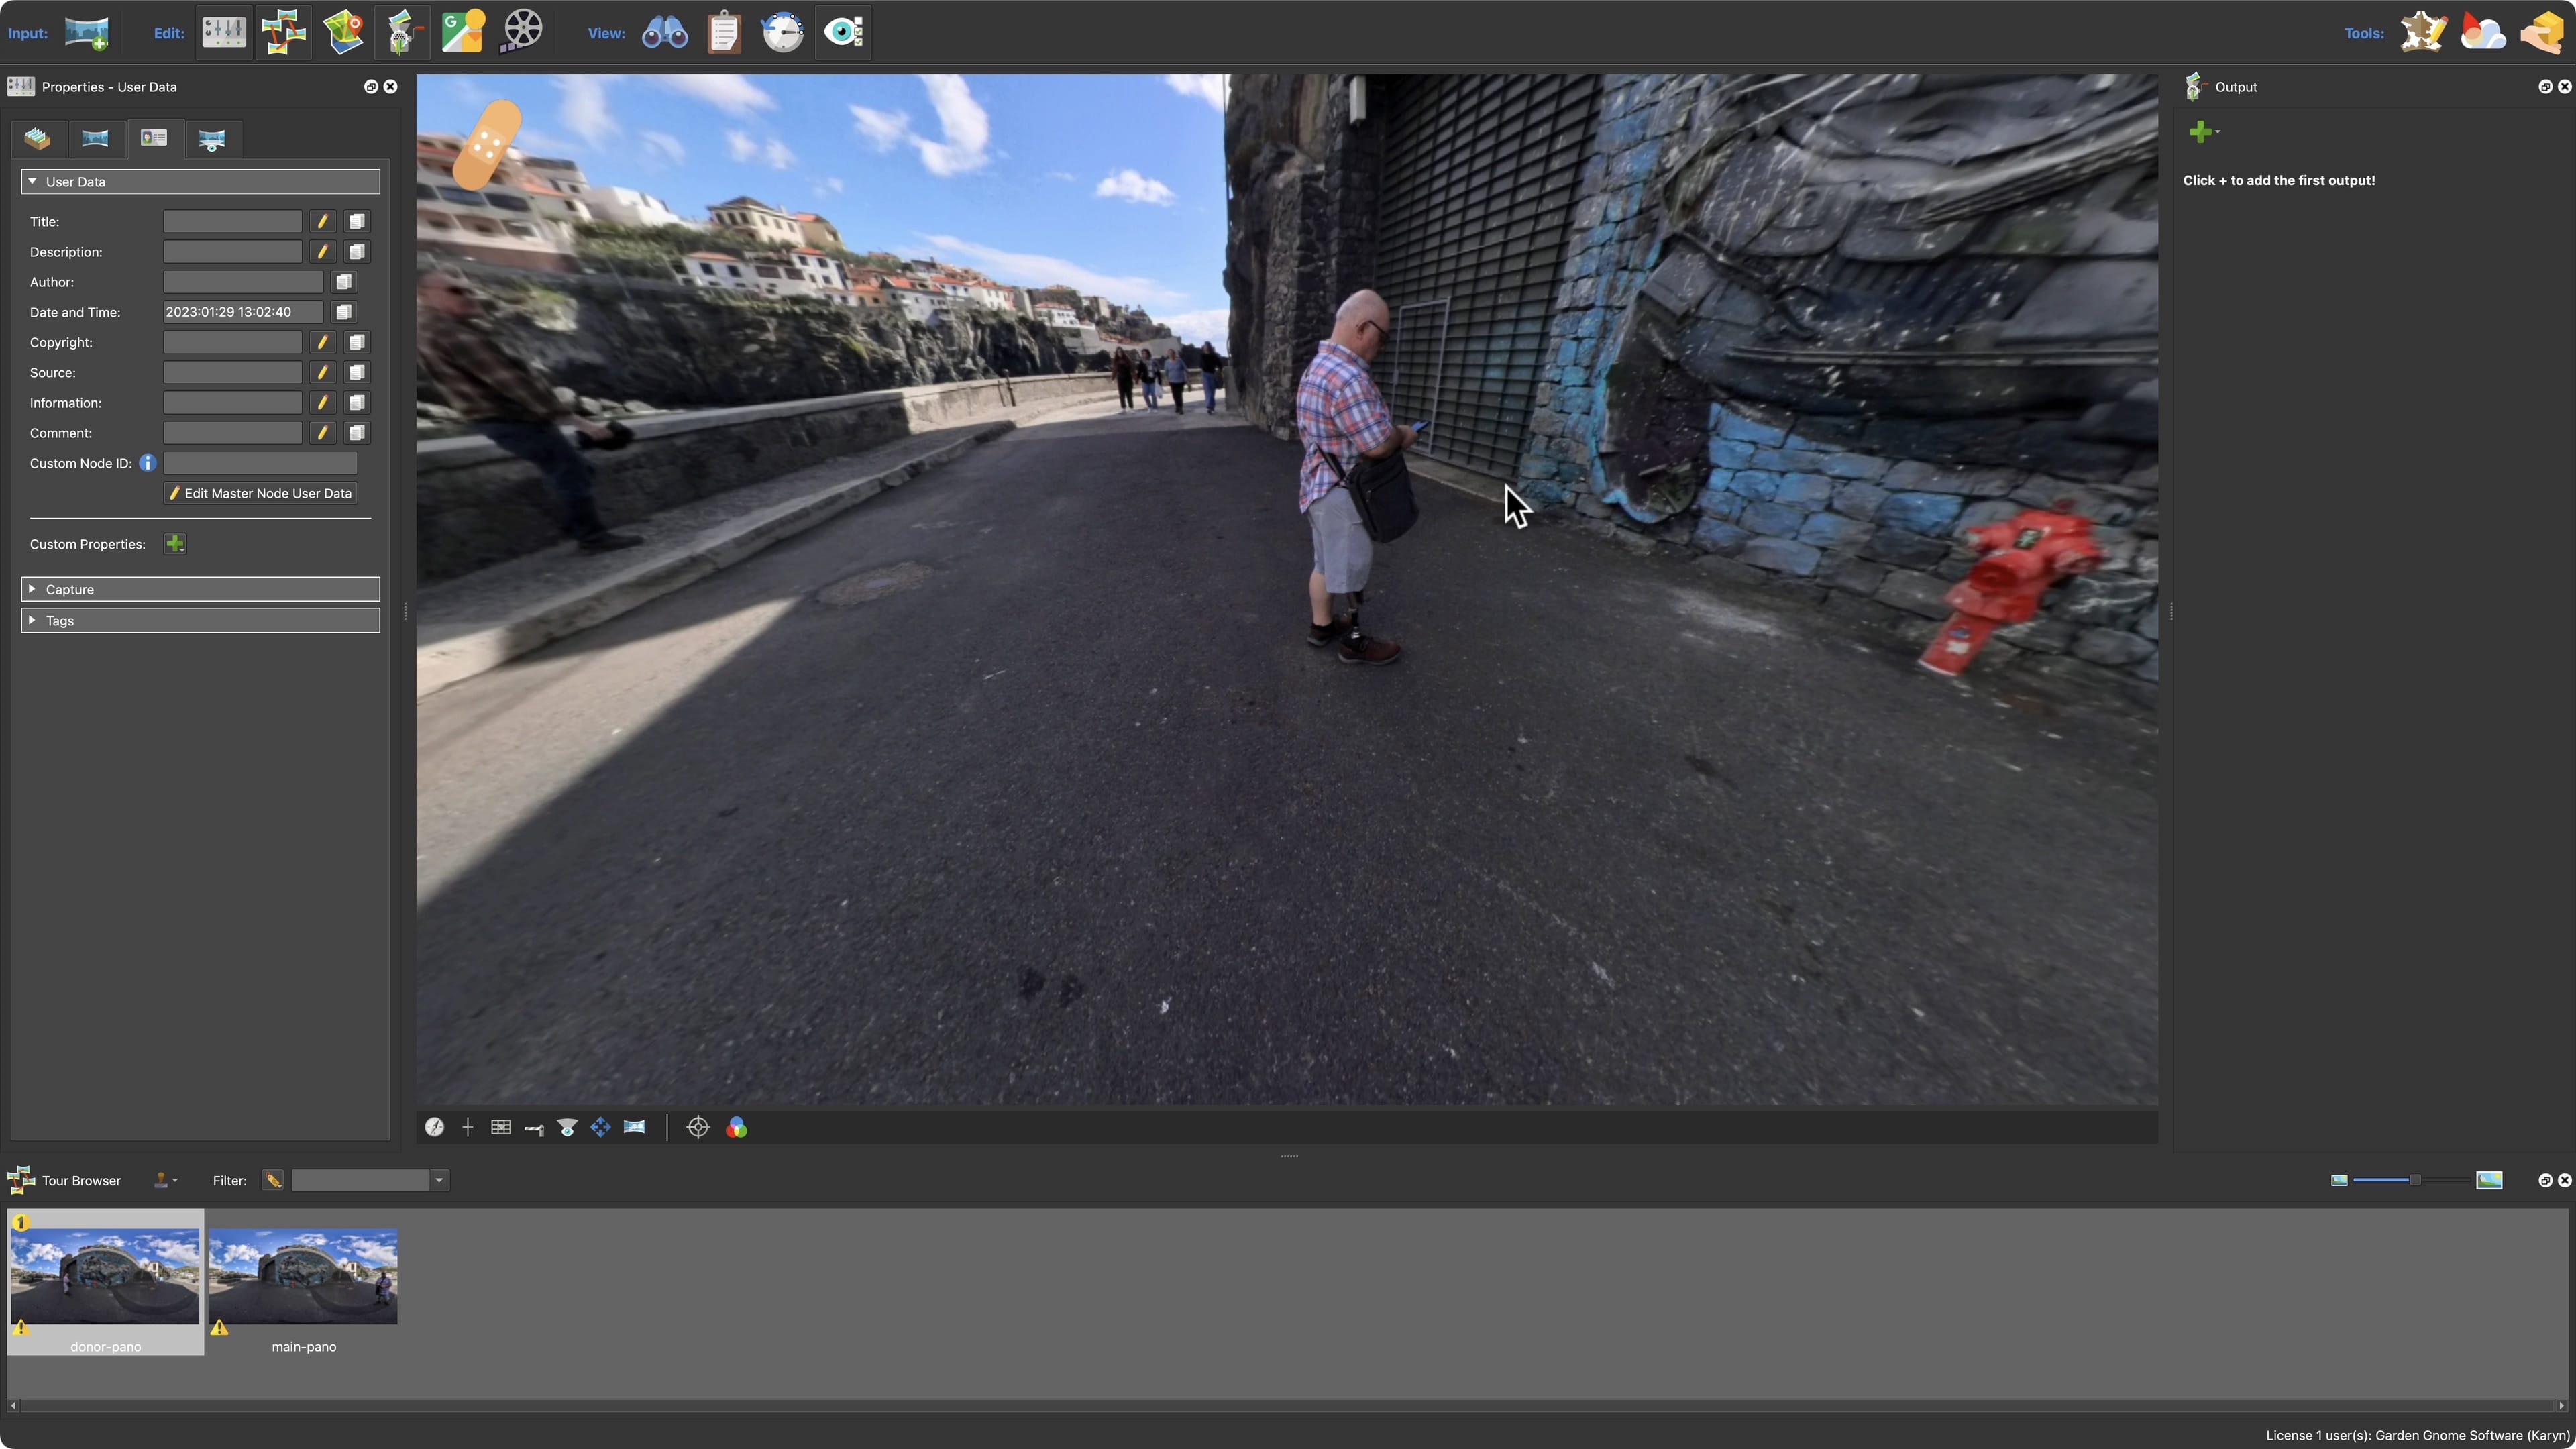
Shot 1. The Main Image. The image to be patched.Shot 2. The Donor Image. This will fill the hole left when Martin is removed from the Main Image.
In Pano2VR, add both images to the Tour Browser. Give them a title if your
file names are not descriptive enough, so you can easily identify each
image. We use Main and Donor.
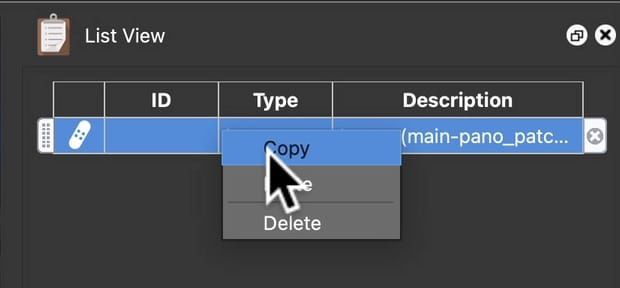
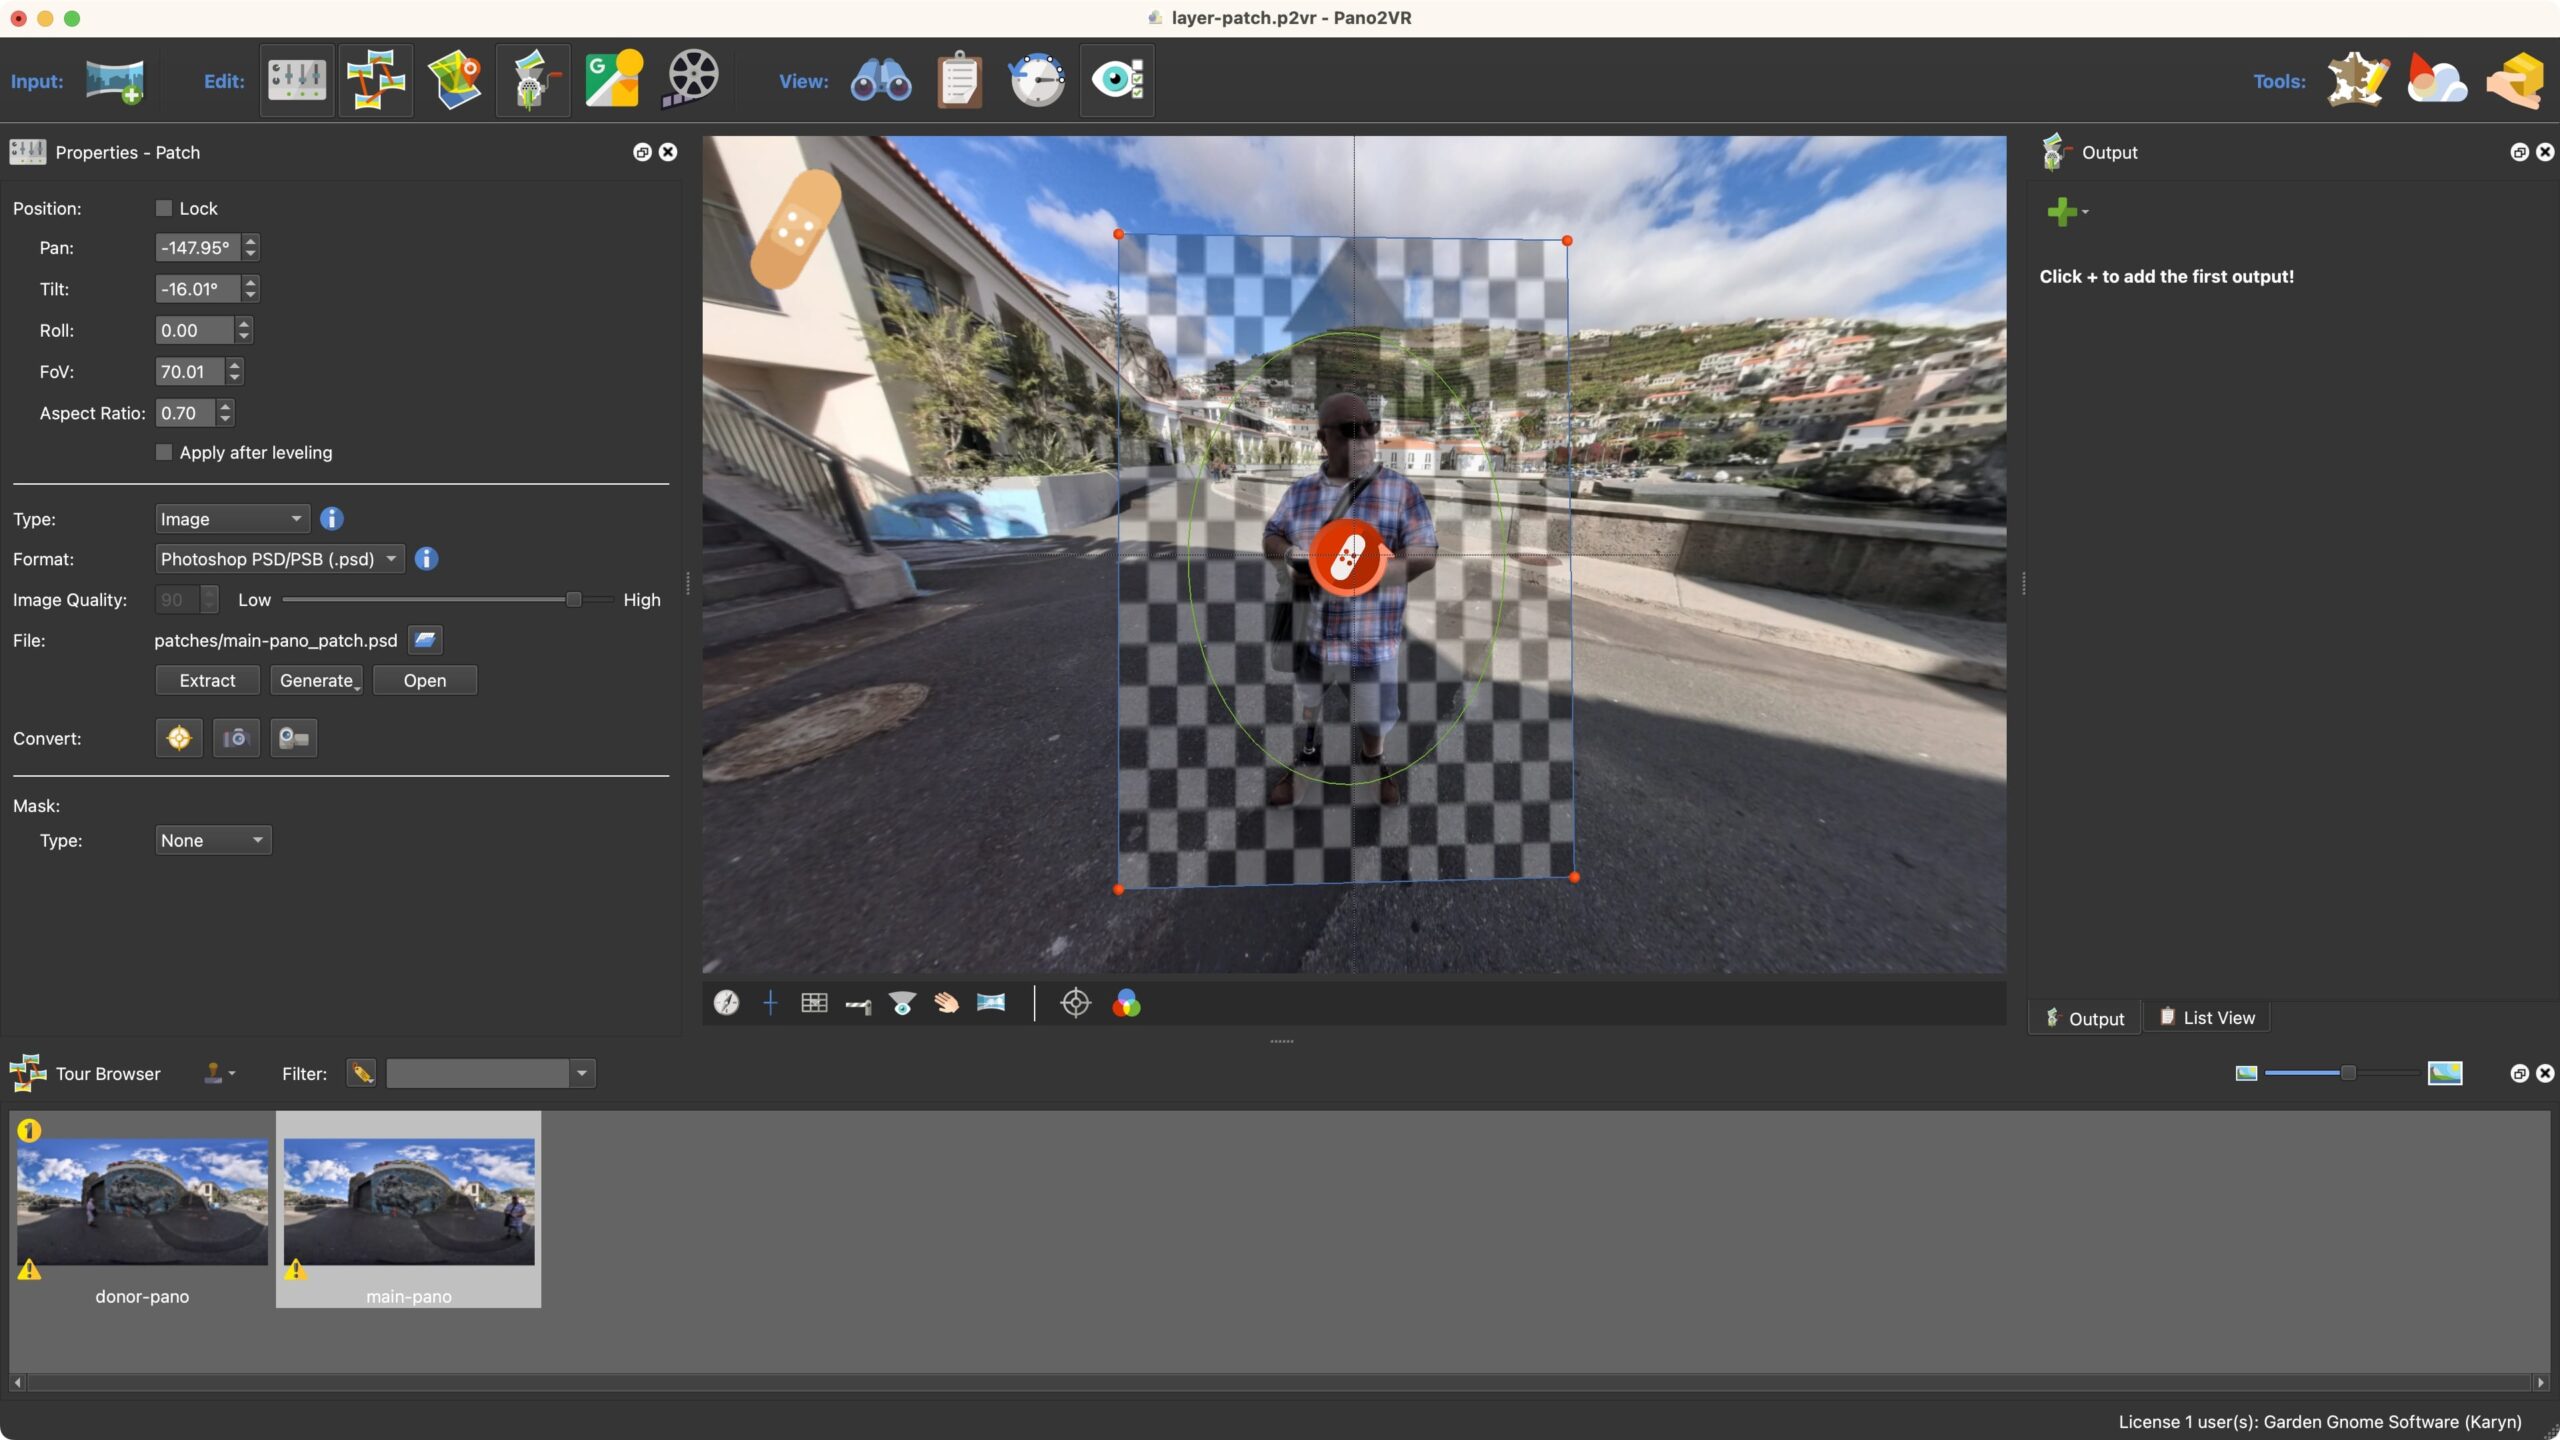
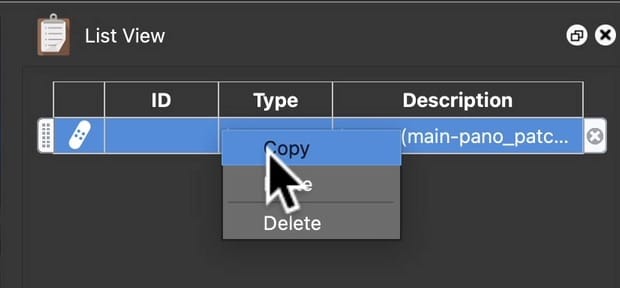
Right-click the patch and select Copy.
Copy the patch.
Go to the Donor image and paste the Patch to the donor image in list view
(right-click > Paste).
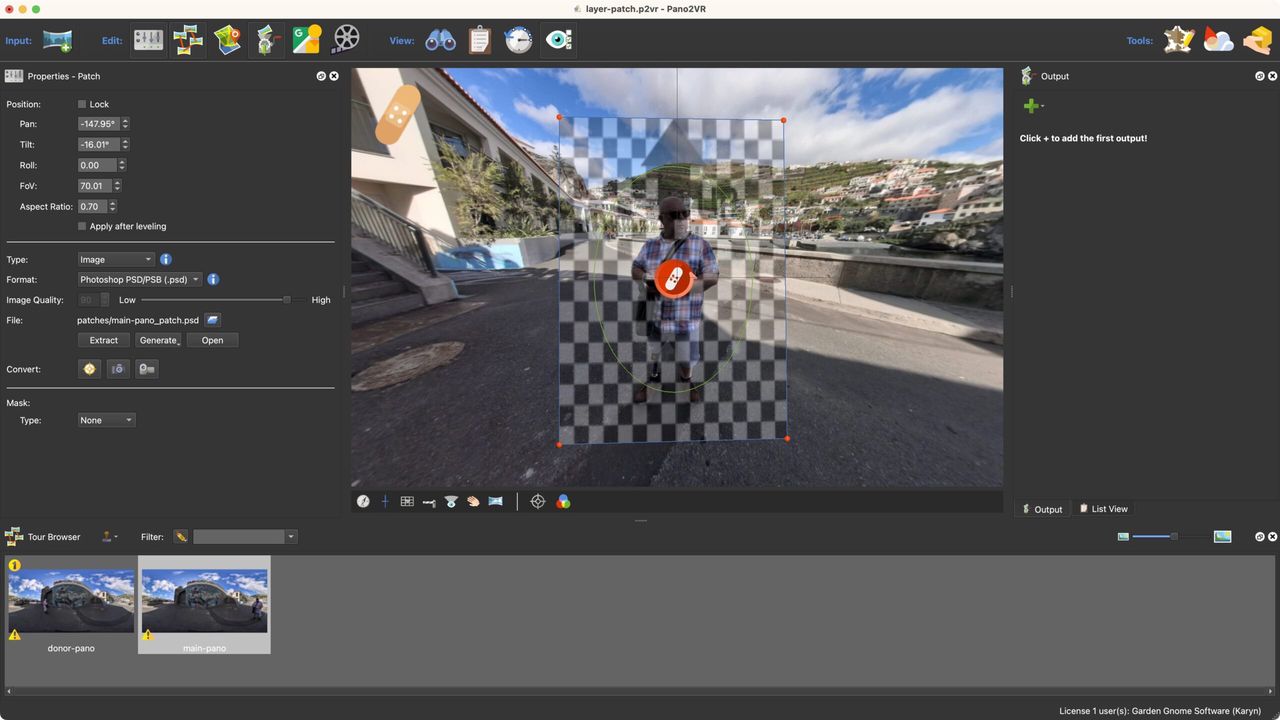
Give this patch a unique name and then extract the image patch. This pastes
the exact area of the patch in the main image. So now there are two patches
showing the same area, but one has Martin in it and one does not.
Fuse the Patches
For this next part, you will need to jump over to a photo editor. In our
example, we’re using Pixelmator Pro to fuse the patches.
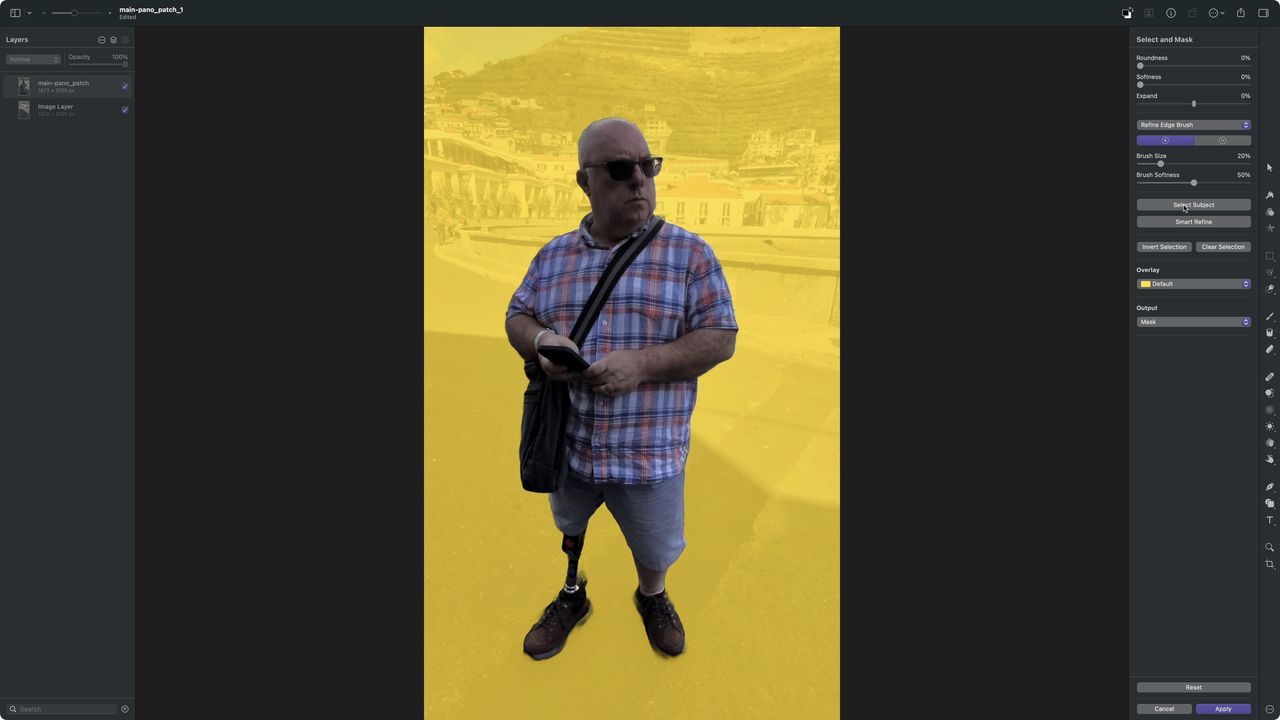
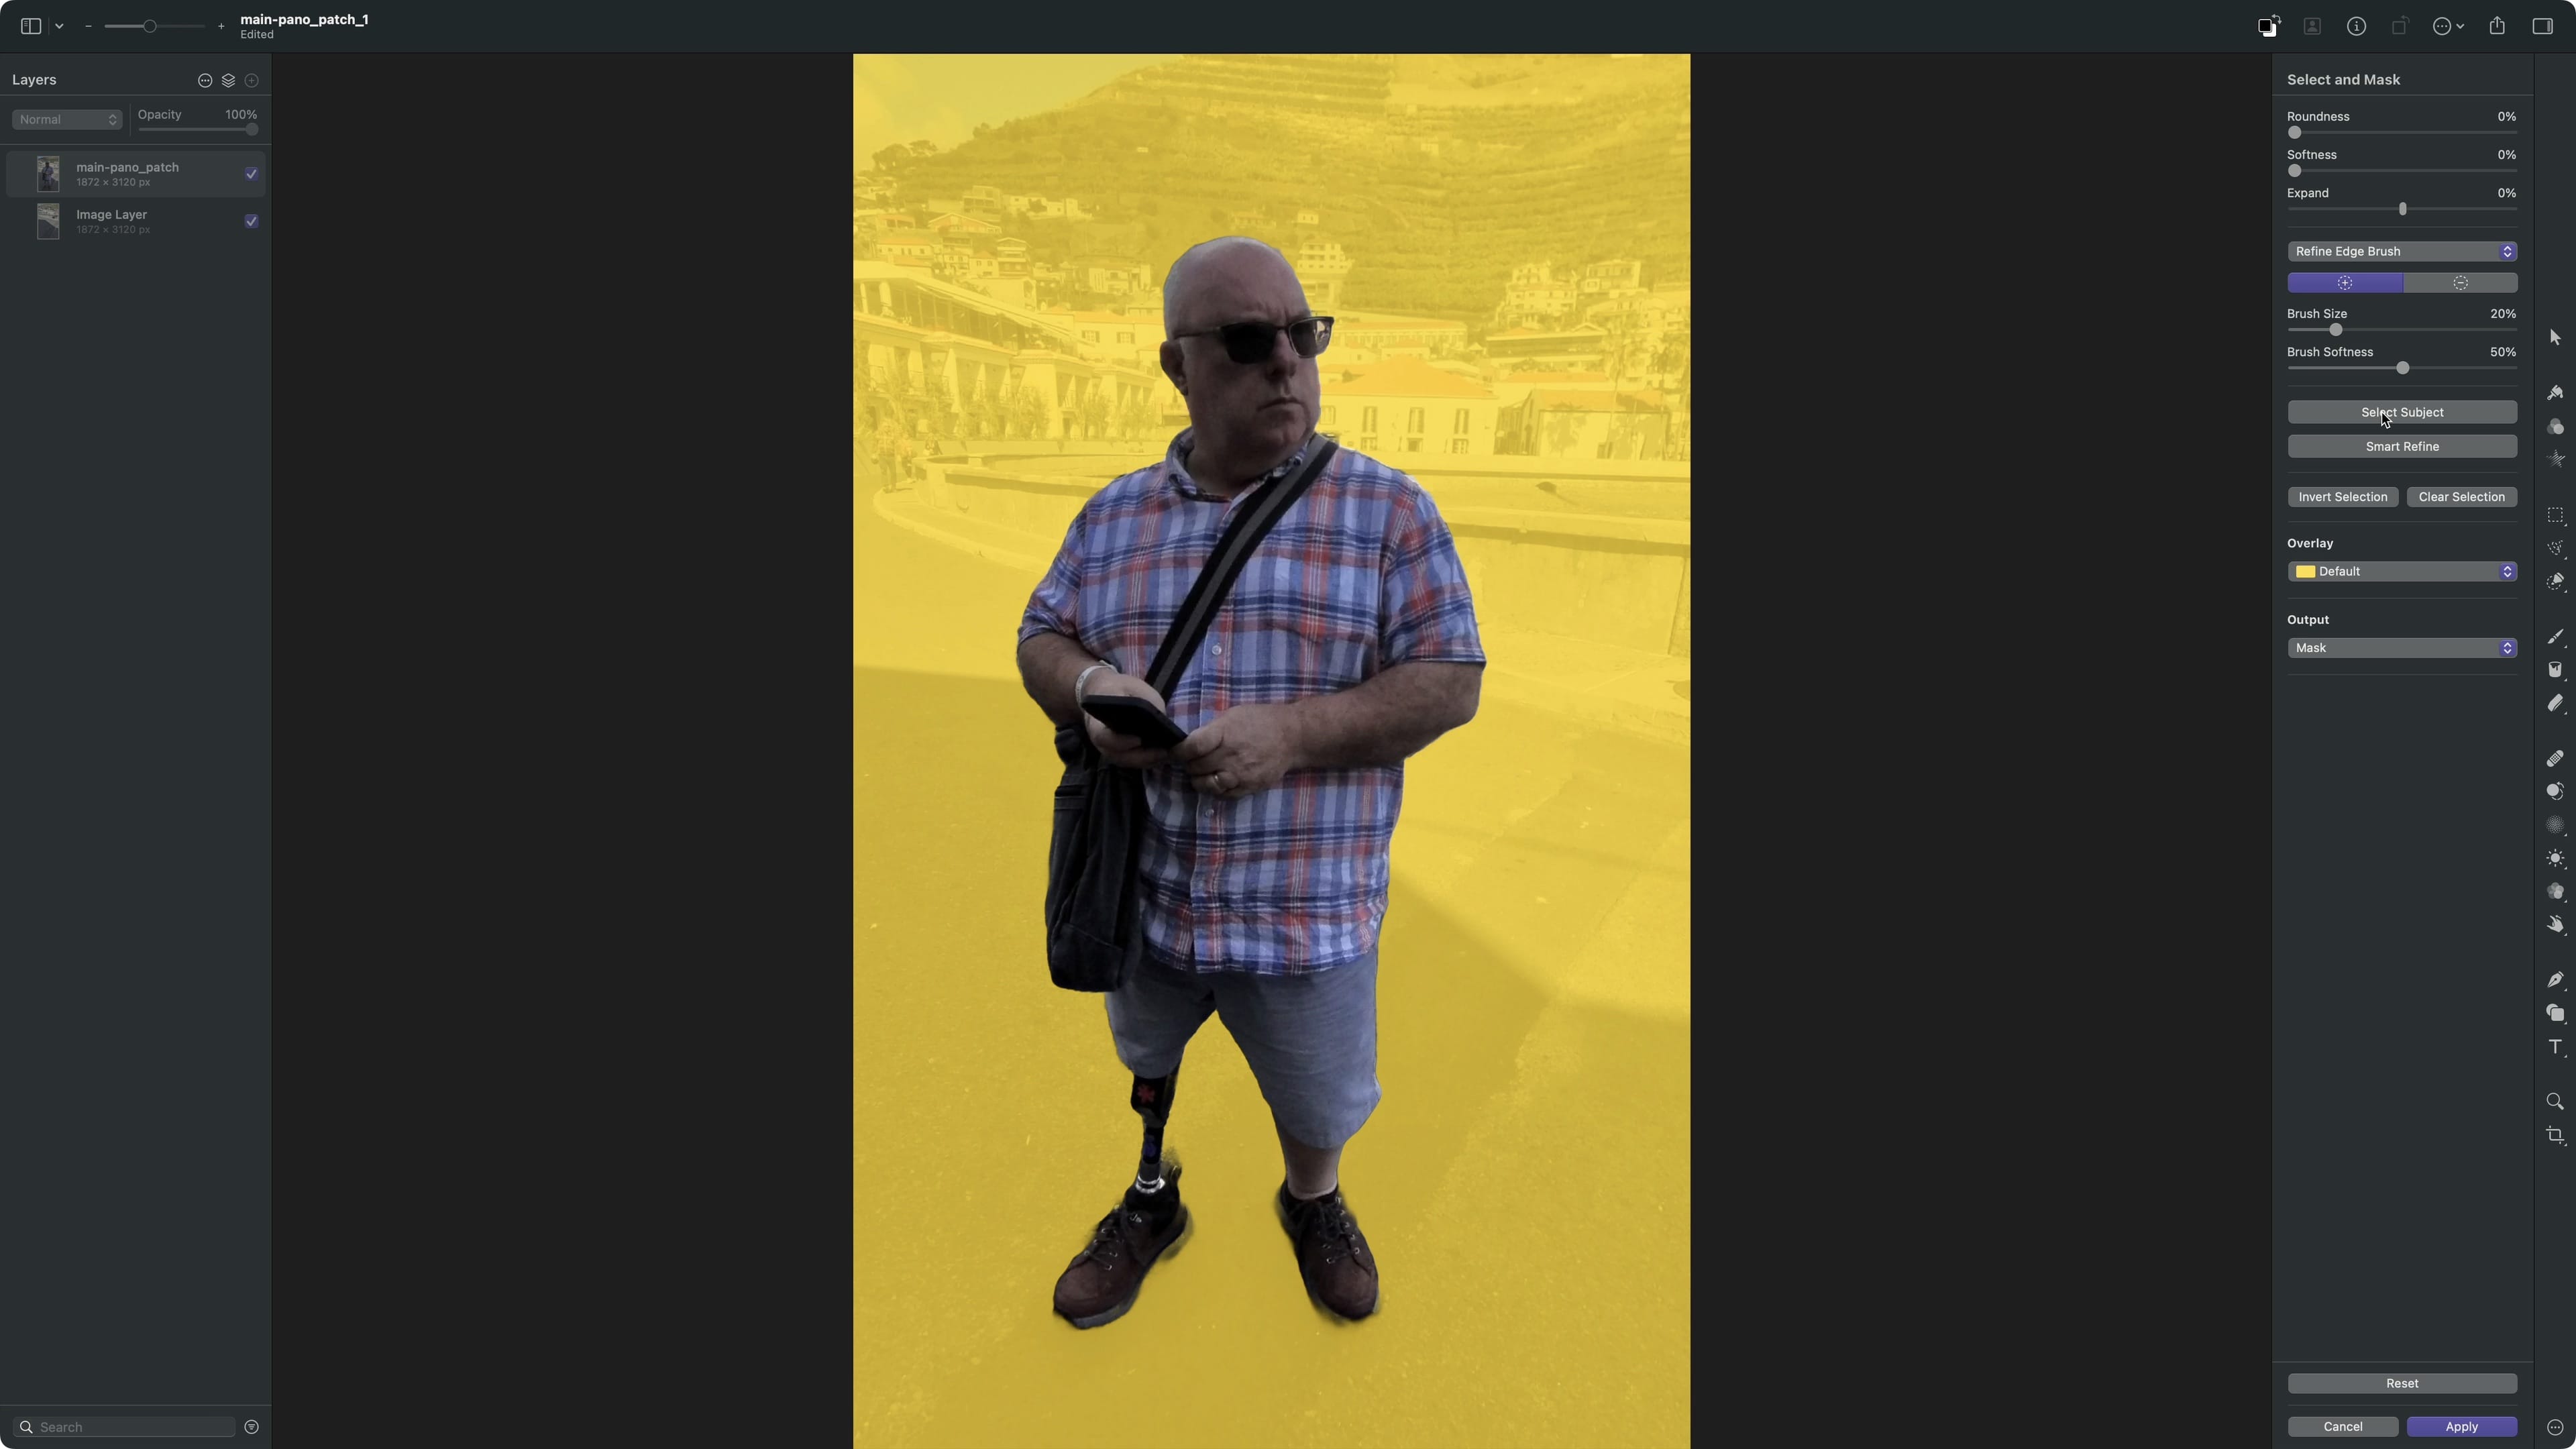
Add both patched images as layers. The patch with the object to be removed is
the topmost layer.
Add a mask over the object to be removed.Mask applied.
Use any method to erase the object from the image. In our example, we used
“Select Subject” and removed the subject. Then used the paint brush to soften
the edges of the mask.
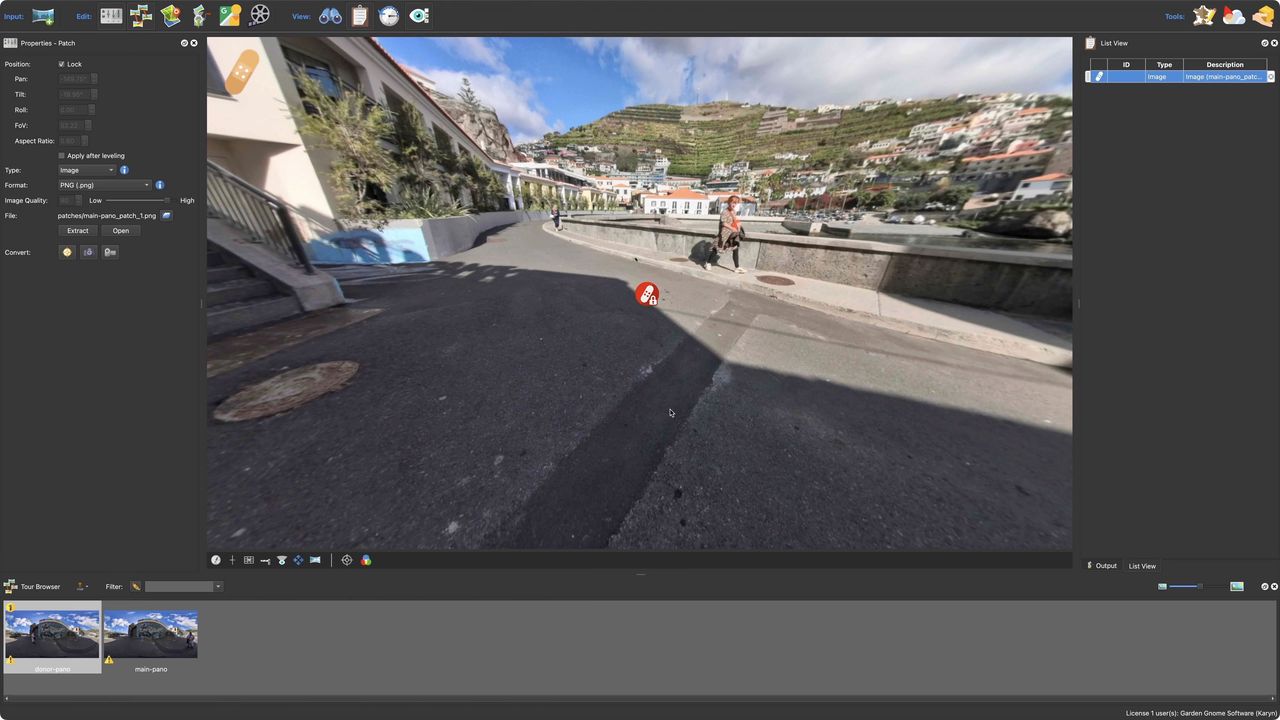
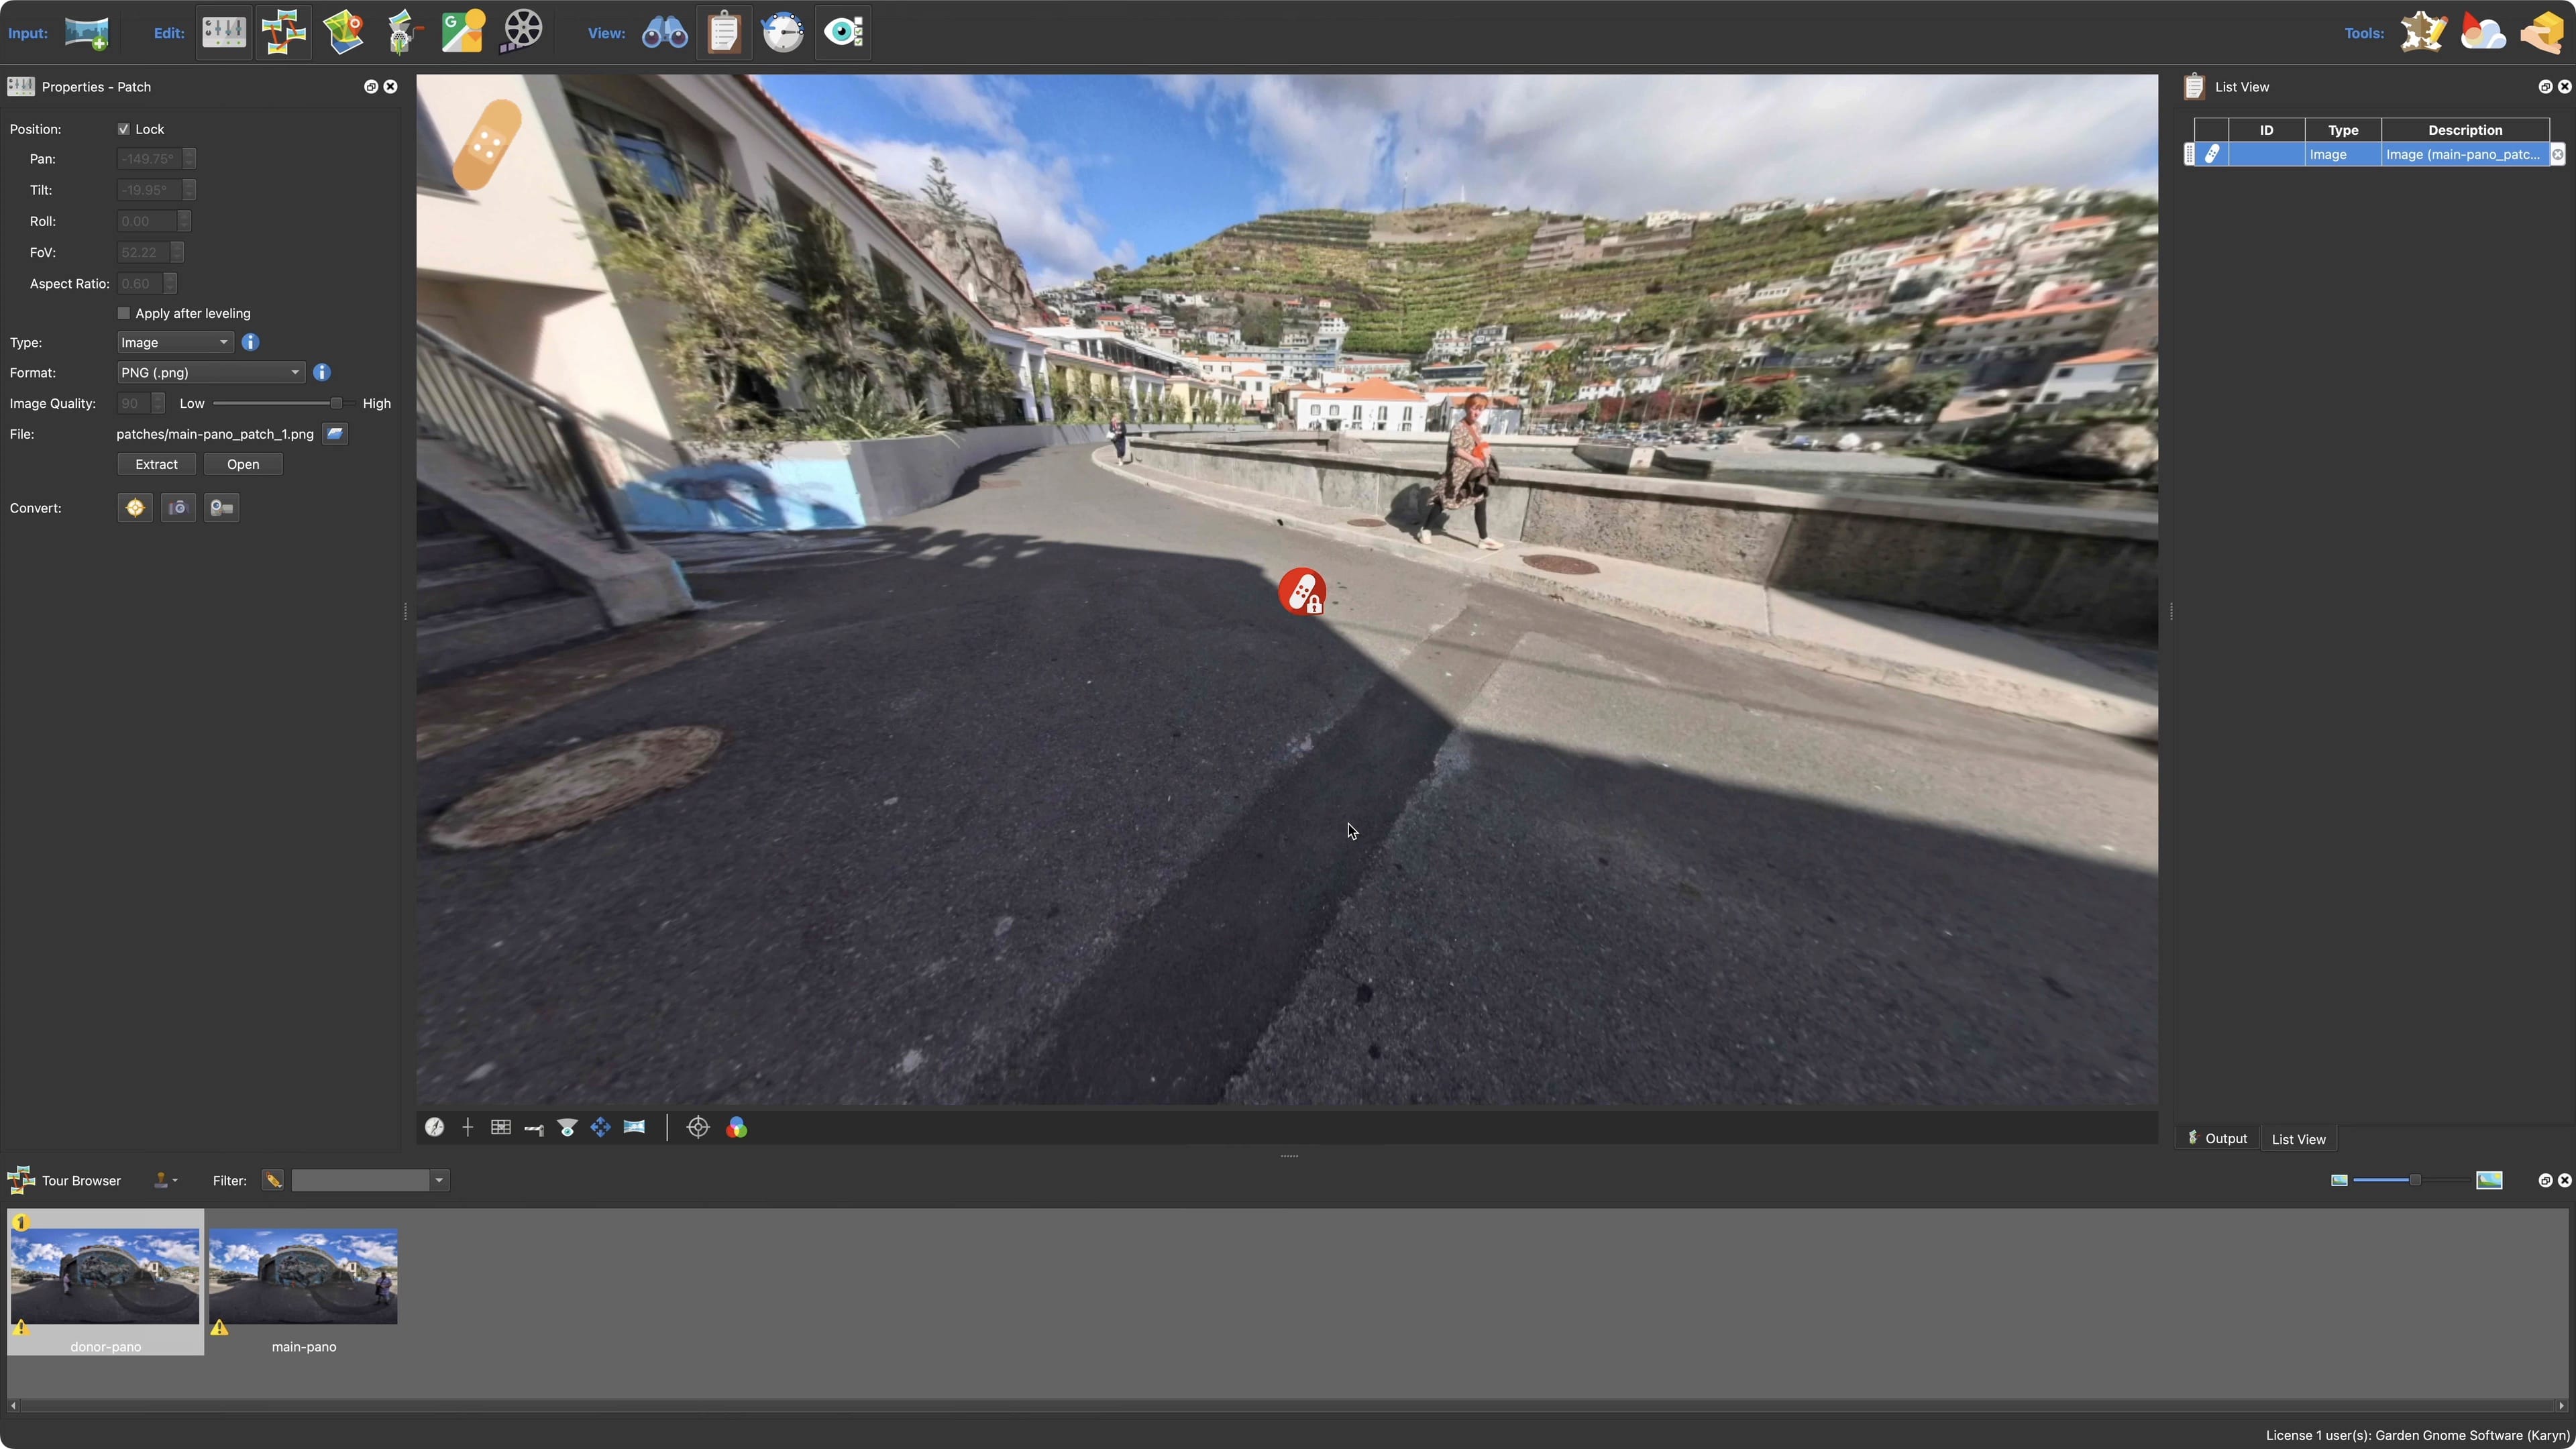
Save this new patch as the main patch. Meaning it should have the same file
name as the main image’s patch. This way, when you go back to Pano2VR, the
patch is automatically updated and the object will be removed.
Masked patch applied.
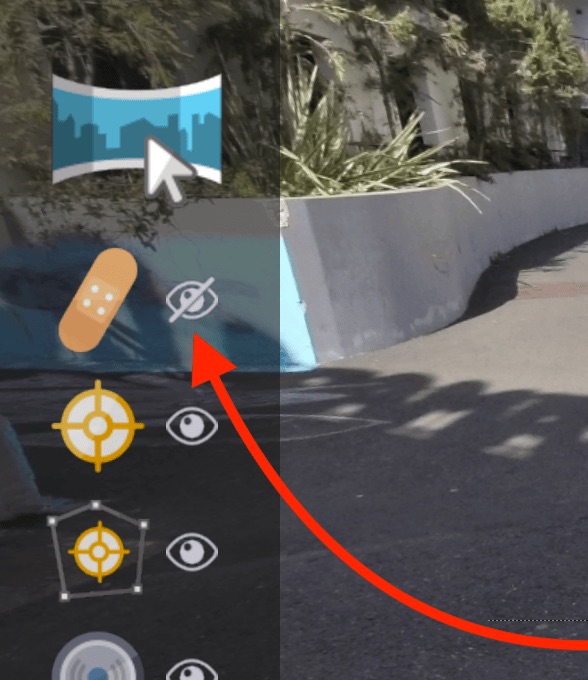
★ Tip To better view the patch, hide the patch viewer icon. Change the Viewer Mode to Select. Then, select the hide icon.
Hide the patch icon in the Viewer.
Save as a New Panorama
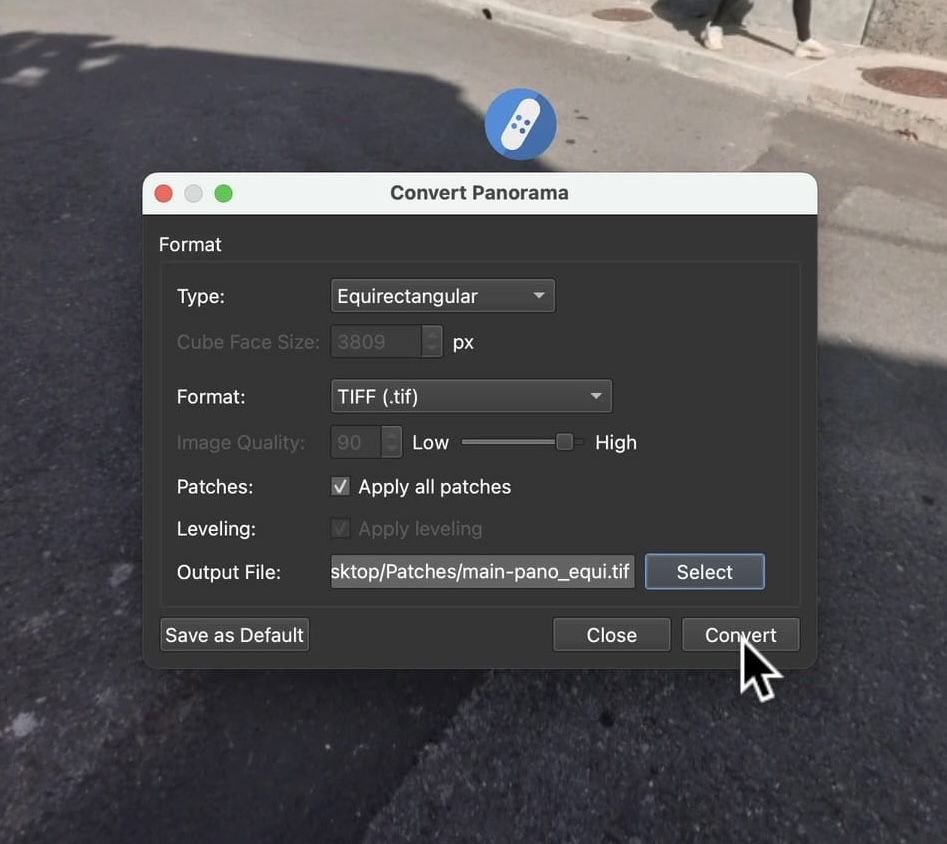
Finally, save the panorama as a new one with the patches using
Convert Input.
Go to the Properties and in the Input settings, and click on Convert
Input.
In the dialog that opens, choose, Equirectangular and Tiff. Make sure
Apply all Patches is selected.
Convert Image dialog.