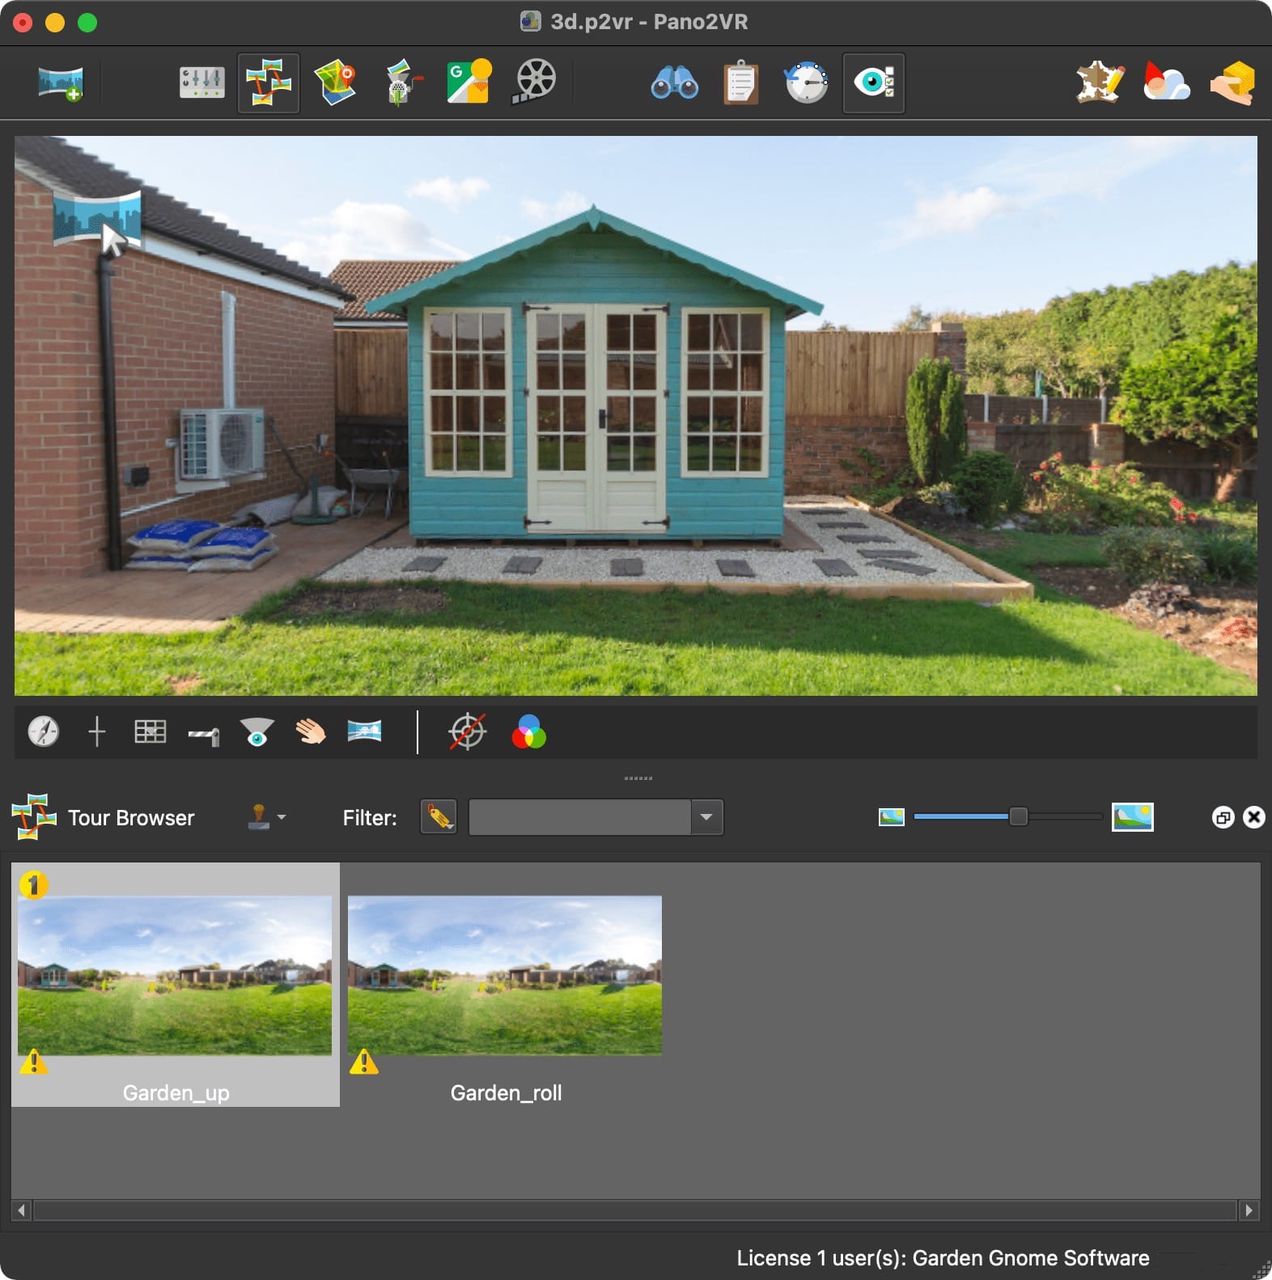
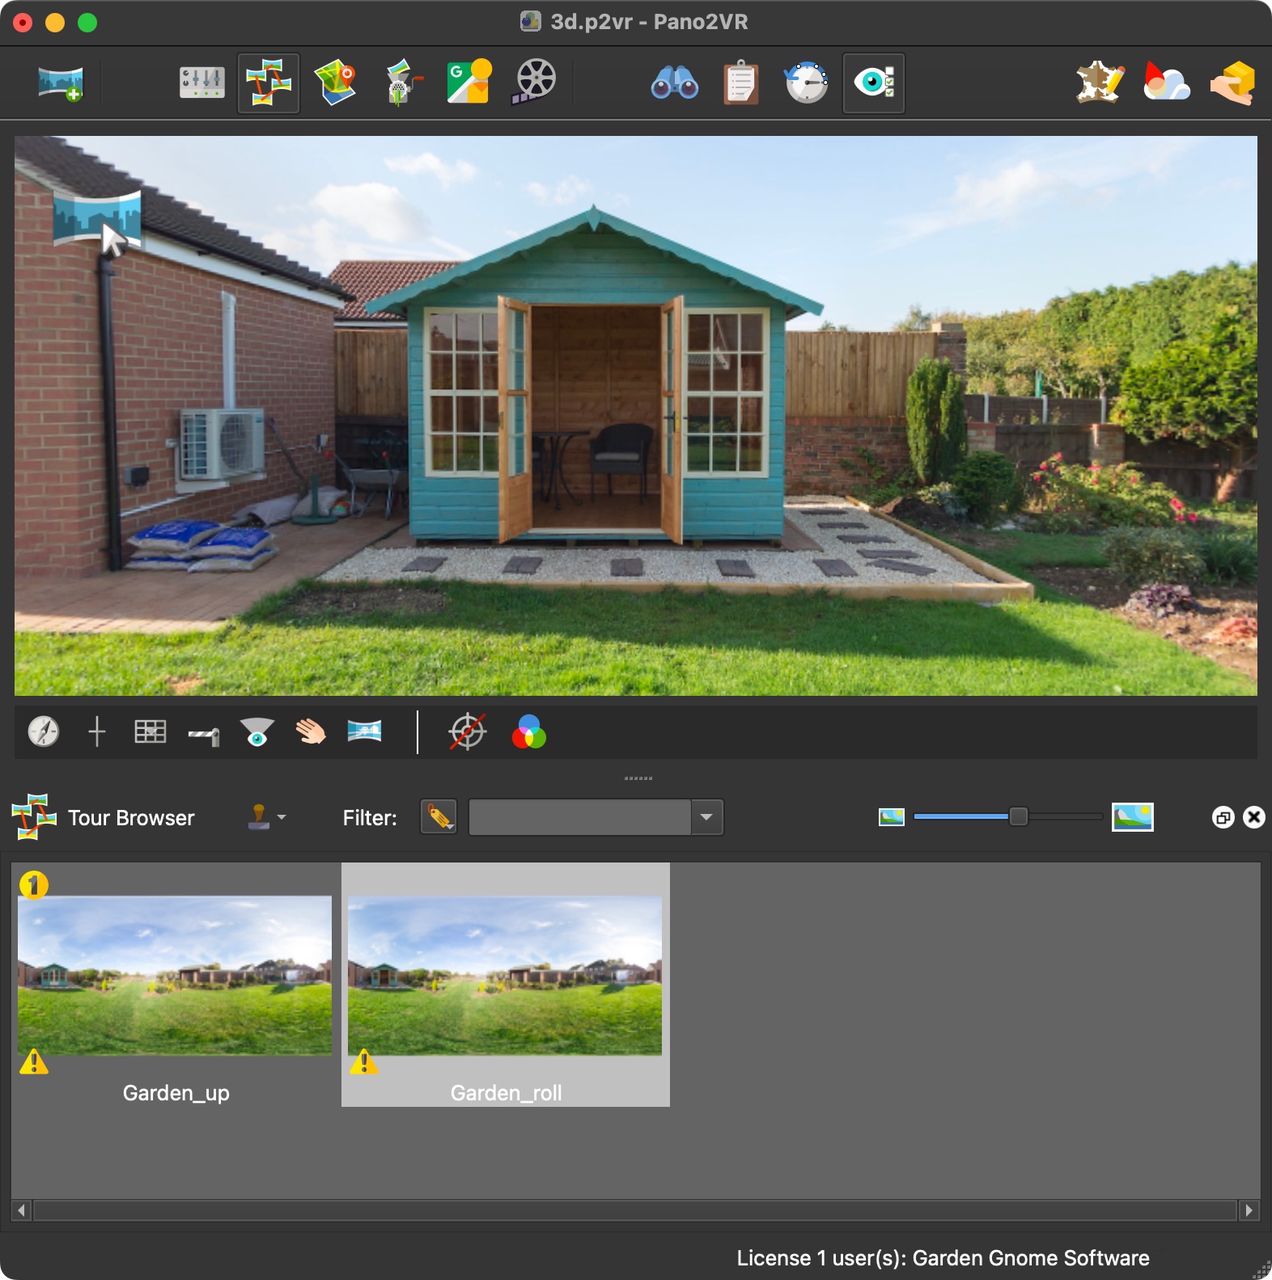
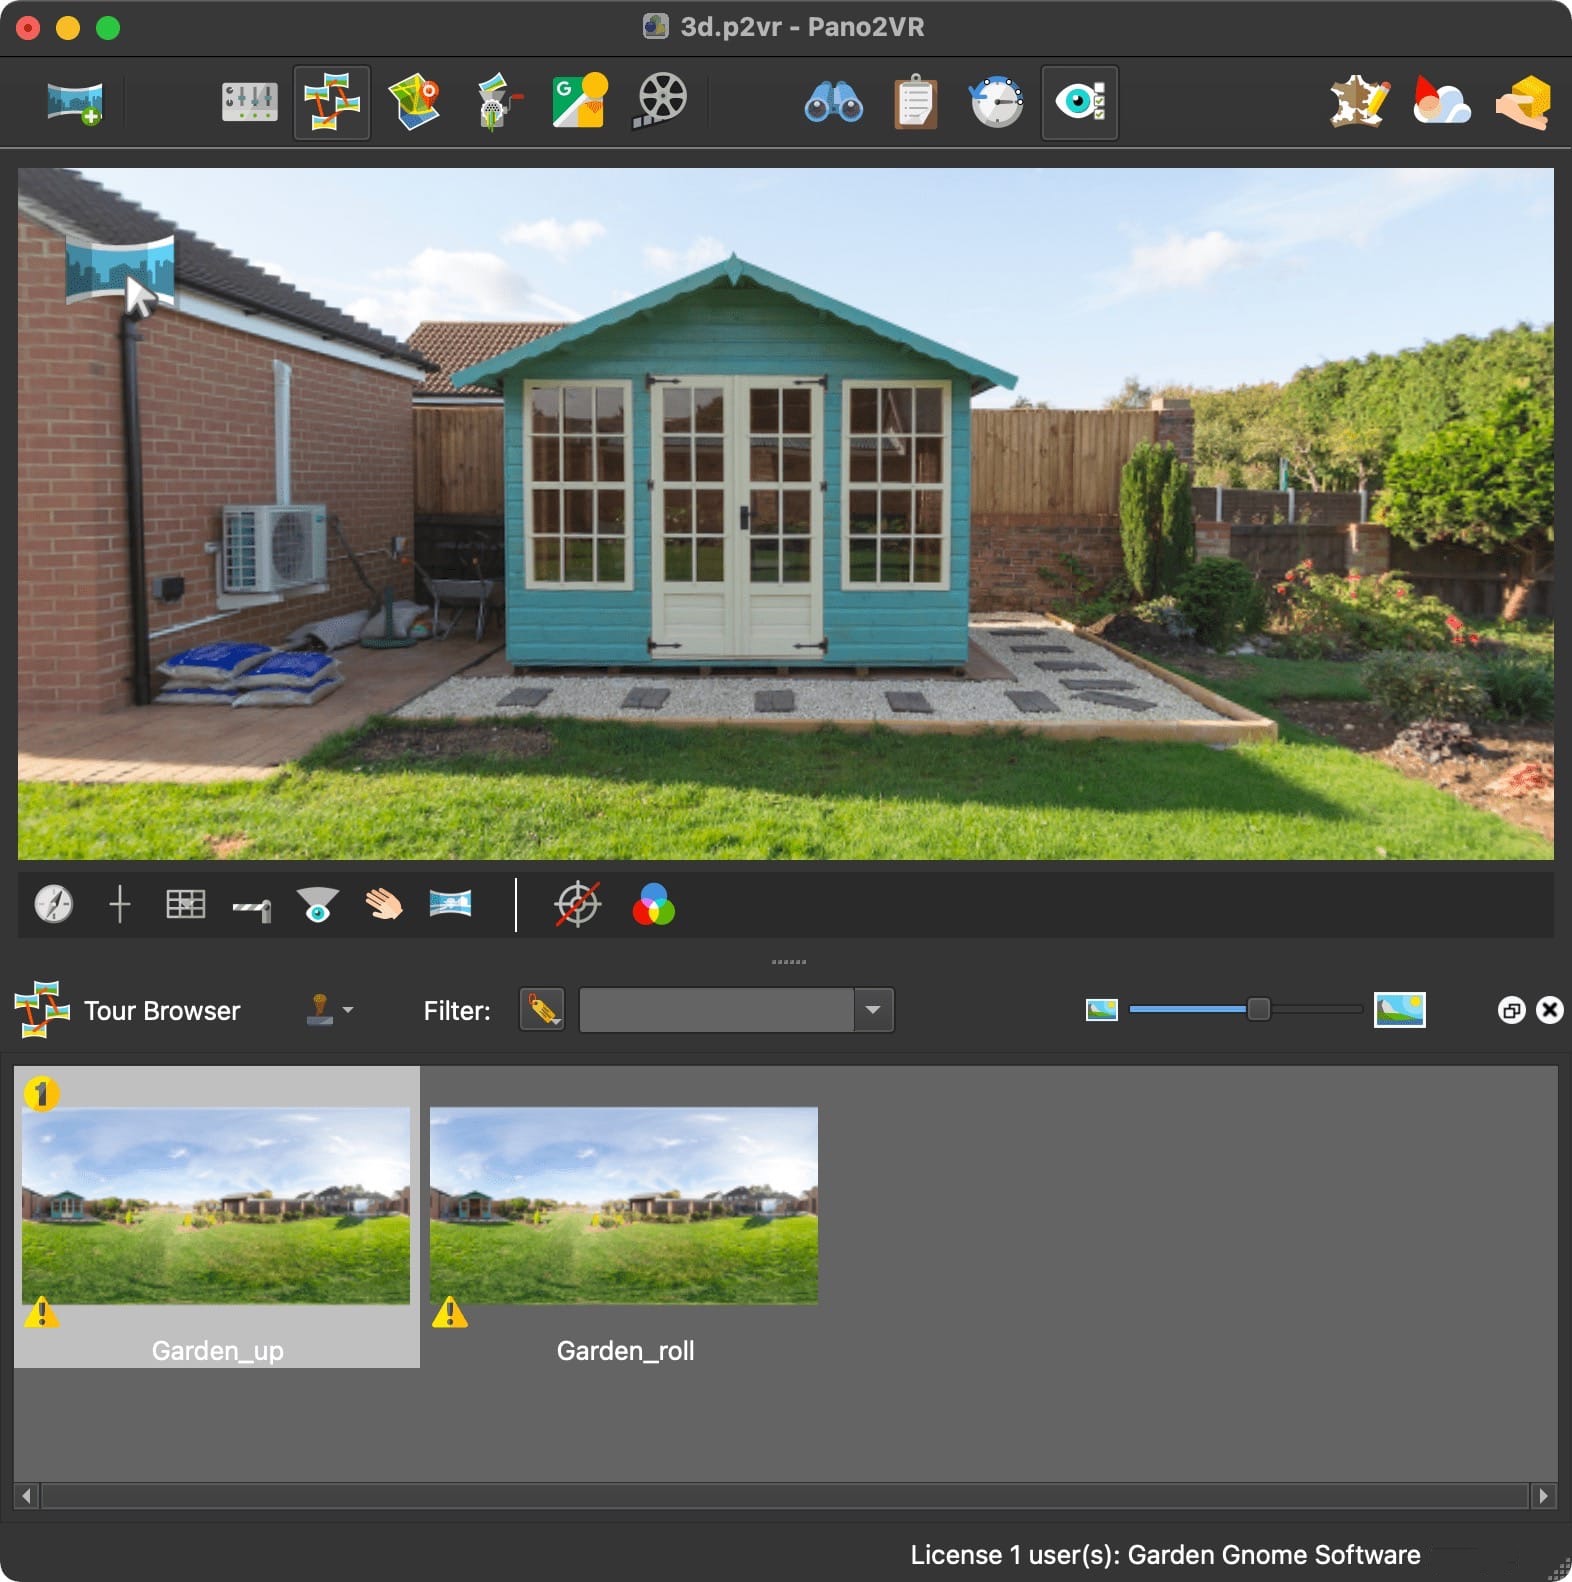
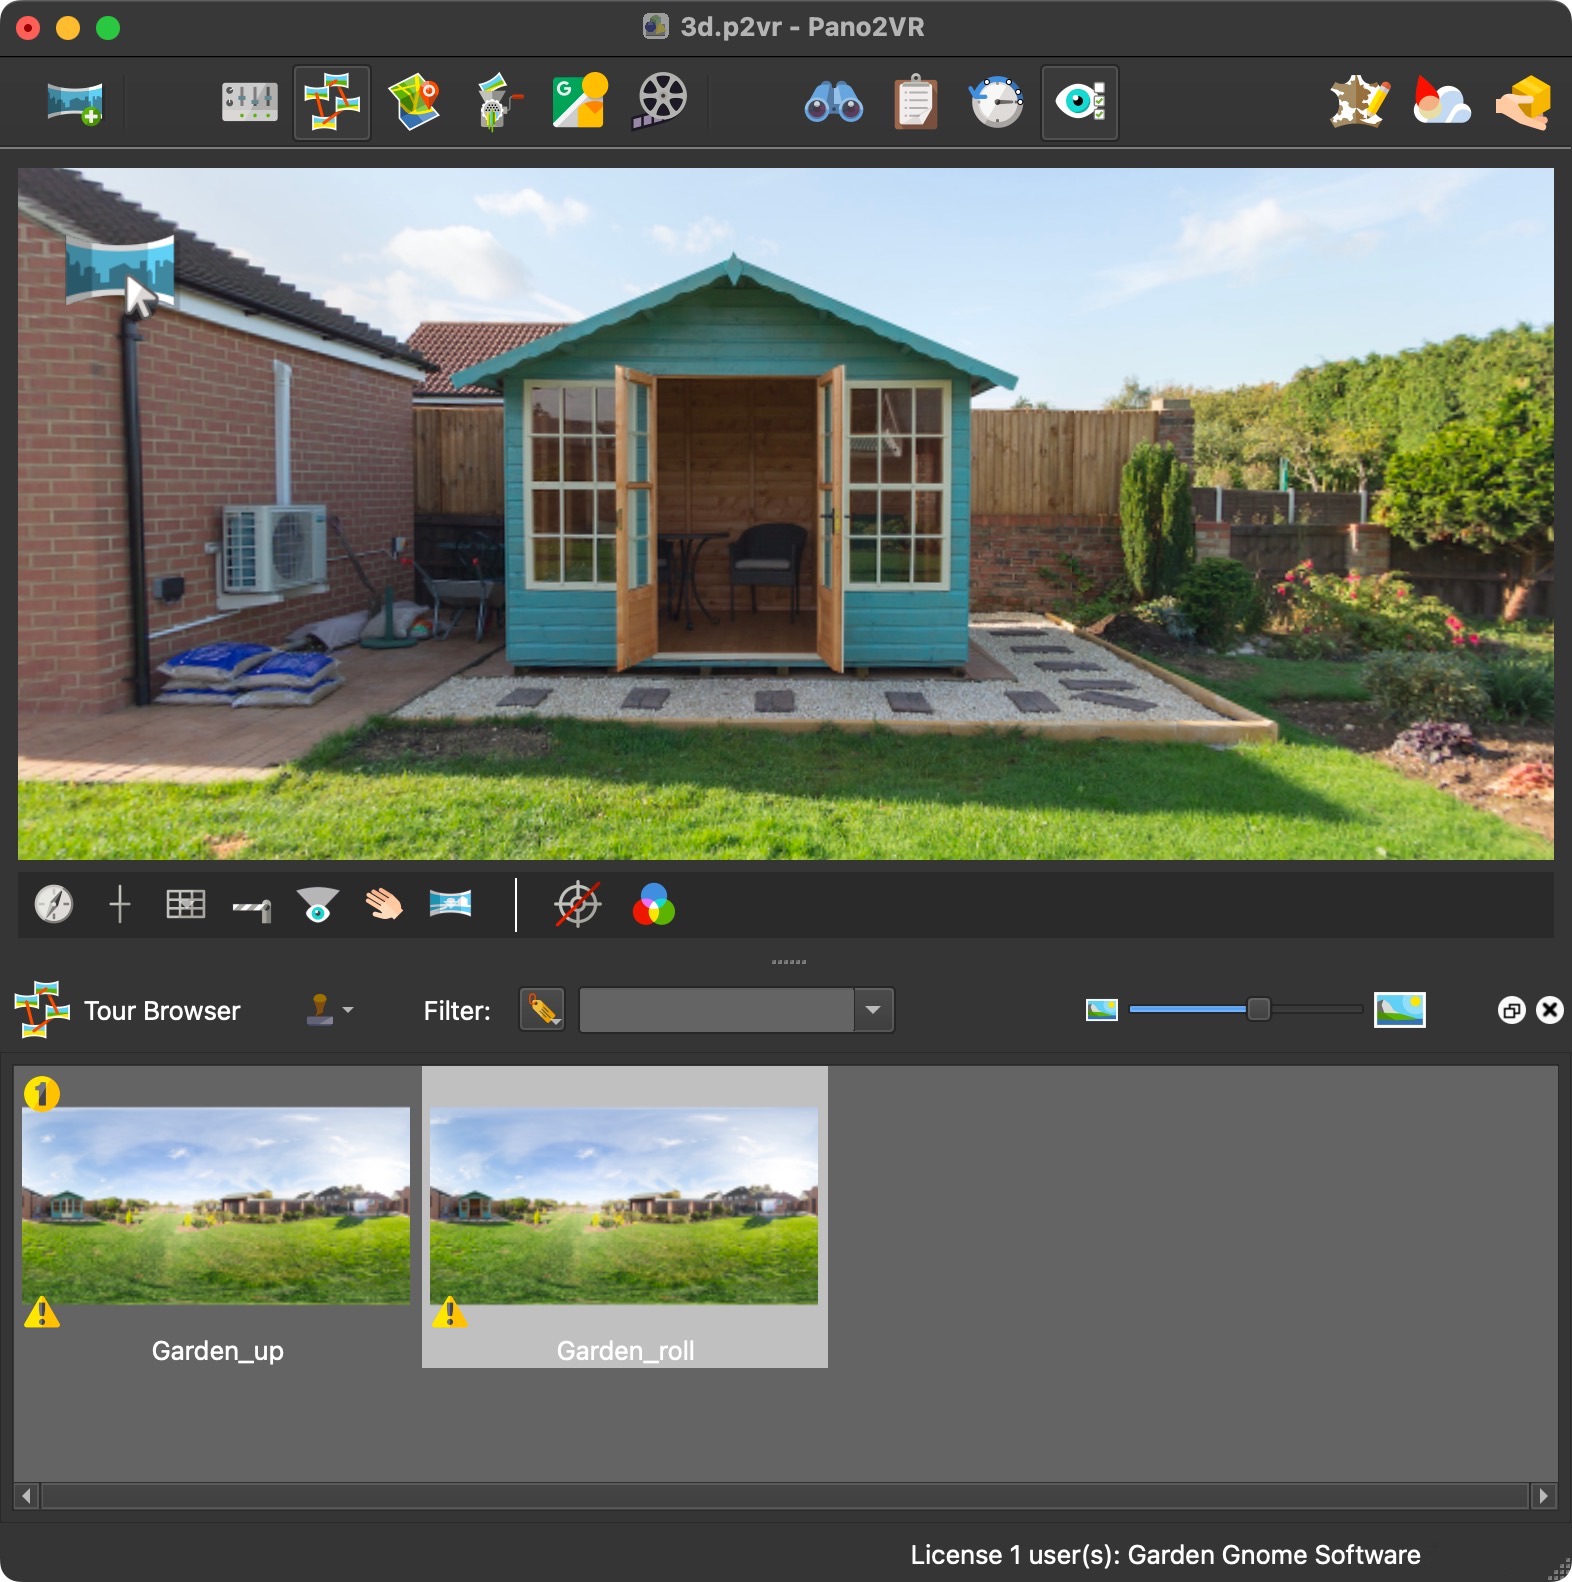
Learn how to create multiple states with a Mouse Over effect. We do this by converting an image patch into a point hotspot.
This mouse over effect uses patches to
create multiple states of a scene.
In our examples, we show a scene with doors closed and when the mouse rolls over
those doors, they show an image with the doors open. To do this, we create 2
versions of the panorama and use only the bits of the panorama that should
change. In our case, the doors. This way, you don’t need to use multiple nodes
to create this effect which keeps the project light.
There are multiple ways to create a hover effect. The way explained here is
using an
external image loader
which is a good solution for viewing on mobile, especially if there are multiple
roll-over images. This way they only get loaded when needed, preventing the
mobile browser from crashing.
Use the Project Files to see how the final
project will look, or to follow along.
1. Create the Mouse-Over Effect
Take two panoramas of a scene. For example, one with doors open
(Garden_roll) and the other with them closed (Garden_up). One of these
images will be used as a donor to extract the areas of interactivity.
Add them both to Pano2VR. Decide which image will be the main scene and which
you’ll extract from. Our example will use the panorama with the doors closed
as the main scene and we’ll extract the open doors from the other panorama.
Doors ClosedDoors Open
Select the node to extract from (the donor panorama). We’re using Doors
Open.
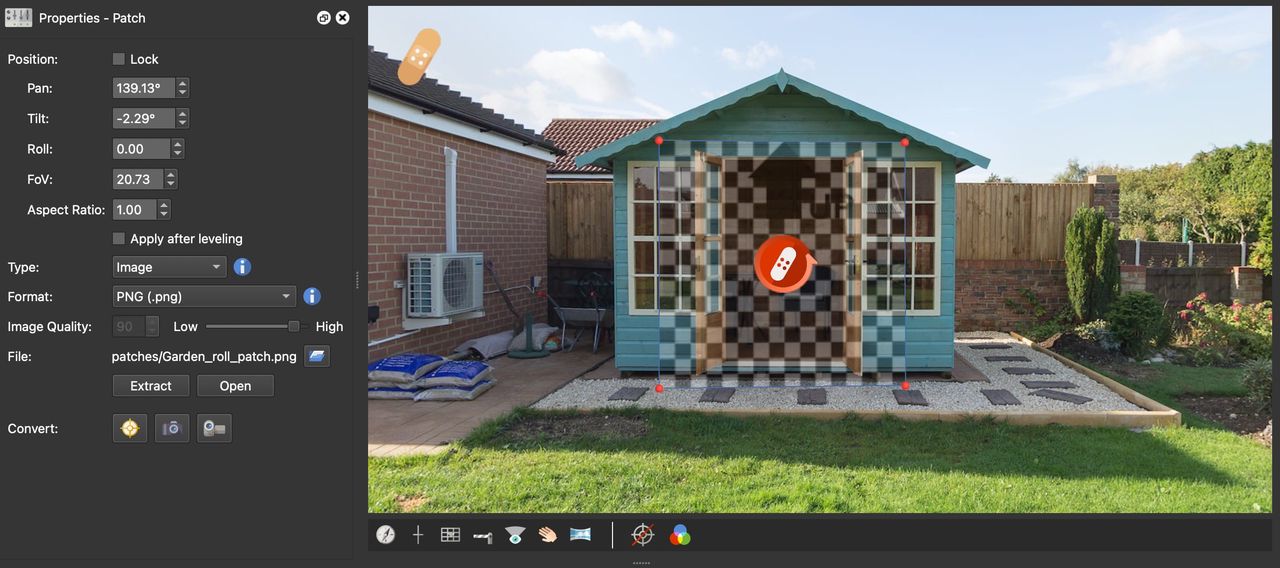
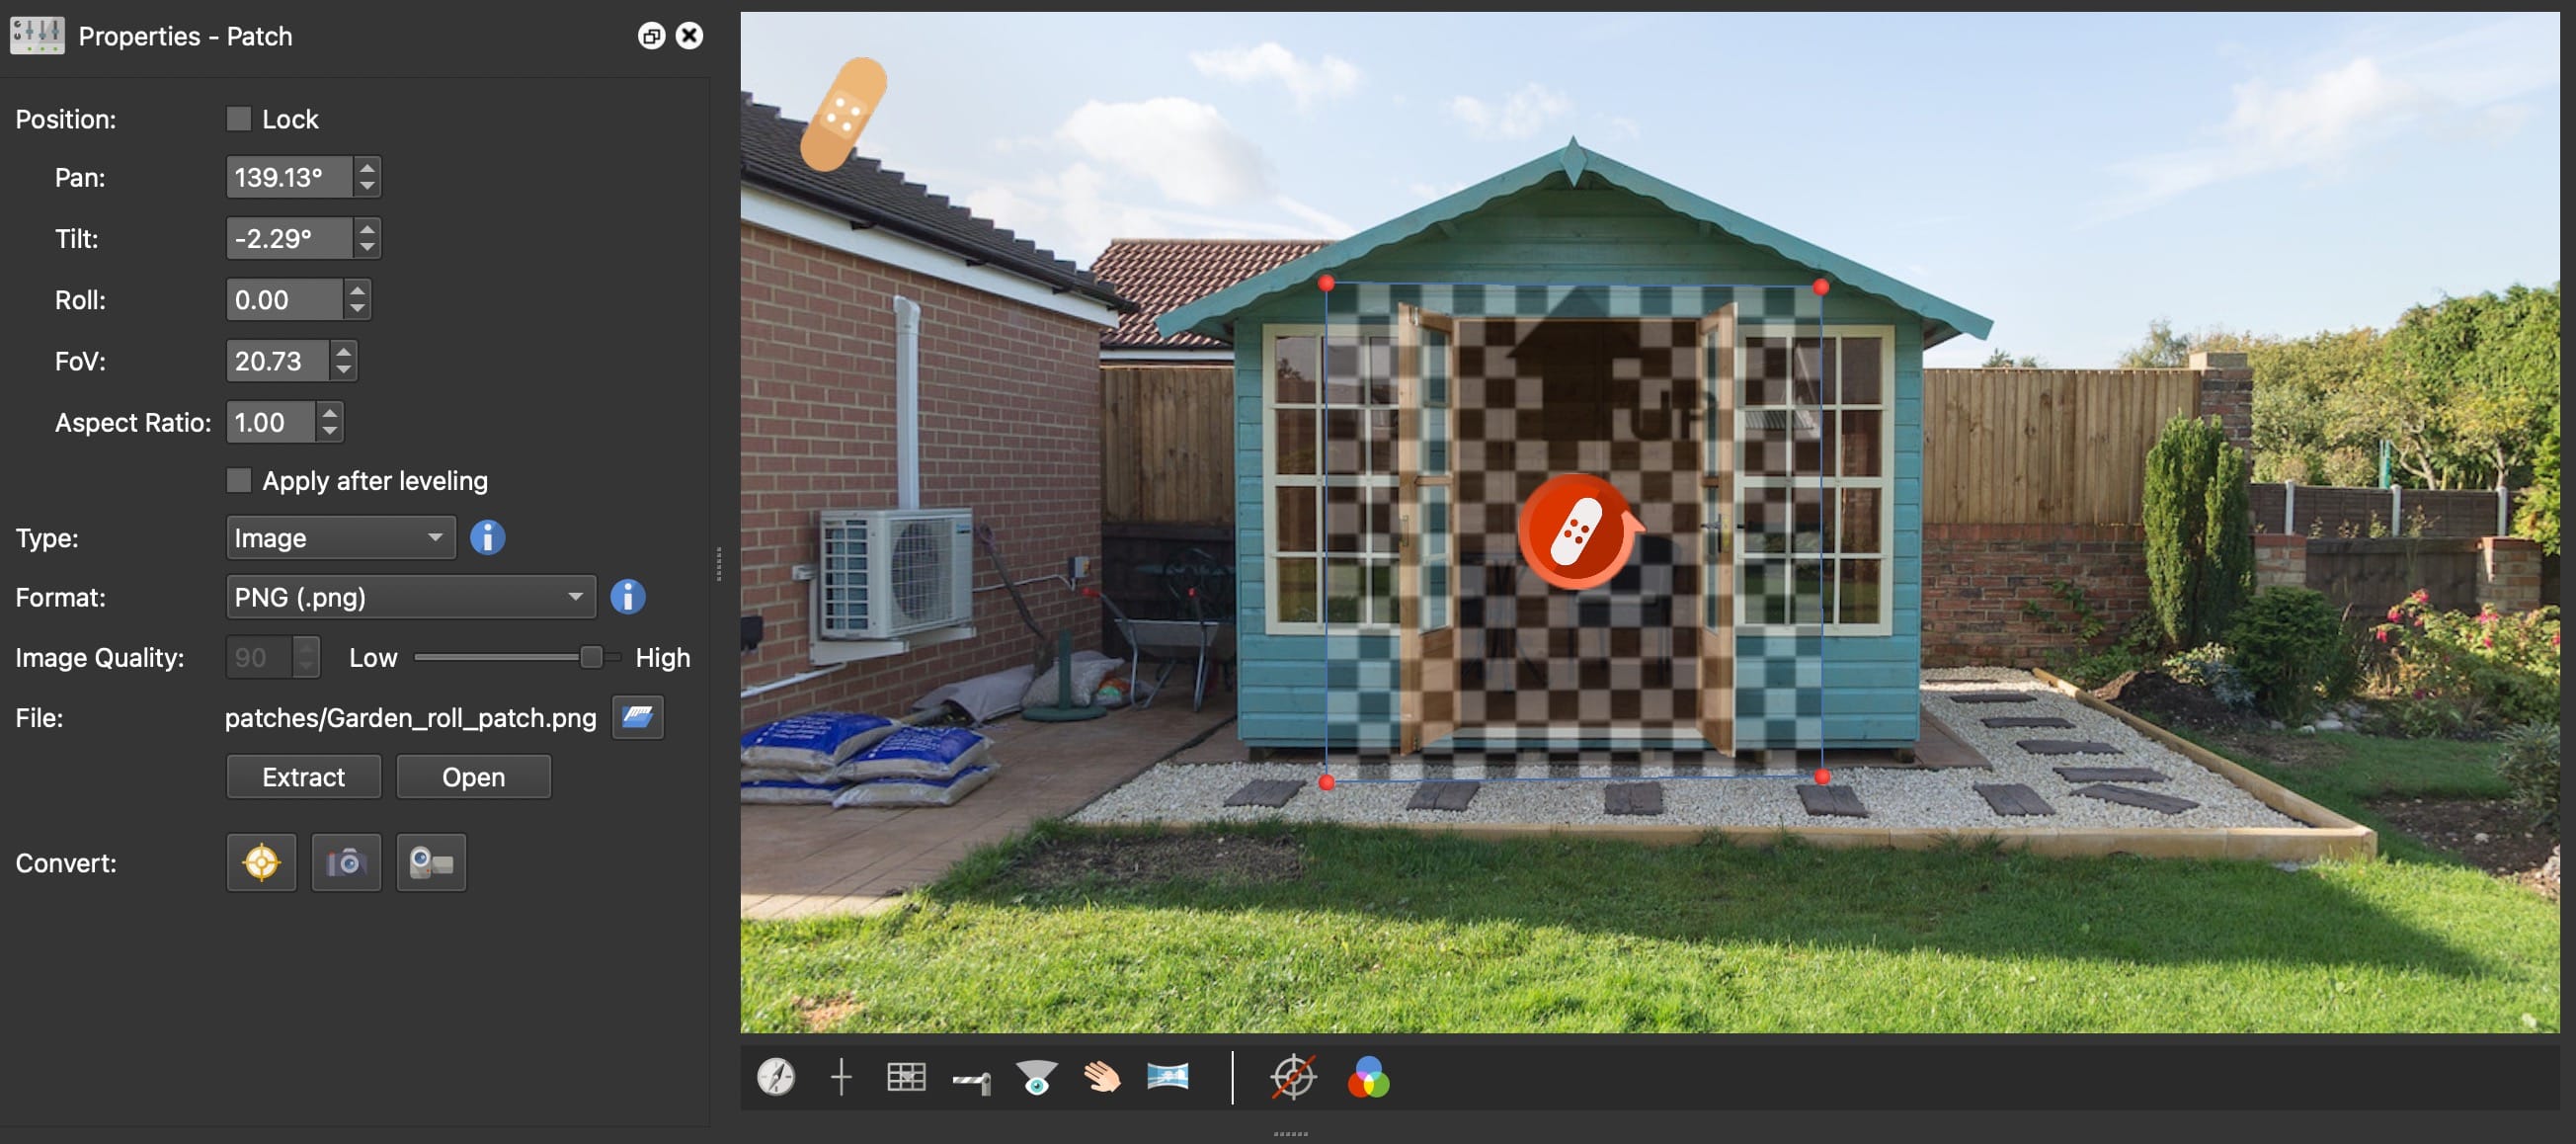
Open Patches in the Viewer. Add a patch over the area to extract. Make the
patch a little larger than the area to be extracted.
Patch area
For the patch’s image format, choose PNG as this is a web friendly
format.
Open List View. Right-click the
patch and select, Copy.
Select the starting scene (doors closed) and paste the patch to the list view
of this panorama. Right-click in the list view and choose Paste.
Remove the open door scene from the Tour Browser as this is no longer
needed.
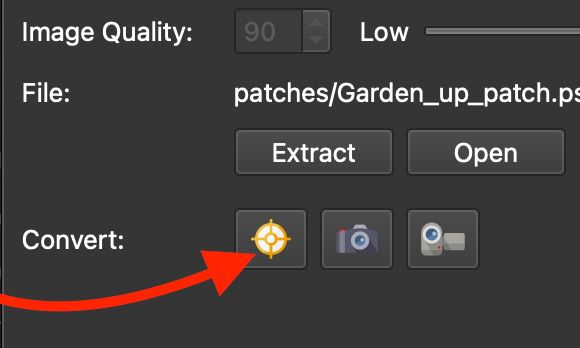
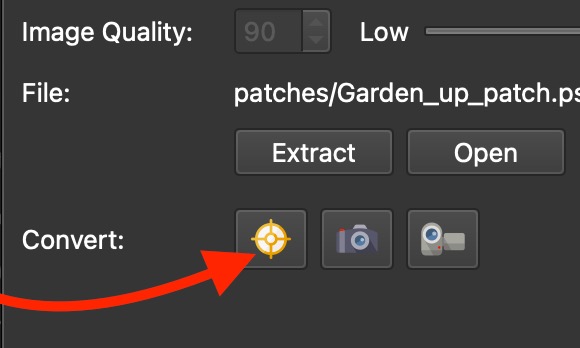
Select the Patch and in the patch settings, select Point Hotspot for
Convert. This is how we create the interactivity.
Convert Point Hotspot ★ Tip: In Viewer’s context
menu, select Reload Image this removes the patch. But when you select the
hotspot, it shows again.
Add a Web Output and generate the output. Now the open doors will show. But
we still have to make it interactive.
2. Add Interactivity
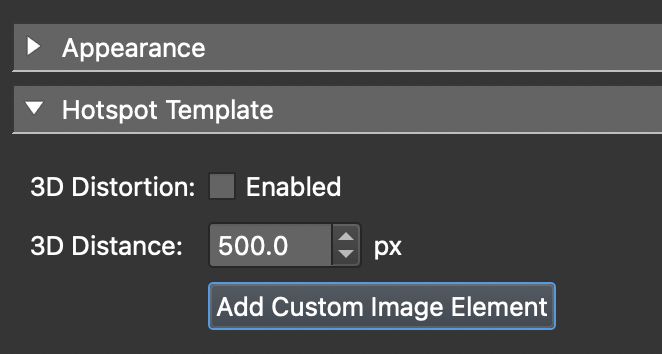
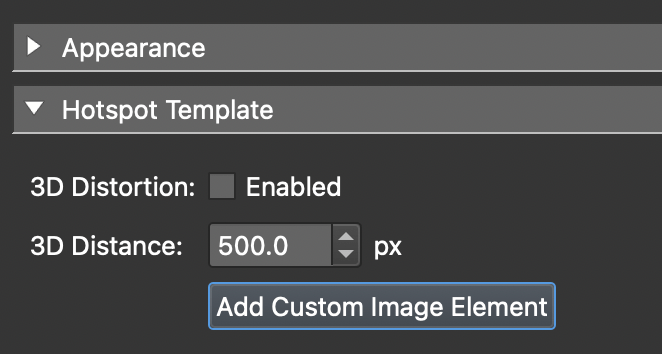
In the Skin Editor, add a Hotspot Template.
Click Add Custom Image Element in the Hotspot Template parameters. This
is what will be showing the point hotspot image and is added as a child of
the hotspot template. Add Custom Image Element
Set the Alpha to .01. 0 would be hidden and inactive and .01 is still
invisible but active.
Add a Logic Block. Trigger → Mouse Over; Comparison → = ; Value → true; Alpha
→ 1. Enable transitions to .5 second.
Select Hand Cursor.
Save skin.
3. Blend the Patch
As the project is now, the patch seams are visible. This can be fixed in your
image editing tool. Open the patch image in your editor and add a Layer Mask and
feather mask the edges. Save the image and it will update in Pano2VR.
4. Keep the Doors Open
Currently, the doors open when the mouse enters and they close when the mouse
leaves. But you might want to keep the doors open and add tour node to go
inside, for instance.
Remove the Alpha logic block that was added to the External Image Loader
element in part 2.
Add an action. Source = Mouse Click; Action = Alpha; Type = Toggle Element
Alpha; Alpha = 1, Transition Time = .5.
Save the output.
5. Add Button to Open and Close the Doors
Add a Text box. Give it some text, like, Open All.
Add a variable. vis_image; Type → true/false; Init Value → false.
Add an Alpha Logic Block to the External Image Loader. Trigger → vis_image;
Comparison → =; Value → true; Alpha → 1. Enable Transition →.5.
Add an action to the text box. Source = Mouse Click; Action = Set Variable
Value; vis_image; ⌐ not.