Build a Tour for Immersive View
Learn how to build a tour specifically for viewing in VR using Stereo and Mono images with 360º and 180º views.
Build a Tour
The most basic tour will use a skin that has an Enter VR button. The skin added in the Web Output settings will not appear in the immersive view. To have a skin in immersive view, a second skin must be added to the project in the VR properties in the Web Output.
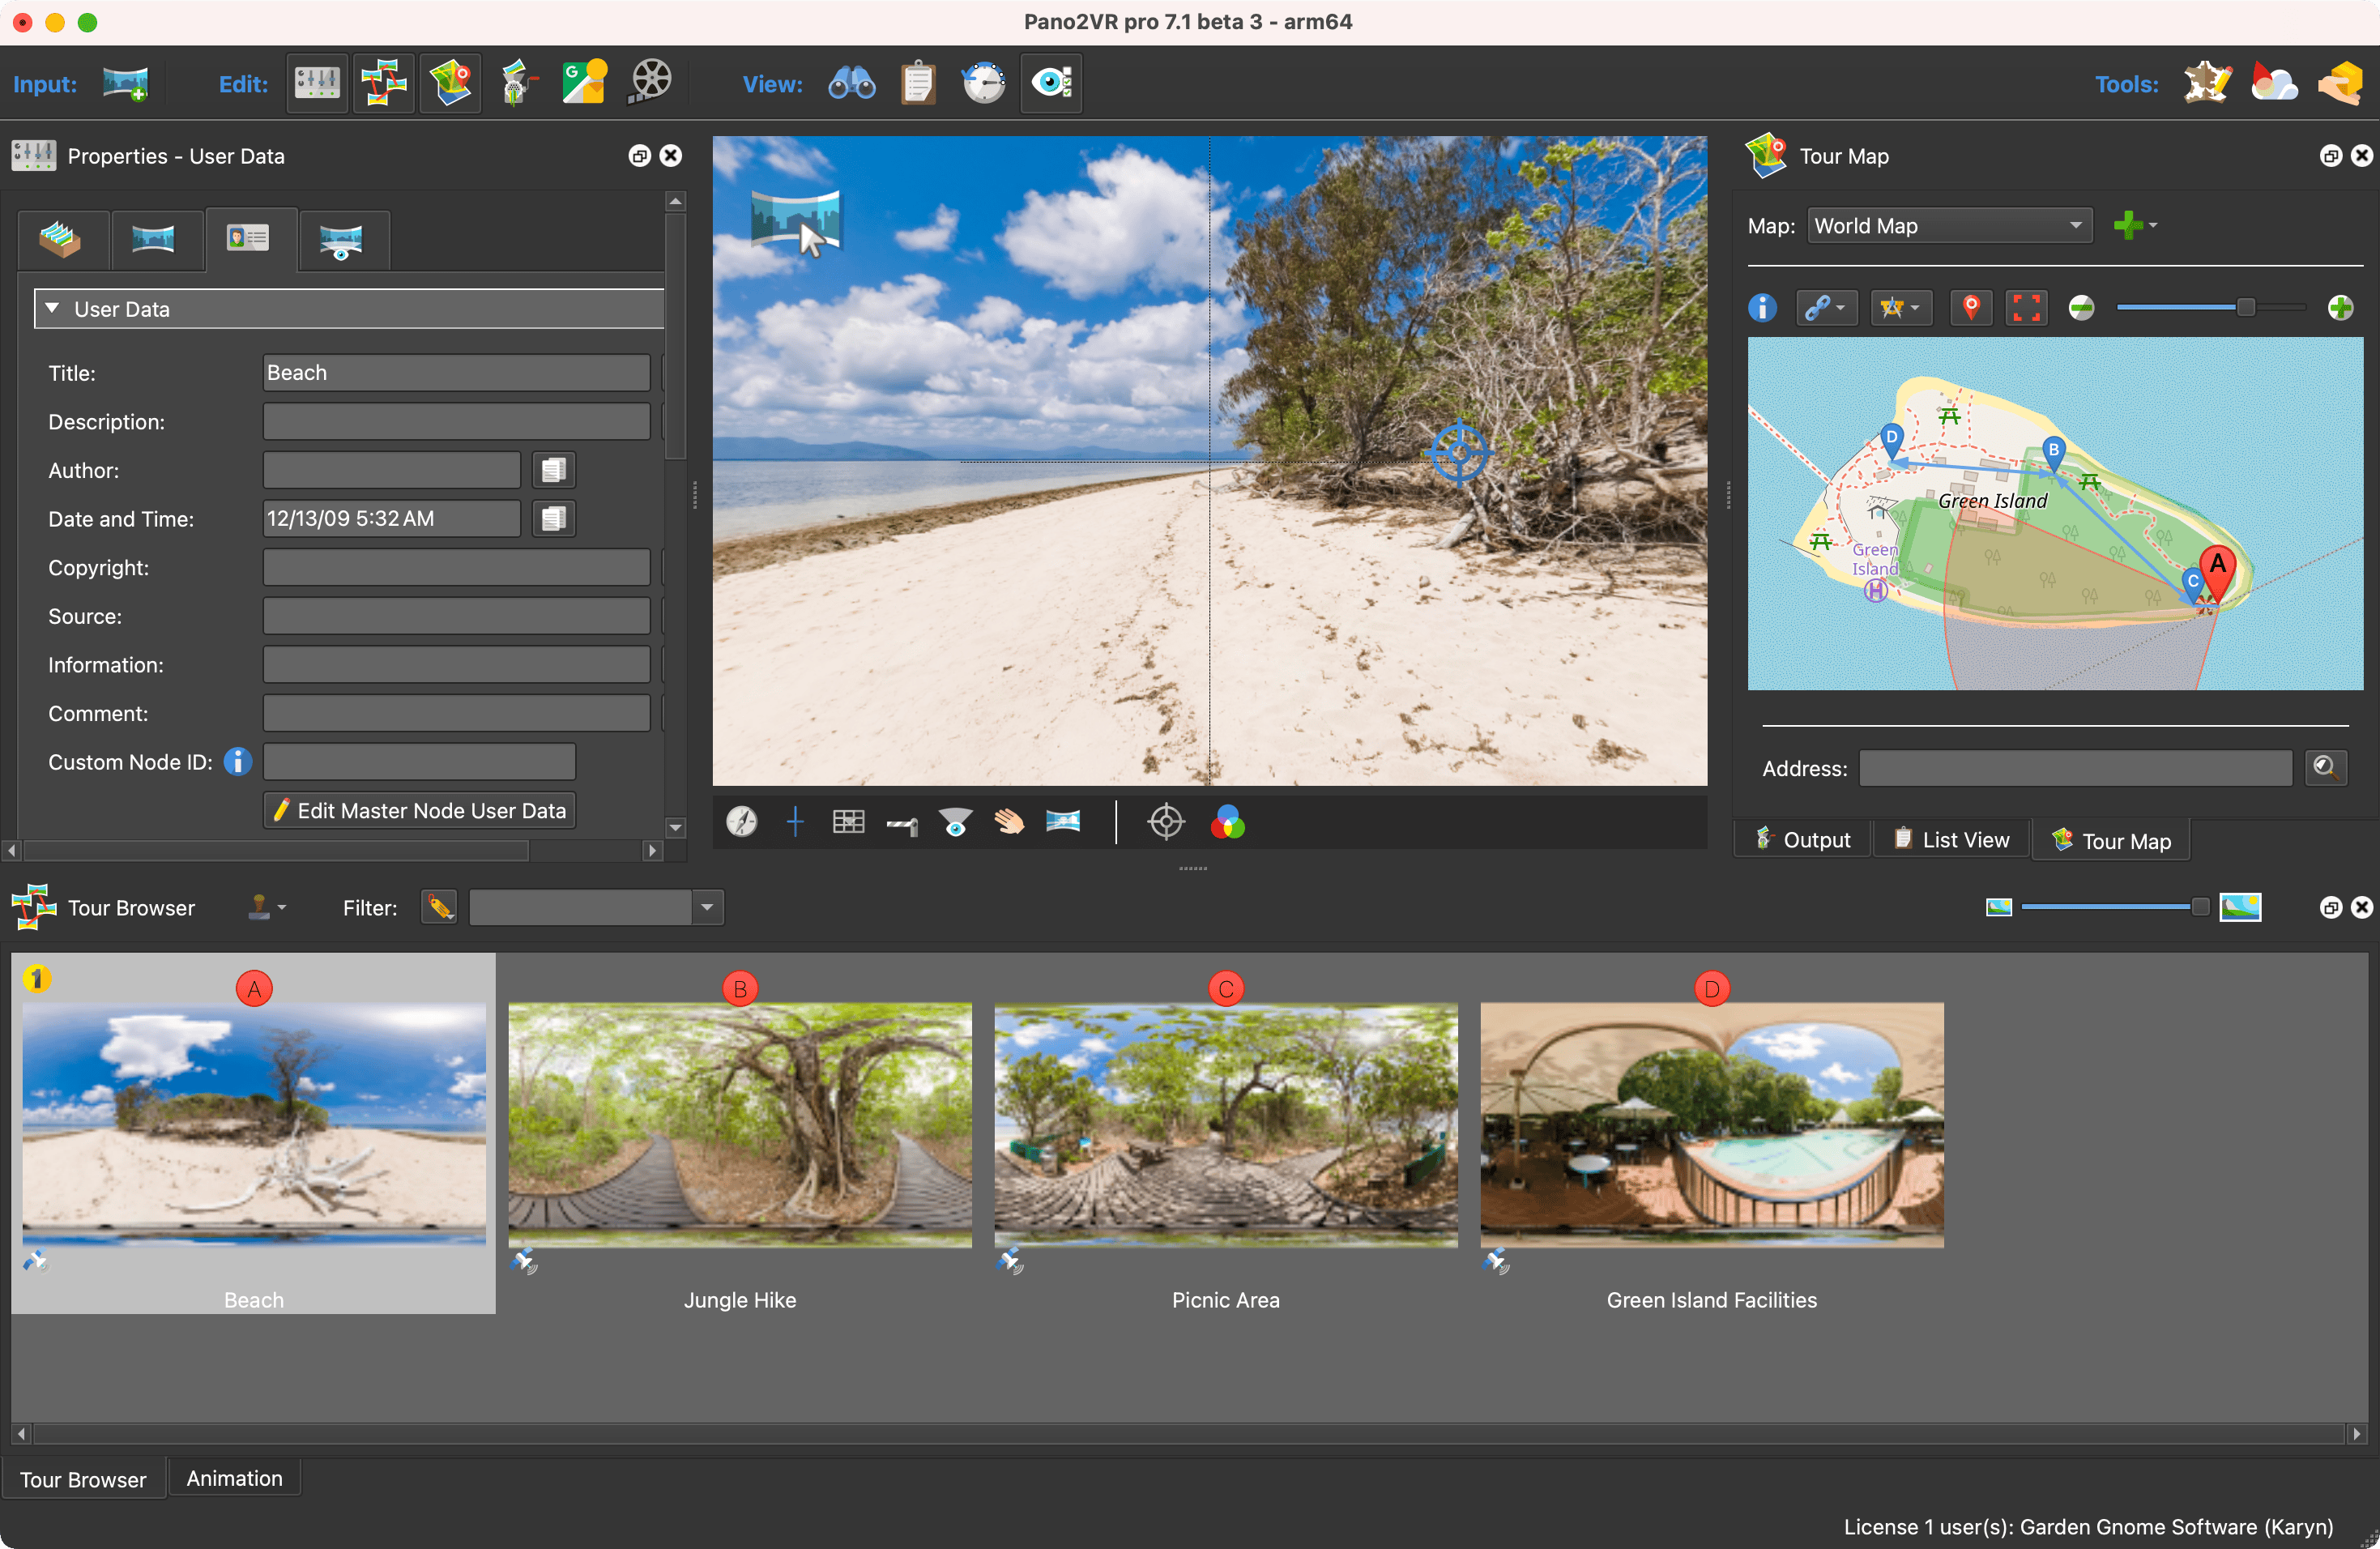
- Import the images.
- Link the tour nodes
together.
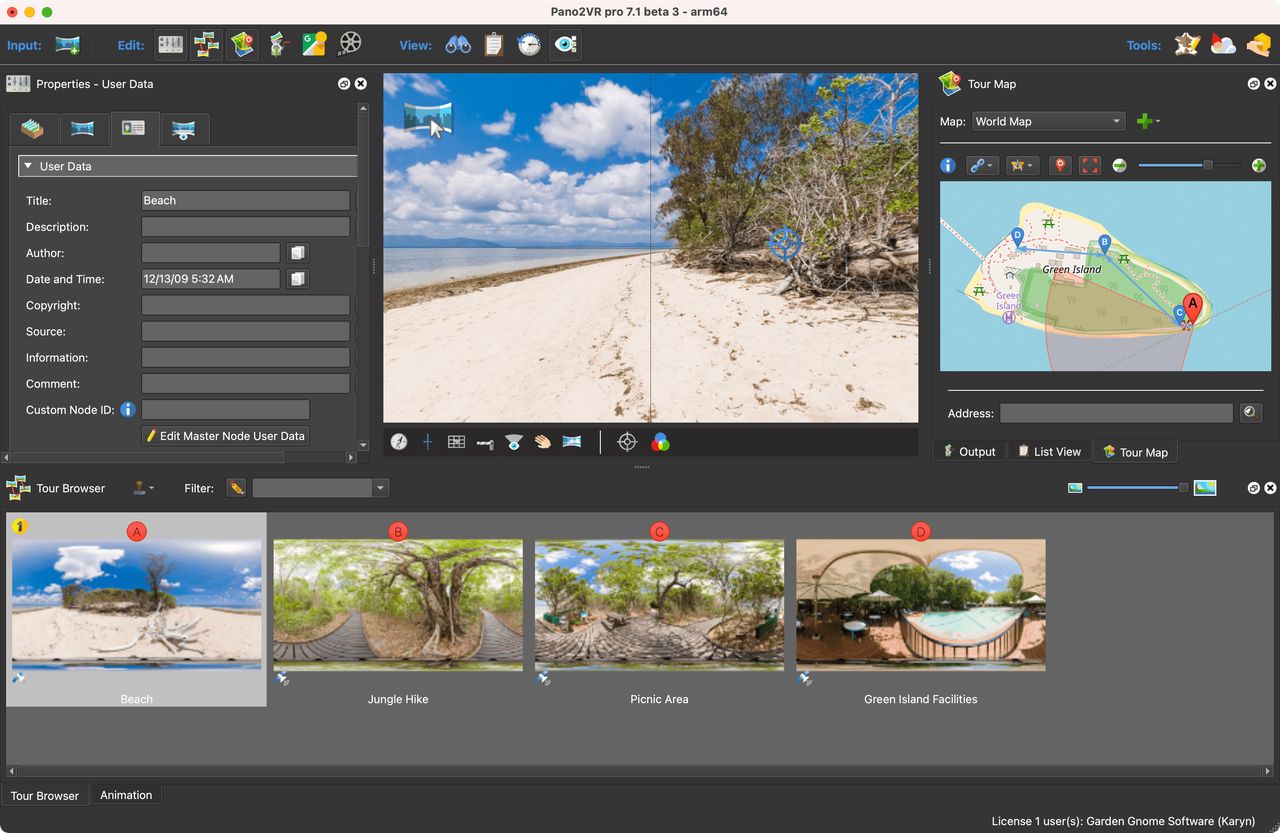
Import and link the images to create a tour. - Add a
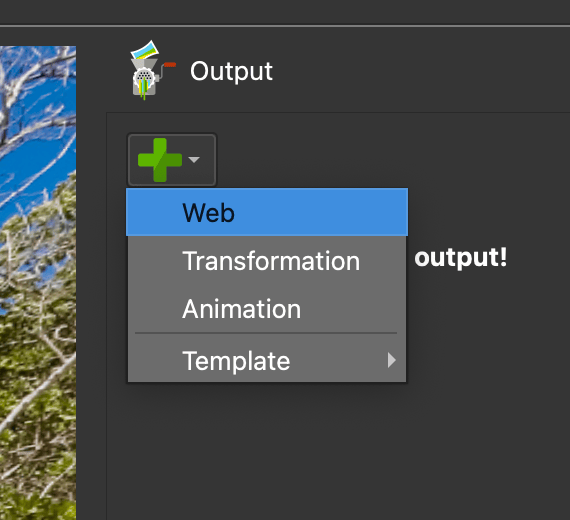
Web Output.
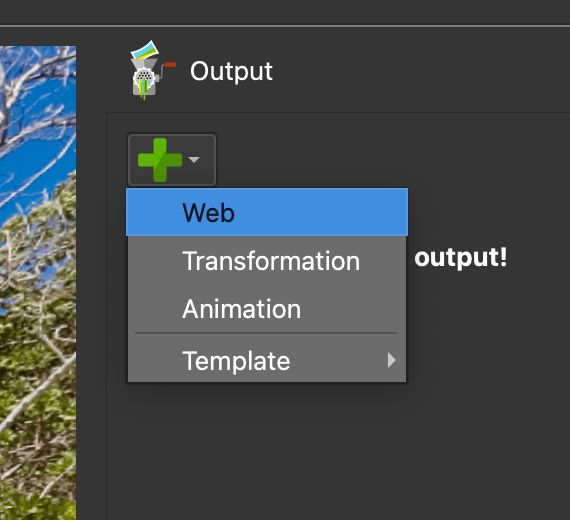
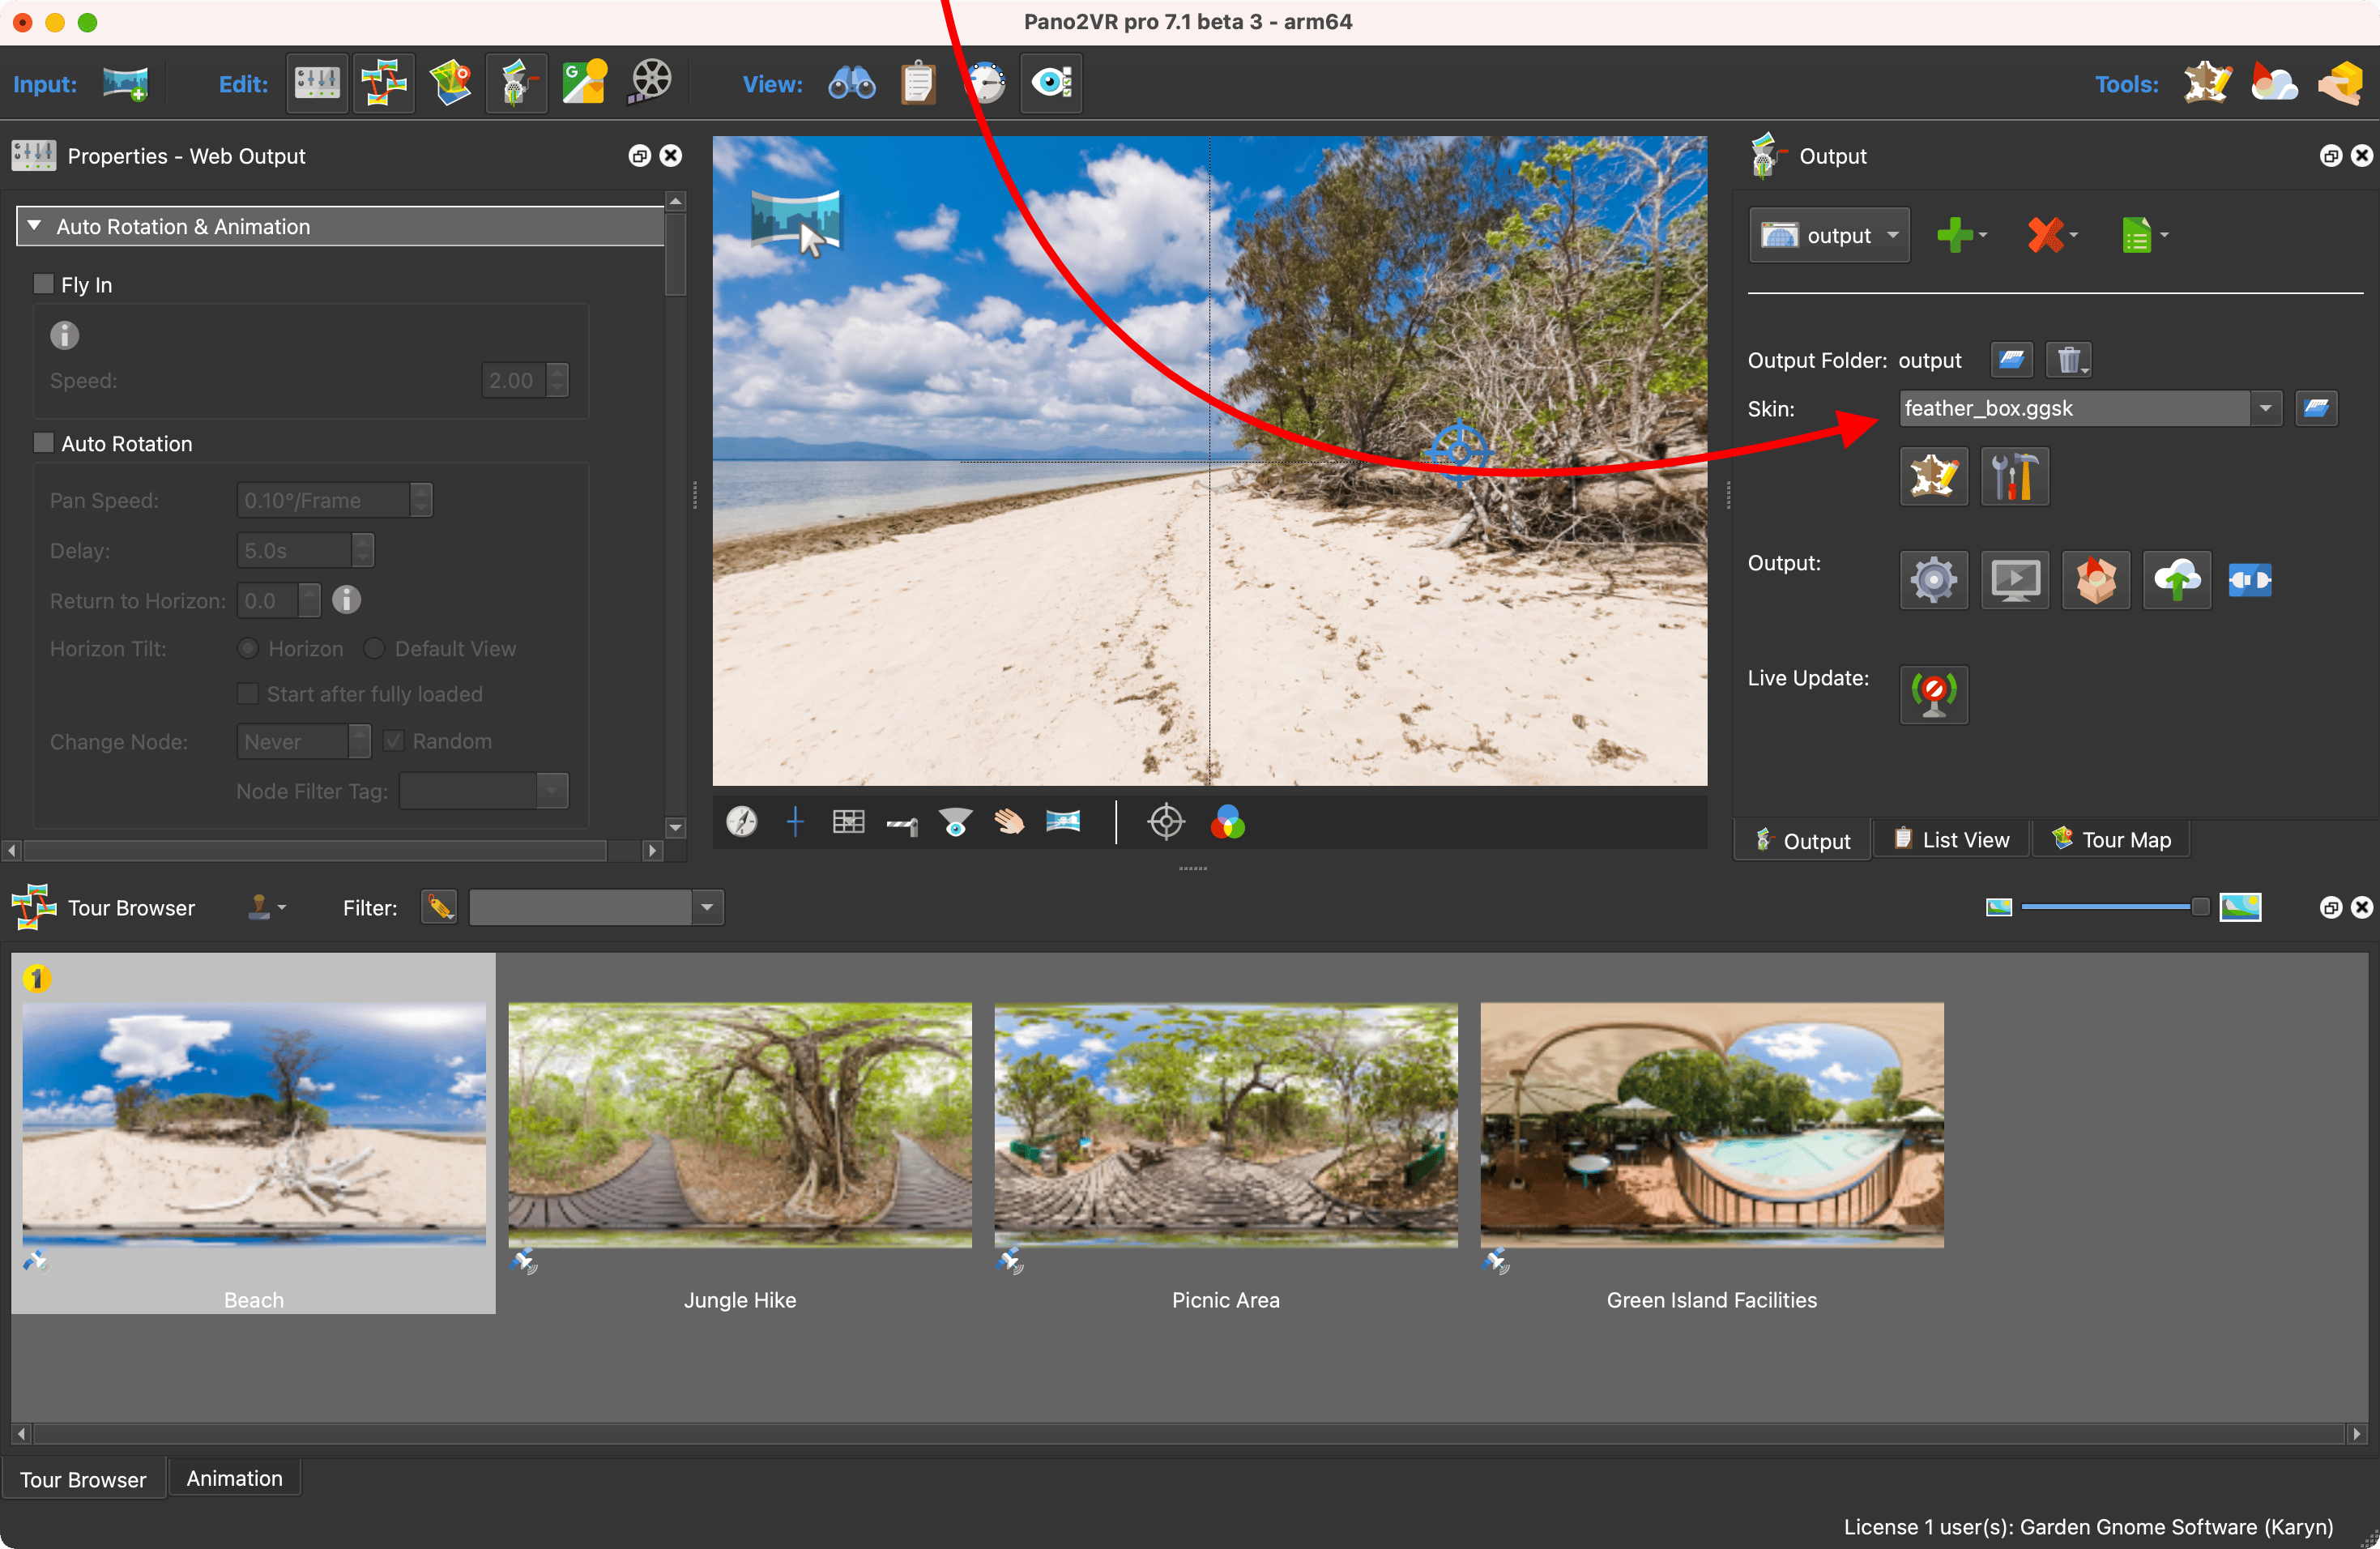
Add a Web Output. - Add a skin. This skin will need an Enter VR button. All built-in skins have
this button.
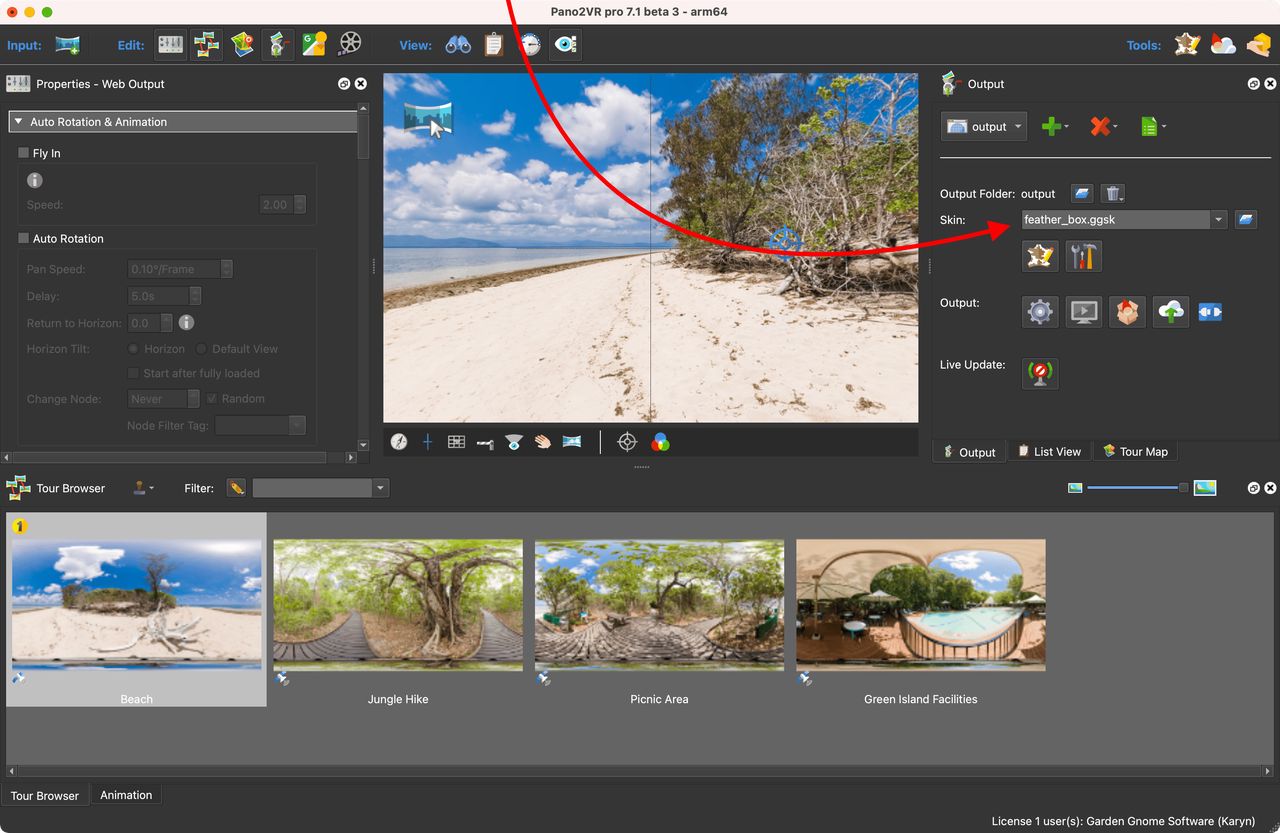
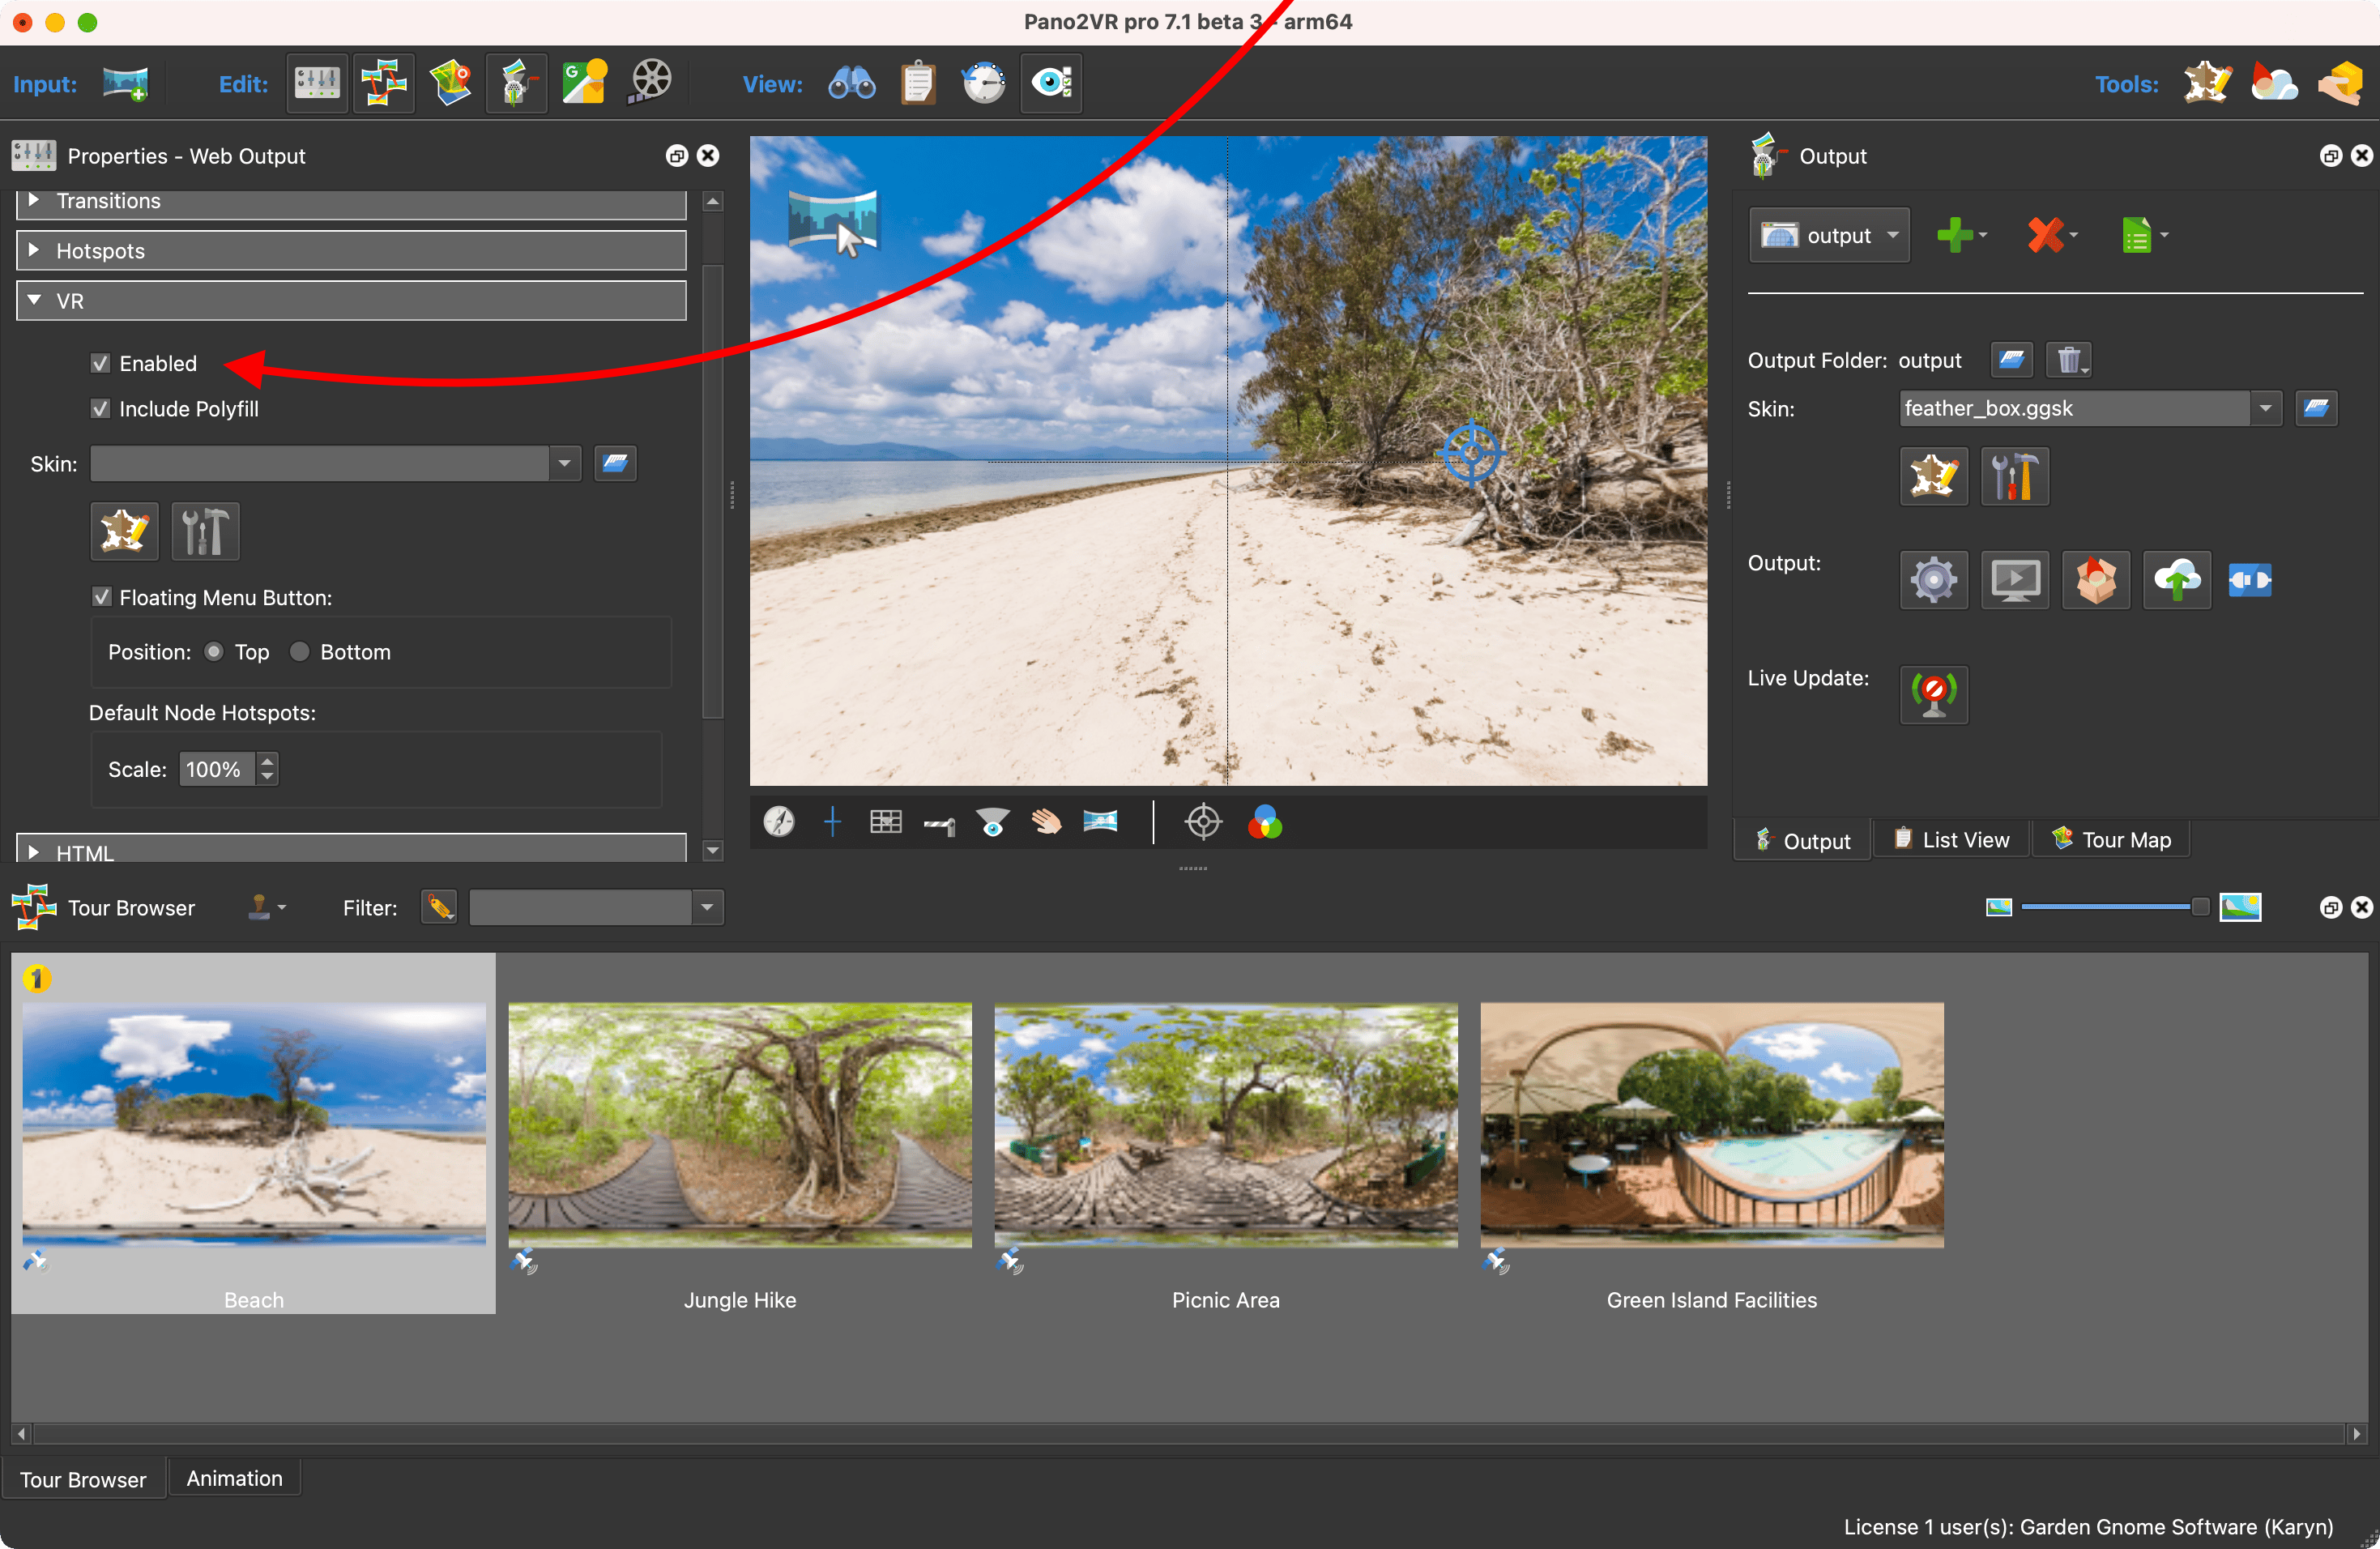
Add a skin. - Select Enabled in the VR properties.
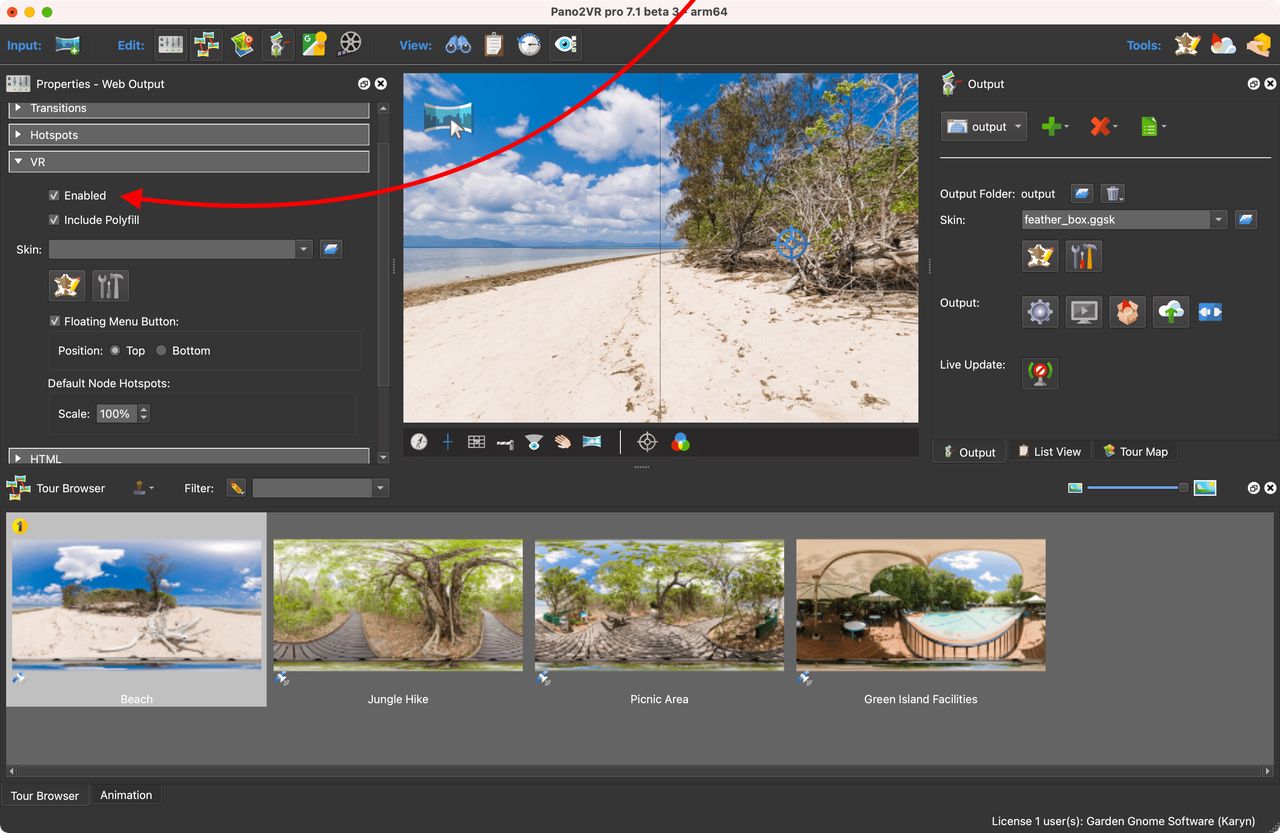
Select Enable. - Export the project by generating the output. The Integrated Web Server will open the project in your default browser. Alternatively, upload the project to gnome.cloud.
- Test the project.
- In the VR Browser, click the “Enter VR” button to start the immersive view. To exit, click the Exit VR button.
Add a VR skin
A skin is not needed for the immersive view. If a skin is not added, tour nodes will appear as interactive spinning globes. They will have tooltips revealing the tour node title. The spinning globes can be resized by changing the scale for Default Node Hotspots.
To add a VR skin:
- In the Web Output Properties, find the VR properties. Make sure Enabled is selected.
- Choose one of the built-in skins (
feather_vr.ggskorvenis_vr.ggsk). Or add your own skin.
In the immersive view, there is a button that appears when viewing up. Clicking it will hide or show the skin (except node hotspots). Deselect, Floating Skin Menu Button in the VR properties to hide it. Or change its location from the top to the bottom.
This button uses the action VR Skin Visibility.
There is also an Exit VR button which uses the Exit VR action.
Test the Project
You can test the project a few ways:
- Uploading the project output folder to your web server then open the project’s URL in the headset’s browser
- Use the Integrated Web Server
- Upload to gnome.cloud
Using the
Integrated Web Server
(Tools > Integrated Web Server), click on the link for Address (ssl). This
will open the web server page. But, you might encounter a warning like
this: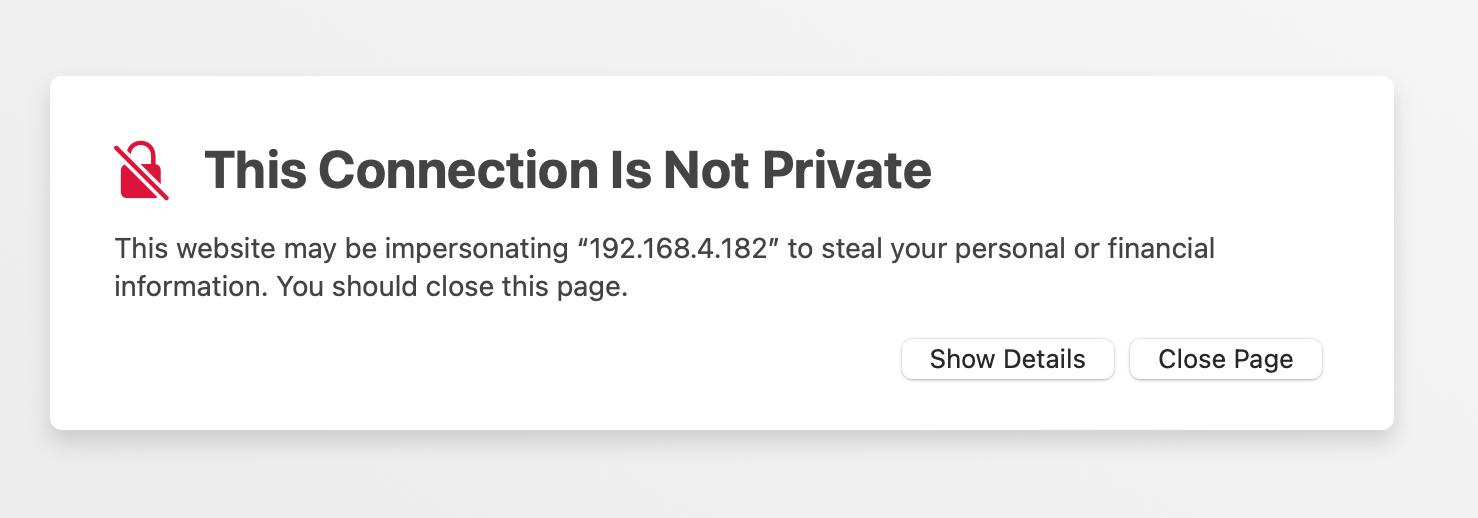
You can continue to click through to the get to the site.
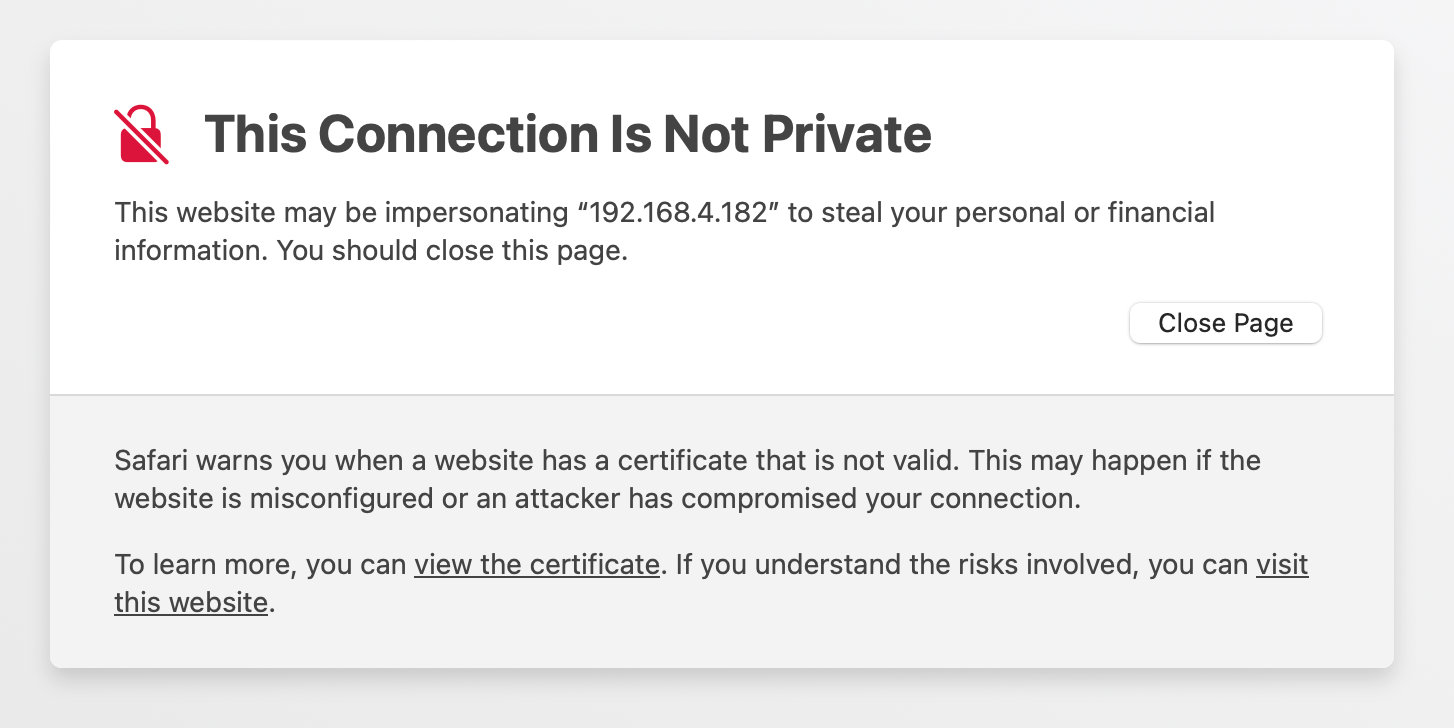
Using the gnome.cloud, share the link to the Meta Quest app to automatically open it in the Quest Browser. Or go to the URL using any VR browser.
Once in VR, click the headset button (Enter VR) to enter the immersive view.