This documentation is for an older version. View the current documentation.
Built-in Popups
The simplest way to add popups to your project is to use the built-in skins or the the built-in components. Both require using Point Hotspots.
Using the Built-in Skins
-
Add a Point Hotspot.
-
In the hotspot properties, choose any of the types of the Point Hotspot.
-
Enter a Title and if applicable (i.e Info type) add information text in the Description field.
-
Open the Output panel and add a Web output.
-
Add one of the built-in skins.
-
Output the project.
You’ll see an icon representing the point hotspot and when you click on it, a popup opens with the content used as the point hotspot type.
If you want swap out the hotspot icon, check out how to create custom hotspot images.
Using the Built-in Components
- Add a Point Hotspot and define
its Type. ★ Tip Choose Point Hotspot mode and drag in the image, video, PDF, or URL to the Viewer and Pano2VR will recognize it and add the relevant information.
- In the Web Output, add a new skin using the Edit Skin button or open one of your custom skins.
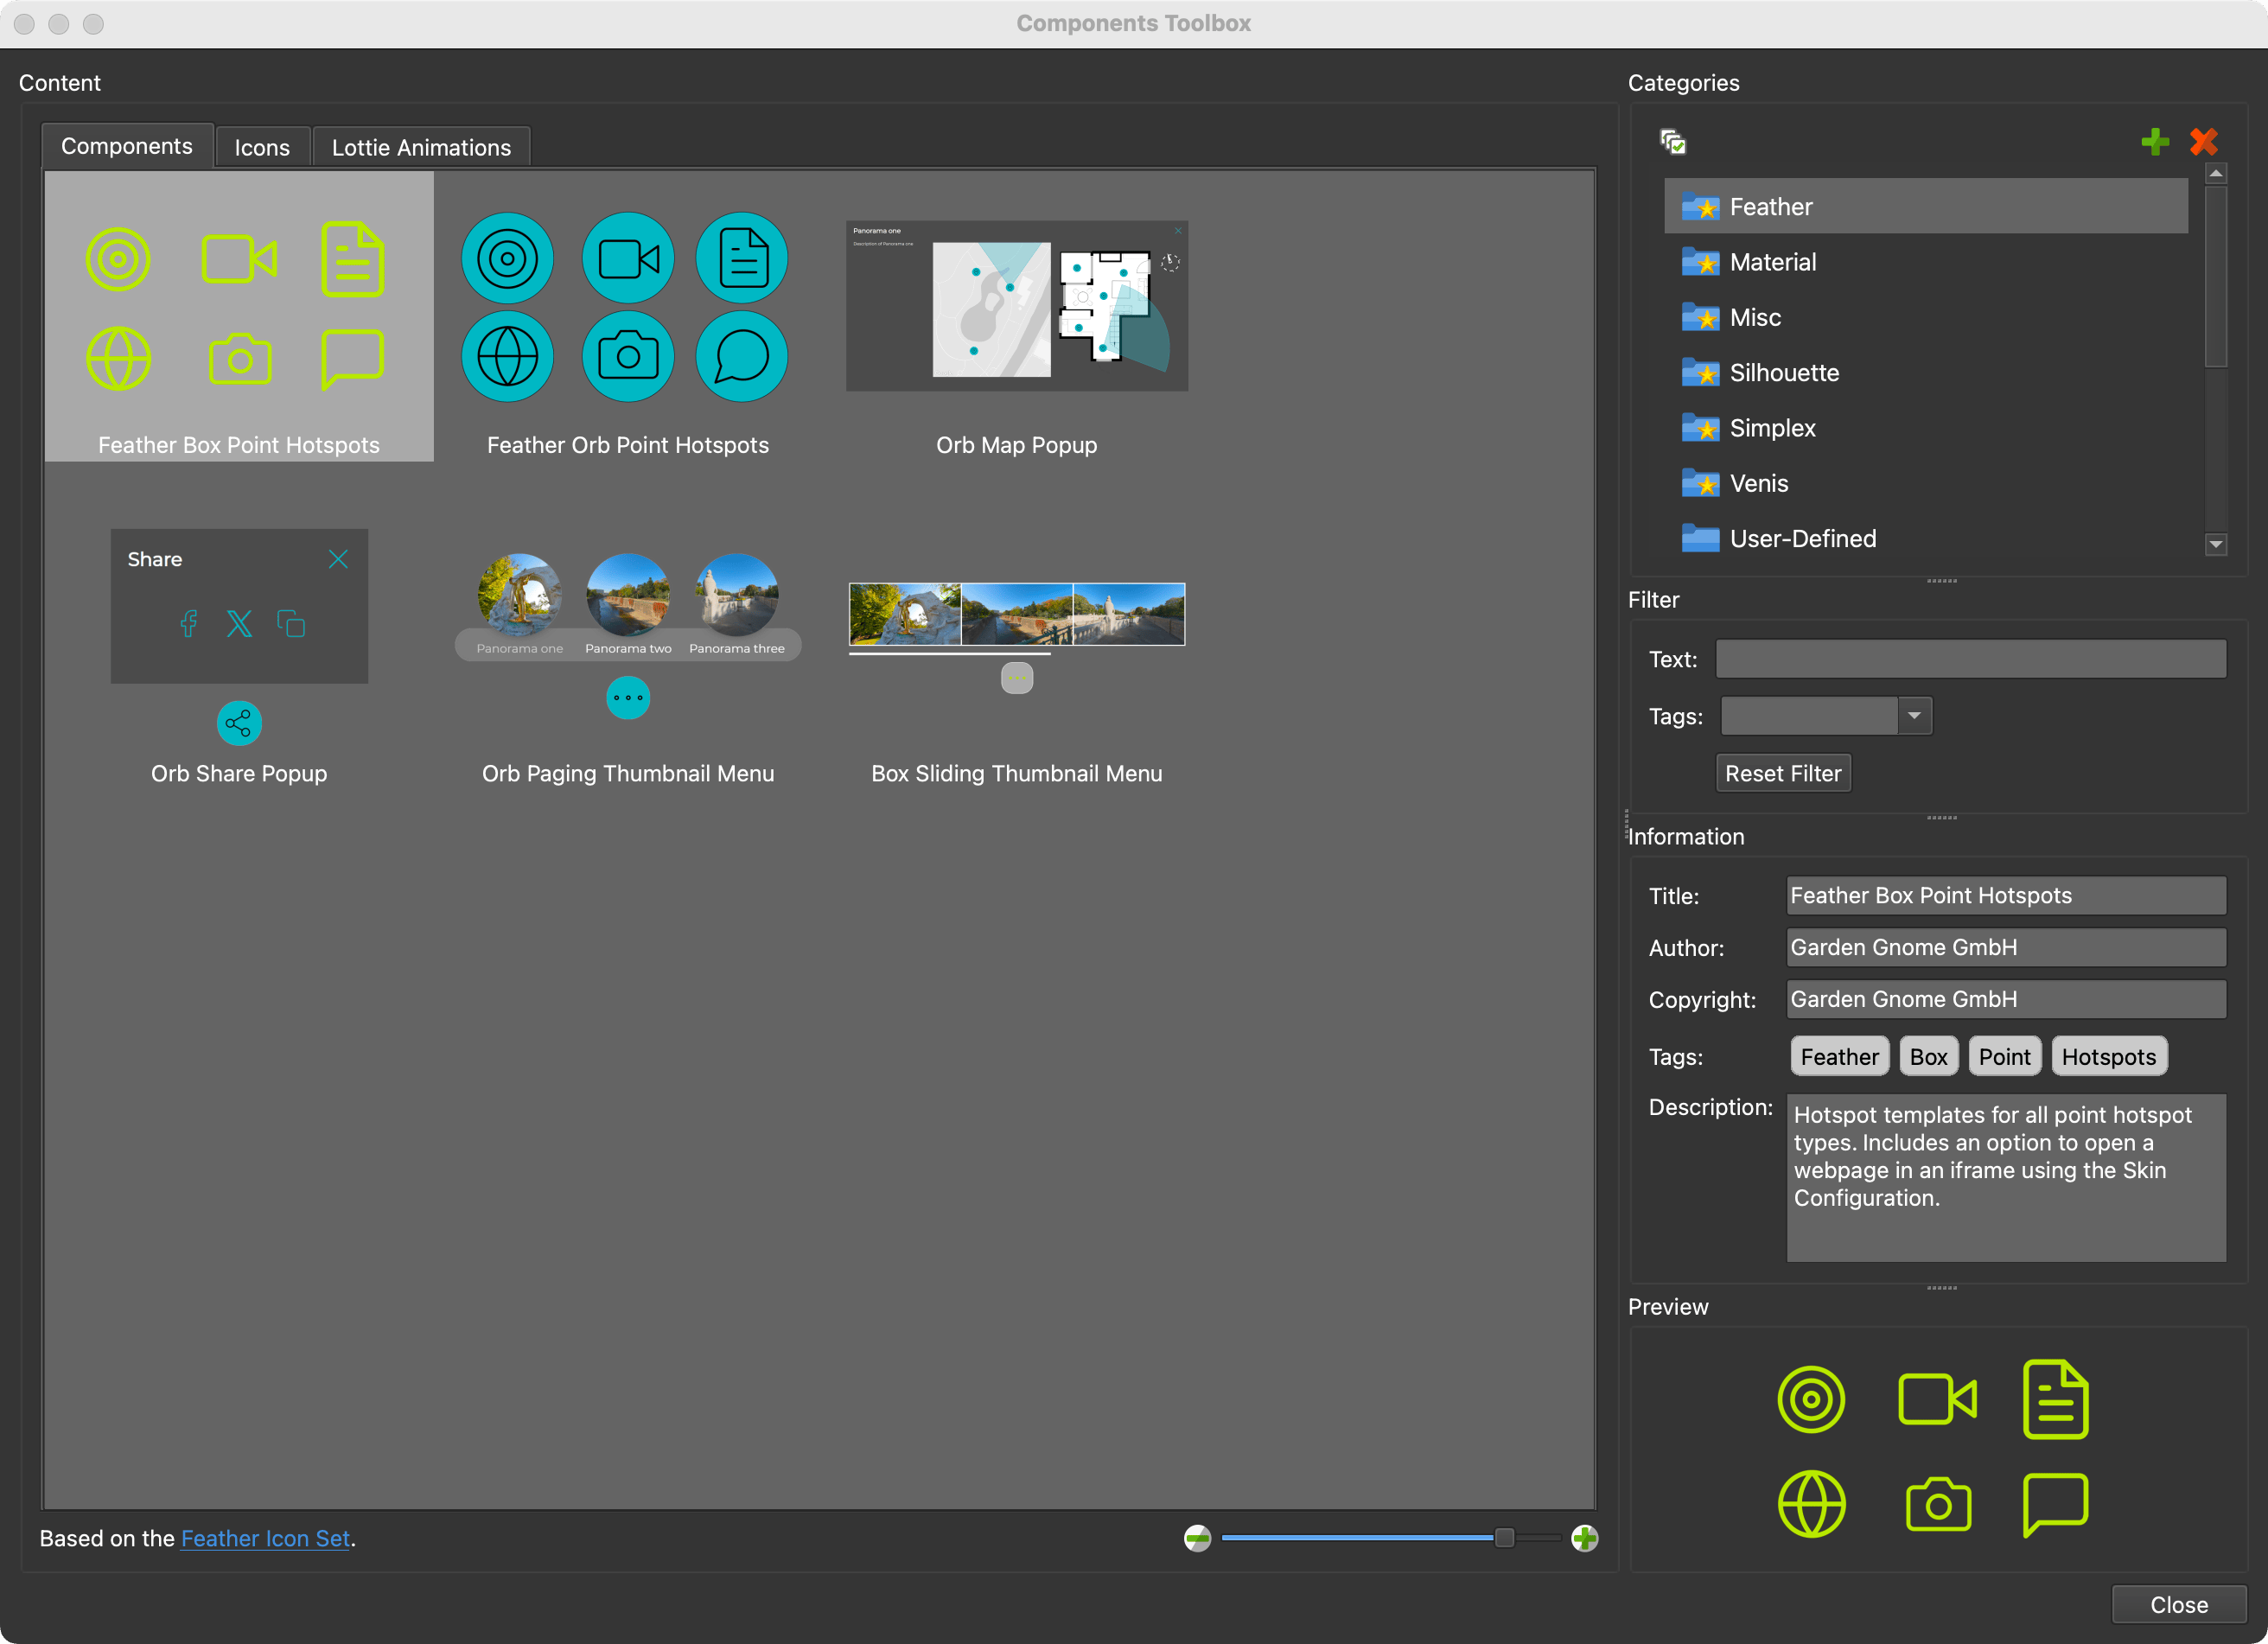
- In the Skin Editor, open the Components Toolbox.
- Choose any of the built-in categories. For this example, we’ll use Feather.
Double-click Feather Box Point Hotspots to add the component to the
skin.
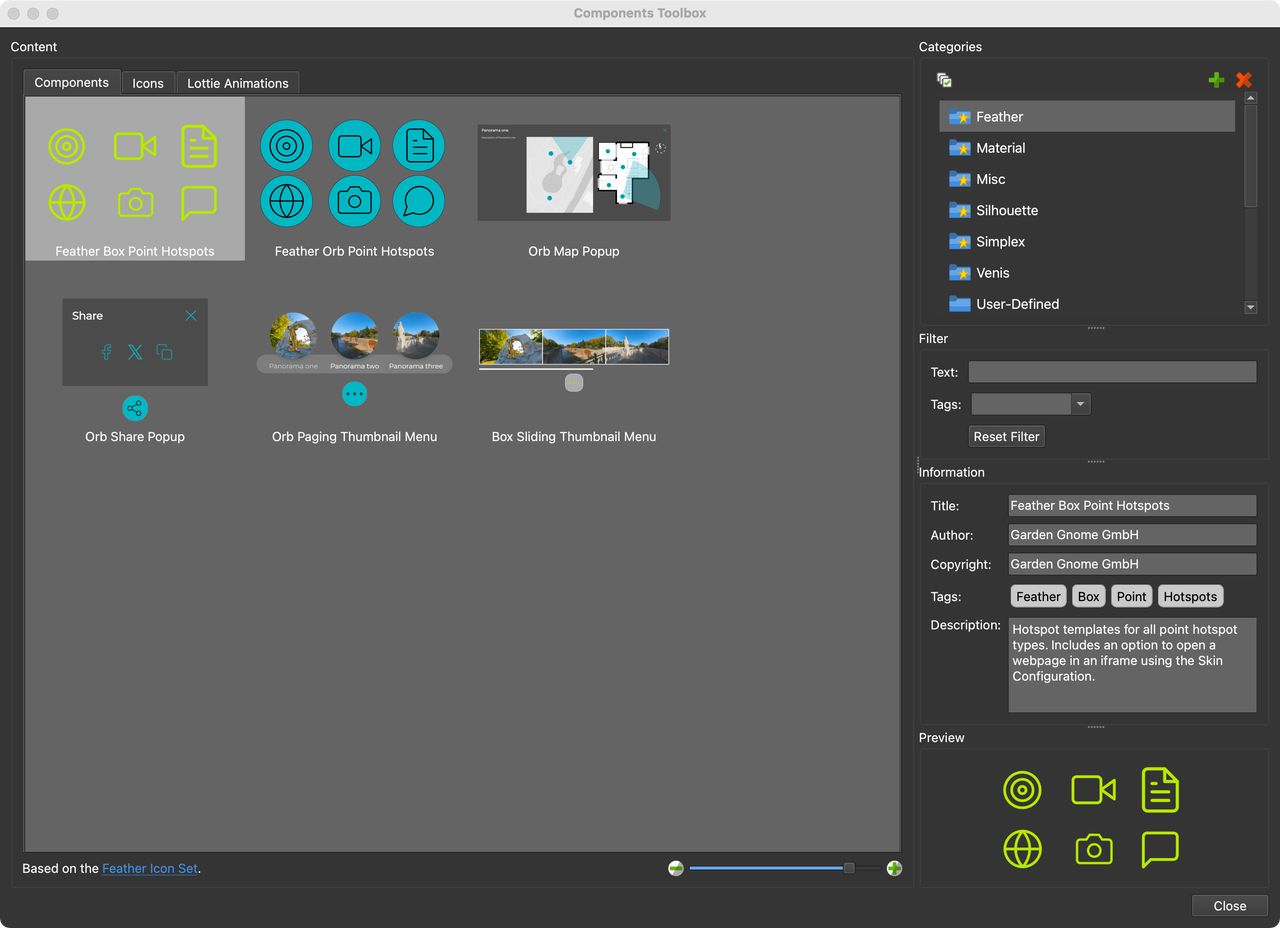
Feather Box Point Hotspots - Save the skin.
- Add this skin to the Web Output. If you created the skin using the Edit Skin button, the skin will be added automatically to the output.
- Save and export the project.