Google Street View
The Google Street View panel provides a way to easily upload a tour or single panoramas to Google Street View.
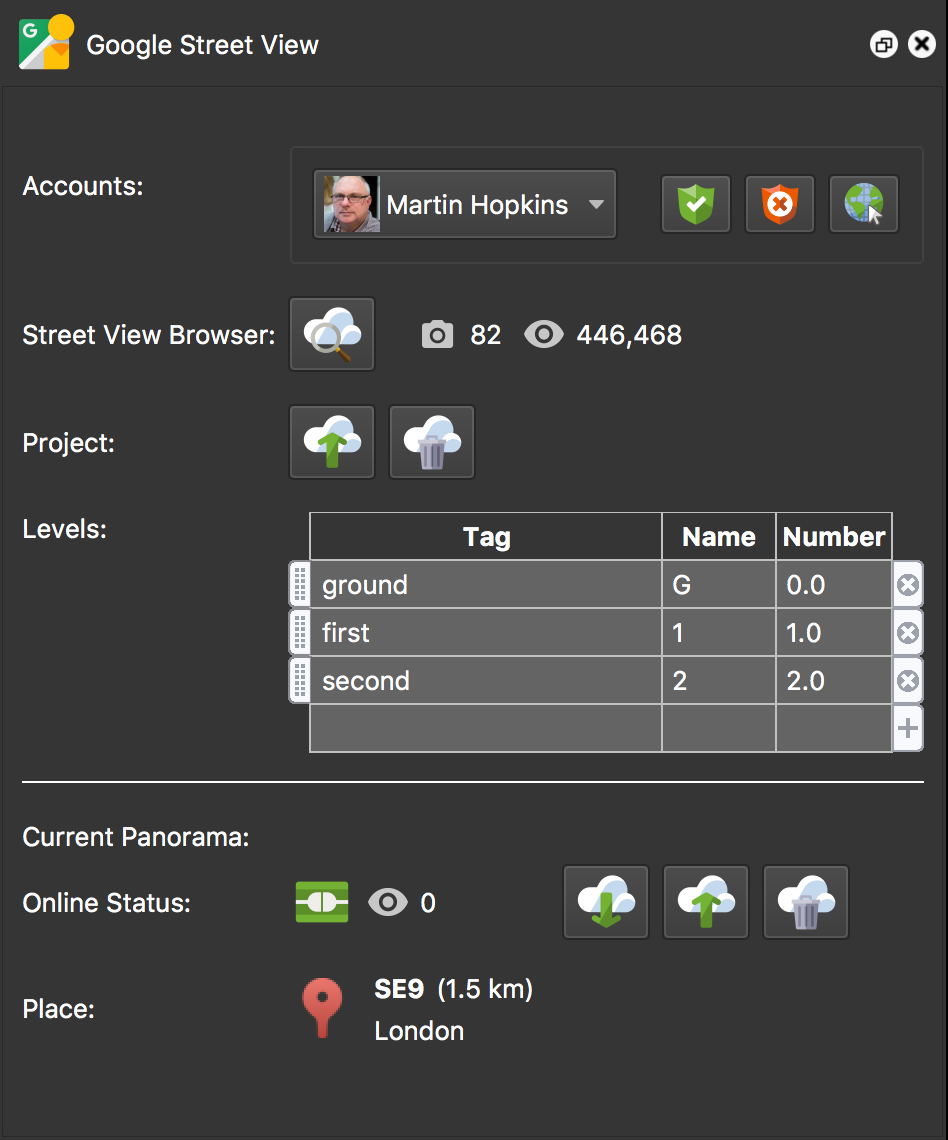
In the Google Street View Panel, you can connect to your Google account, browse your tours, upload tours and add places to panoramas.
Account
Click the green grant access button to connect a Google account. Once connected, you can get to your Street View profile by clicking the Open Account button.
Use the red revoke access button to log out of an account.
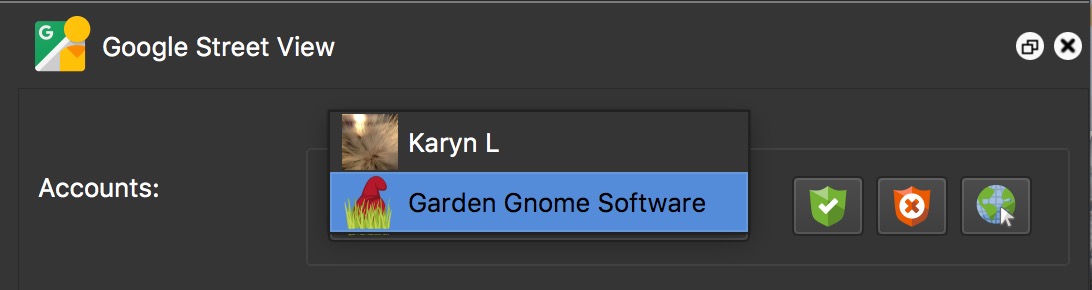
You can be logged in to multiple accounts at the same time. To add another account, follow the same procedure as above. You can then switch between accounts using the menu.
Street View Browser
The Street View Browser gives you access to your uploaded images. You can also see views, when the images were uploaded, and if a project has connections or not.
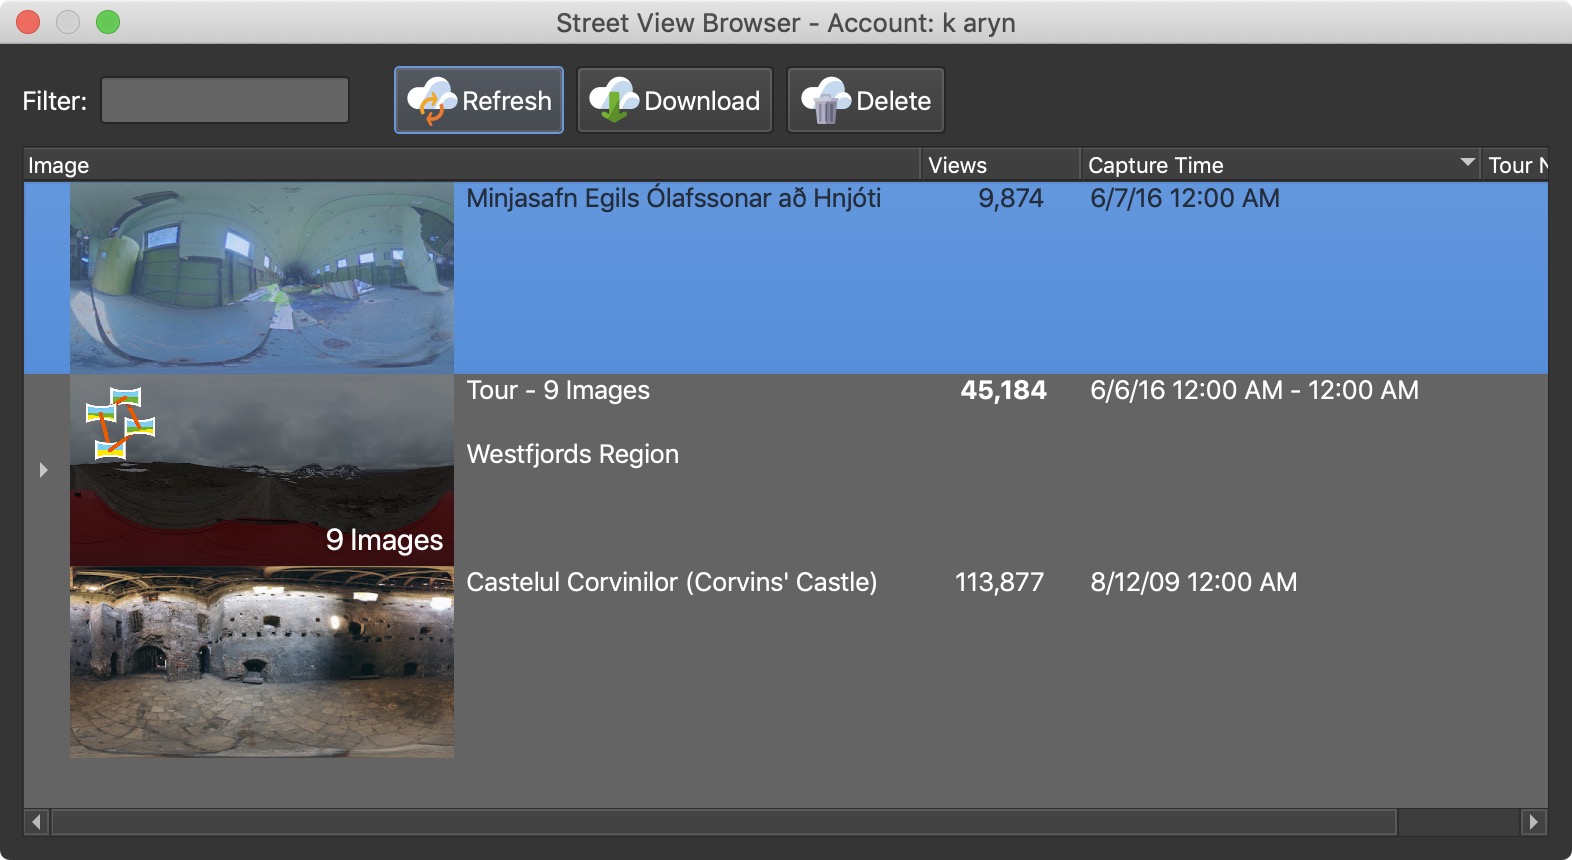
In the Tour Node column, there will be symbols indicating the images’ status on Google. A green plug indicates all images are saved locally and match the ones online. A symbol with a warning sign indicates how many images do not have connections. You can also sort projects according to name, views, date, and node.
Filter – Use the search box to filter your images using text.
✭ If Pano2VR detects nodes in your project that are not yet added to the Street View project, then Pano2VR will give you an opportunity to connect them.
Refresh – Refreshes the Street View Browser.
Download – Choose to download an image or the entire project. In the Browser, select an entire project, or click the disclosure triangle to open the project and select one or more images.
Delete – Deletes an image or project from your Google account.
To view the panorama or tour in Google Street View, double-click the panorama in the Street View Browser. For a tour, open the tour to expand the images and double-click on one of the tour nodes.
Right click on any image in the Browser to bring up the following options:
-
Select in Project – If this panorama is part of the current project, this will make the corresponding node active in the Tour Browser. If it is not part of the current project, the option won’t be active.
-
Connect to Current Panorama – Connects this panorama in Street View to the current node in the Tour Browser.
-
Add Link to External Panorama – Creates a connection between the selected panorama in the current project to a panorama in the Street View Browser that is not part of the current project.
Project
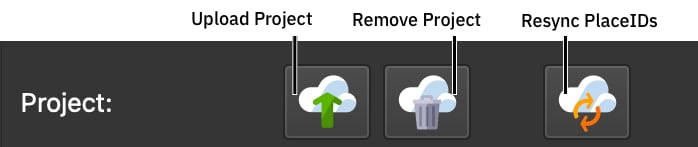
- Upload project to Street View – Upload the project (the entire tour)
- Remove project from Street View – Remove the project from Google Street View.
- Resync all PhotoIDs – This button will only appear when the PhotoIDs need to be re-synced.
Levels
Use tags to apply levels to the tour. The levels will appear like so:
Current Panorama
This section refers only to the currently selected panorama.
Online Status
Shows the current panorama’s online status.
Double-click the symbol to get the image’s Photo ID (PanoID). Right-click to:
-
Copy the Photo ID – Copy the Photo ID of the current panorama to the clipboard.
-
Disconnect from Street View – Removes the Photo ID from the current panorama in your project. It does not remove the photo from your Street View library.
-
Manually Set Photo ID – Enter the Photo ID of the current panorama.
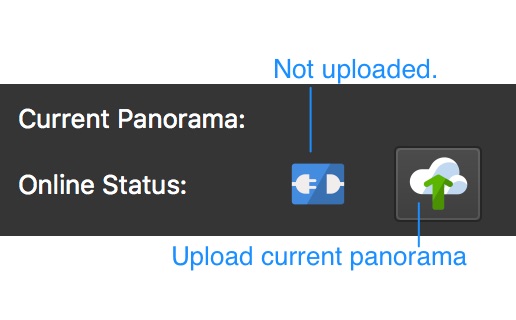
If you have not yet uploaded a project or image, your panel will look like the image below. The blue symbol indicates the current panorama has not yet been uploaded to Google Street View. Click the button next to it to upload the current panorama.
In the image below, the image’s status is Online. Hover over the symbol to get information.
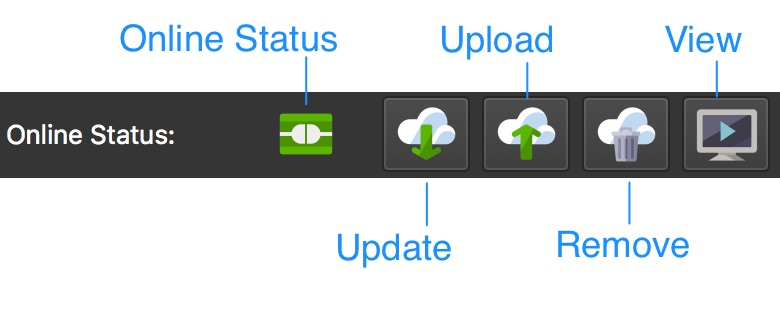
Update Current Panorama – Click to update the current panorama’s metadata. This will download the metadata that is currently stored in Street View and will add it to Pano2VR.
Upload Current Panorama – Click up upload the current panorama’s metadata.
Remove Current Panorama – Click to remove the current panorama from Street View.
Open Panorama in Browser – Opens the current panorama in Street View in a browser.
Place
Adds a Place ID to the current panorama.
Click the Add Place button to choose a place, or to search for one to add. Select the place to add. You will first have to enter your Google API key.
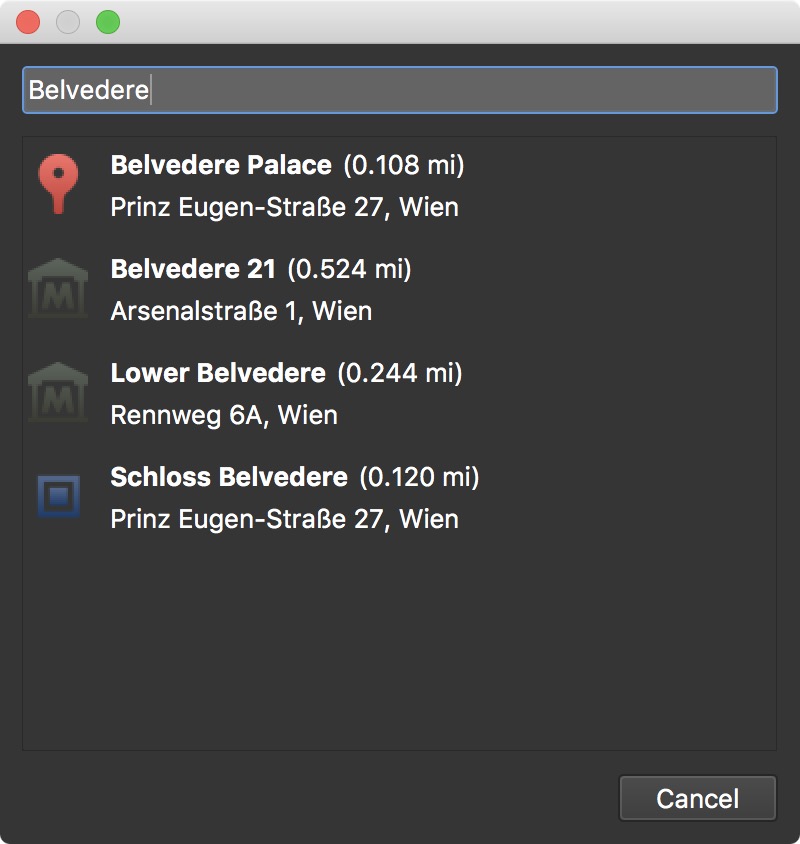
Click the Pick Place from Google Maps button to find a place in the Tour Map and Google Maps. This will open the Tour Map with Google Maps.
Once a place is added, you will then see new buttons:
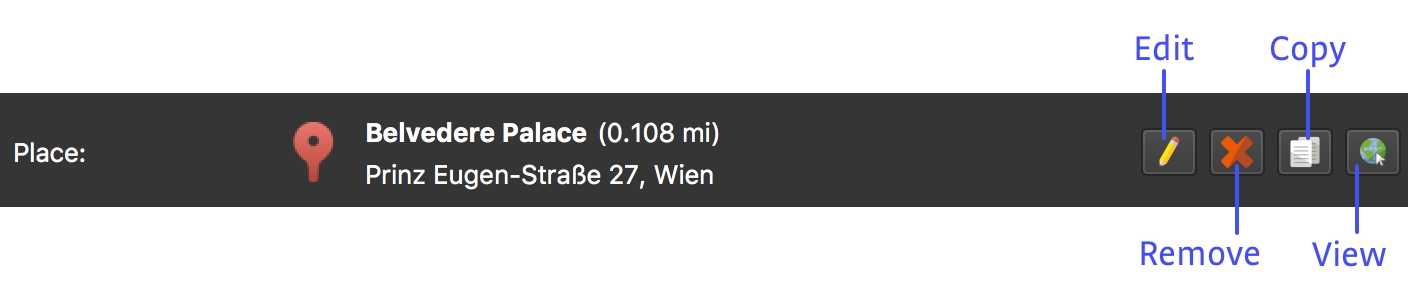
Edit – Click to edit the place.
Remove – Click to remove the place.
Copy – Click to copy the place to all nodes.
View – Click to view the place on Google Maps.
External Links
Here you can connect to other panoramas in Street View that are not part of the current project but are in your Street View Library. In the table, you can add Photo IDs of panoramas that the current node should link to.
Add a link by doing any of the following:
-
Double-click an empty row in the table (or click the plus icon) and enter the panorama’s Photo ID.
-
In the Street View browser, right-click the photo you want to link to and choose Add Link to External Panorama.