Building a Panoramic Tour
Learn the basic workflow for building a VR tour in Pano2VR.
Tour Building begins in the Tour Browser. It is open by default when you first start Pano2VR. However, if you need to open it, you can do any of the following:
-
Click the Tour Browser button in the toolbar.
-
In the Menu Bar, go to Window and choose Tour Browser.
-
Use the keyboard shortcut, Alt or Option-Shift-T.
Import the Images
First, import all tour images by doing any of the following:
-
Select all images or a folder in Explorer or Finder and drag them into the Tour Browser or Viewer.
-
Click the Input button and then select all the tour images. Click, Open.
Set up the Images
Once the images are added to the Tour Browser, you can then modify the image order (click and drag), change the default views and add geolocation data.
Set the starting panorama
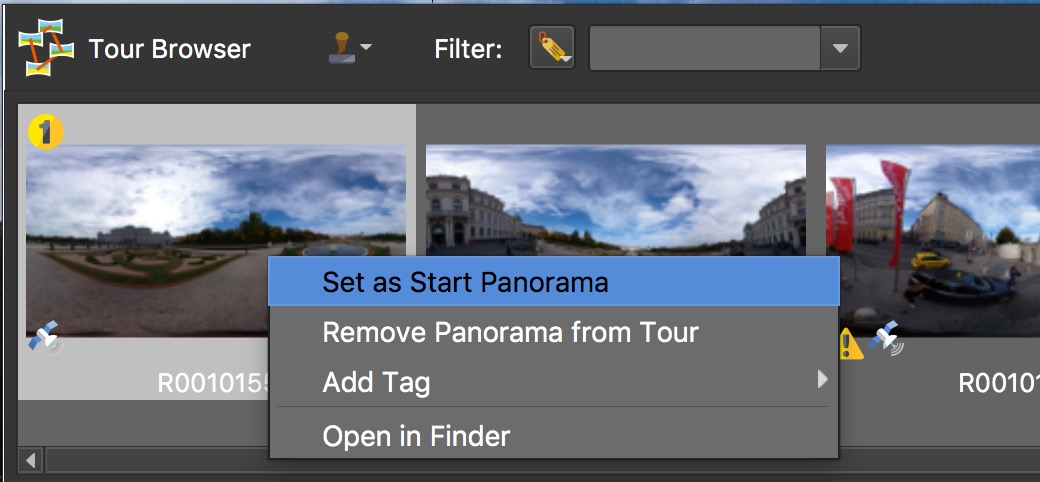
The first image that is imported into the project will be automatically assigned as the starting panorama. You can change this order by rearranging the images or by right-clicking on a thumbnail and choose, Set as Start Panorama. The starting panorama is indicated by the number 1 in the upper left corner.
Set the default view
The default view is the initial view of a panorama on open and is different from Target View which is set when linking nodes with hotspots. The default view is used when opening the panorama from a menu or entering the panorama from an element other than a node hotspot.
Set North
If you know where North is, hold down N. A compass will appear in the Viewer. Spin the panorama to match North with the North indicator. You can turn on the Center Marker in the Viewer Settings to help line it up. If you do not know where North is, you can use the Pick Landmark feature in the Tour Map. North can then be copied to all nodes.
Add information
Add information about the project in Project User Data.
And add general information (metadata) about each node in User Data (if not already added from Exif data). If the User Data is the same for all images, you can copy to all nodes.
Add location information
If your panoramas already have GPS information, you can skip this part. But if GPS was not captured, you can use the Tour Map to assign a location to the images.
-
Open the Tour Map.
-
Enter the image’s location or address in the Address search field and click the magnifying glass (Or Enter). A green flag will be dropped.
-
Confirm the location by clicking the flag. A red pin with a radar beam will be dropped.
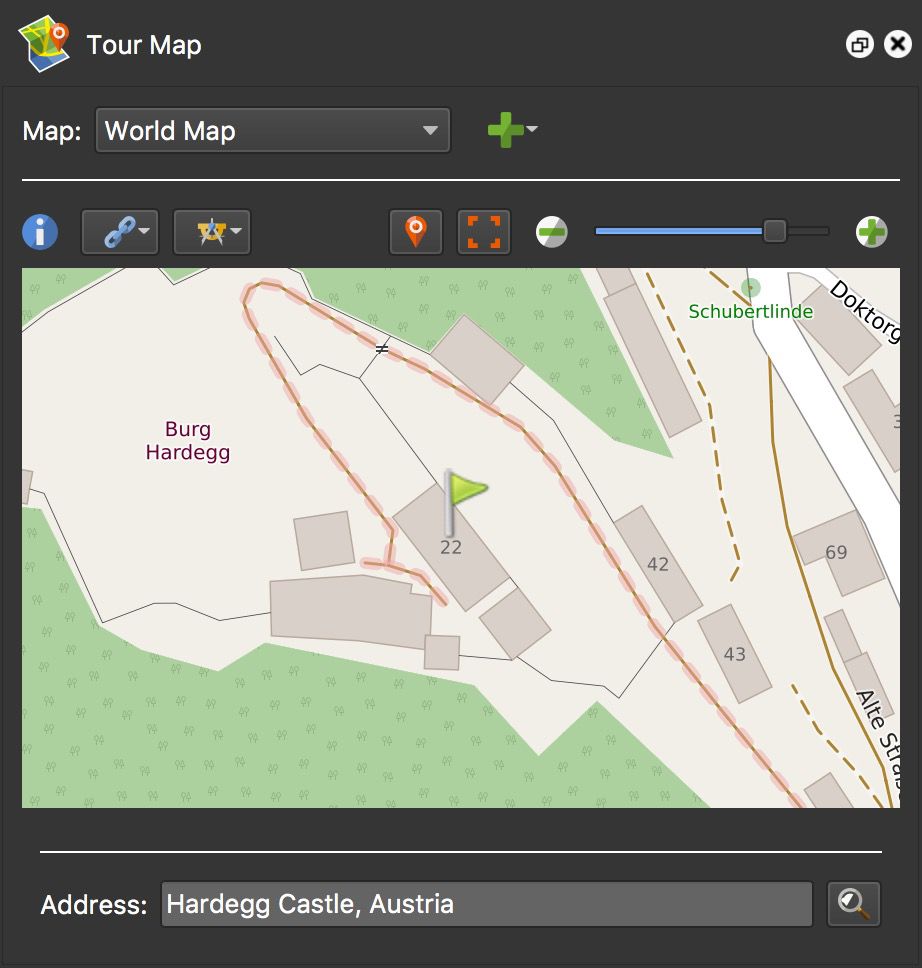
Click on the green flag. 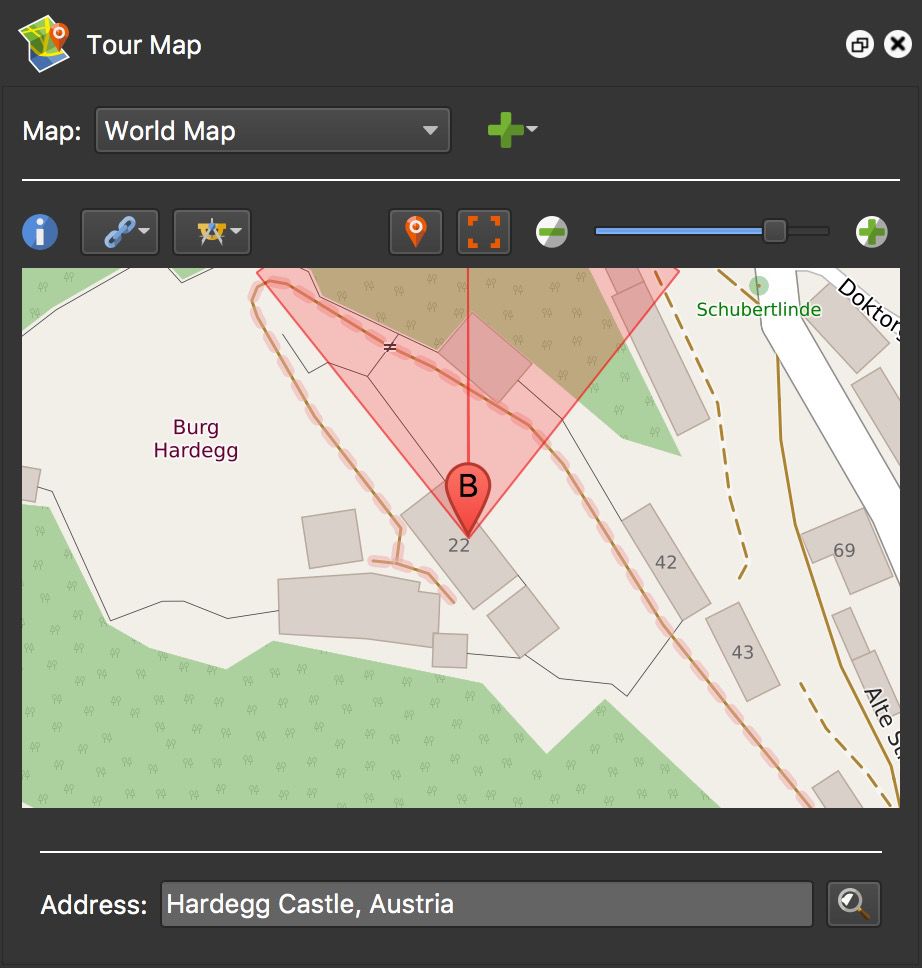
Location applied
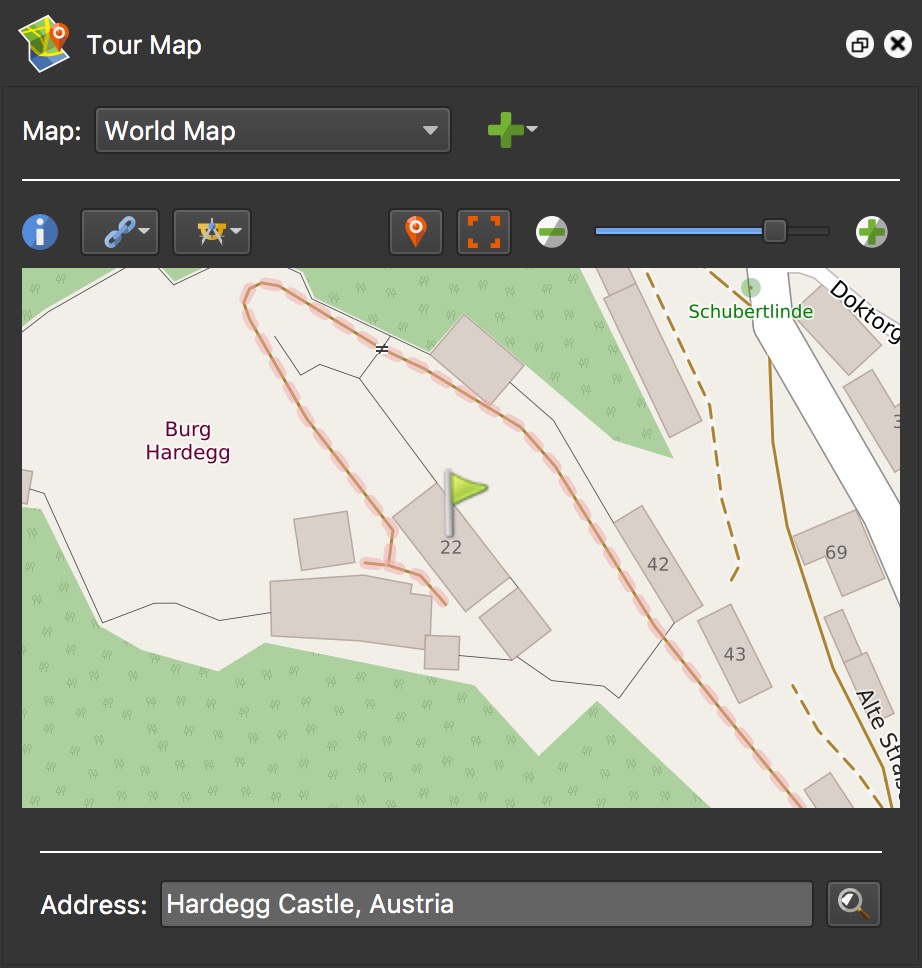
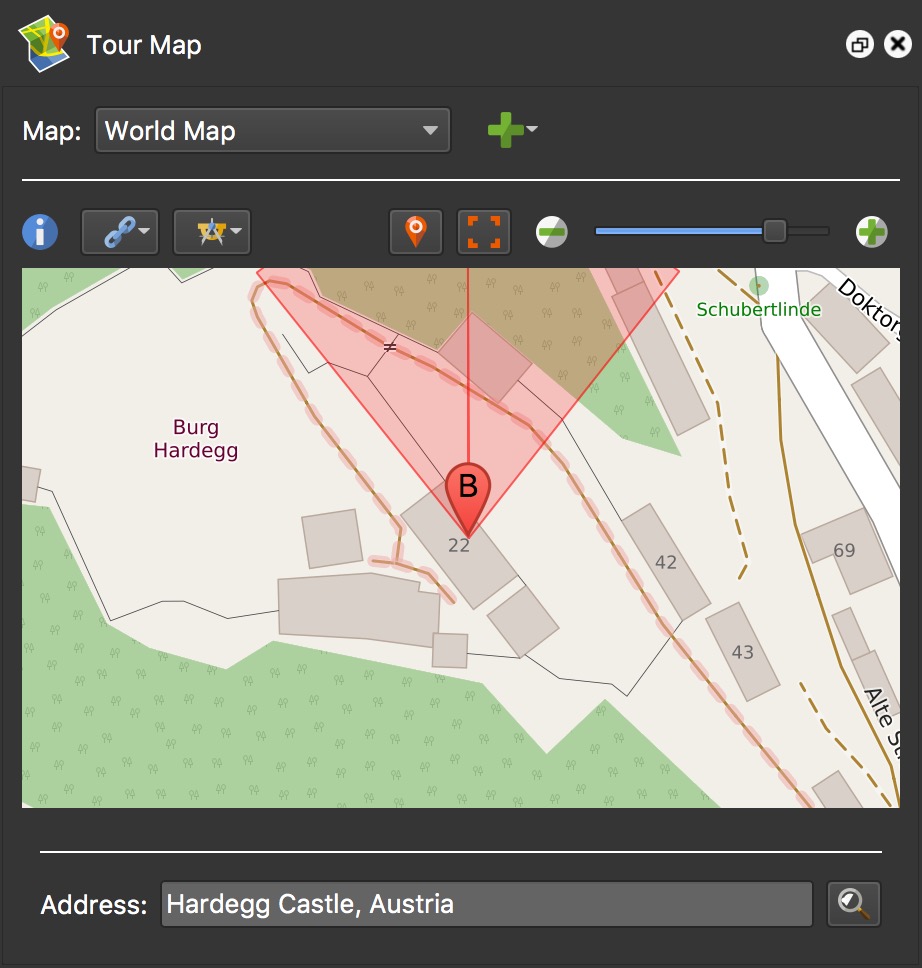
Return to the User Data panel and the Latitude and Longitude fields will have been updated.
Add tags
In User Data, add Tags to the image by typing in the field and then hit spacebar, comma, tab, or enter to add the tag. This is an optional step that is useful for organization as well as building menus.
Link the Images
After setting up the images, you can start linking (or pointing) the nodes.
The nodes are linked together with Point Hotspots in this tutorial. (The other way to move through a tour is through a menu.)
All linking options except the manual linking options require location data. To find if your images have location data, go User Data and check the Latitude and Longitude fields in the Capture pane. If they’re empty, you have no location data.
Ghost Hotspots
When the images have location data, you will see ghost hotspots in the Viewer. Double-click these gray hotspots to activate them and the images will be linked. Ghost hotspots can be shown or hidden from the viewer in the Viewer Settings.
Auto Place
Drag images from the Tour Browser to the Viewer to take advantage of Auto Place.
Location data must be added to the images.
-
Drag a node to the Viewer. The node you are dragging will be placed or linked to the node in the Viewer (active node). In the upper right corner, there will be two drop zones where you can drop the node.
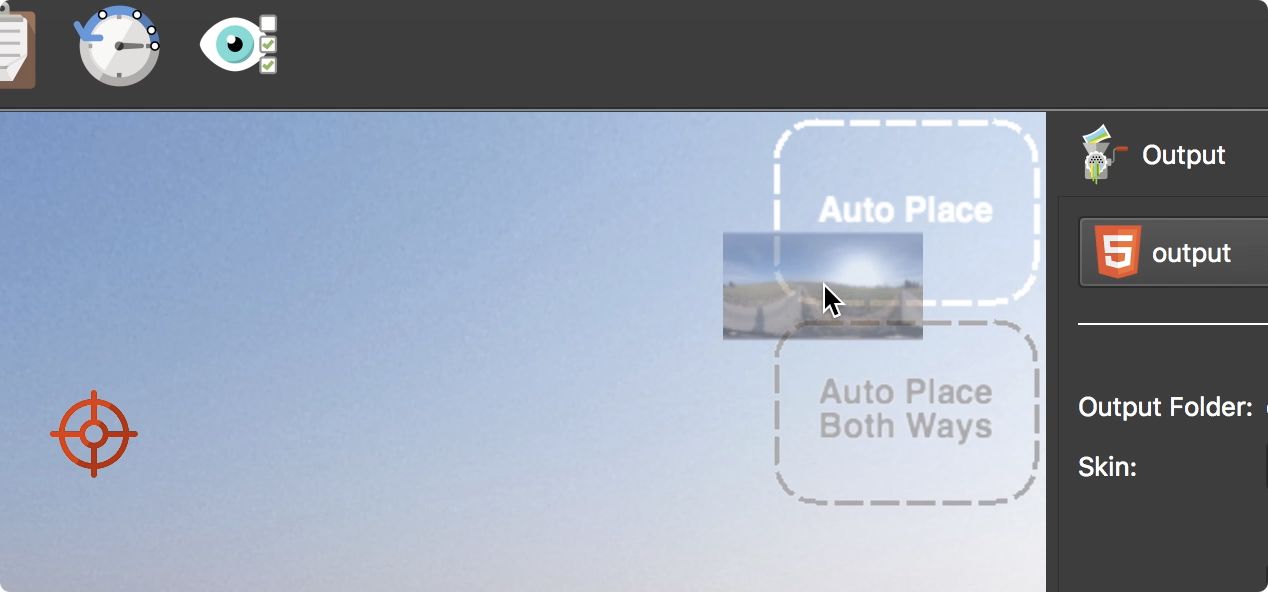
Auto Place nodes -
Drop to one of the following drop zones:
Auto Place – This will link the current/active node to the placed node.
Auto Place Both Ways – This will link the current/active node to the placed node and the placed node will link back to the current node.
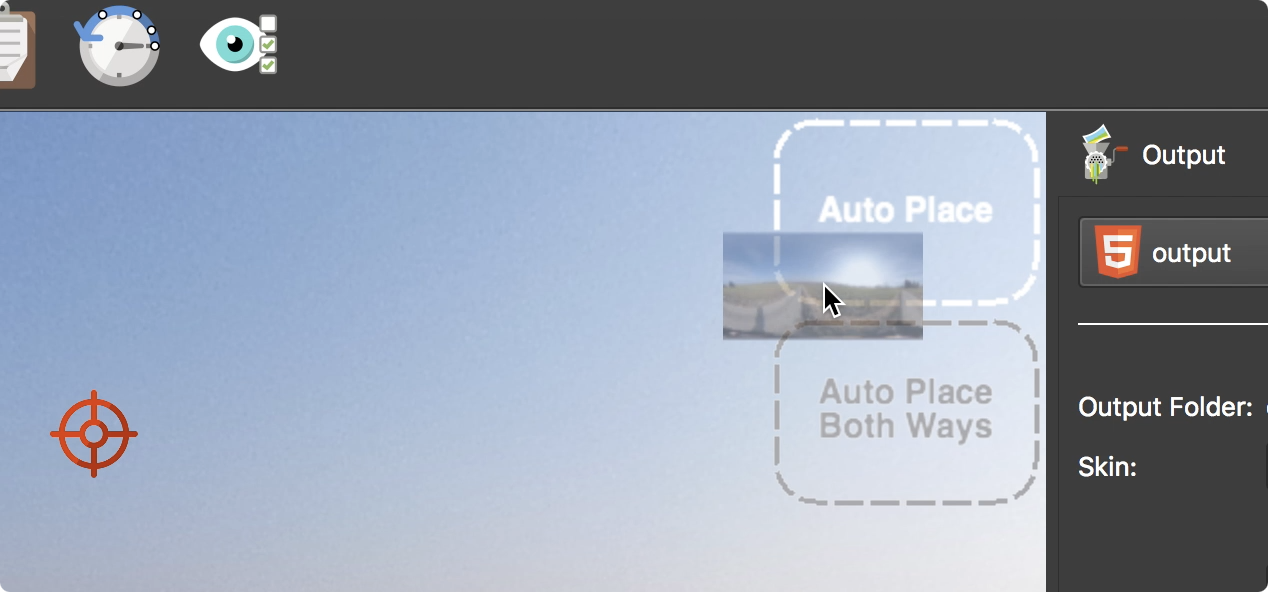
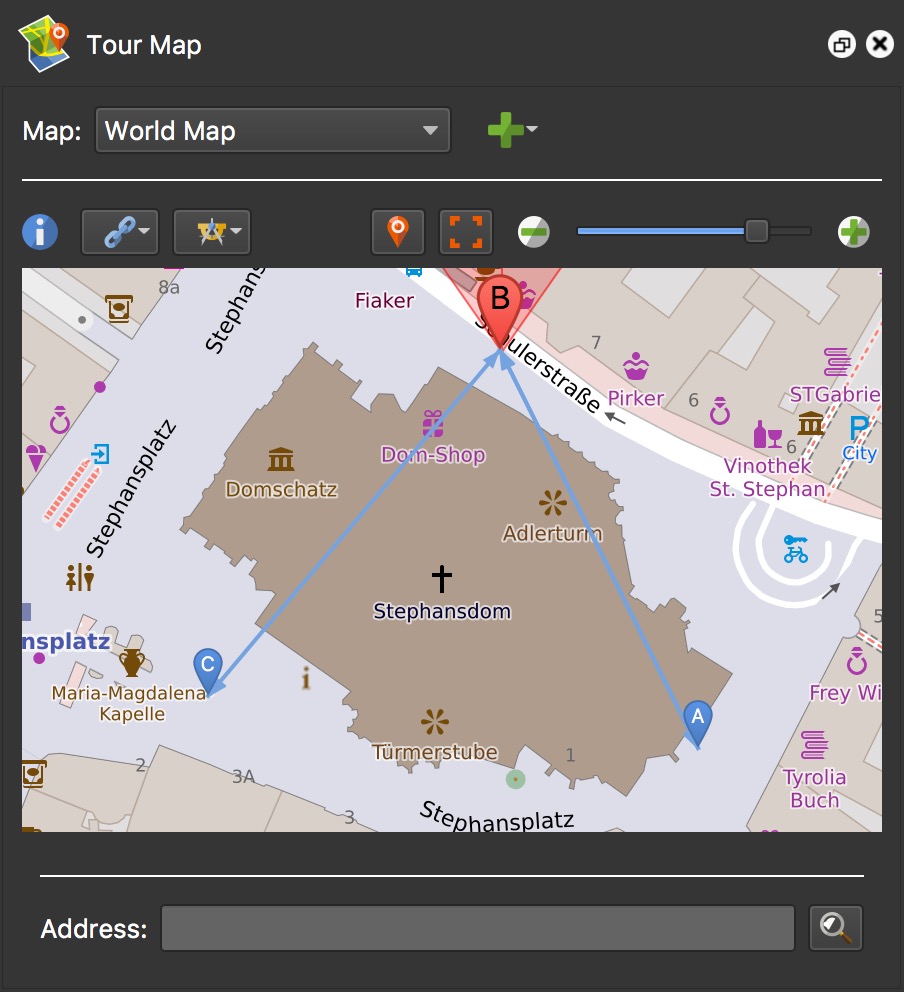
You can also drag a selection of nodes. Select the nodes by either dragging the mouse over the selection or by holding down Control (win) or Command (macOS) and selecting the nodes. The active node (indicated by a lighter shade of grey) is what the other nodes will link to.
In the Tour Map below, Node B was the active node (selected first). Nodes A and
C were also selected and were linked to node B.
Automatic Linking
This method of creating a tour is the fastest way to link the panoramas. There are two automatic linking options and both require the images to have location data and North to be set. See Setting up the Images.
Sequential Linking
This links the images based on their order in the Tour Browser. The target views of the point hotspots are set to point in the direction of the next hotspot, allowing the user to quickly click through the tour.
Choose Sequential from the Tour menu in the Menu Bar.
Closest Node
Closest Node links the images according to their location data.
Manual Linking
The manual linking method is recommended especially when the images are not geolocated or the precise location is not known.
-
Change the Viewer Mode to Point Hotspots.
-
Drag the panorama that should be linked to the start panorama from the Tour Browser to the Viewer. This will automatically add the point hotspot and create the link.
-
Drag in the next panorama that should be linked to the start panorama.
-
Continue for the rest of the nodes in the project.
-
Save the project.
Output the Project
When you’re ready to to see the project, output the project for the web.
-
Open the Output Panel.
-
Click on the green plus and choose Web.
-
Add a skin. Choose from the number of built-in Skins. These skins have menus, point hotspot icons, and more. If you do not add a skin, the node hotspots will be displayed as red dots.
-
Click the Generate Output button. The project will open in your default browser.
It is not on the internet! Pano2VR has an Integrated Web Server which allows us to view the tour immediately in the browser without uploading it to the internet. The URL in the browser cannot be shared with anyone because the project is only available on your computer. The output folder and all its contents must be uploaded to web server, or exported as a package file for use in a CMS site like WordPress, or uploaded to Gnome Cloud.
To learn about all the export options check out these articles.
If you want to view the tour in immersive view in a VR headset, follow this tutorial.
Updating a Published Tour
On output, Pano2VR will only regenerate files that have been changed. If you need to update the entire content of the output folder, you can either hit the trash button to the right of the Output Folder, or you can rename the output folder.
If you need to update the tour on your site, it’s most likely that you do not
need to re-upload all the files. If you’ve made changes only to the skin, just
upload the skin.js file and the images folder. If you’ve added any sounds or
videos, also upload the media folder.