Learn how create interactive VR180 stereo or mono video panoramas that can be viewed on the computer, mobiles, VR headsets and Apple's Vision Pro.
Create an interactive VR180 Video
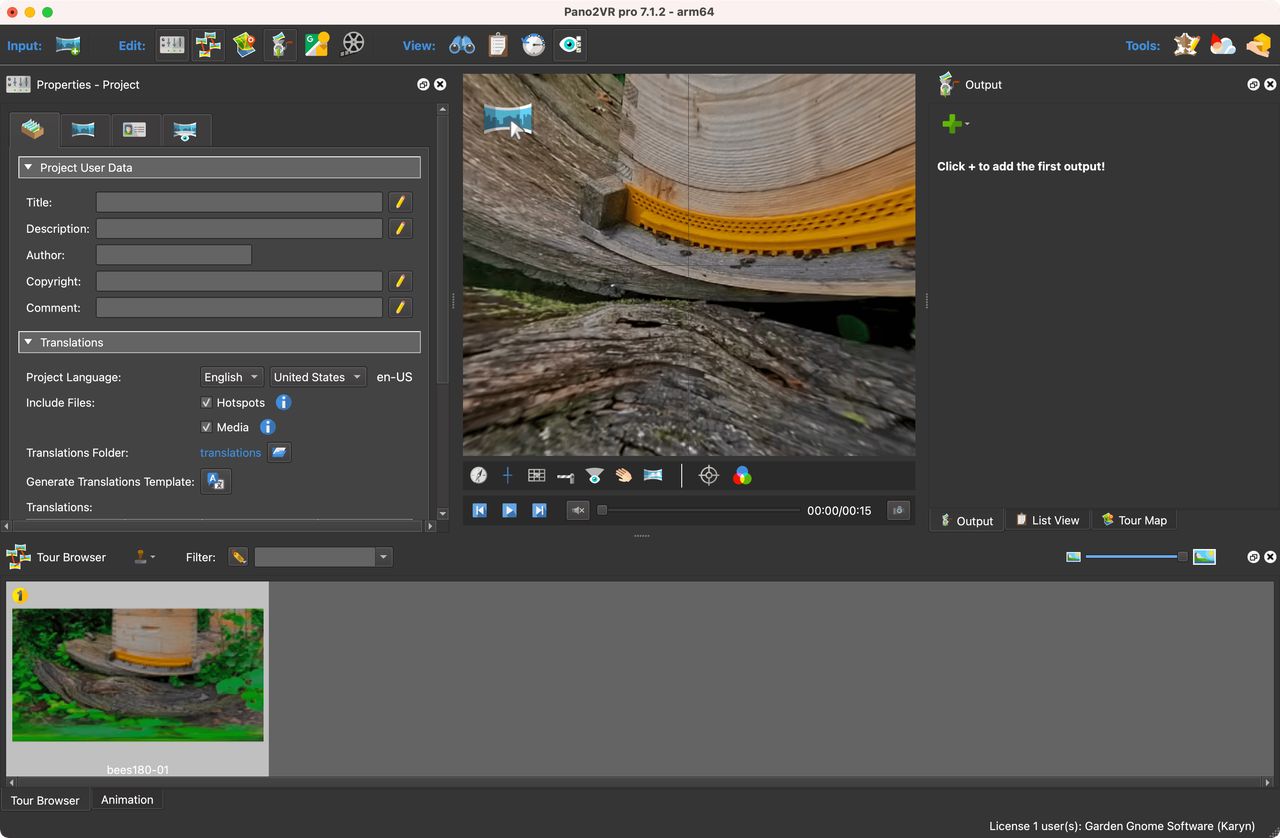
Drag in the video to the Viewer or Tour Browser. It will immediately look
distorted. Head to step 2 to fix this.
Initially, the video will not look correct in the Viewer.
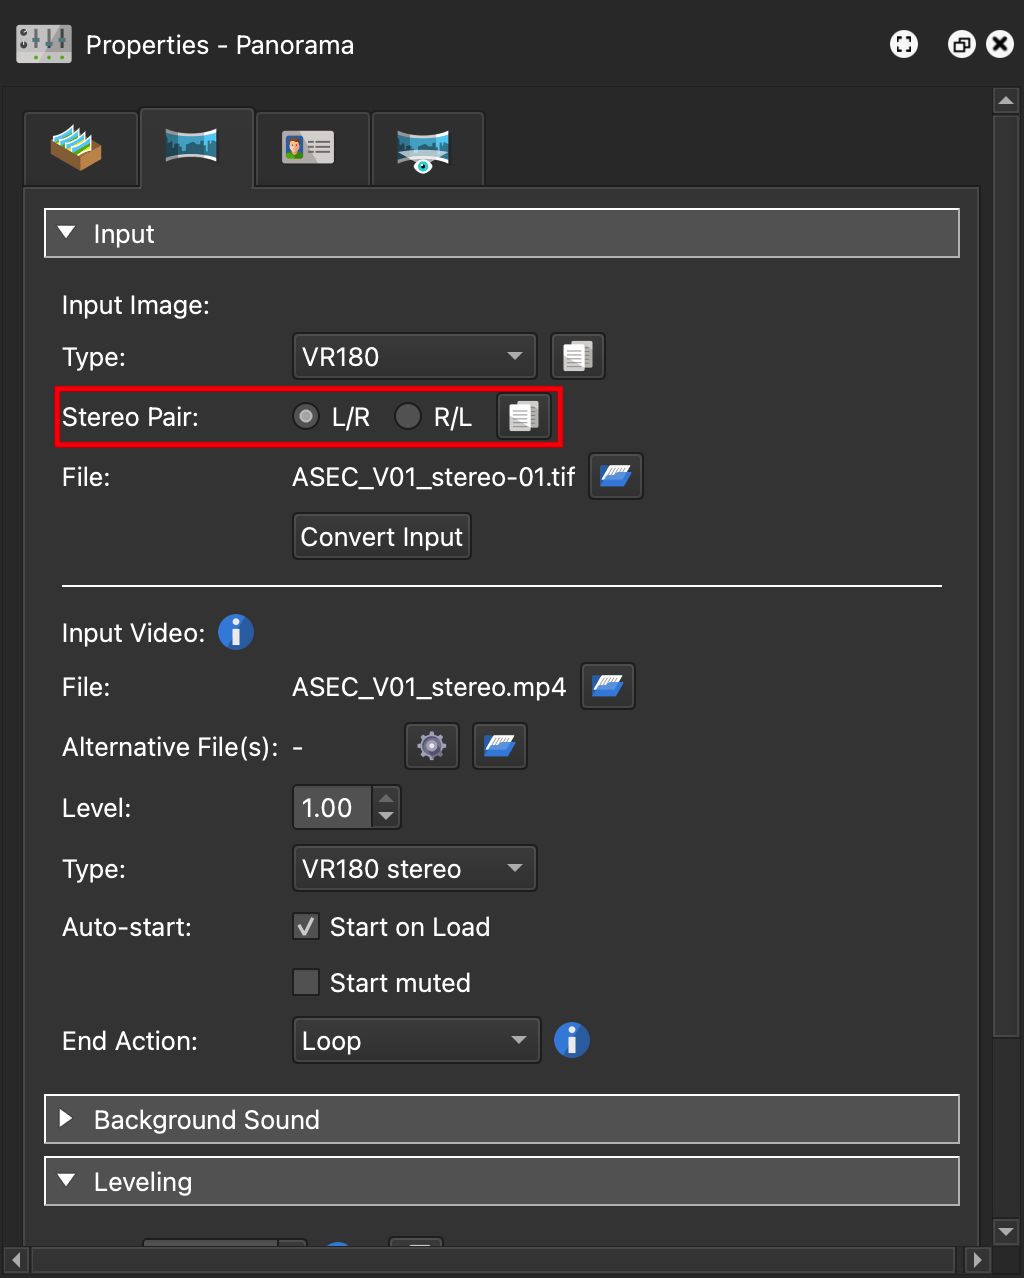
For Input Video Type, change it to VR180 for a mono video or to
VR180 Stereo for a stereo video. A dialog will appear asking if the
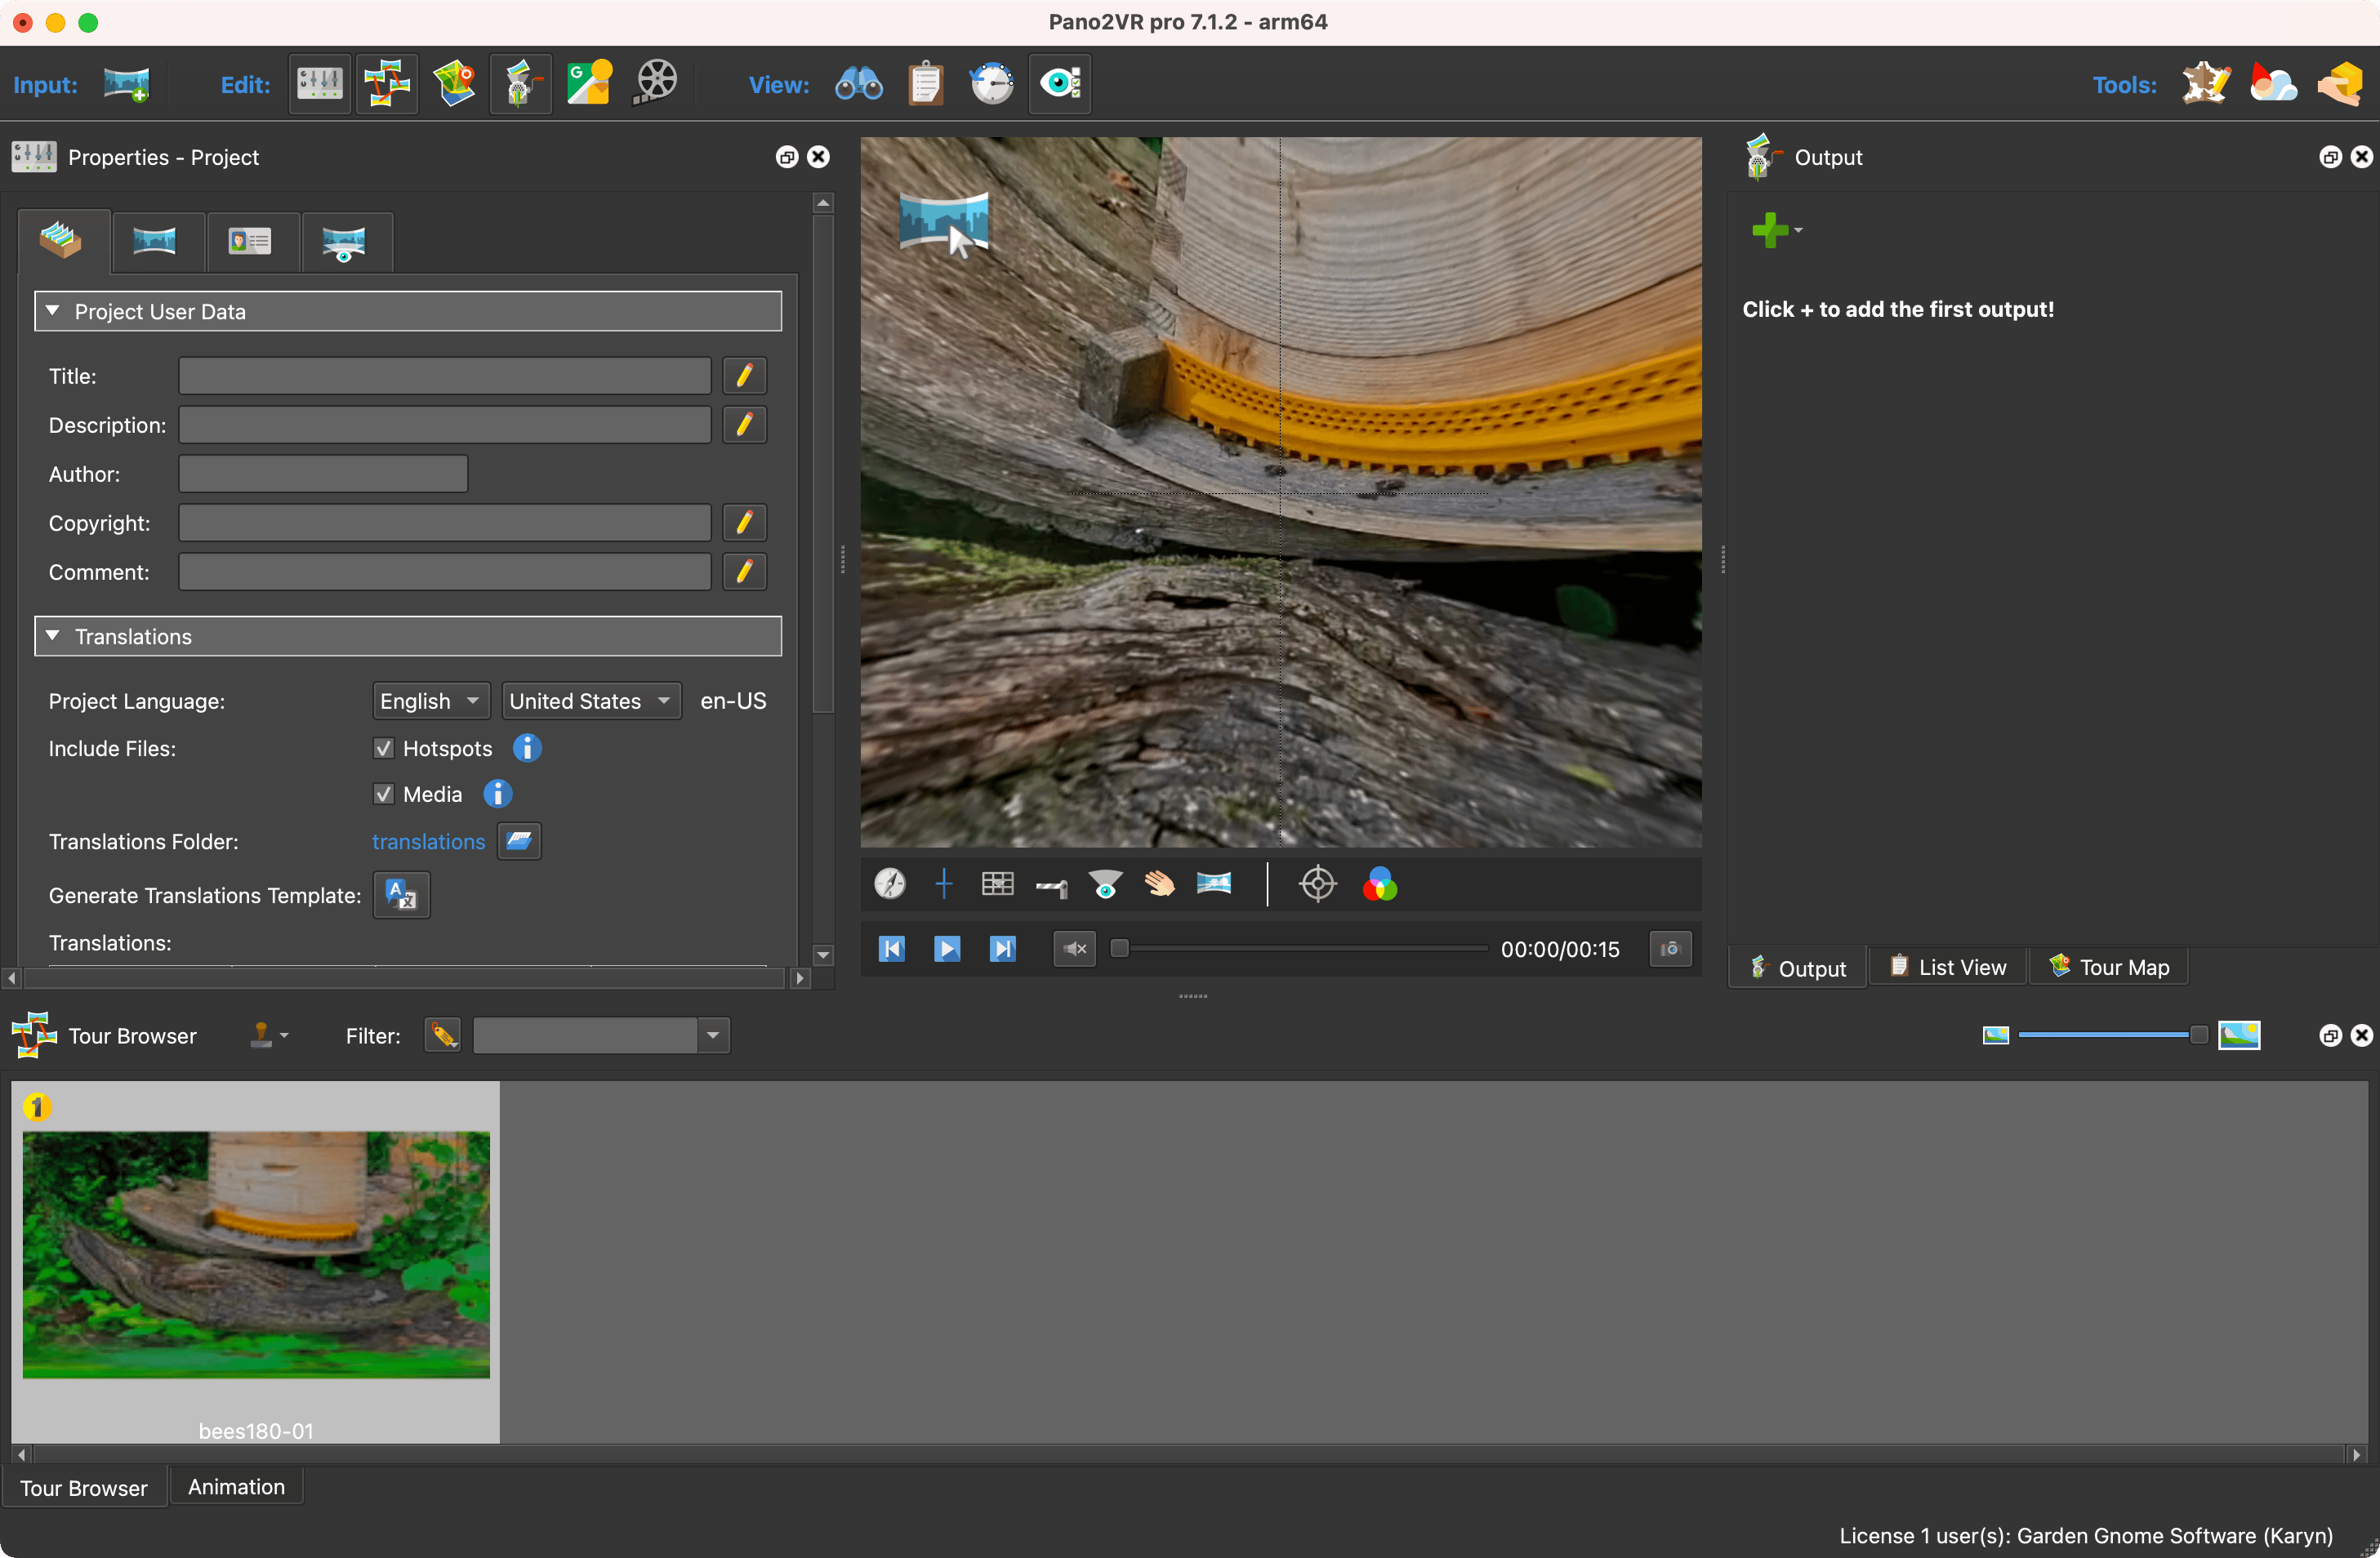
Input Image Type should also be changed. Choose, Yes. The Video in the
viewer should look correct now. For stereo video panoramas, make sure to
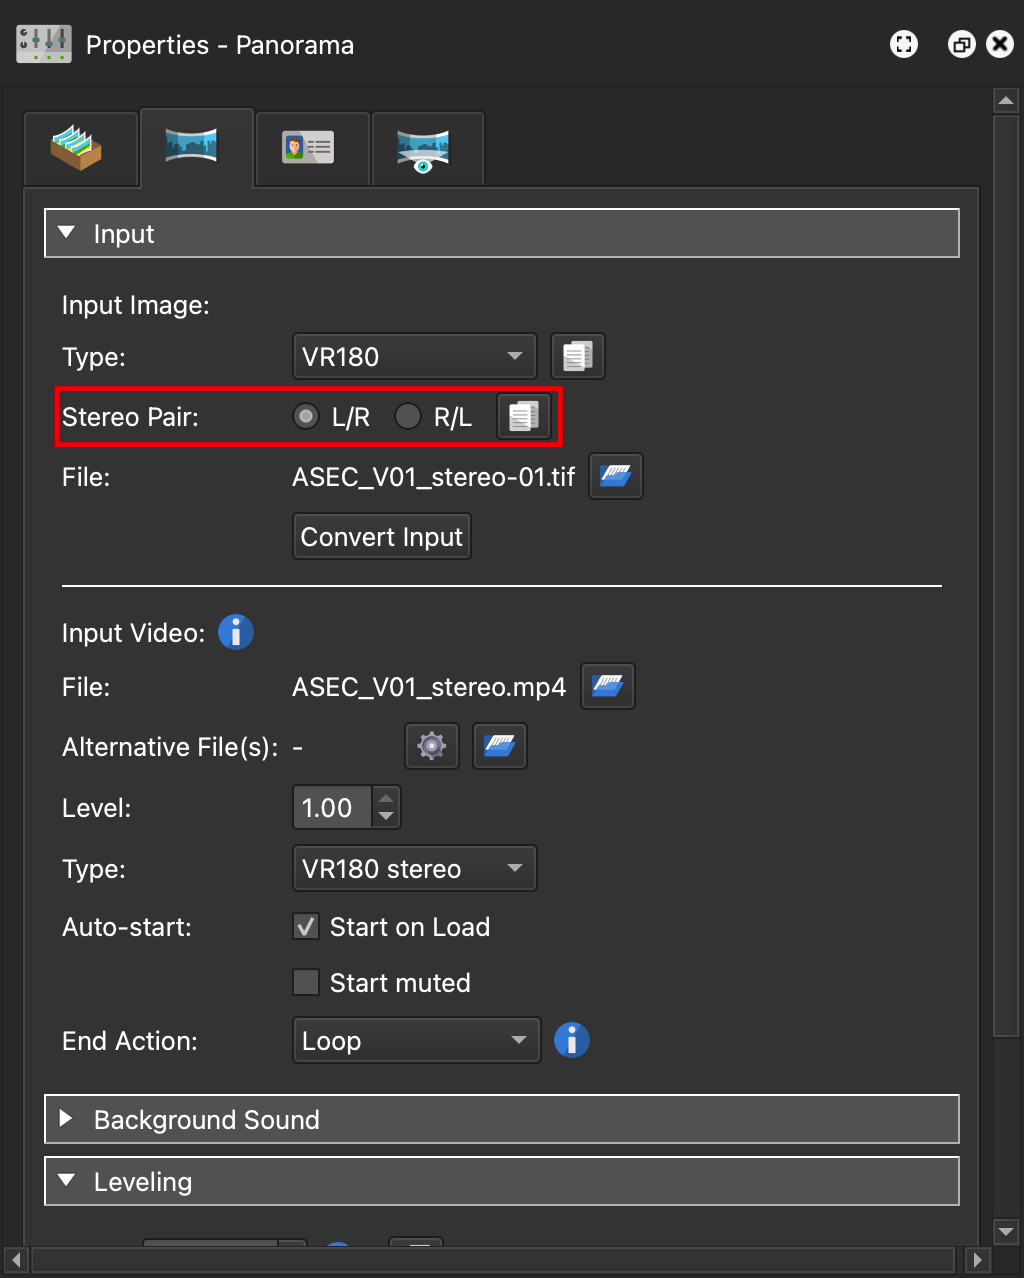
select the correct stereo pairing.
Select the correct stereo pairing. The copy buttons show when there are multiple nodes.
If there are more nodes, you can copy the Input Image type and stereo
pairings to all nodes in the tour.
(Optional) Add pinned elements. Pinned elements get
pinned to the panorama, so they will move with it.
Add a skin. The skin
provides the interactivity and icons for point hotspots.
Generate the output and test the project. As of now the project is not on the
internet, but rather it is opened with the
Integrated Web Server. Once you’re
satisfied with the project, upload to your web server, export it as a
Package File for a CMS, or upload
to the Gnome Cloud.
Create a backplate
VR180 fills only half of the sphere and leaves the other half empty. The other
half will appear black when viewed on the desktop and devices. However, when in
immersive view, the other half can be “filled”. For example you could place your
logo there.
A simple way to create the backplate is to create a 2:1 image:
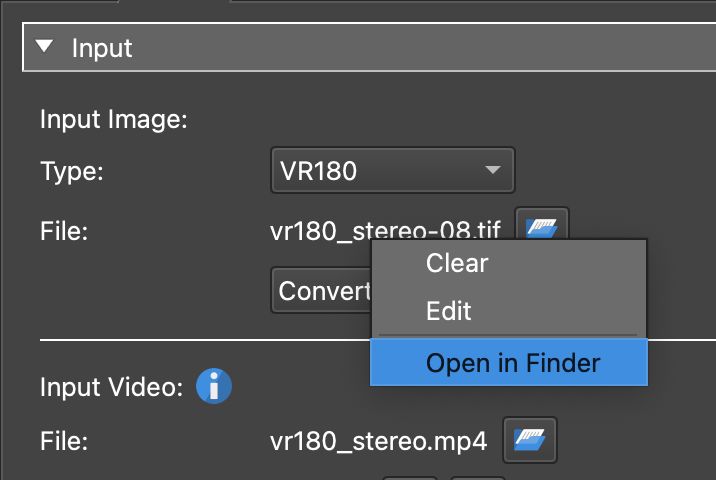
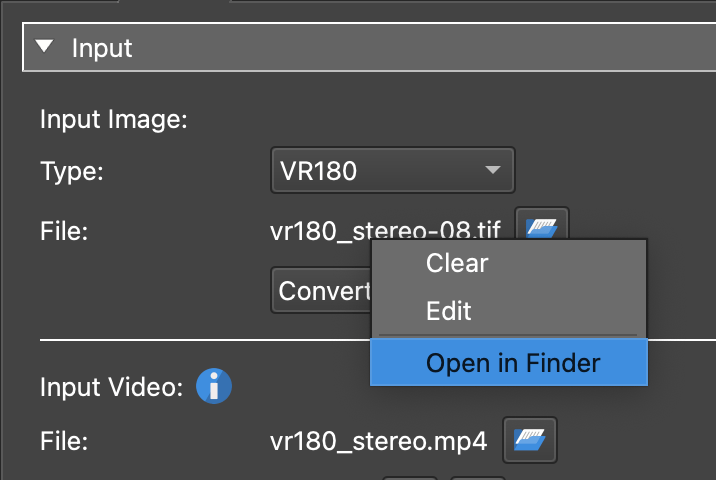
Open the Input Image (preview image) in your favorite image editor. Right
click on the file name and choose Show in Finder or Show in Explorer.
Show file in Finder.
In the image editor, make the canvas a 2:1 aspect ratio.
Move the stereo image to one half of the canvas. And add your logo to the
other half. Change the stereo pairing if necessary.
Save and export.
This backplate will only appear in immersive view.