Create a Multilingual Project
Learn how to create multilingual projects with the translation tools. in multiple languages.
You can create not only a translated project but a translated skin as well. This means you’ll find two options to translate; one in the project settings and one in the Skin Editor. Once a project and/or skin has translation files, the panorama player will detect the user’s browser language and display the correct language or you can use the skin to switch languages.
We are using the translation tool, Poedit. It is free and available across all operating systems.
Translating the Project
Hotspots, nodes, user data, project user data, and PDF files are examples of what gets translated in the project translation file.- Download and install Poedit. This is the tool we use to create the translations.
- Go to the Properties Panel.
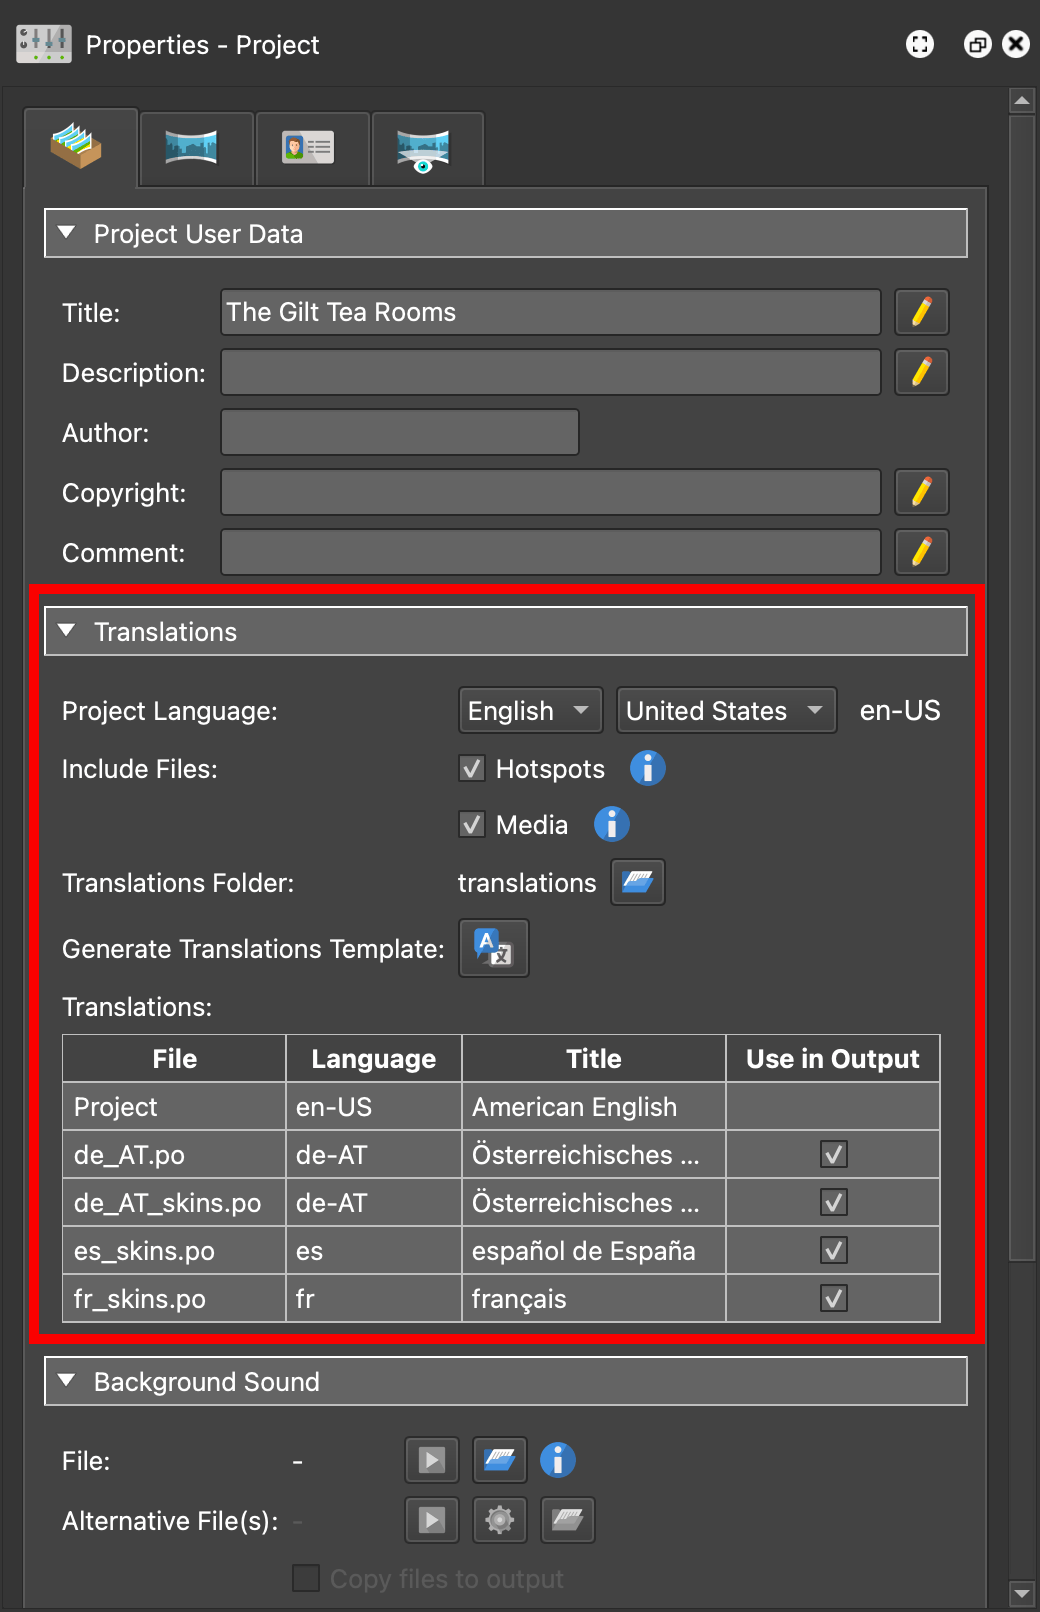
- In the Translations section, choose the project language. This is the
default language.
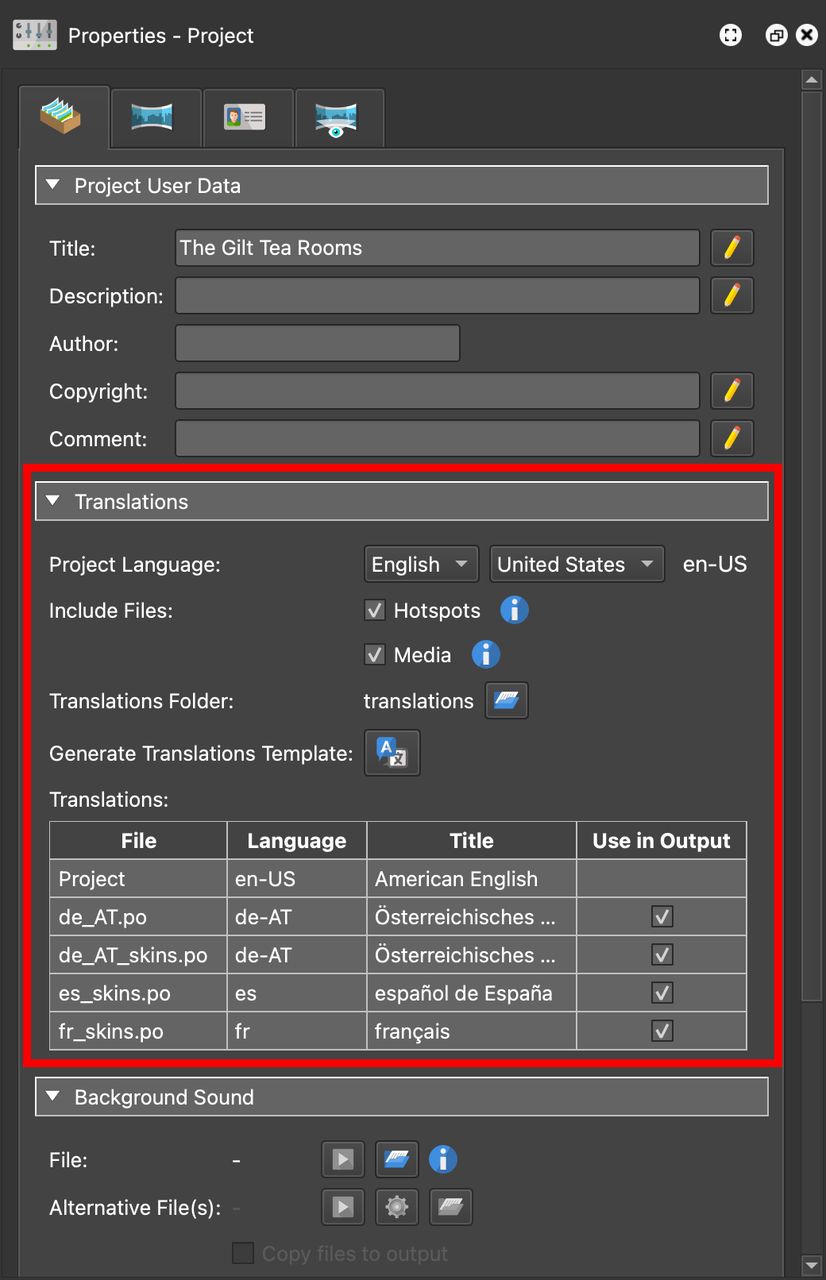
Translation pane. - Click the button for Generate Translations Template. This will automatically create the translation template file and add it to the translations folder. This is a POT file that is compatible with Poedit.
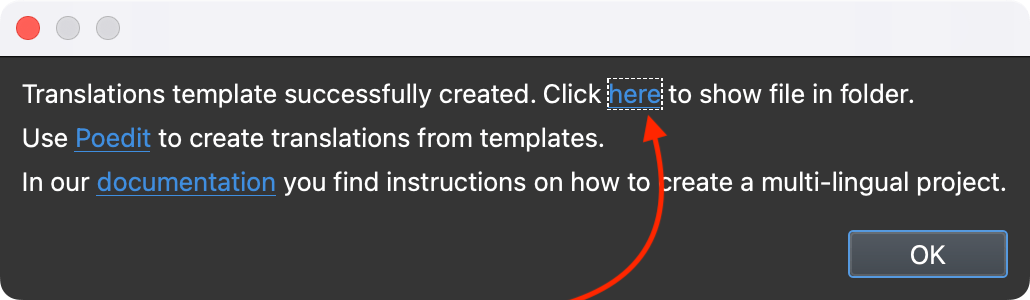
- In the dialog that appears, click the link that will take you to the file’s
location.
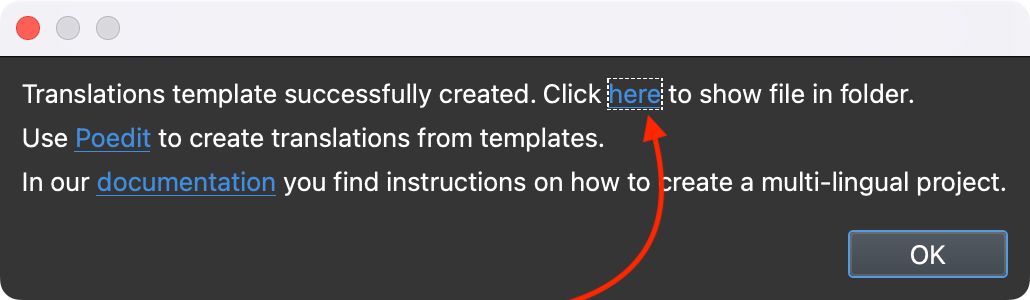
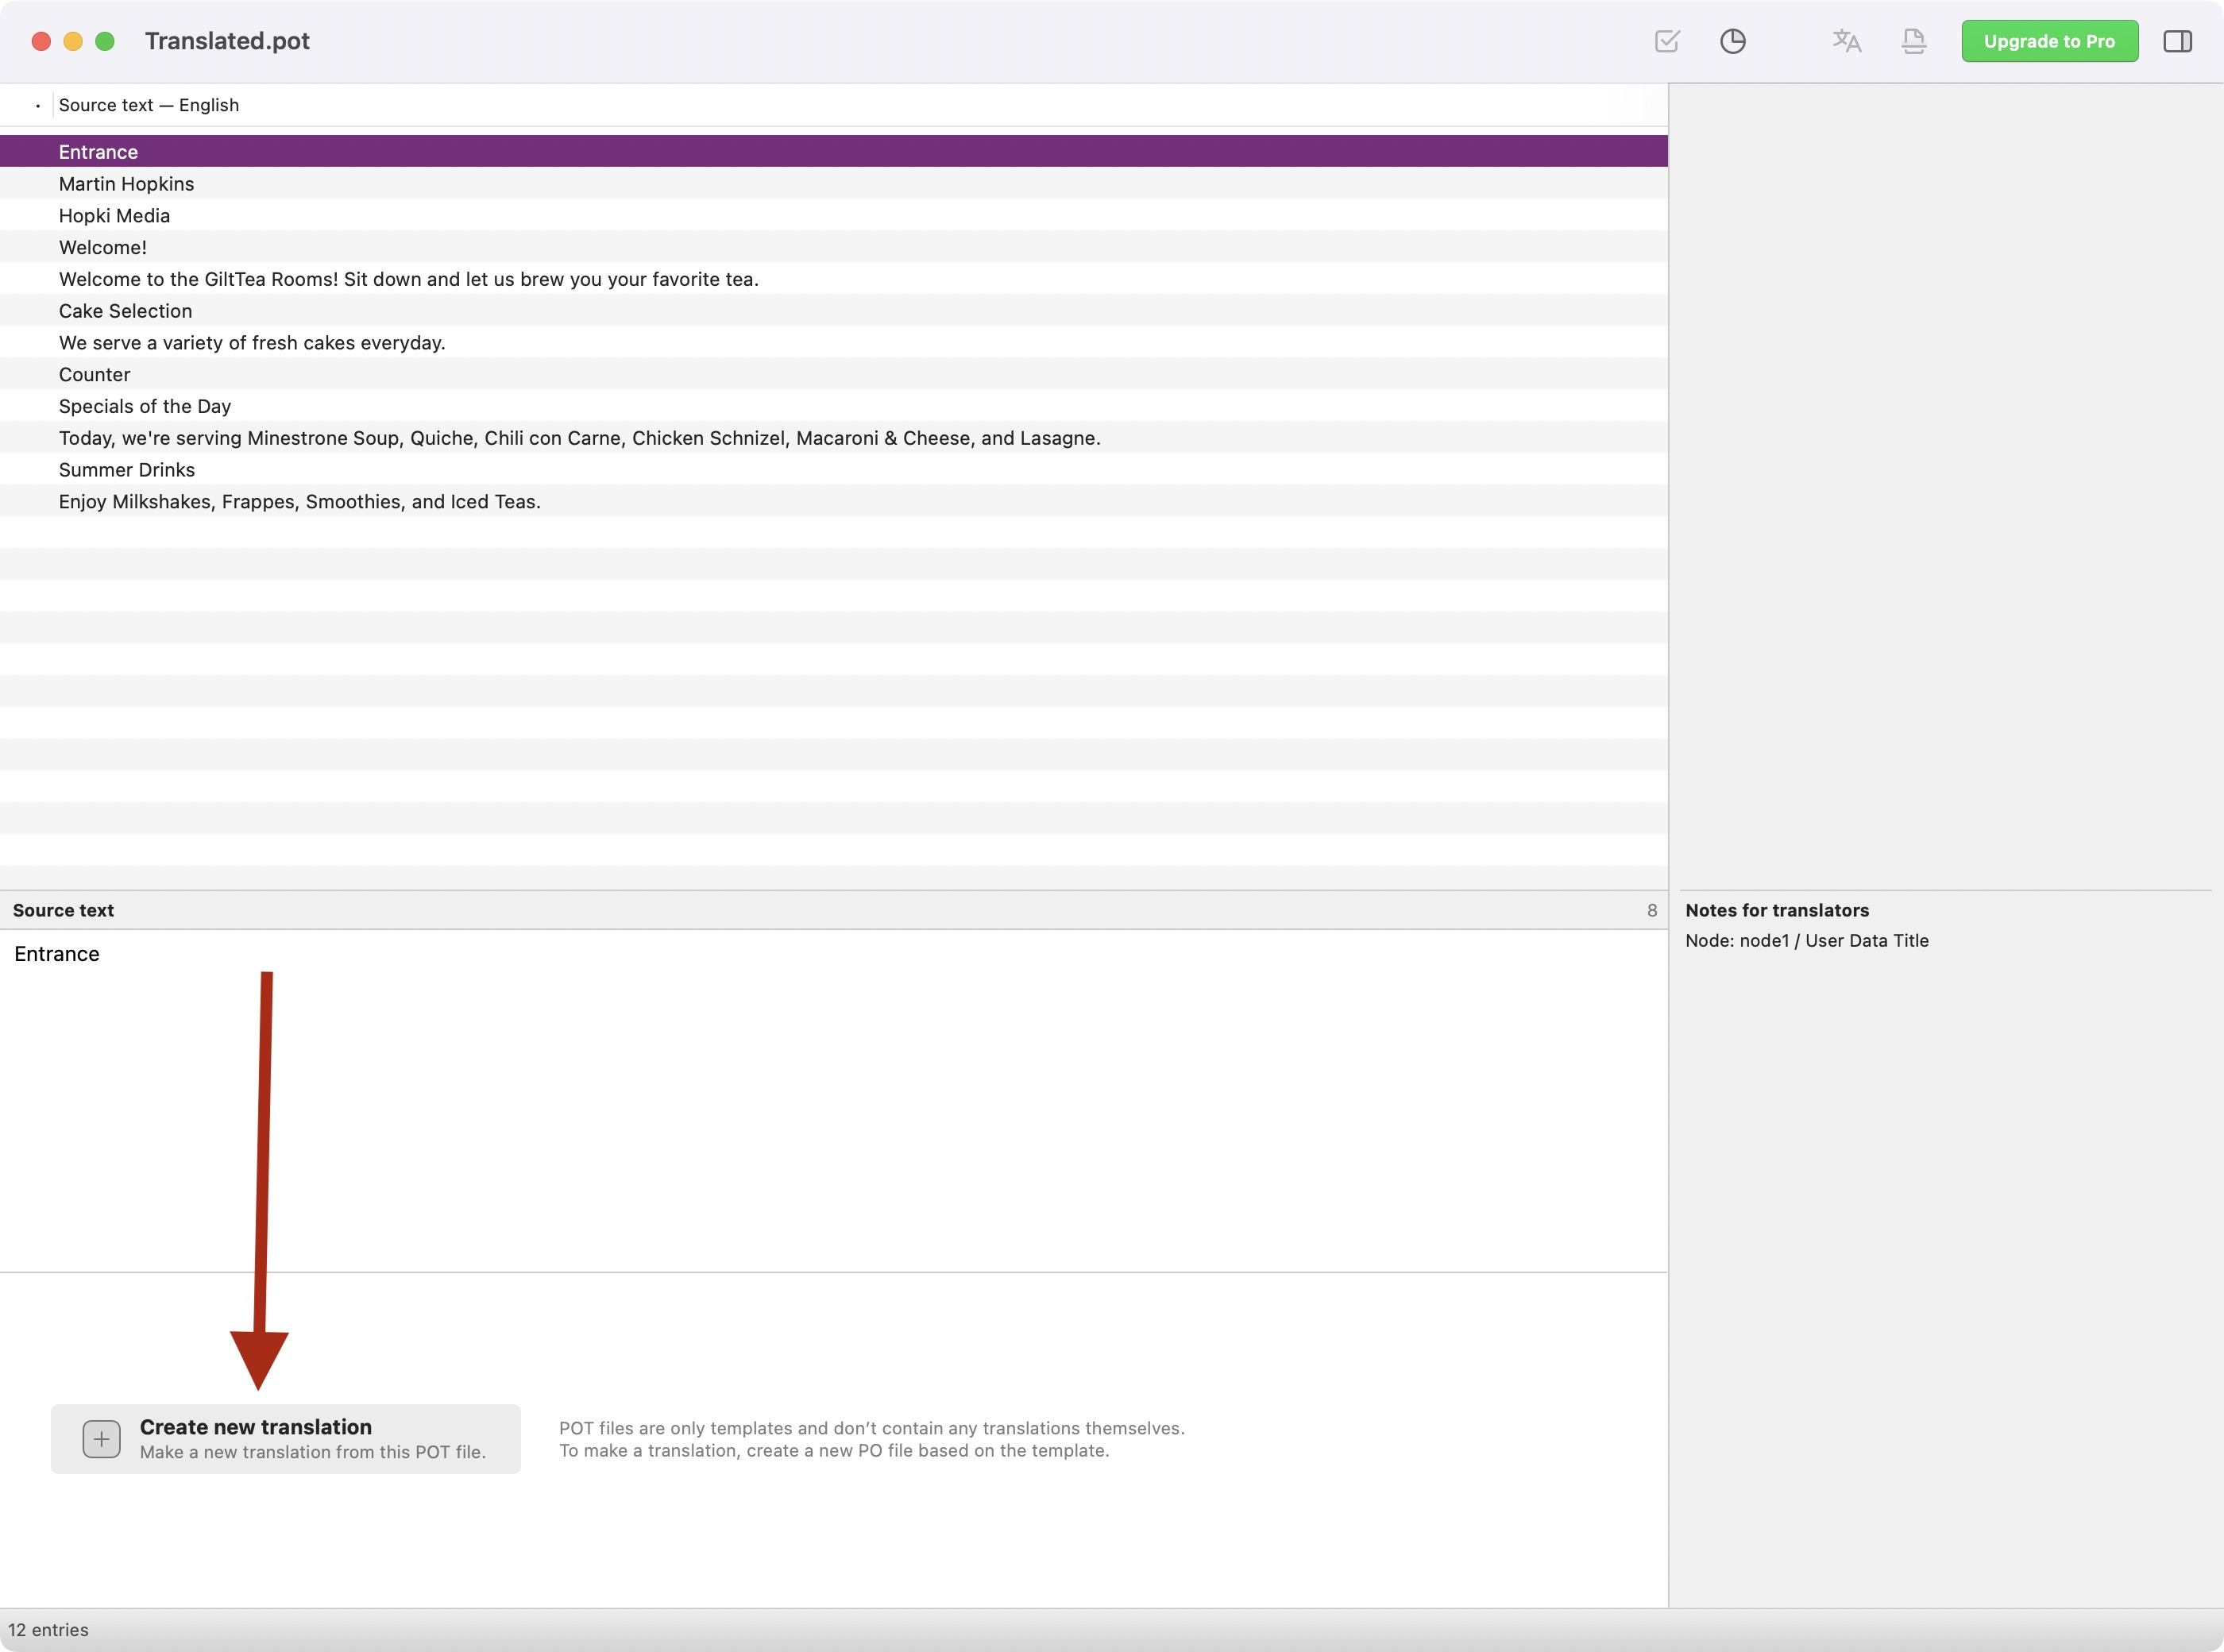
Translation Dialog - Open the template file in Poedit. Note that it is a template file, not the translation file.
- At bottom of the Poedit window, click the big button that says Create new
translation.
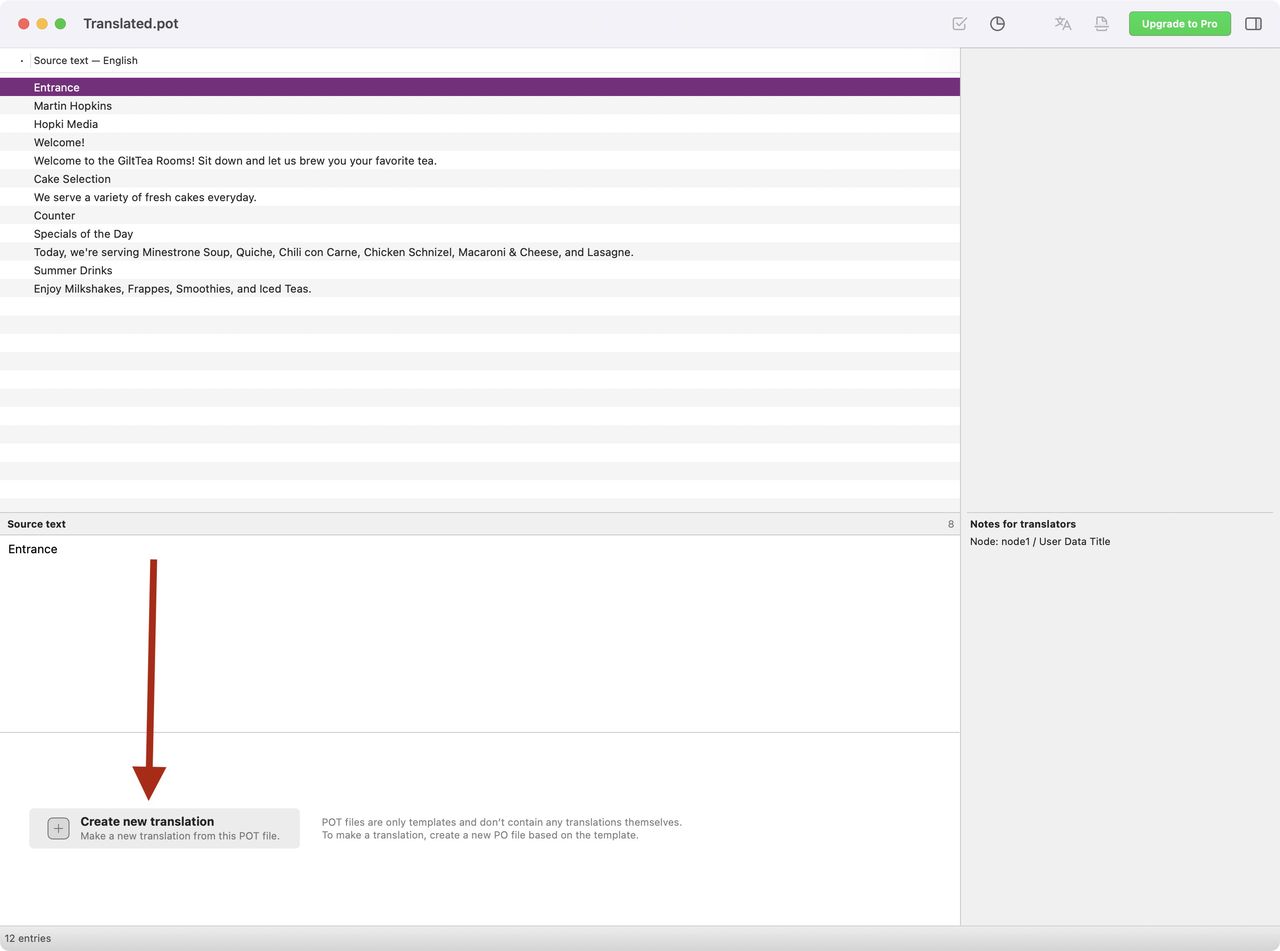
Create new translation - Choose the language to translate to.
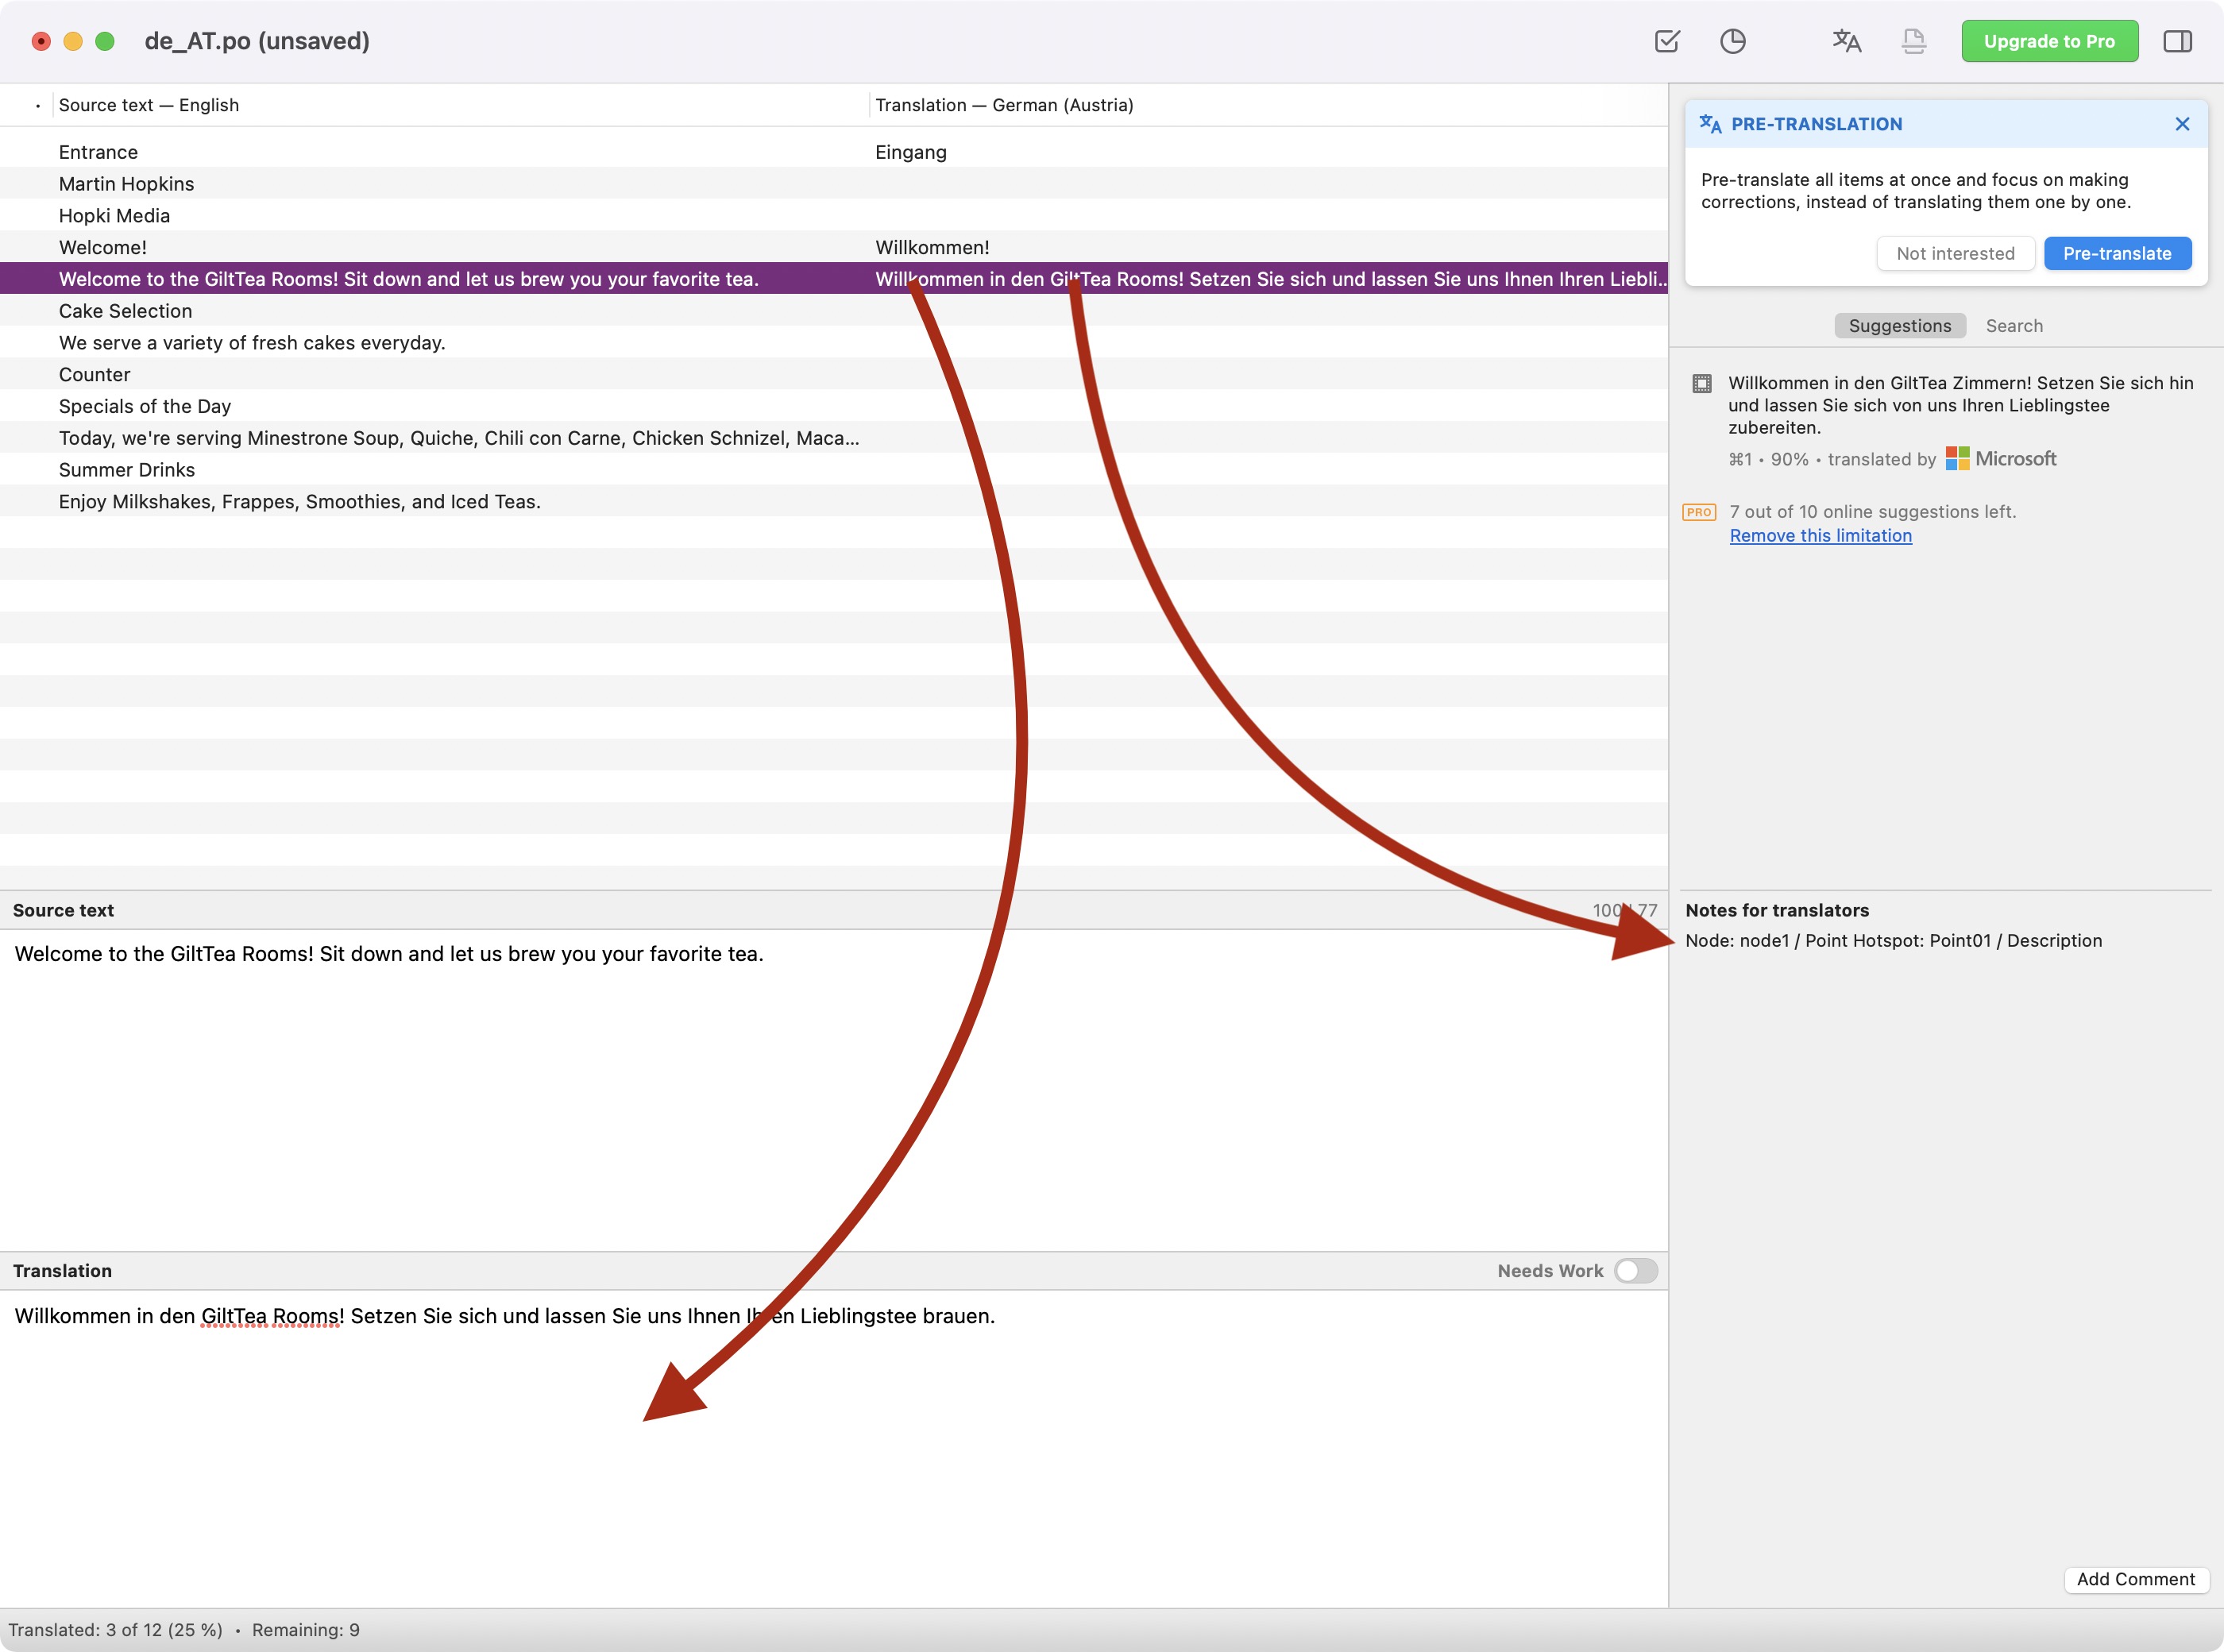
- Now you can start translating by selecting a line and at the bottom of the screen, for “Translation” type the translation. In the panel at the top-right, there are suggested translations that you can use by clicking on them. However, you can only use this 10 times in the free version. After that, you’ll be asked to upgrade.
- Save the translation and two files will be generated. Pano2VR uses the
.pofile. - In the Skin Editor,
add a button(s) to
change languages. ★ Tip A button is not required. Even if there are no buttons to change languages,the player will detect the user’s browser language and use the correct translation if available.
All project text will now be translated. If you need to translate the skin, see this document.
https://youtu.be/gGyVjkRDLYY = gGyVjkRDLYY. 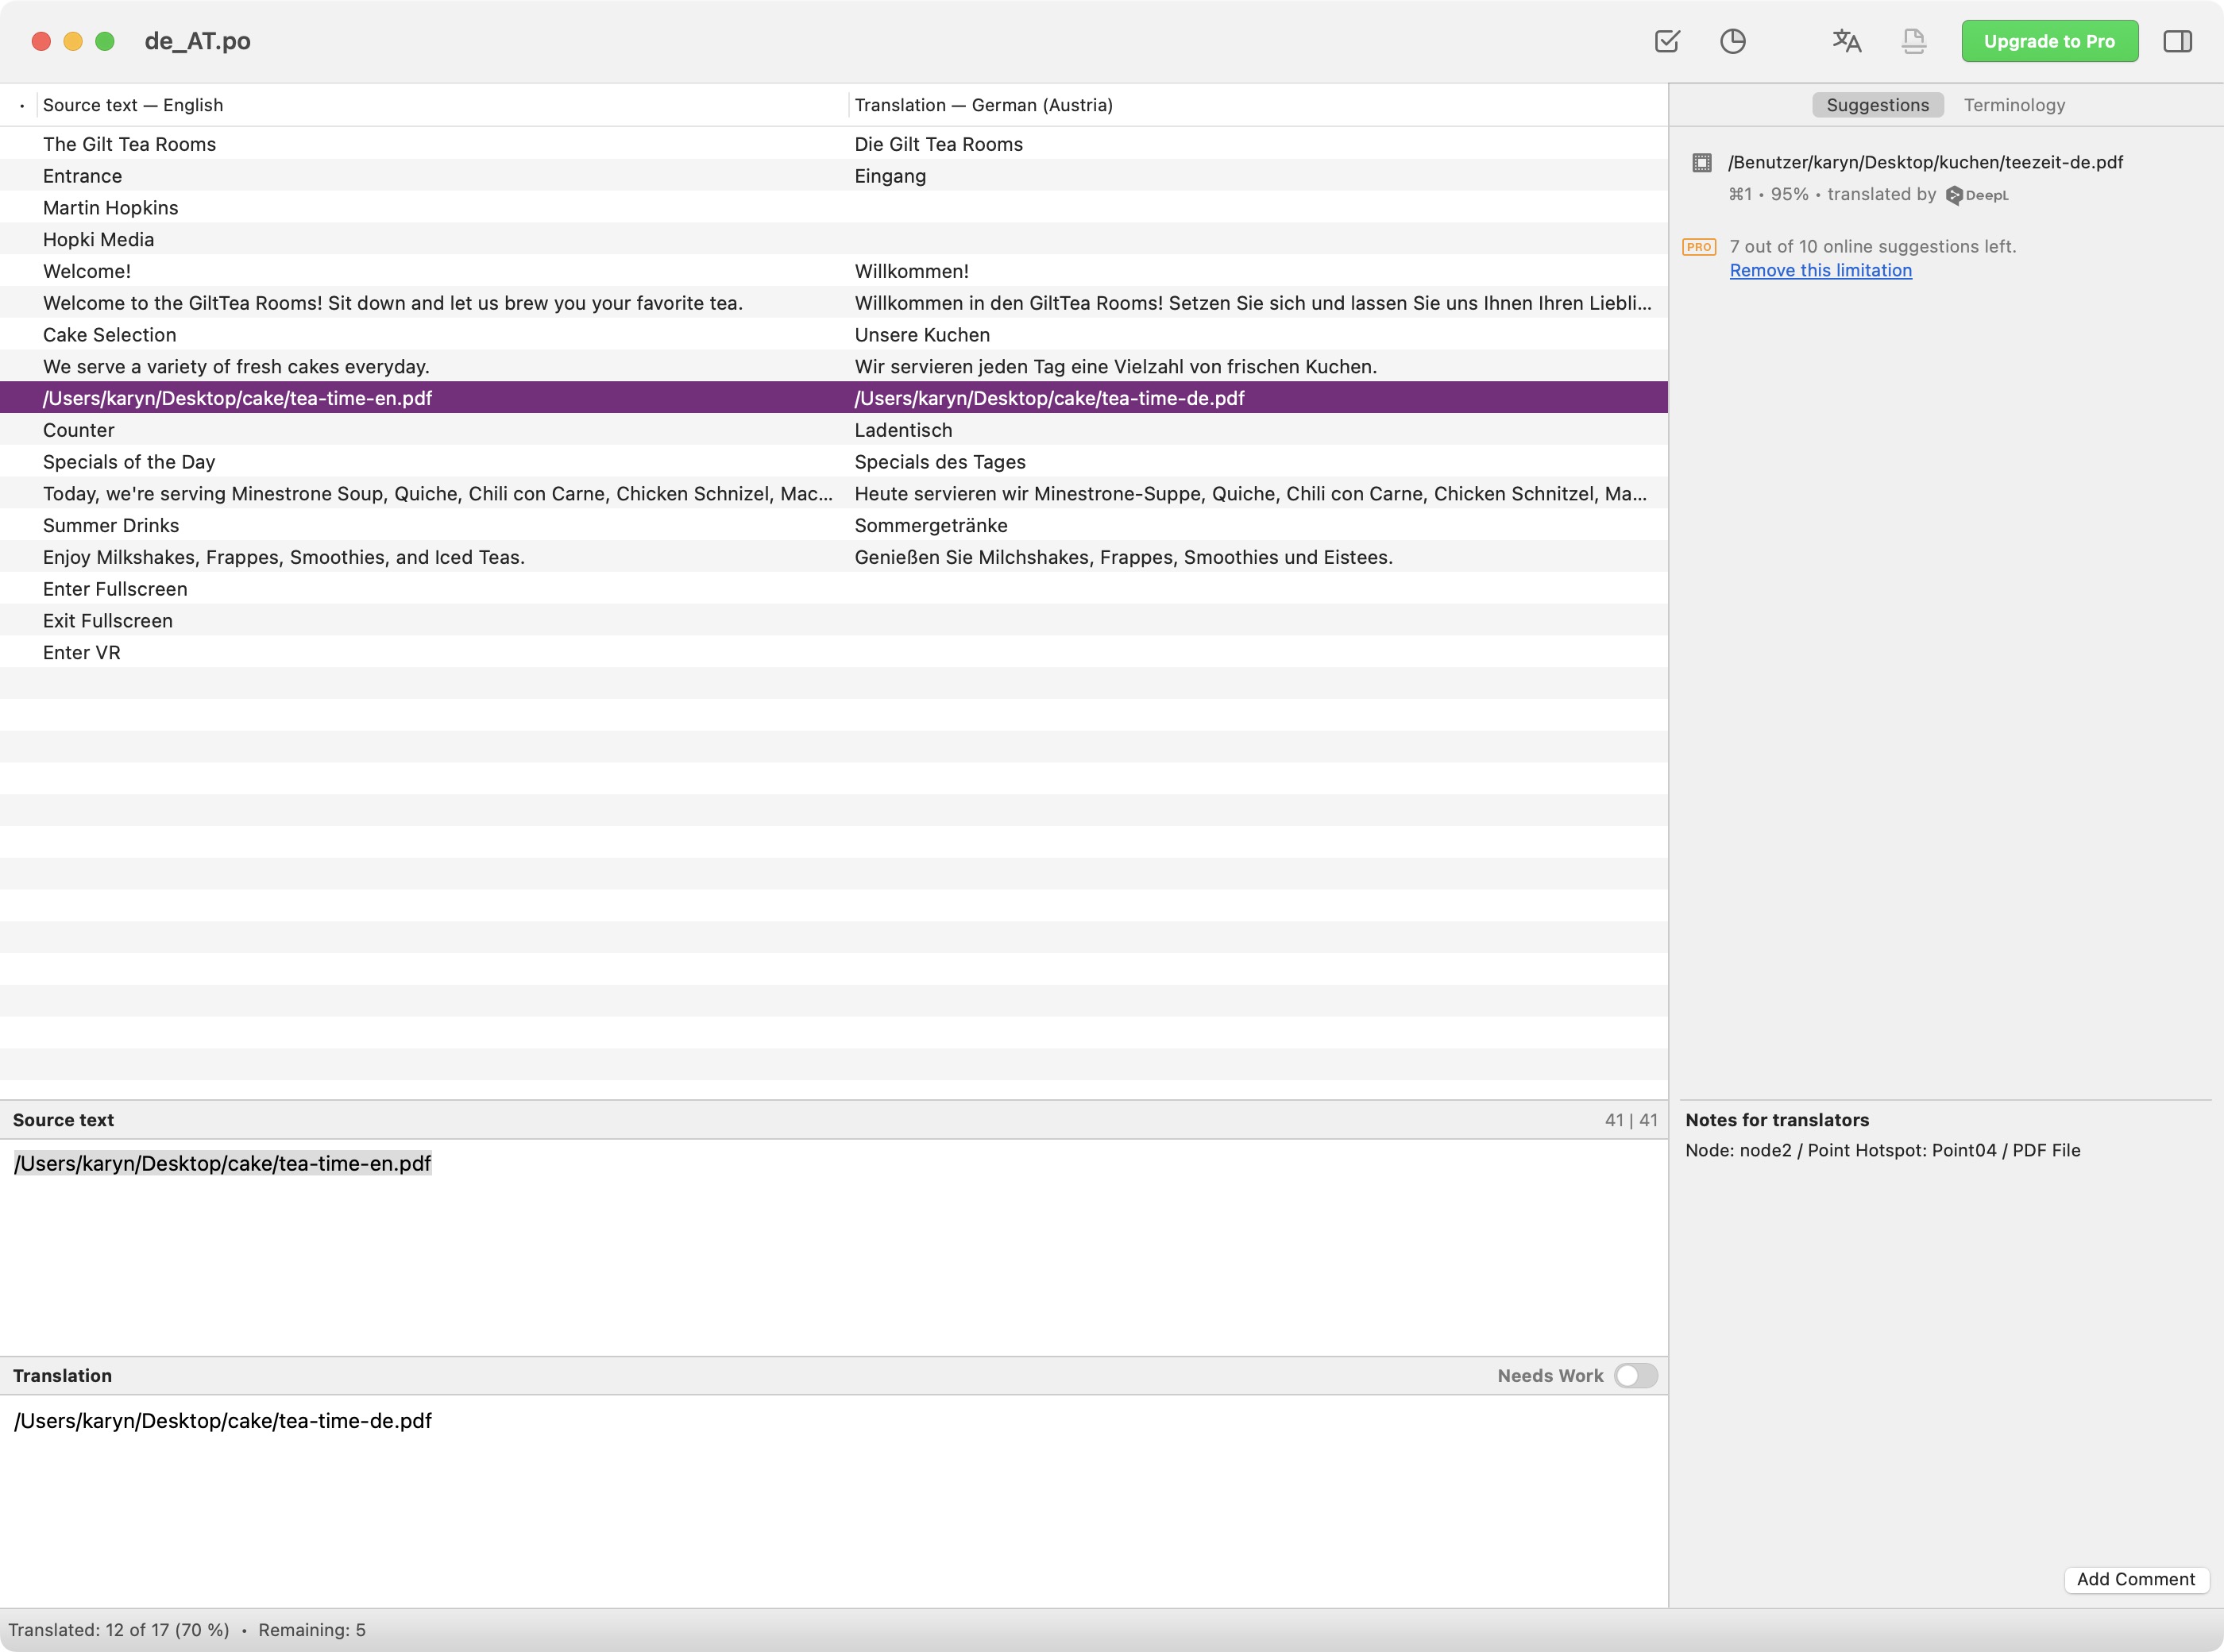
If you wish not to include file paths or URLs that have been added to Hotspots and Pinned Elements, then deselect those options for Included Files.
Update a Translation
If you added content that should get translated to the project after the initial translation, you need to make a new template and load it.
-
Recreate the template file
.potby clicking the Generate Translations Template button. This will add the new content. -
Open the
.pofile in Poedit. -
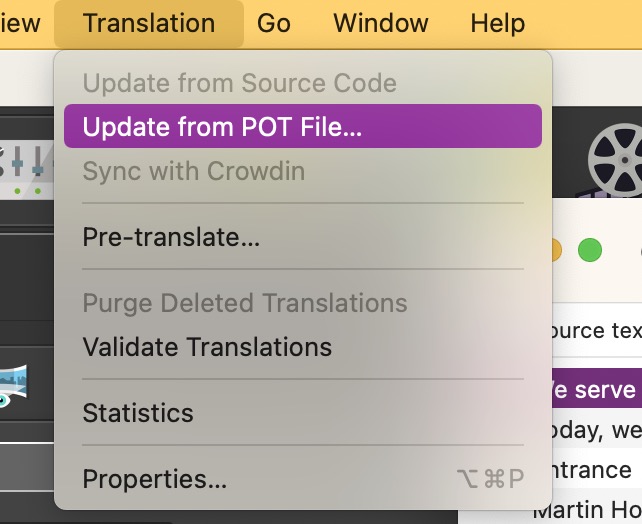
In Poedit, go to the Translation menu and choose, Update from POT file. The PO file will now have the new content, ready to be translated.
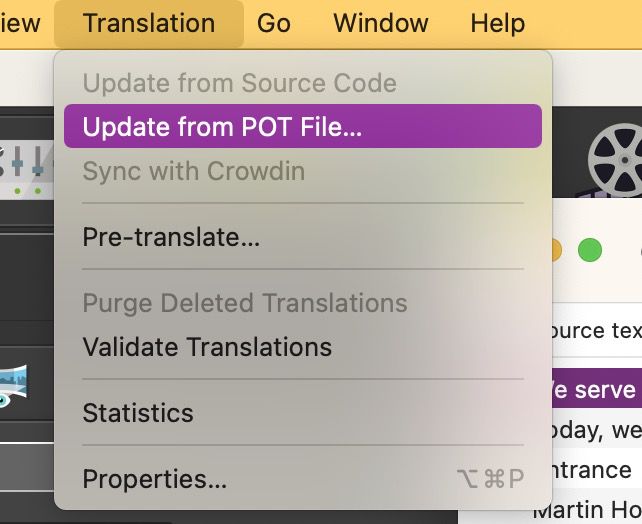
Update from POT file -
Save the
.pofile and re-output the project.