Custom properties provide extra text input fields or properties that can be targeted by the skin.
If a project requires more User Data fields, or more Hotspot properties, then
use custom properties. Custom Properties will appear in the skin as variables.
For example, a User Data custom property can provide more
information for a node. They will get applied to the skin as variables and
can be used like any other variable.
Add Custom Properties
Custom properties
give you extra fields or properties that can be targeted by the skin. In this
example, we’ll add a property for Price in
User Data.
Click the green plus to add a Custom Property.
Fill out the Properties. Provide a description for the property. This
will be visible as a label in User Data. Give it a variable name. This will
appear in the variables list in the Skin Editor and can be anything you like.
The Type for this property will be Text. Leave the default value blank.
Copy this to all nodes.
For each node that has this property, fill out the Price
Click the Edit Skin button to add a skin or to open the selected skin.
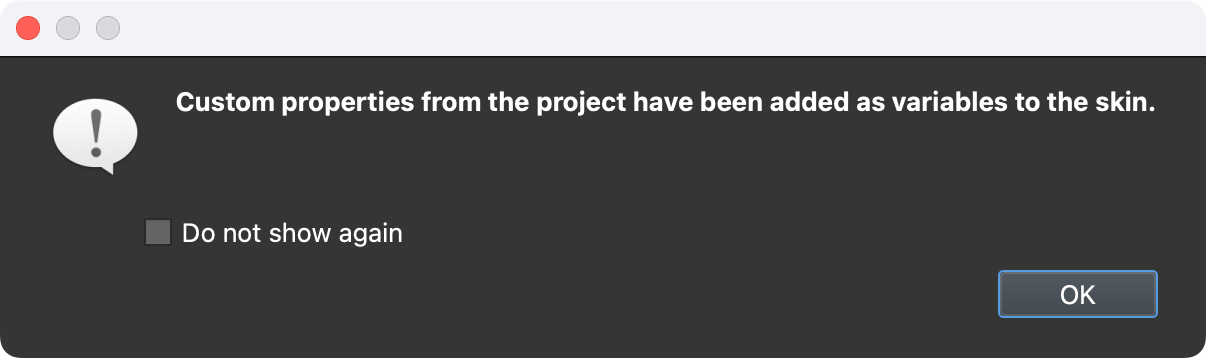
When a skin opens from the Web Output, this property will be added to the skin
as a variable. Now, this property will have its own placeholder and the text can
change dynamically based on this property.
Custom Properties are added to the skin as variables.
Using Custom Properties
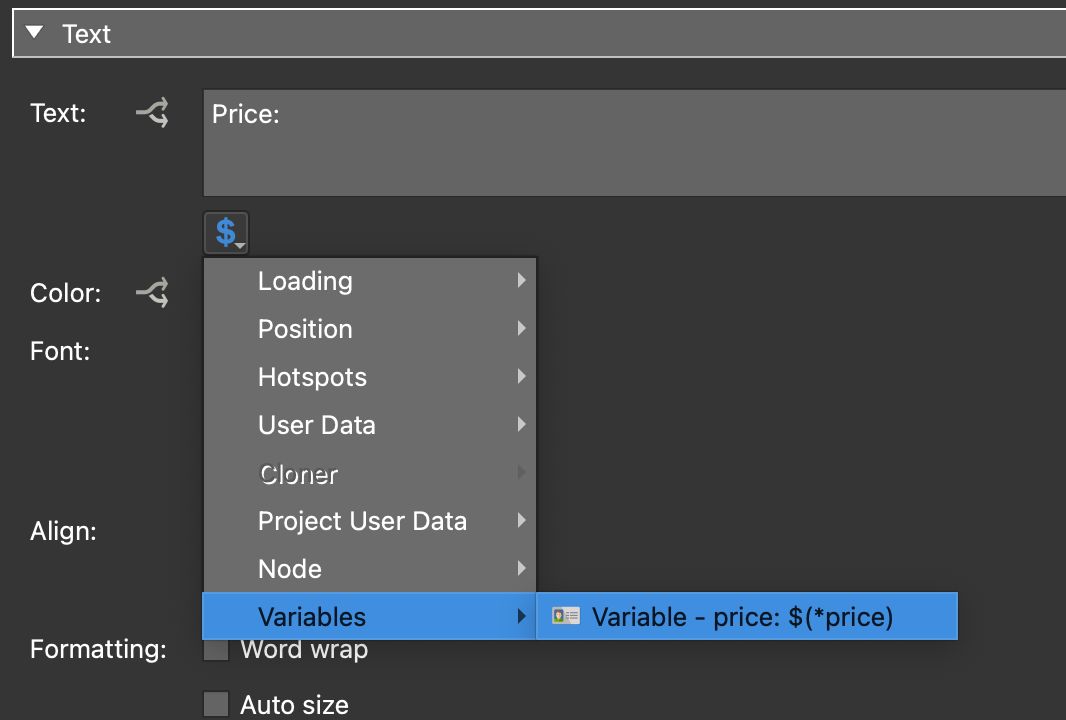
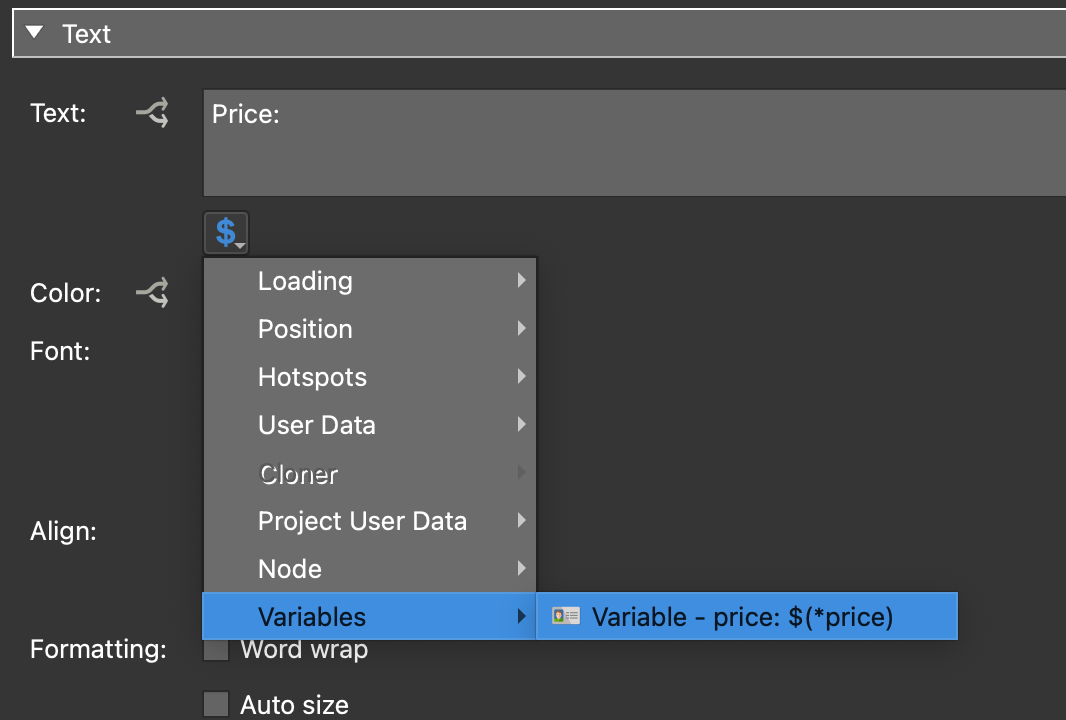
Now that the custom property has been added to the skin, we can add the variable
to a text box to so the content of the custom property.
Custom Property as a variable in the skin and it’s source in User Data.