Tour Browser
The Tour Browser holds and organizes all the panoramas in a tour. Each panorama is represented by a thumbnail image.
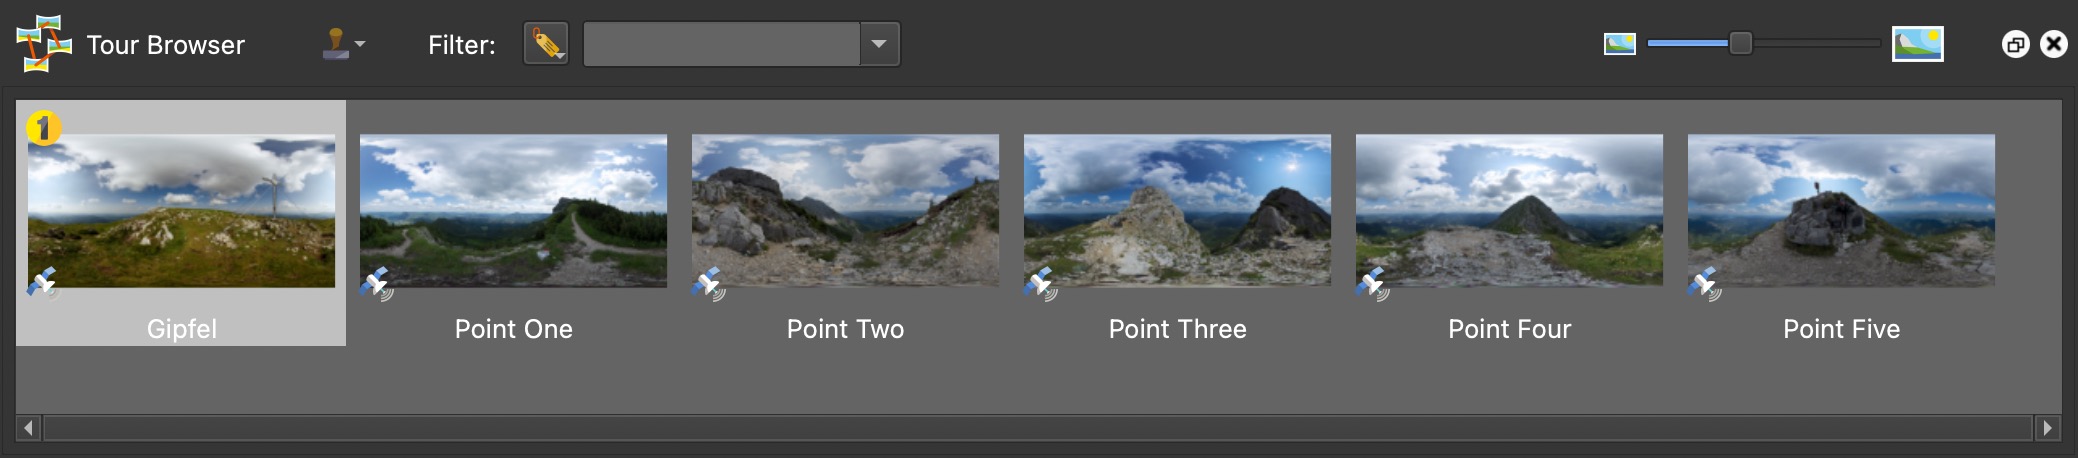
Context Menus
You’ll find context menus (right-click) in both the thumbnail images and in the Tour Browser itself.
Thumbnail Image
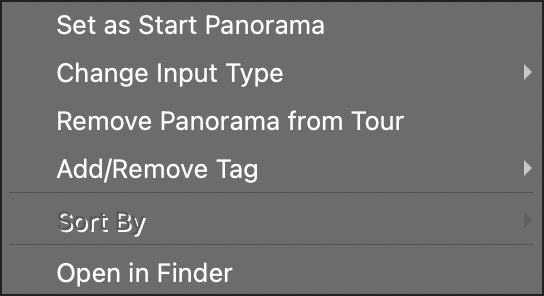
Right-click on any thumbnail in the tour browser to bring up the following options:
-
Set as Start Panorama – This will set the selected panorama as the starting panorama in the tour series.
-
Change Input Type – Change the image’s input type. See the properties page to learn more about the different types. If, for example, you added several Flat images, but wanted to change their input type, then you would first filter the nodes according to their type (Flat) and then select all the images. Right-click to open the context menu and choose the new input type.
-
Remove Panorama from Tour – This will remove the image and its settings from the tour.
-
Remove Selected Panoramas from Tour – If you have selected multiple nodes, you can use this to remove them from the tour.
-
Add/Remove Tag – Here you can add (or remove) a tag to one or multiple nodes. You can add a new tag here or choose from the list of tags that have been added in the User Data (Auto Tags are not listed.). Any tag that has been already assigned to the selected node or nodes, will have a checkmark next to it.
-
Sort By – From the list, choose how the nodes are sorted. Available when a group of nodes or all nodes are selected. If you have a Cloner Element in the Skin Editor, it will use this sort order. So, if you created a menu using the Cloner and wanted to sort your images by their titles, you set the sort order here. ✭ Tip: Select all nodes: use Ctrl/CMD-A
-
Open in Finder/Show in Explorer – Click to highlight the image in Finder (macOS) or Explorer (Windows).
Tour Browser
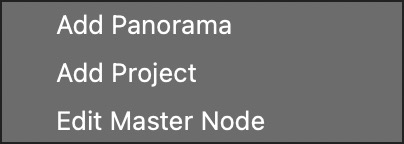
Right-click anywhere in the Tour Browser to bring up these options:
-
Add Panorama – Add another panorama to the tour. This will open a dialog where you can pick the image file.
-
Add Project – Select to add a Pano2VR project file (
.p2vr) as an input source. Custom maps and floor plans will also be added, along with all node settings.★ Tip Move all assets from both projects to the same foloder before compbining projects. -
Edit Master Node – Select to edit the master node. The Viewer will show an empty panorama indicating it is in master node mode.
Image Tooltip
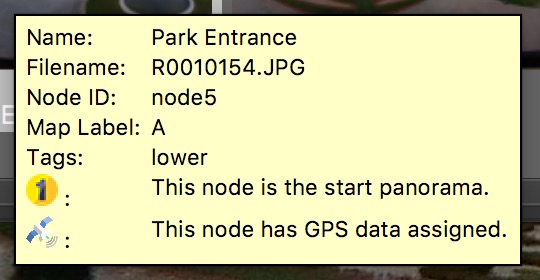
This tooltip will appear when the mouse hovers over an image in the Tour Browser. It will give you the following information:
-
Name – The name of the tour image that has been added as the Title in User Data.
-
Filename – The original file name and file path of the image.
-
Node ID – This is the Internal Node ID number. To see this parameter, select Show internal node ID in the preferences or settings.
-
Map Label – This will show the node’s map label (which shows in the node’s pin in the Tour Map). Turn on labeling in the preferences/settings.
-
Tags – This will show all the tags that have been assigned to the image.
-
Start Panorama – The symbol with the number one indicates that the current panorama is the starting node of the tour.
-
GPS – The blue satellite symbol indicates if there is GPS data assigned to the panorama or not.
Filtering
Filter to help organize your images. When you import an image, the folder name of that image will be added as a tag. This is a fast way to automatically add tags to a lot of images. If you’re using a Mac, your Finder Tags will be imported as well. Tags are added in User Data or in the Tour Browser using the Stamp Tags tool.
- Stamp Tags – click this create a new tag or to add an existing tag to node in the Tour Browser.
Learn more: Adding Tags
Nodes can be filtered by:
-
Tags – filter by assigned tags, choose from the list
-
Text – filter by any text added to the User Data
-
Distance – enter a distance to filter by distance (Longitude and Latitude data needed)
You can also mix and match the filters. For example, you can filter by tags and distance.
< changes to >.Learn more: Filtering Nodes