Pano2VR Settings
User preferences/settings can be found in the Menubar. Choose File > Settings on Windows and Linux; and Pano2VR > Preferences on Mac OS.
General
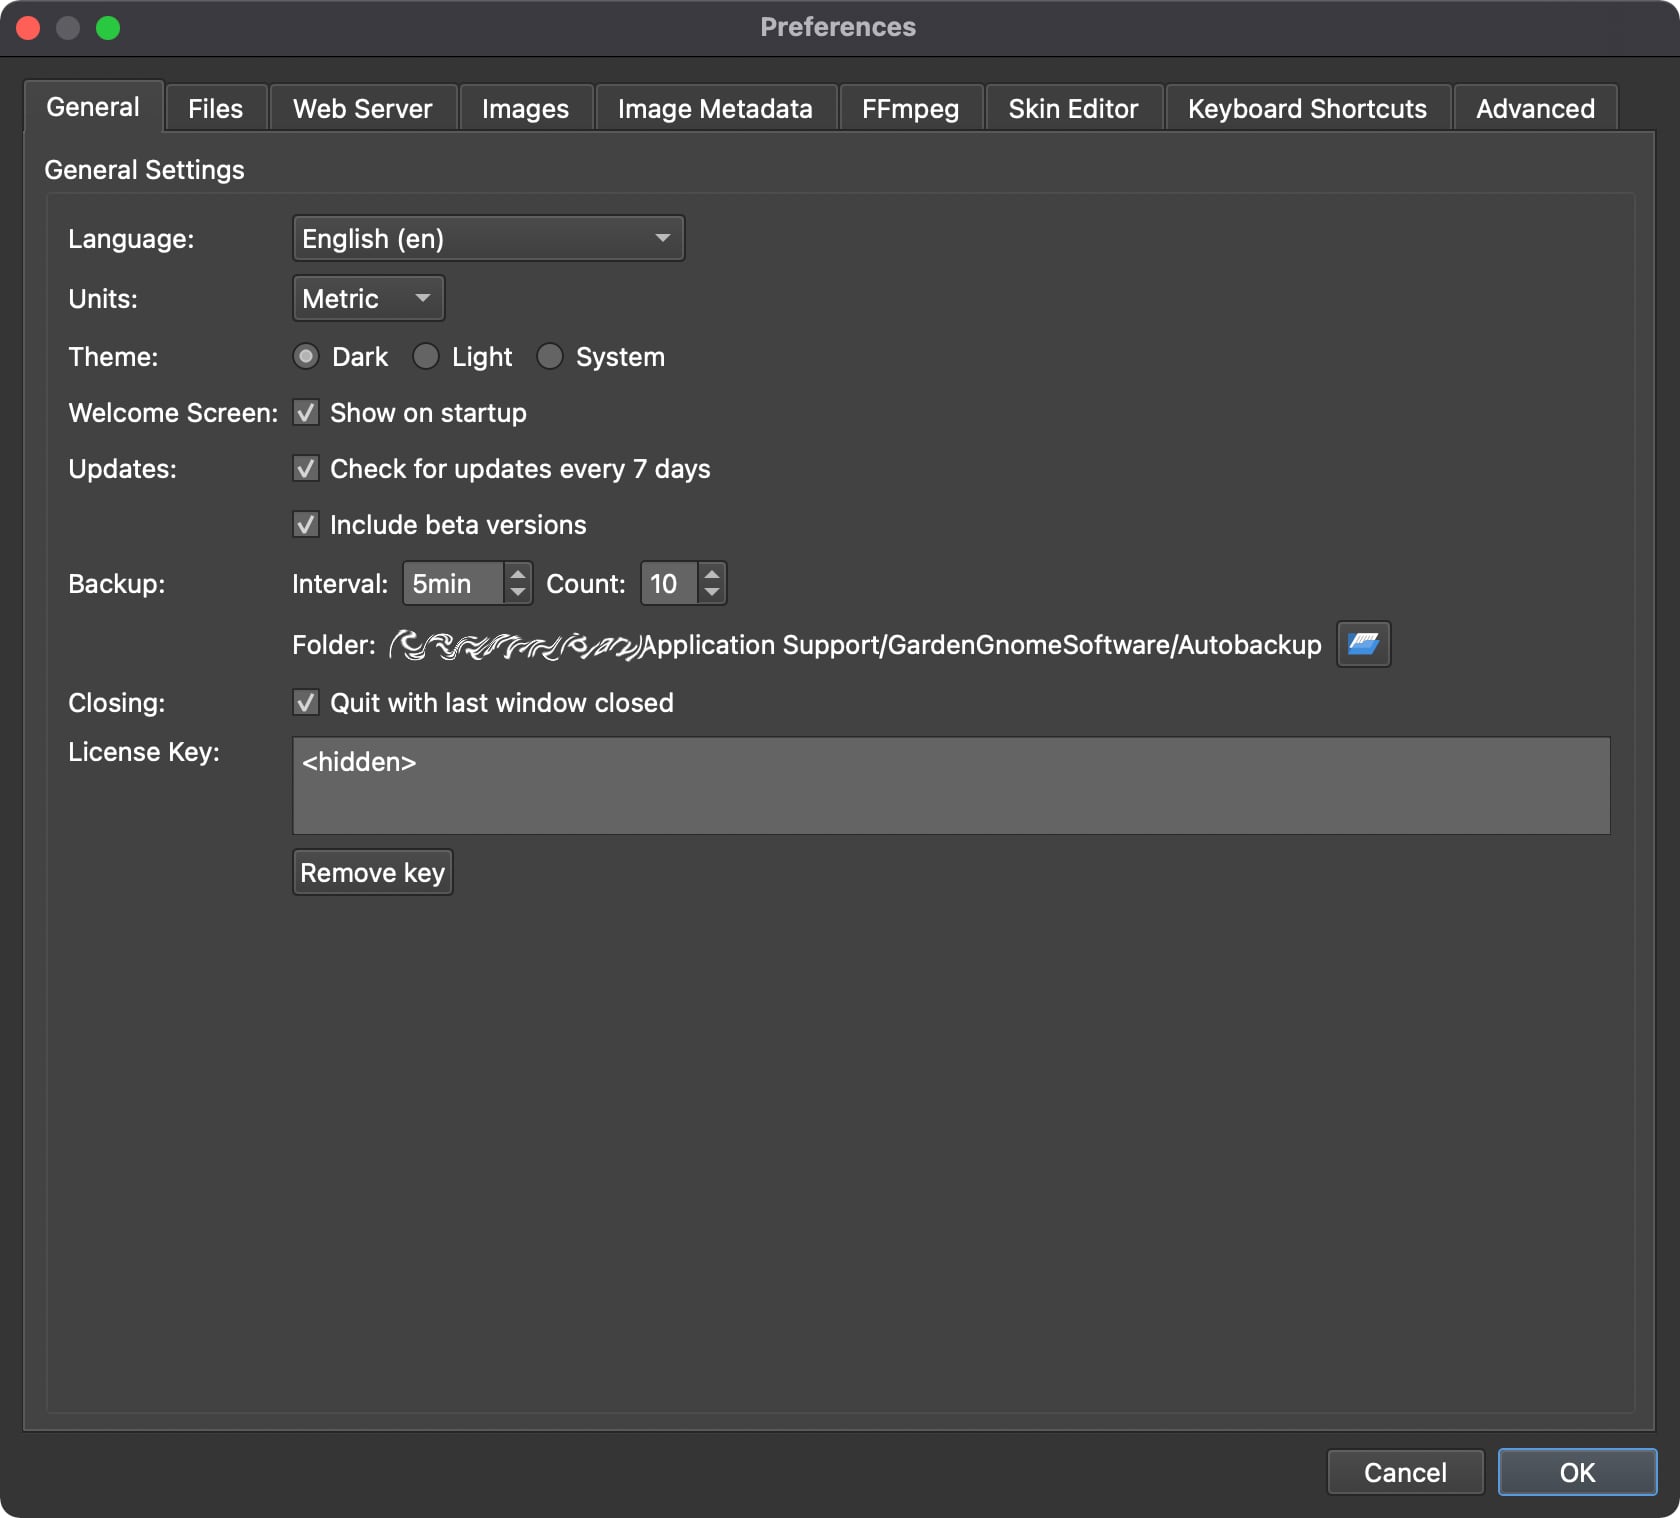
Language – Choose from the following languages:
- System Default
- English
- Arabic
- Czech
- German
- Spanish
- Farsi
- French
- Italian
- Dutch
- Russian
- Swedish
Units – Select your preferred units of measurement. Choose from Metric or Imperial.
Theme – Select a dark or light interface theme or use your system’s theme. Restart Pano2VR to see the change.
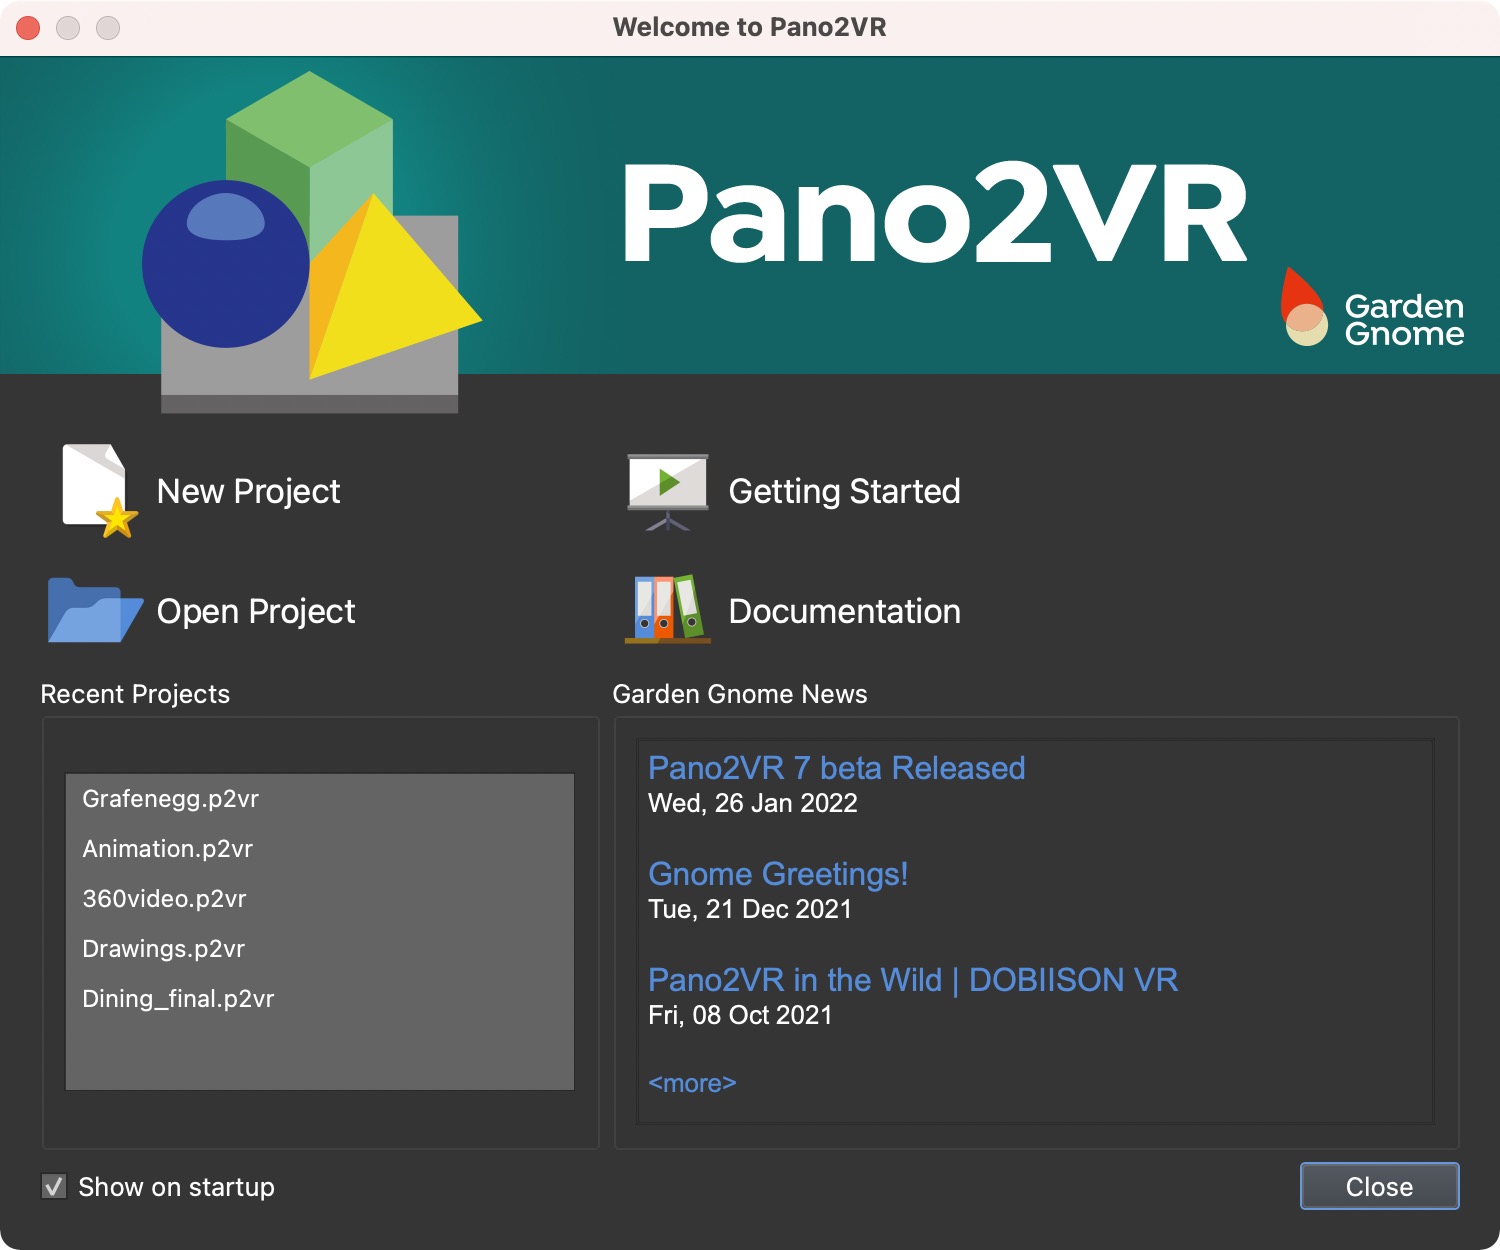
Welcome Screen – The welcome screen appears on startup by default and includes links to the documentation, the latest news and recent projects.
- Show on startup – Deselect to not show the Welcome Screen on startup.
Updates
-
Check for updates every 7 days – If selected, Pano2VR will automatically check for software updates every 7 days. If an update is available, a dialog will alert you to download and install.
-
Include beta versions – Select to include beta versions when checking for software updates.
Backup
Pano2VR automatically backs up your project and skin files. To turn auto back up
off, set the Interval to 0.
- Interval – Set how often Pano2VR creates a backup.
- Count – Set how many backup instances should be saved.
- Folder – This is the location of the backup folder. Click the folder icon to choose a new location. Right-click the file path to edit the path or to Open in Explorer/Show in Finder.
If Pano2VR closes unexpectedly or the current project was not otherwise saved during closing, the next time Pano2VR is opened an option to load the most recent backup will be provided. When this project is saved, the file path and name will be updated to the originally saved location and not the backup folder.
Skin files (GGSK) are only backed up when the Skin Editor is open.
Closing (macOS only)
- Quit with last window closed – Closing the last open project window will quit the program. This option is enabled by default.
License Key – Add your license key here. When the license is added,
<hidden> will be seen in the box. Click Remove Key to remove the key and
return to Trial mode (or select the text and hit delete). To add a new key
(e.g when upgrading), click Remove Key and paste your new key in the box.
Files
Directories
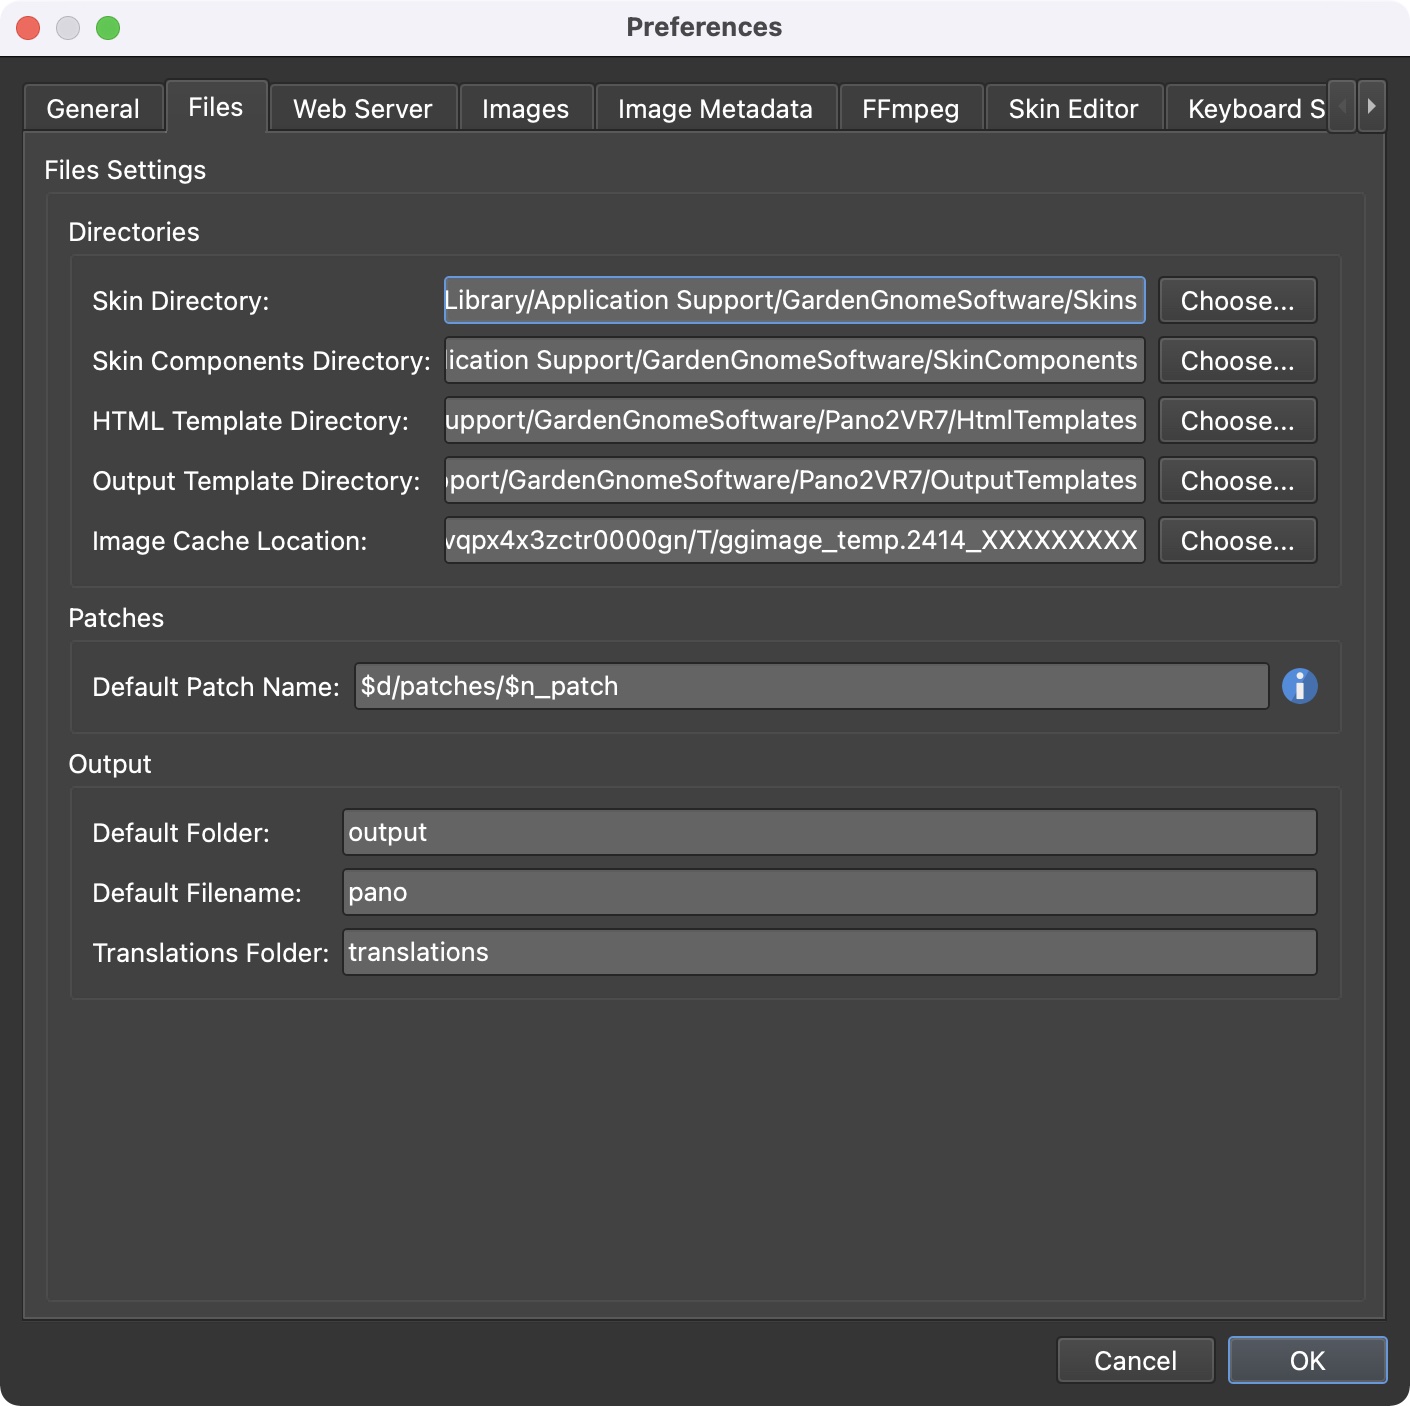
This section provides directory information. Click Choose to change where the following files should be stored. Right-click in the file path to open the folder in Finder or Explorer.
- Skin Directory – Skin directory location.
- VR Skin Directory – Default location of skins built for VR.
- Skin Component Directory – Default location of skin components.
- HTML Template Directory – HTML templates location.
- Output Template Directory – The location for output templates.
- Image Cache Location – This is where temporary files are stored during processing.
Patches
- Default Patch Name – Here, you can define the naming convention of the
patch’s file name. The default is
$d/patches/$n_patchand uses Placeholders.$dwill be replaced by the name of the project directory/folder,$nwill be replaced by the input image’s file name.$ccan be used to show the patch’s location.
Output
- Default Folder – Pano2VR places all the output files into one folder for
better access and organization. The default name of the folder is
output, and this can be changed here. If left blank, no output folder will be created. - Default Filename – Allows you to choose the default file name of the
panorama’s output configuration file (the XML file). The default is set to
pano, but this can be changed to anything you prefer. - Translations Folder – Translation files will be named by default,
translations. This default can be changed.
Web Server
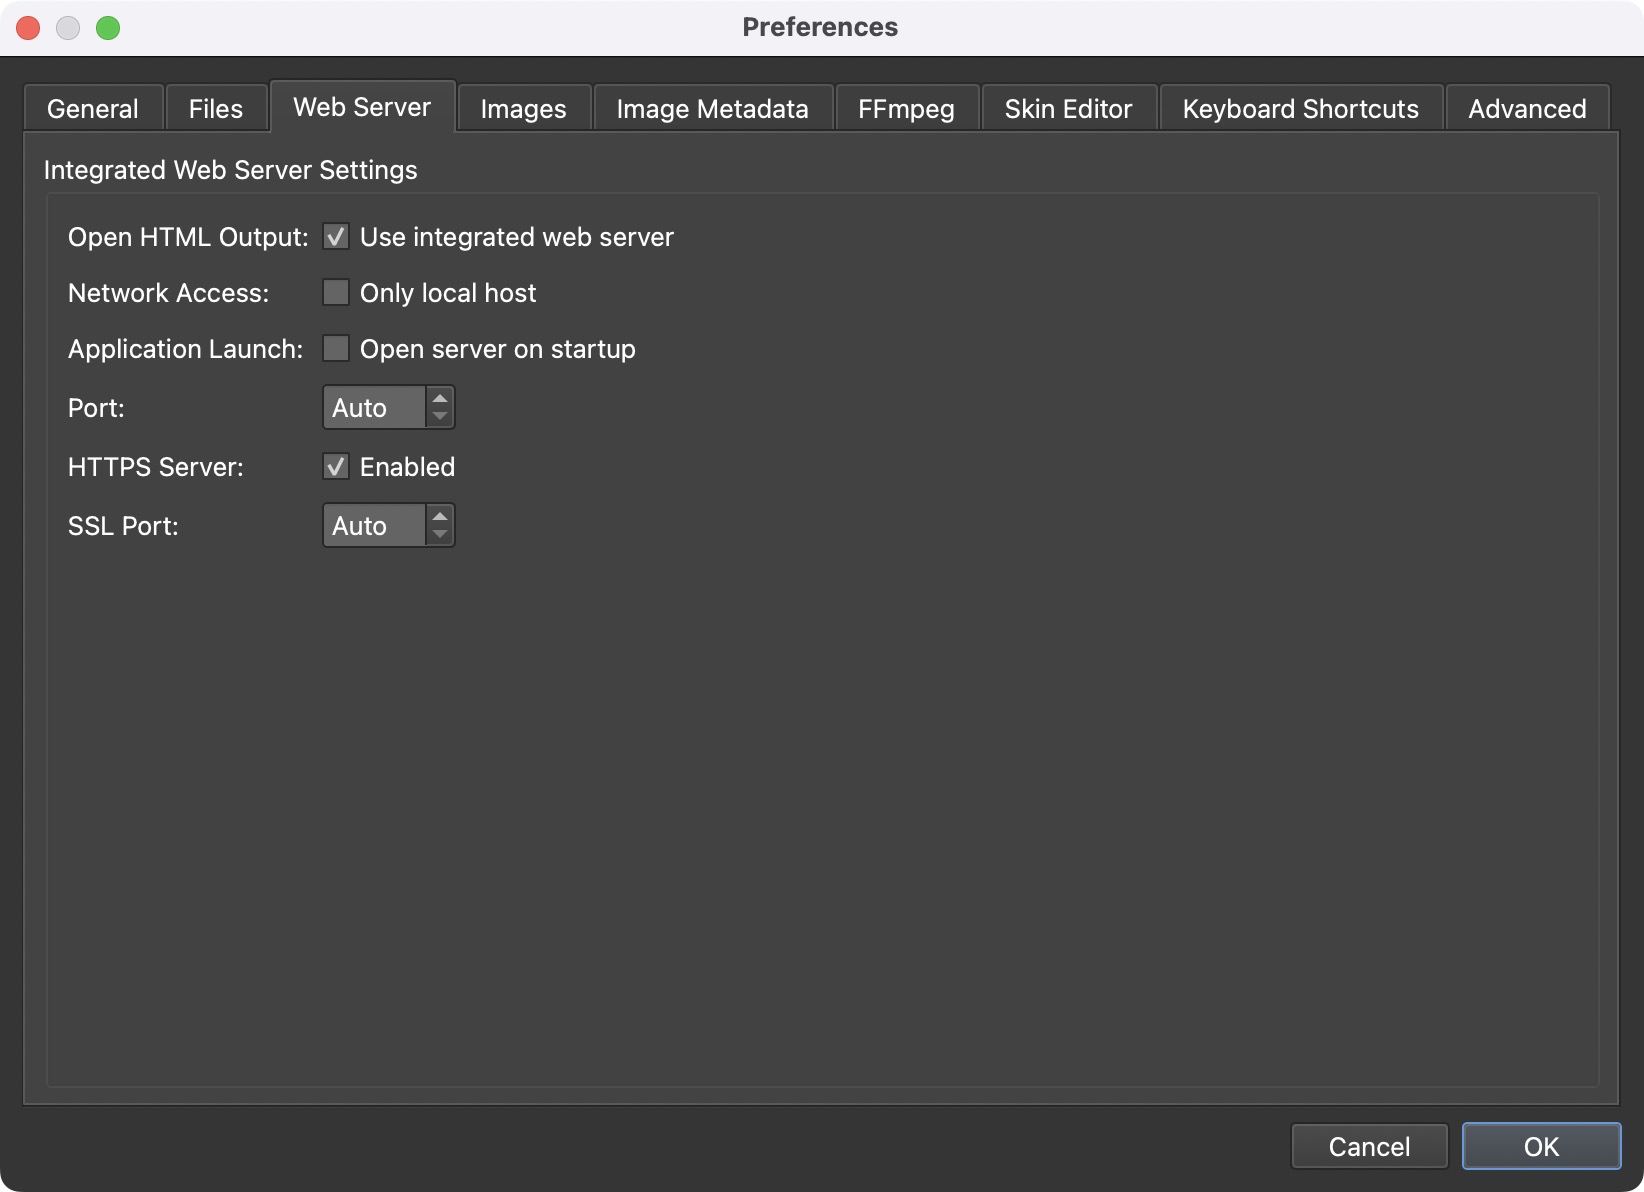
Pano2VR has an Integrated Web Server that allows for local viewing of the project.
Open HTML Output
- Use integrated web server – When selected, and Open after creation is selected in the Output section, the integrated web server will open automatically displaying the HTML output. This option is enabled by default.
Network Access
- Only local host – Keep this selected to ensure that the web server is using the current local host. When not selected other devices and machines connected to the same network can also view the output. This option is enabled by default.
Application Launch
- Open server on startup – Select this to have the web server open and running when Pano2VR opens.
Port – Choose your desired port or leave it at auto. The server will use a new port number every time it is restarted or the program is opened. A fixed port number can also be used making it possible to bookmark the page. We suggest using ports 8000 or 8080. For more information on port numbers please see – List of TCP and UDP port numbers.
HTTPS Server – Select Enabled to also include a secure web server. Some features require the project to be served on a secure site, especially mobile features like the gyroscope.
SSL Port – Choose your desired secure port. We can recommend port 8001.
Images
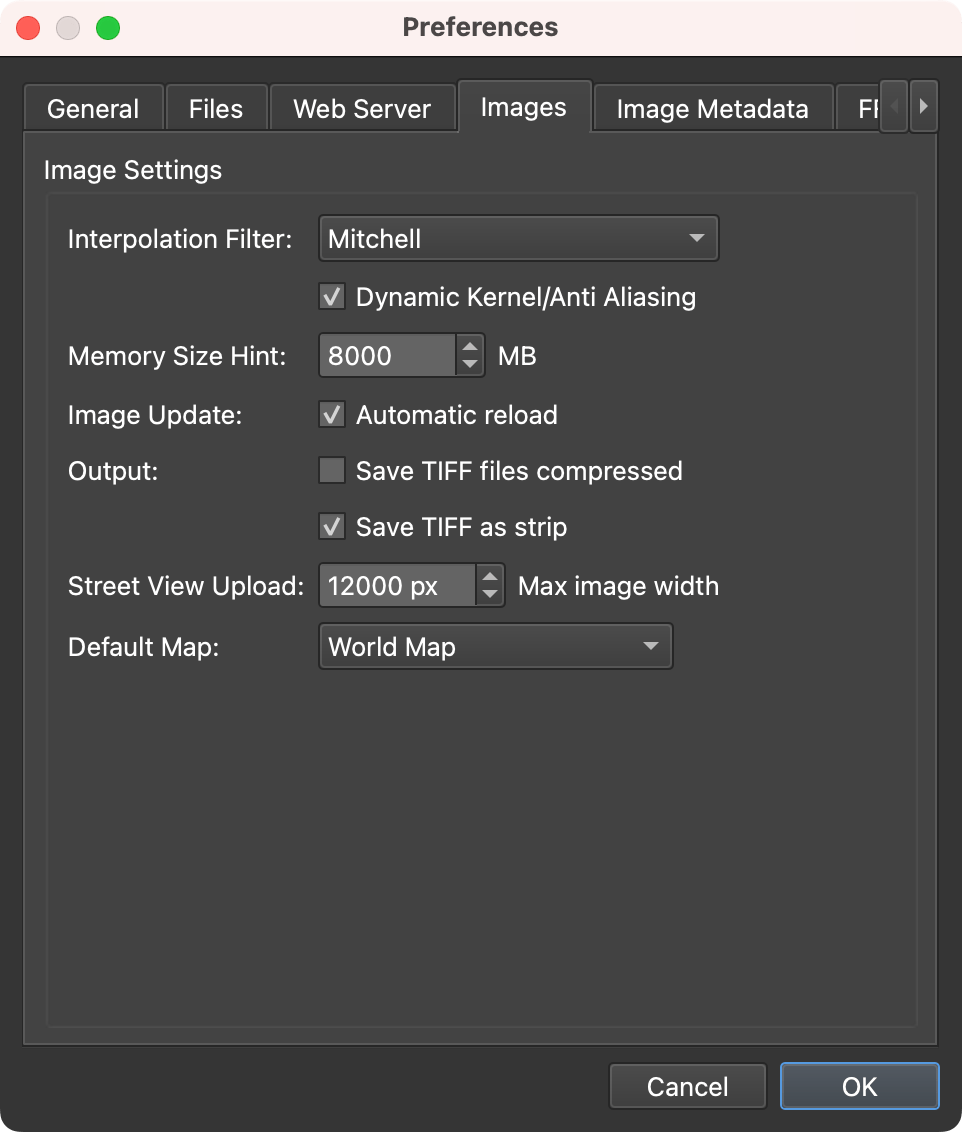
Interpolation Filter – Select the filter that is used for remapping operations. The different filters can sharpen or blur the image. Mitchell is selected by default.

- Dynamic Kernel/Anti Aliasing – This option is selected by default, allowing for anti-aliased results using a dynamic kernel. This allows for sampling in more than one area of the image. More on anti-aliasing filters.
Memory Size Hint – Pano2VR will automatically set this to half the physical RAM of your computer. You may also set this manually.
Image Update – When Automatic reload is selected, any image that has been edited will be automatically reloaded with the latest edit. This is selected by default. See Patches Mode.
Output
- Save TIFF files compressed – Choose this if you want TIFF files to be compressed on output.
- Save TIFF as strip – Select to prevent TIFF files being saved a Tiled TIFFs (recommended when images will be processed in other applications, like PTGui).
Street View Upload
This sets the maximum image width for when uploading to Google Street View. The default is set to 12,000 pixels.
Default Map
Select the default map to use in the Tour Map.
Image Metadata
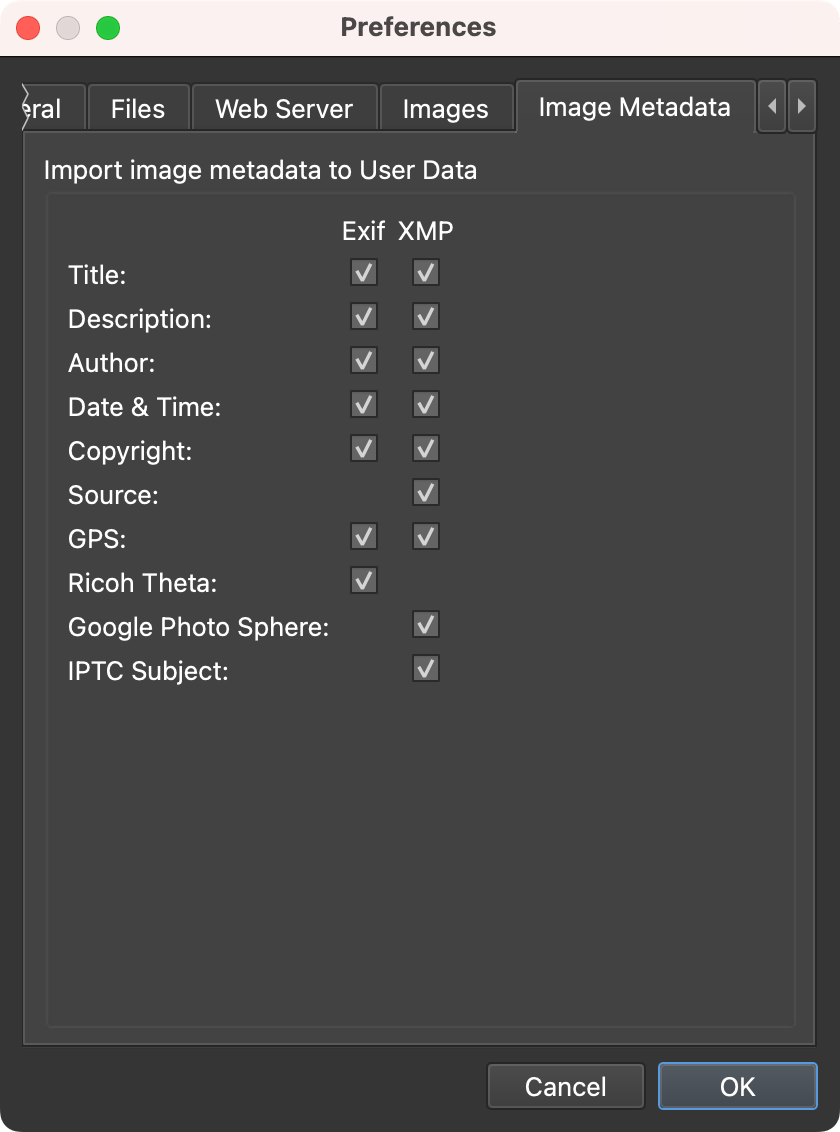
Here you can choose which of the Exif and XMP data you’d like to import from your images.
Import image metadata to User Data – Select the following to import directly to the User Data fields, except for Ricoh Theta and Google Photosphere.
| User Data | Exif | XMP |
|---|---|---|
| Title | Exif:DocumentName | title |
| Description | Exif:ImageDescription | description |
| Author | Exif:Artist | creator |
| Date & Time | Exif:DateTime | |
| Copyright | Exif:Copyright | rights |
| Source | source | |
| GPS | GPS | GPS |
| Ricoh Theta | Leveling Data (older Theta models) | |
| Google Photosphere | ||
| IPTC Subject | subject codes |
FFmpeg
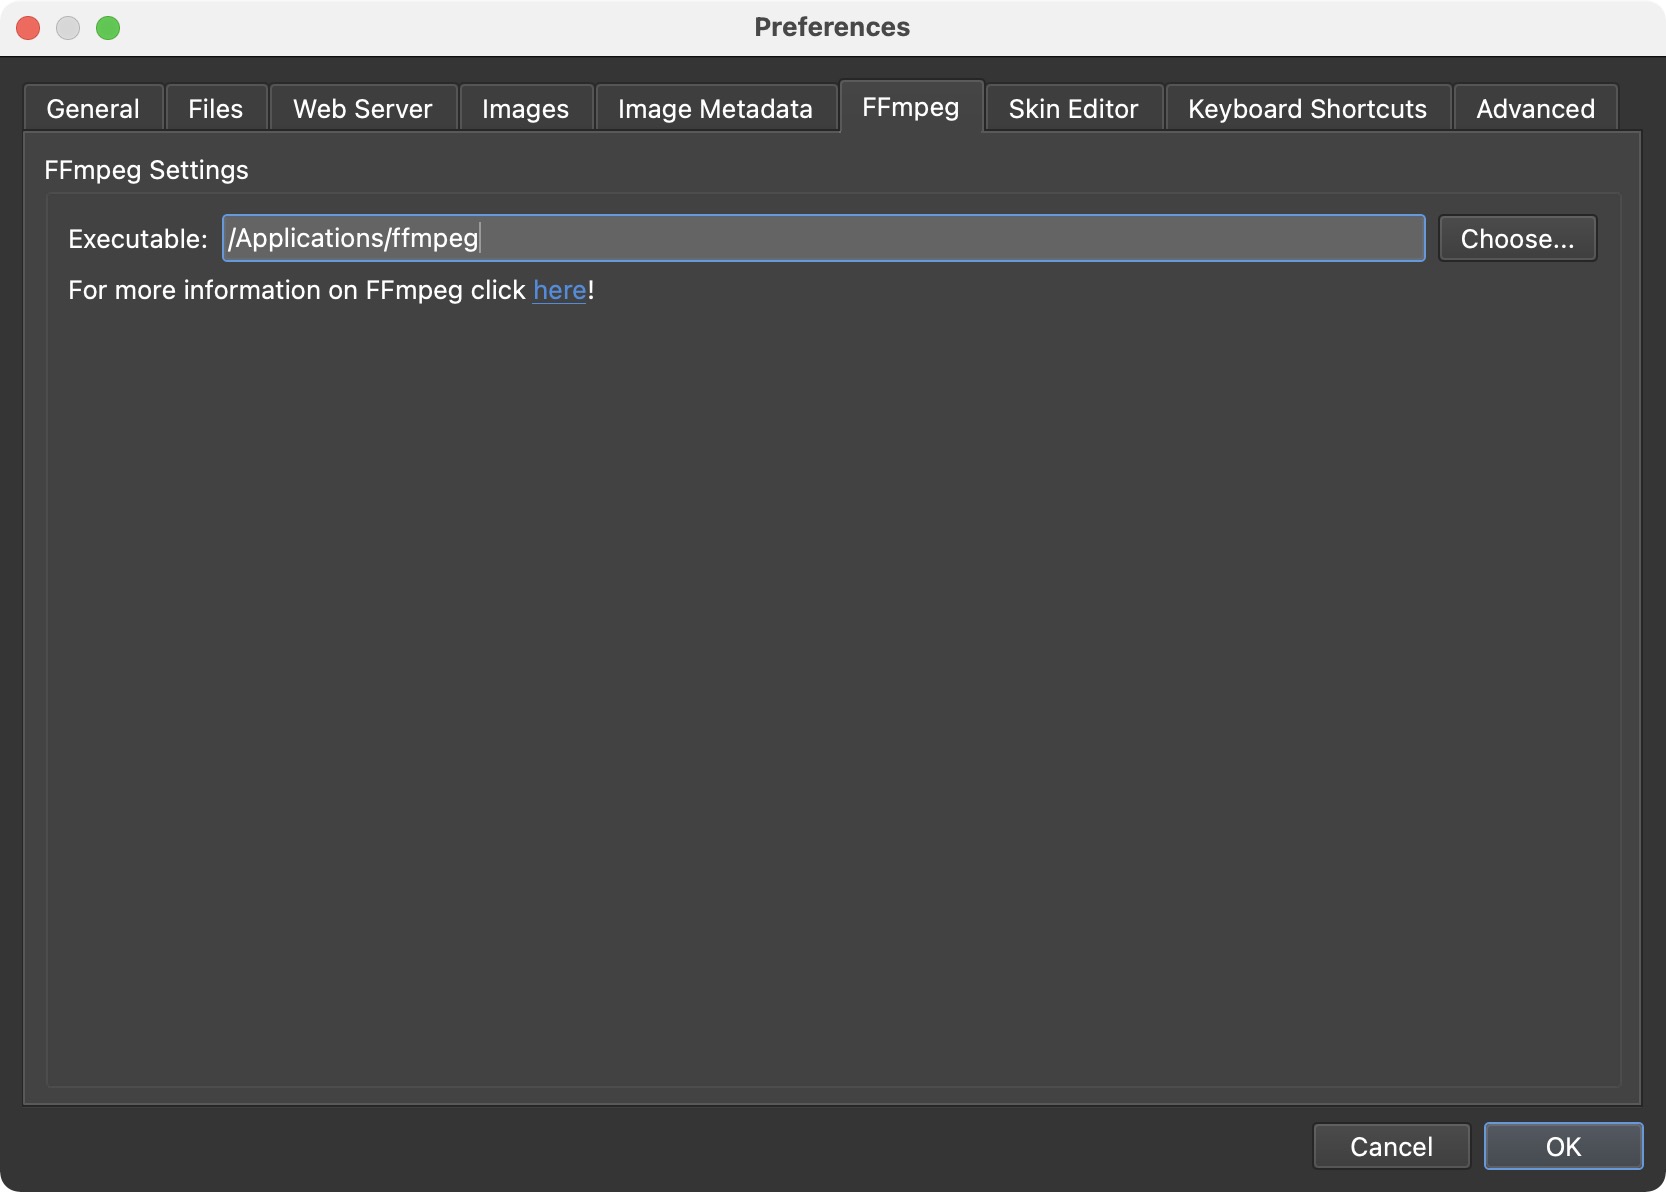
FFmpeg is a free software project that produces libraries and programs for handling multimedia data. Pano2VR can use FFmpeg to create poster frames when adding videos to the Viewer and for video conversion.
Executable – After downloading FFmpeg, click, Choose, and select the FFmpeg executable you have downloaded. This tells Pano2VR where to find it so it can use the program to create the poster frames.
Skin Editor
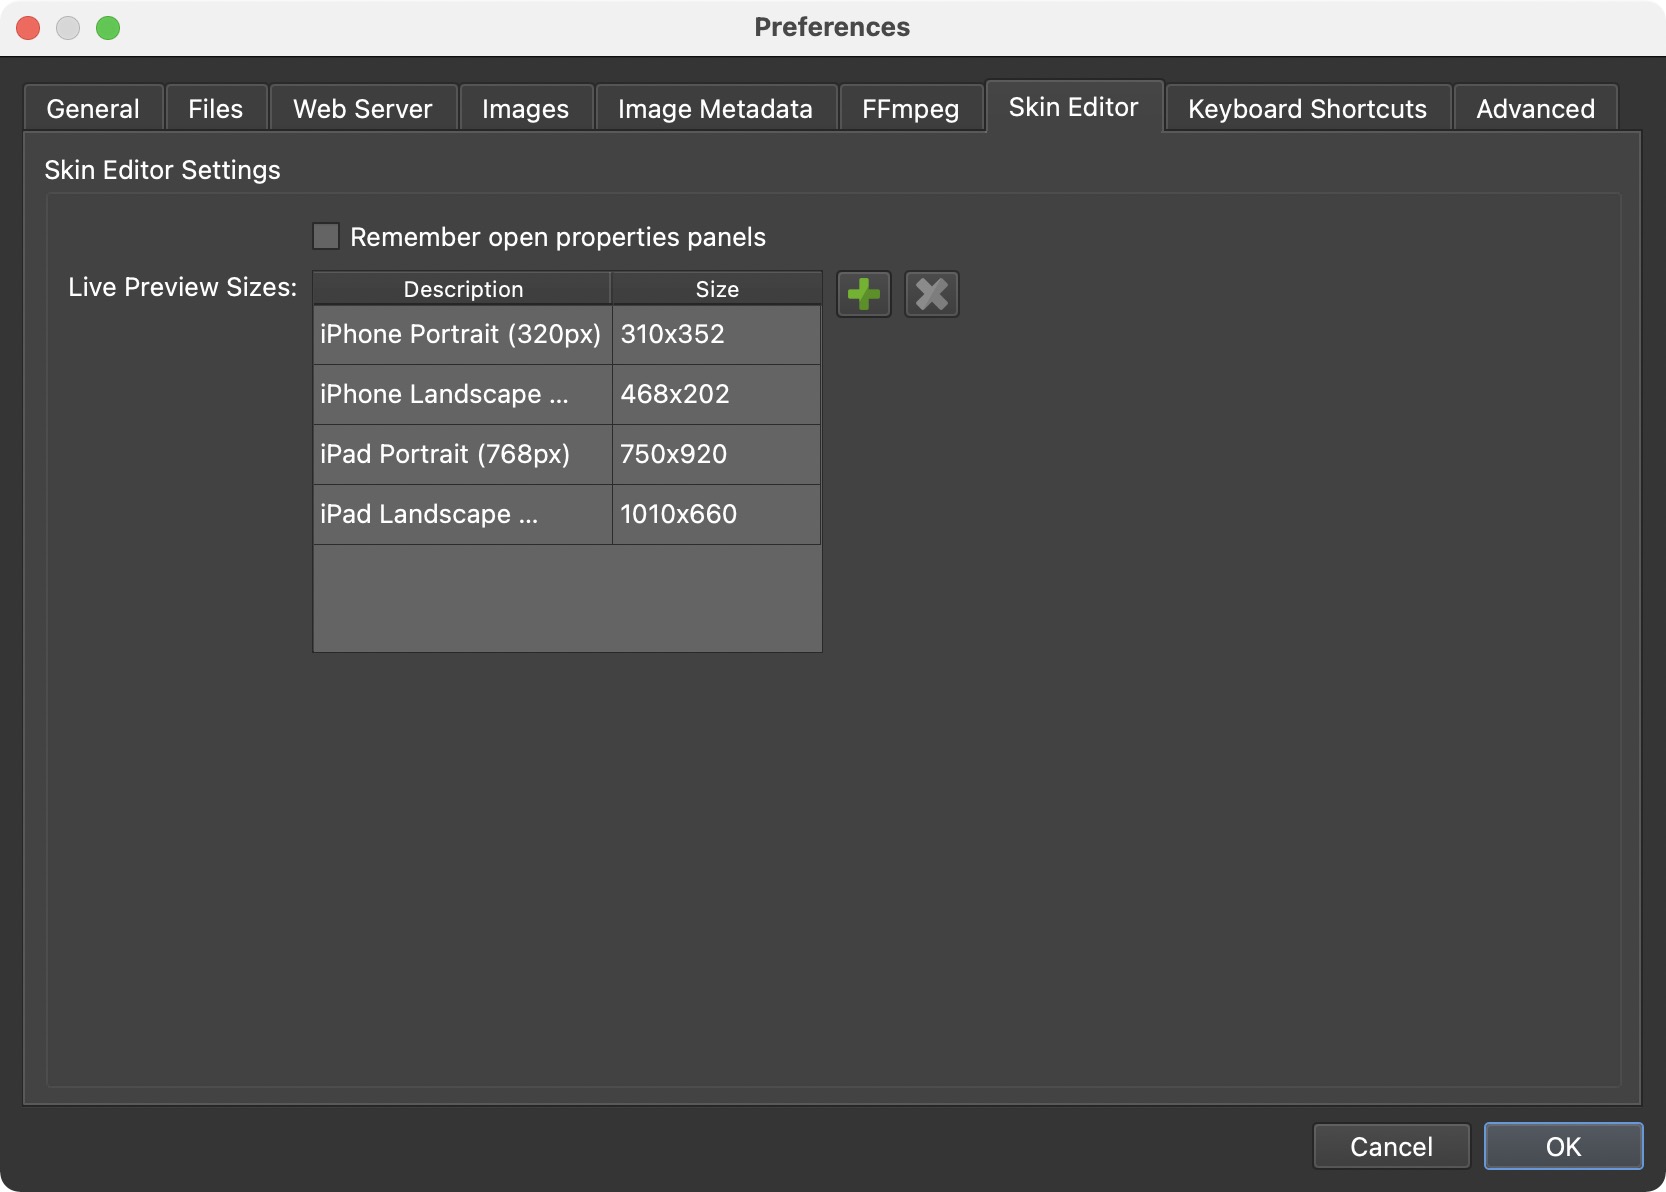
Remember open properties panels – When opening the skin editor, the opened properties panels during the last session will be remembered and opened.
Live Preview Sizes – Here you can define window sizes for the Live Preview.
✭ Tip: In the Skin Editor, click and hold on the Live Preview button to bring up the size options, then select the size.
Keyboard Shortcuts
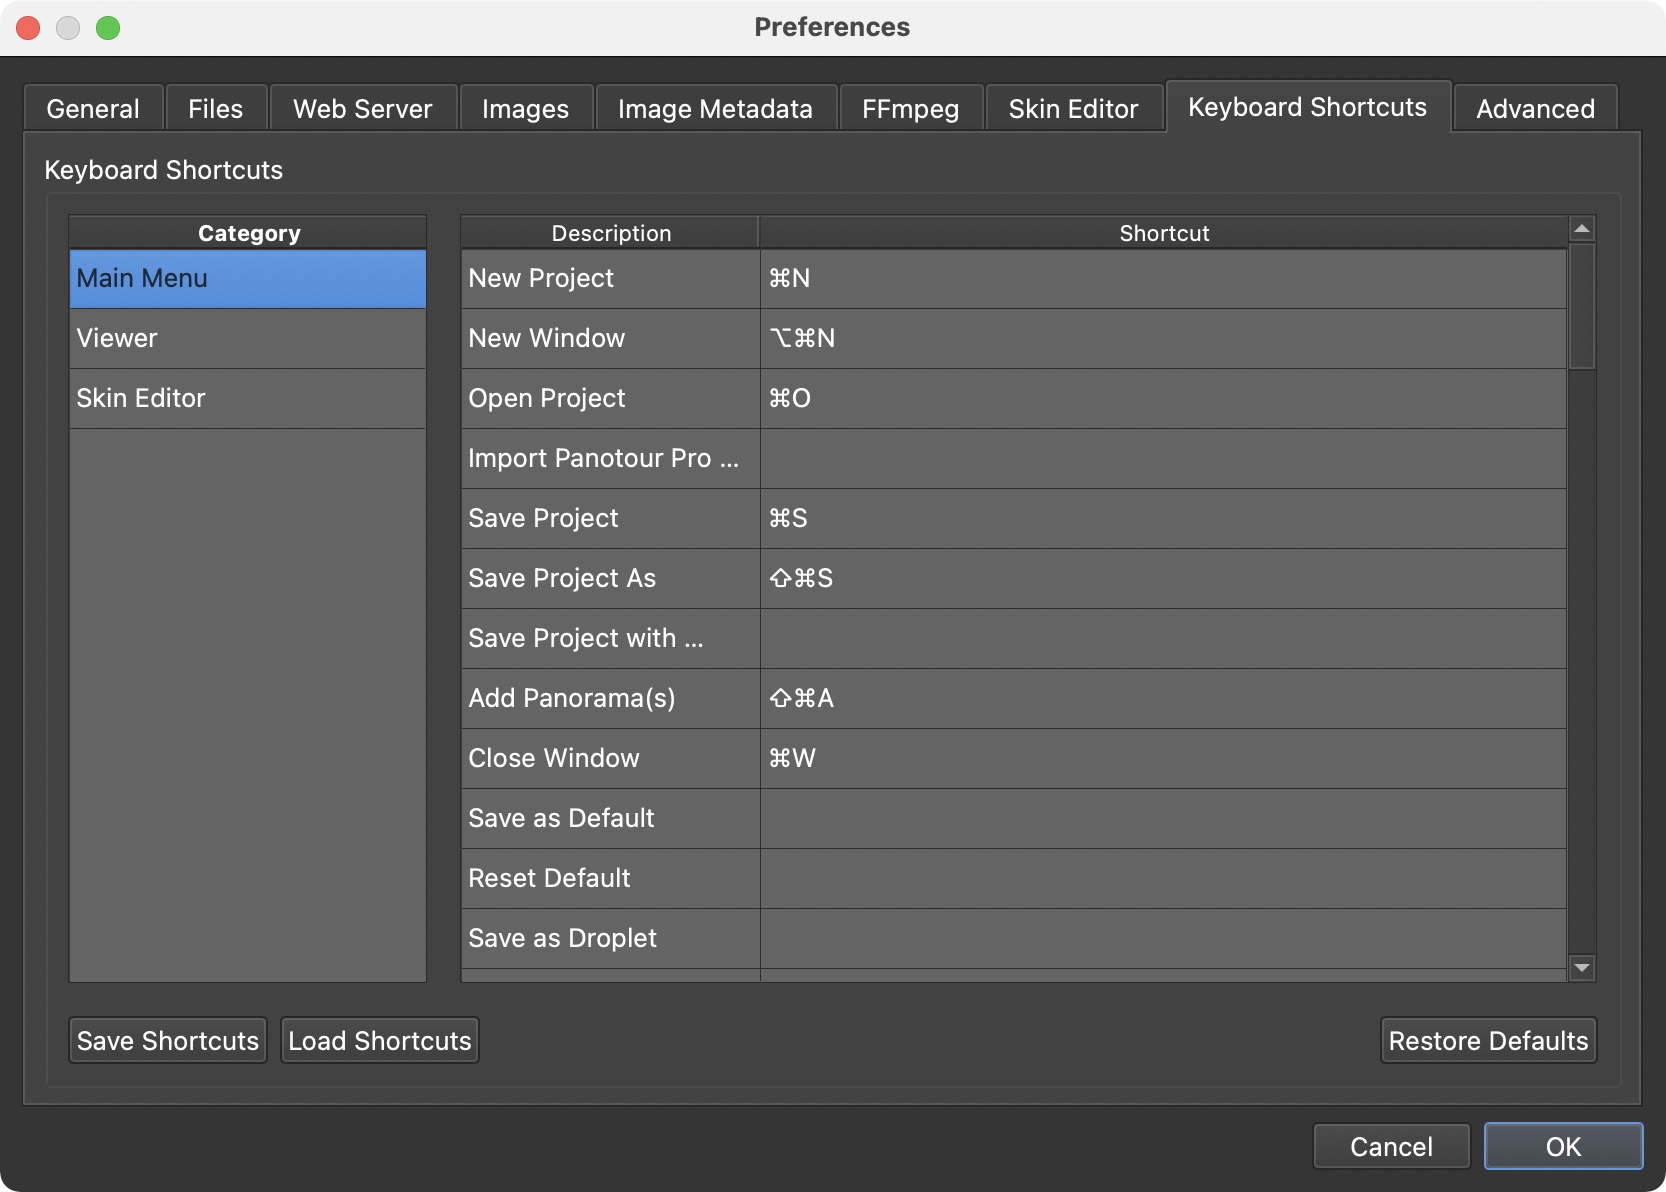
Add custom keyboard shortcuts to any of the options found in the main menu, Viewer, and Skin Editor.
Use Save Shortcuts to save the current configuration. This will export a configuration file to save anywhere on your computer.
To load Shortcuts use, Load Shortcuts. Navigate to an INI file and import it to update the shortcuts.
To add a keyboard shortcut, double-click in the Shortcut column. Then press the key for shortcut. Modifier keys can be used. More than one shortcut can been added as well. Just press what the next option and they will be separated by commas.
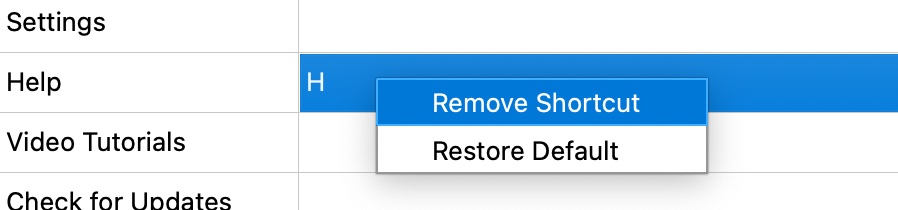
To remove the shortcut, right-click in the row and choose, Remove Shortcut. Choose, Restore Default to return the shortcut to the default setting.
Advanced
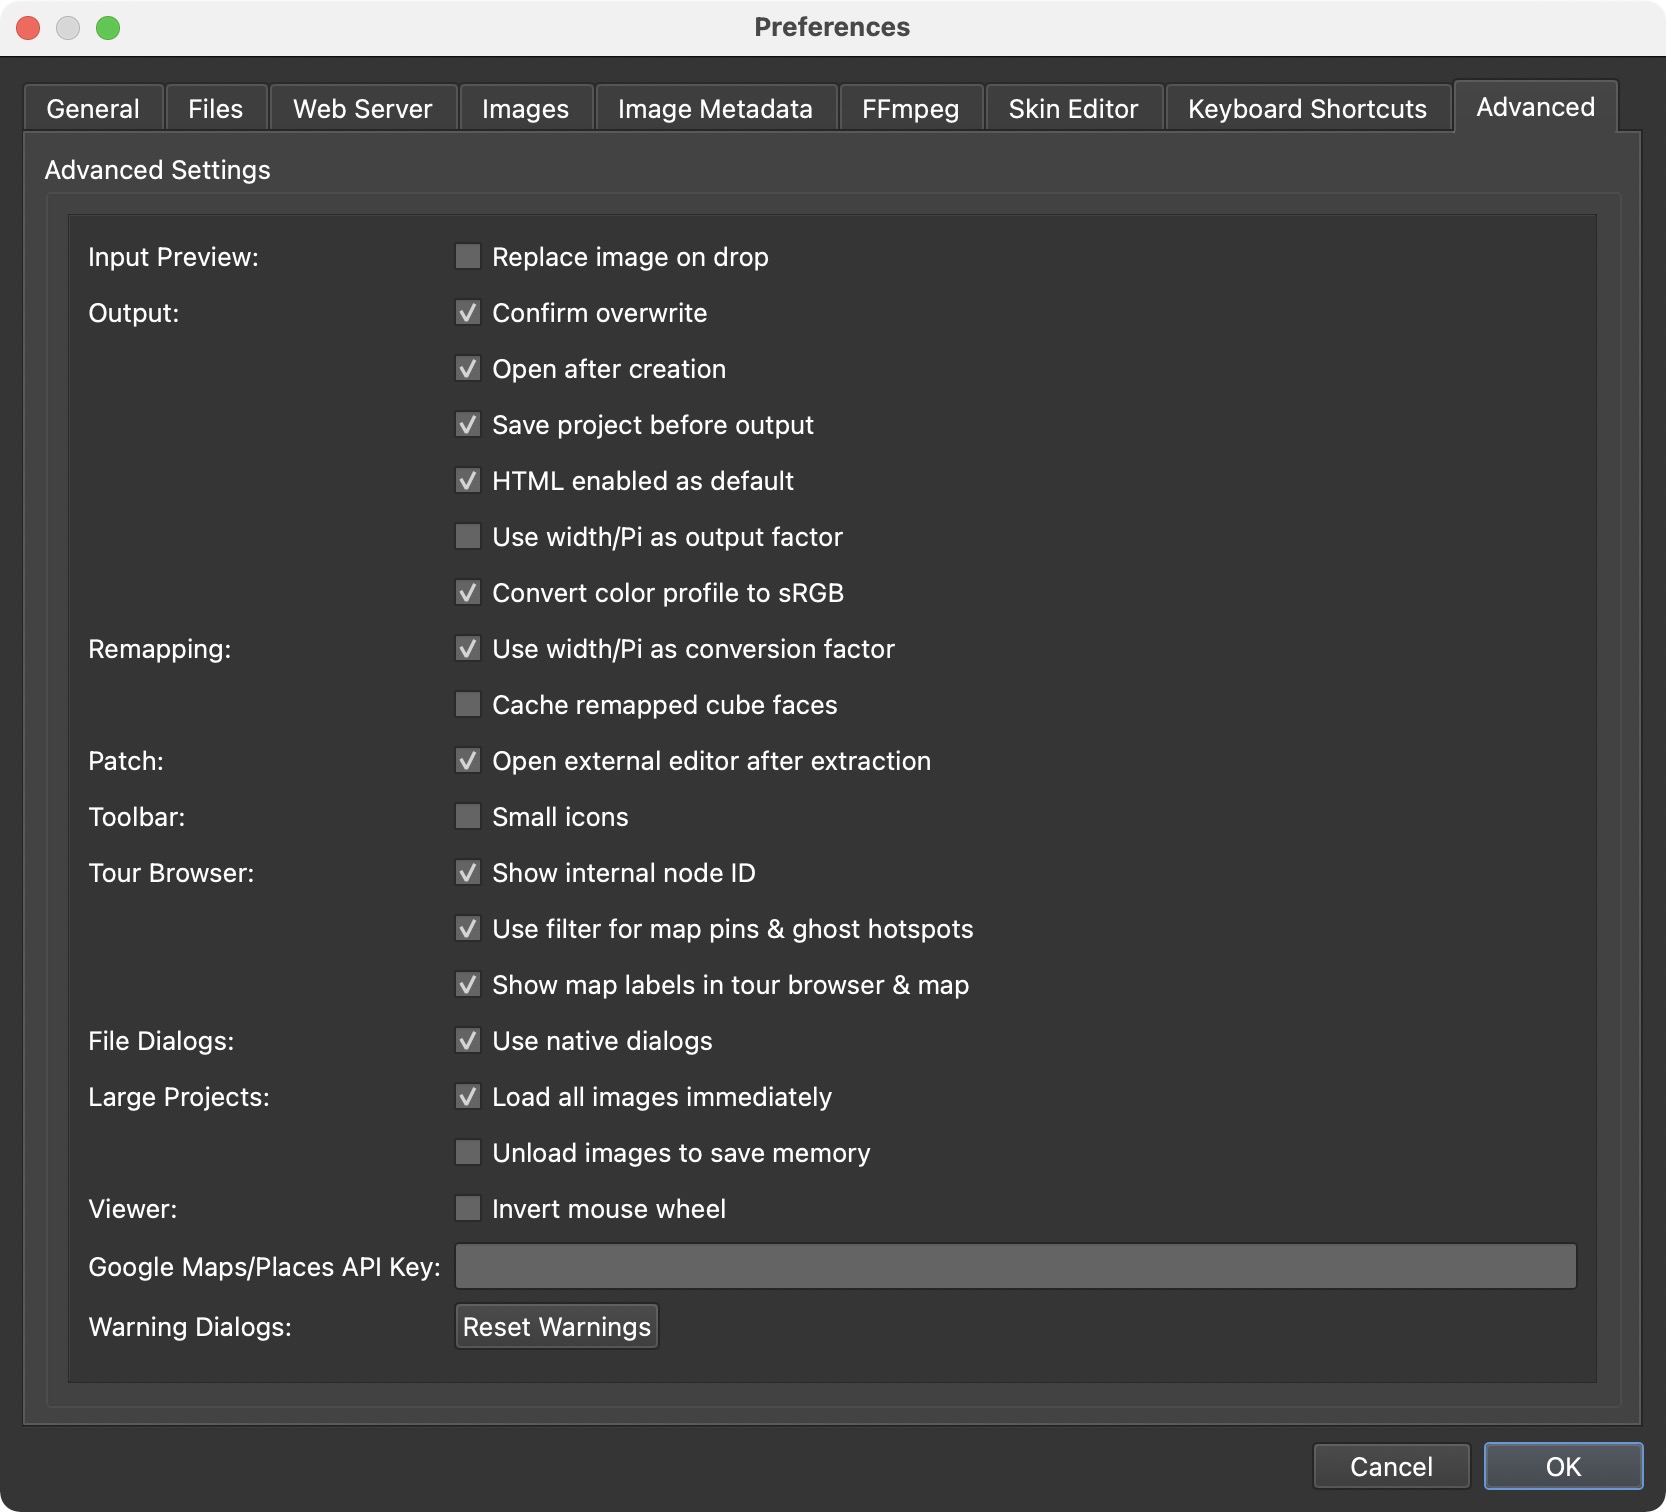
Input Preview
- Replace image on drop – When selected, dropping images into the tour browser, viewer, and Pano2VR icon will replace any image already in the project. Deselect to add the images to the project.
Output
-
Confirm overwrite – Choose this to have Pano2VR confirm the overwriting of a previously saved file before saving. This option is selected by default.
-
Open after creation – Keep selected to have the project opened after creation.
-
Save project before output – Select to have Pano2VR to prompt you to save the project before outputting.
-
HTML enabled as default – When selected, the HTML file will be outputted by default for all outputs. This option is selected by default.
-
Use width/Pi as output factor – Enable this setting to use width/Pi as the output factor. When not selected, width/4 will be used. This is used on output and for determining level size in multiresolution.
-
Convert color profile to sRGB – Keep selected to have Pano2VR convert the node image(s)’s color profile to sRGB on output.
Remapping
-
Use width/Pi as conversion factor – Enable this setting to use width/Pi for converting the input image.
-
Cache remapped cube faces – Select to cache the remapped cube faces which will speed up the export of single resolution images.
- Open external editor after extraction – Select to have an external image editor to open the patch after hitting “Extract”. You can then edit the patch, save it and Pano2VR will automatically update the image in the Viewer.
-
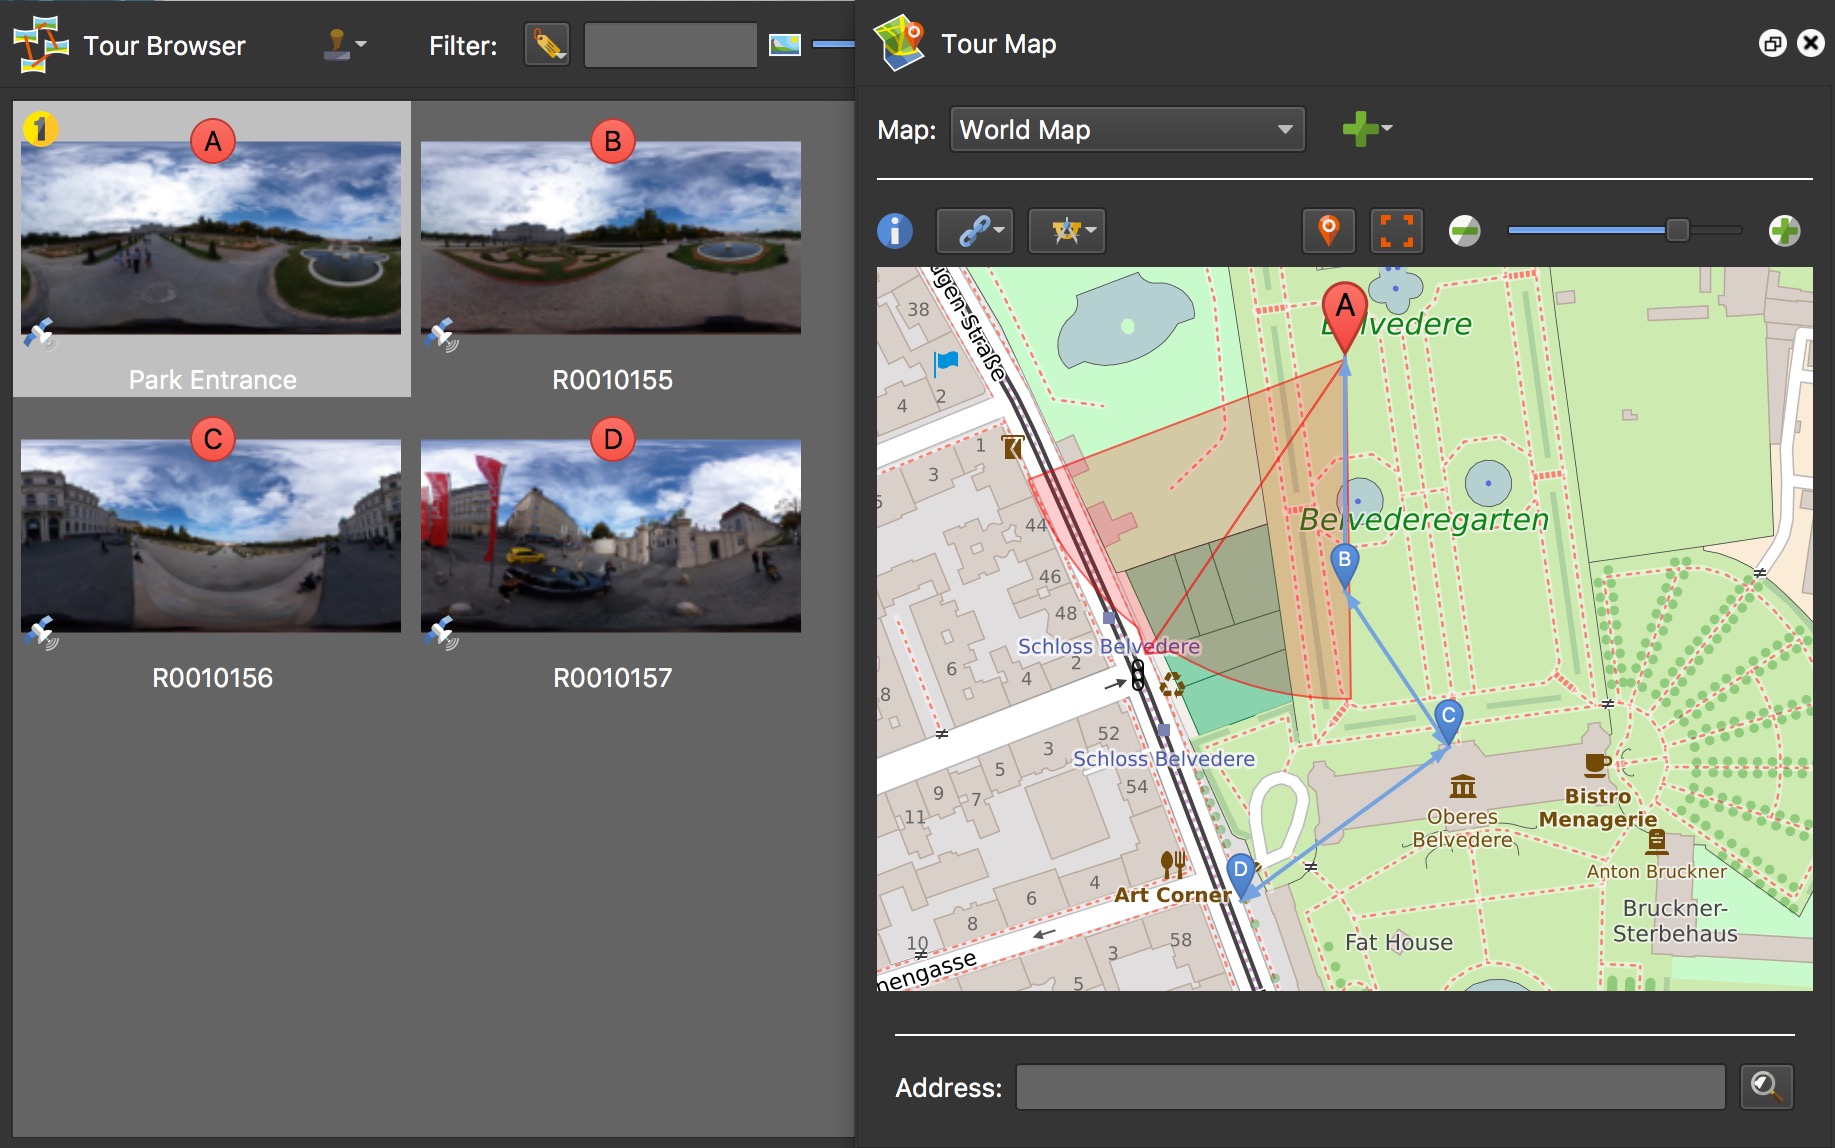
Show internal node ID – Keep selected to show a node’s ID in the Tour Browser’s tool tips.
-
Use filter for map & ghost hotspots – Shows the map pins on the Tour Map and ghost hotspots in the Viewer according to the filter set in the Tour Browser. This is especially helpful if you have a lot of nodes; it can greatly reduce the number of hotspot placeholders that are seen in the Viewer, and pins in the Tour Map.
-
Show map labels in Tour Browser & Map – Select to turn on coordinating labels between the Tour Browser and Tour Map, making it easier to identify nodes in the Tour Map.
File Dialogs – Deselect to use Pano2VR’s custom dialogs.
Large Projects
-
Load all images immediately – All images in a large tour will be loaded immediately.
-
Unload images to save memory – Images will load as needed.
Custom Google Maps/Places API Key: Add your Google Maps API key here. This is used to show Google Maps in the Tour Map. Read how to set it up. ✭ Do not use this key for the Map Element in the Skin Editor.
Warning Dialogs – Click Reset warnings to reset all warning dialogs so they are again displayed if selected to not pop-up again.
Tweaking the Settings
Learn how to tweak or customize Pano2VR’s settings. Hopki goes through each tab and explains what settings he changes and why.