Add a Logo to a Tour
Learn to use the Master Node to apply the same patch to all tour nodes.
To add a logo to each image in a tour:
-
Add the tour nodes to the Tour Browser. ★ To access the Master Node, multiple tour nodes must be added.
-
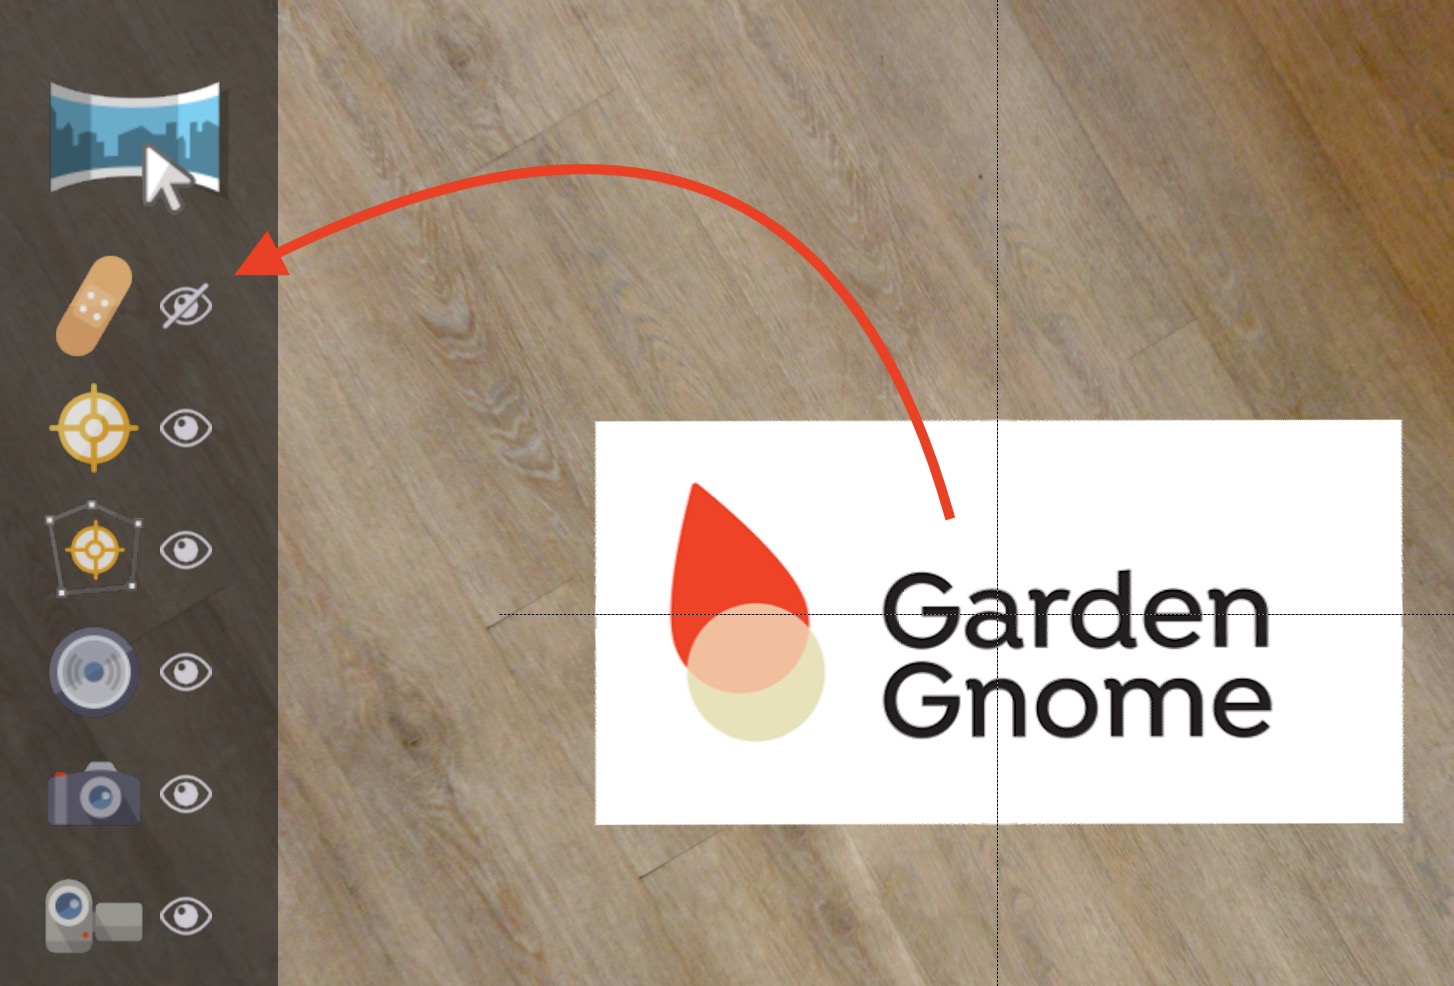
Activate the Patch Mode.
-
Add the patch to a tour node.
-
Resize and adjust the patch as necessary to cover the nadir.
-
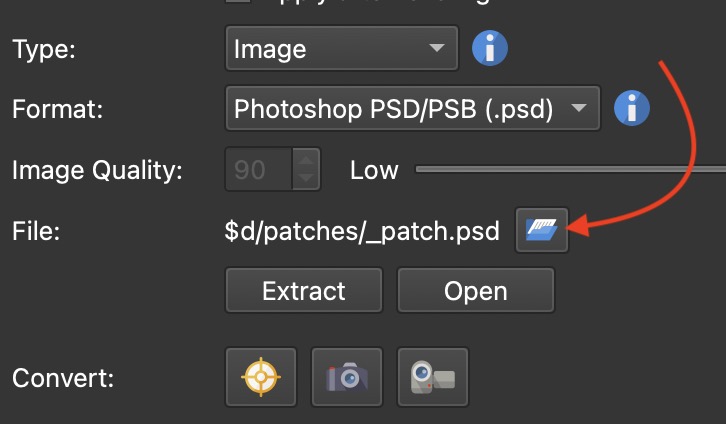
In the Properties panel, choose Image for the Type. And navigate to your image by clicking the folder icon for File. Add the logo.
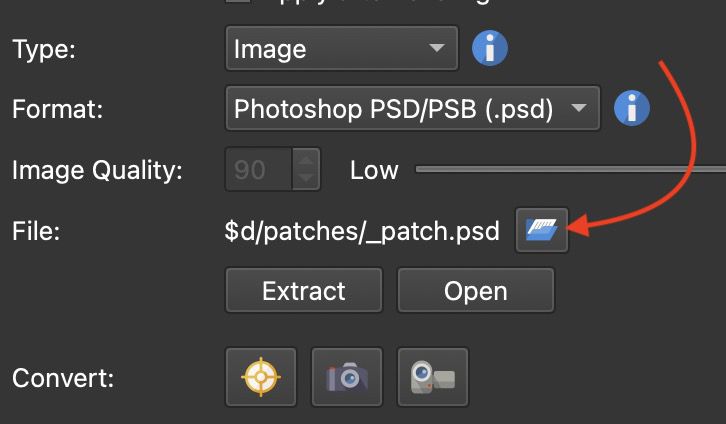
Click the folder icon to navigate to the logo. -
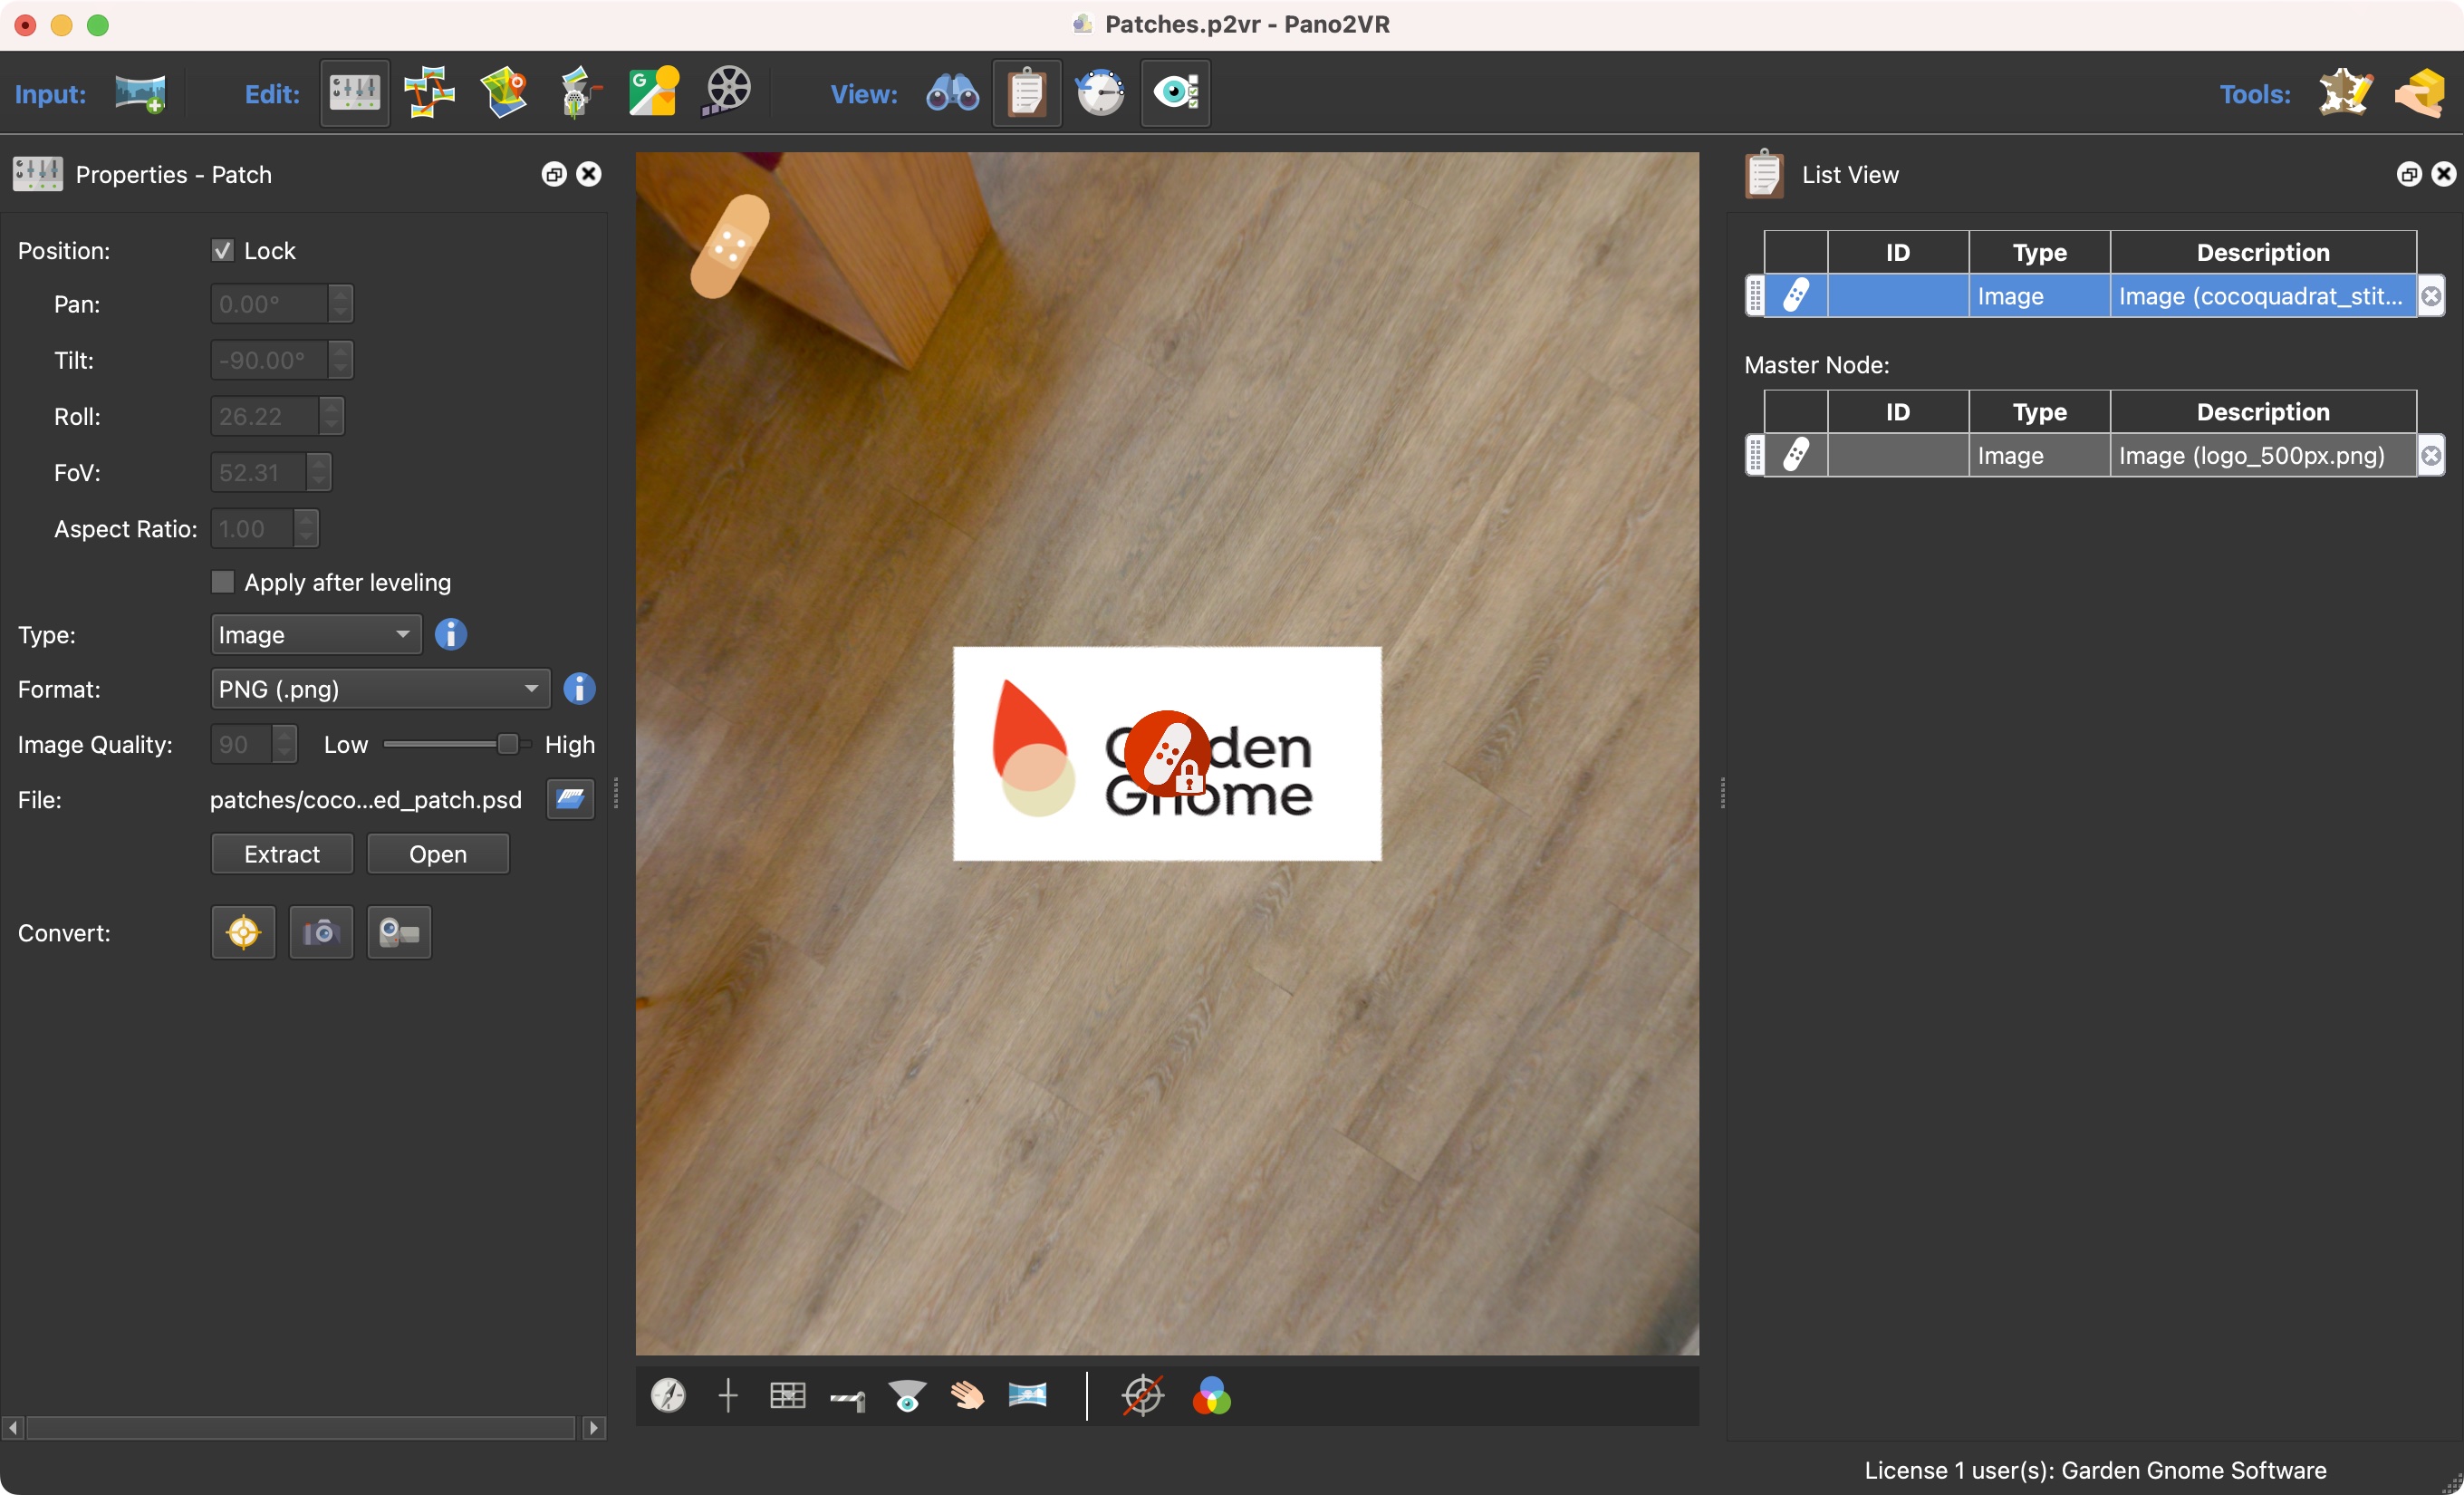
Open List View.
-
Right-click the image patch you just added and choose Move to Master Node.
-
Move through the tour and see your logo on every image.
★ Tip Use the keyboard shortcut,⌘]and⌘[(macOS) orCtrl+],Ctrl+[(windows) to move through the nodes.
Use List View to switch viewing between regular patches and Master Node Patches. Note that Master Node patches cannot be relayered with regular patches. They will always be on top of the normal patches. However, Master Node patches can be relayered.
To hide the Patch icon in the Viewer, click the Hide icon in the Viewer Modes. However, you may need to first exit Patch mode. Click any other mode to exit and then next to Patch mode, click the hide button.