Using the Color Tool
The Color Tool, found in the Skin Editor, lets you quickly change the colors of a skin or a selection of elements.
Change the color scheme of an entire skin
-
Open the Color Tool without anything selected in the skin.
-
Follow instructions for Change the color of multiple elements.
-
Output to test the change.
-
Change the rest of the colors, if needed, by using the Change the color of a single element instructions.
Change the color of multiple elements
To change the color of multiple elements, either select the elements in the Tree or Canvas, open the Color Tool and do any of the following:
-
Double-click the right-most color bar to open the color picker, select a color and hit OK and then Apply to set the color.
-
Expand the color by clicking the black disclosure triangle. Control-click or Command-click each color to be changed. Double-click the right-most color bar to open the color picker, select a color and hit OK and then Apply to set the color.
-
Double-click the right-most color bar of a single element, change it’s color via the Color Picker. Right-click on that bar, choose Copy. Right-click on next element, choose Paste.
Change multiple similar colors
If you have multiple colors in the Color Tool which are similar but not equal, and you want to change them all at once do the following.
-
Select the colors you want to change with Control [win] or Command [mac]-click.
-
In the Transform Colors section below, drag the Hue, Saturation or Lightness sliders. The selected colors will change accordingly, while keeping their distance towards each other.
Expose colors
You can expose colors in a skin so that you can quickly edit a skin’s colors in the output panel – without opening the Skin Editor. This is called exposing.
Colors for specific elements can be exposed. For example, maybe you only want to change the colors of the button fills or just the inner fill.
-
Select all the elements in the tree, or select specific elements.
-
Open the Color Tool.
-
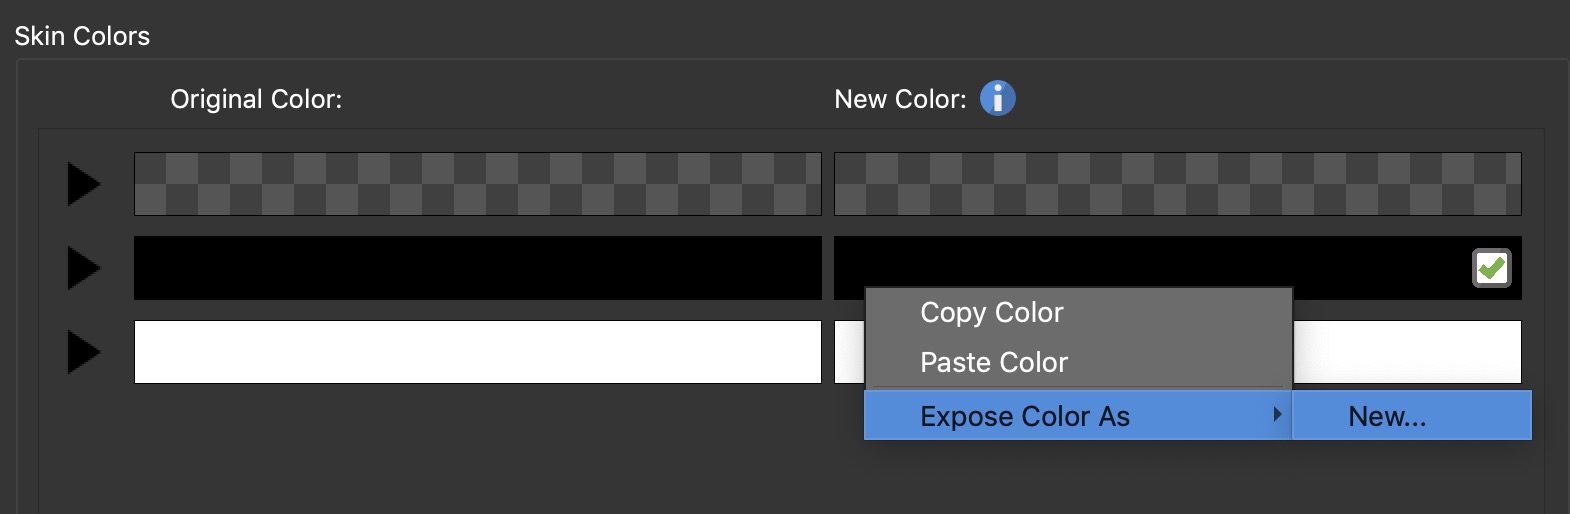
Right-click any color.
-
Choose, Expose Color As, then click New.

Right-click, choose Expose Color As. -
Give the exposed color a meaningful name.
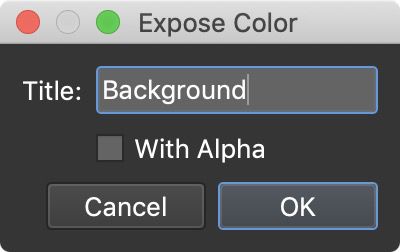
Exposed color title.

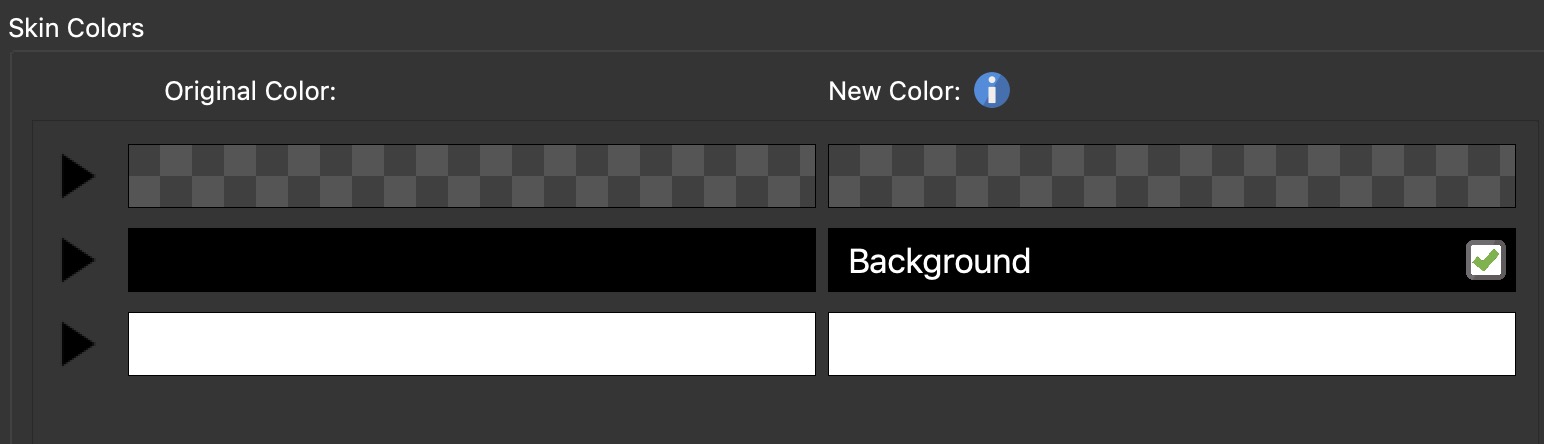
The label for the color will be visible directly in the Color Tool.
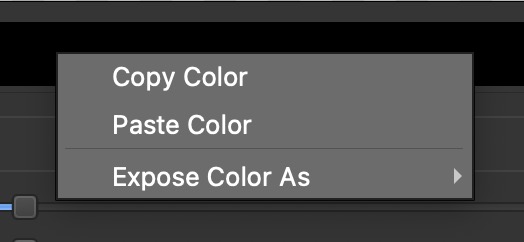
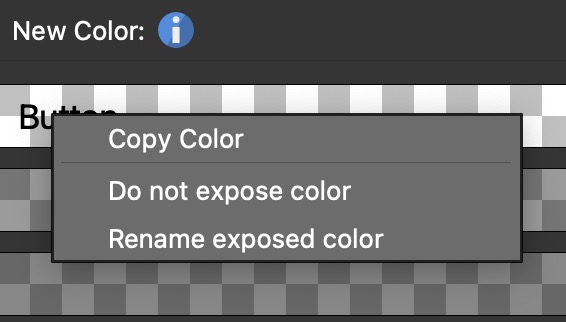
Once the label is added you have the following choices. Again, right-click to bring up the menu.
-
Copy Color – Copy the color and paste it to another element in the Color Tool.
-
Do not expose color – This removes the label and it won’t show up in the Edit Skin Configuration dialog.
-
Rename exposed color – Select this to update or rename the label.
Change the color from within the Output panel
-
Add the skin in the Output panel.
-
Click the Edit Skin Configuration button.
-
In the Skin Colors section, click the color well for the Modified column and choose a new color.

Exposed colors in Edit Skin Configuration.

To reset the modified color, click on the Default color well.