Animating a Tour
Learn how to create an animated tour.
In this example, we create a single, flat video of 3 nodes. We transition between the nodes with a dip to color transition.
-
Add your images to the Tour Browser.
-
Open the Animation Editor panel by clicking the Animation button in the Toolbar.
-
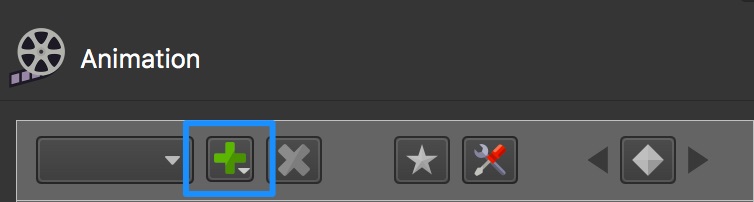
With the first node to animate selected, add a clip by clicking the New clip button in the top-left section of the editor.
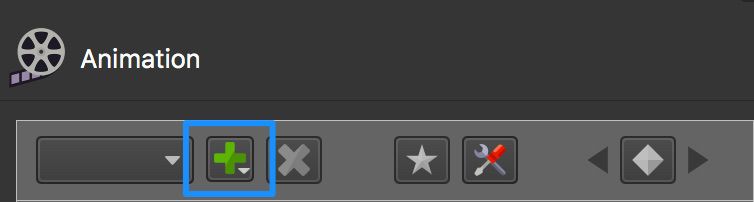
Add Clip. In the dialog that pops up, give the clip a Title and click, OK. You’ll then see the clip listed in the Clips section of the Animation properties.
Clips can be rearranged by dragging the handles to the left. The clips will play in the order they are listed here from the top down.
-
Start animating! The simplest animation is a rotation along the horizon.
First rotate the panorama to where you want the panorama to move.
-
Hit Enter.
This adds Magic Keyframes to the Pan, Tilt and FoV tracks. If you animated a projection, then this would also apply.
The magic keyframe feature allows you to add evenly timed (constant speed) keyframes. The default speed is 10 degrees per second. You can change this to any value.
-
[Optional] Rotate the panorama again and hit Enter again to set another set of keyframes
-
Play it back to see if it’s what you want and edit the keyframes as necessary.
-
Go to the next node by hitting Command+] (macOS) or Control+] (windows) and continue to animate in this manner for the rest of the nodes in the tour.
Output a Video File
✭ FFmpeg must be installed.
In the Animation Properties check that the clips you’ve created are in the Clips table. If not, double-click in the clips table. In the dialog that pops up, confirm the panorama (node) and the clip by clicking OK.
-
Open the Output Panel panel.
-
Add an Animation output by clicking on the Add Output button.
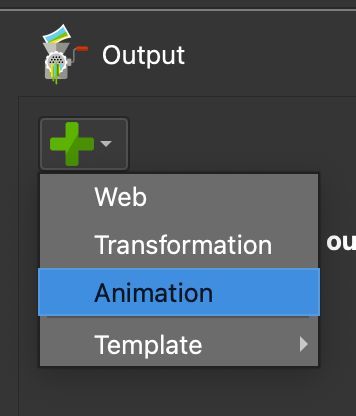
Choose the Animation Output. -
Add transitions by going to the Transitions pane and choose, for example, Dip to Color.
-
Open the Animation pane and in the Video section, enter a video resolution (i.e. 1920 x 1080).
-
Enter a frame rate. 24fps is the default.
✭ Tip: A higher frame rate will result in smoother playback.
-
Select Generate video file.
-
If you won’t need the frames, select Delete frame files after video creation.
-
Output it! Click the Generate output button.
-
Choose, All Frames to render a single video that contains all clips or choose Clip and select a single clip to output.
-
Click Render.
Output Frames
-
Open the Output panel.
-
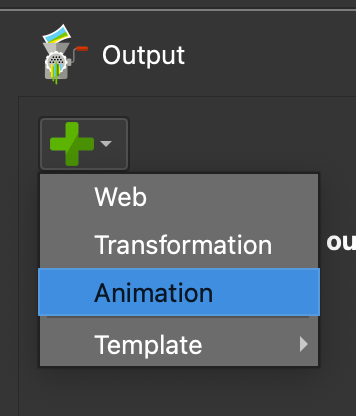
Add an Animation output by clicking the Add Output button.
-
In the Frames section, choose the file format of the frames. If you choose JPEG, define the quality.
-
Edit the filename if needed. The image sequence number will be appended to the file’s base name.
-
Output the frames by clicking the Generate output button.
-
Choose, All Frames to render a single video that contains all clips or choose Clip and select a single clip to output.
-
Click Render.