Using the Integrated Web Server
The integrated web server's default settings are set to be used when viewing the output within an HTML page. It was included to allow local viewing of the web output (something most browsers do not allow for security reasons).
When a Web Output is generated, the project’s HTML file will open in the default web browser (localhost) using the Integrated Web Server. To view the output in another web browser copy the local address and paste it in the other web browser on the same computer.
This link (localhost) cannot be shared externally to someone who is not on the same local network. If the other computer or device is on the same network, you can share the adderess(s) displayed in the web server. See Connecting Multiple Device.
To share the project externally, you must upload your project to a web hosting service like Amazon Web Services (AWS) or Gnome Cloud.
You can test features of your project that require a secure or encrypted version of HTTP which is HTTPS. Enable HTTPS in the settings, in the Web Server tab. Once that’s done, you should now see an SSL address.
Testing Network Speed
Sometimes we need to test our projects for slower internet speeds and this can easily be done by changing the Speed.
In the field, Speed, enter the speed to test in Kilobytes (kB) and hit Enter/Return. The server will restart.
To return back to None, enter 0 and hit Enter/Return. The server will
restart.
Connecting Multiple Devices
Other machines and devices connected to the same network can also view the output without having to upload it to a server. For a connected device to view the output, deselect Only local host under the Web Server tab in the Settings. Then follow these steps to test the output on something other than the local host:
-
Open the Integrated Web Server (Tools ➝ Integrated Web Server ). The web server window opens with the local address needed to enter in the device’s web browser. You should see multiple IP addresses; one is not secure (http), and the other is (https). If there is no web server log, in the log window, re-output or save your project.
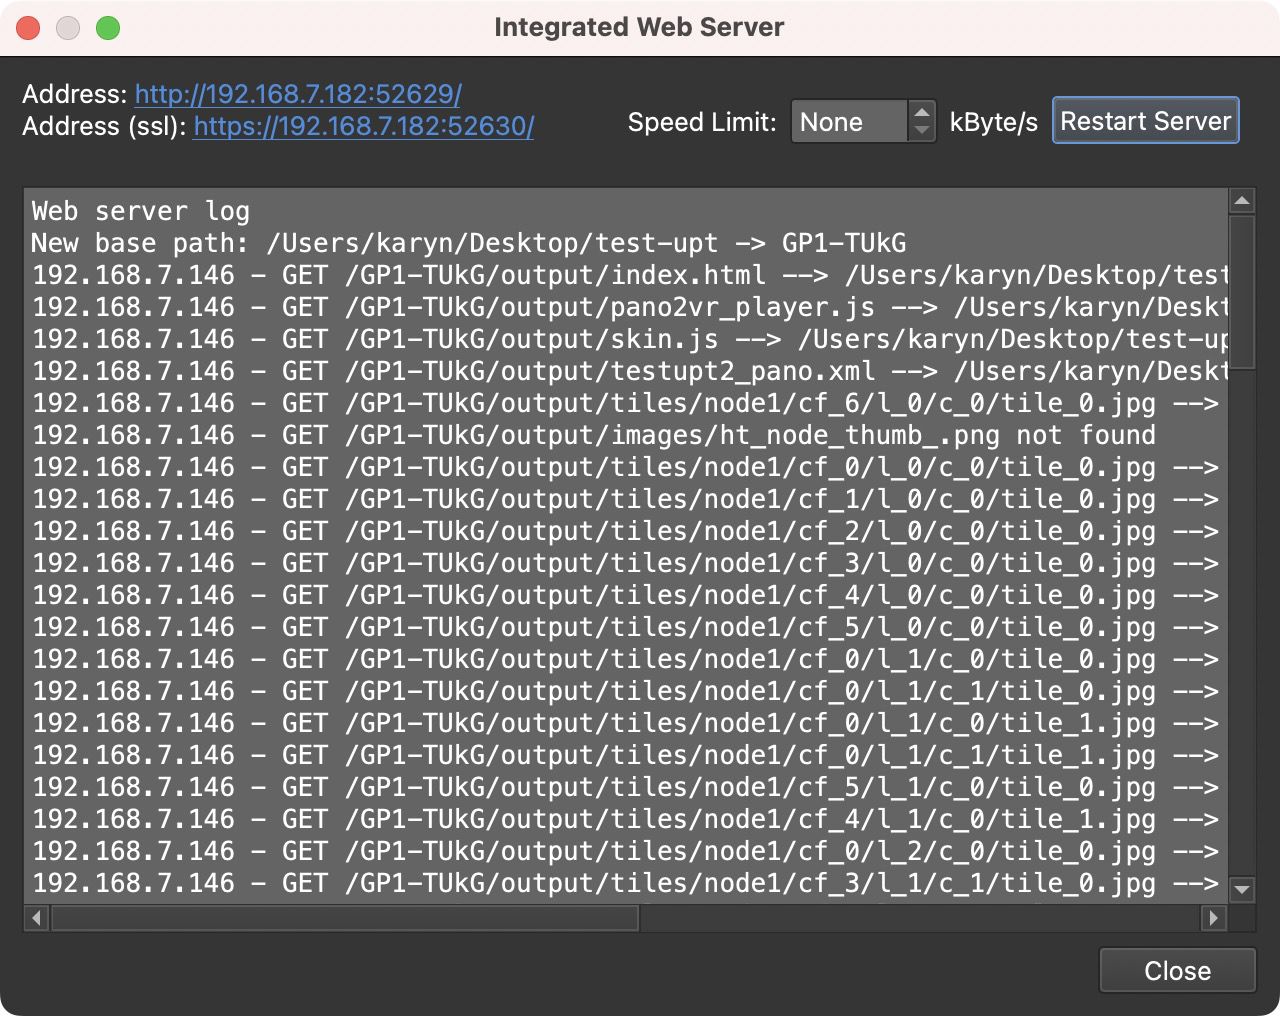
Integrated Web Server -
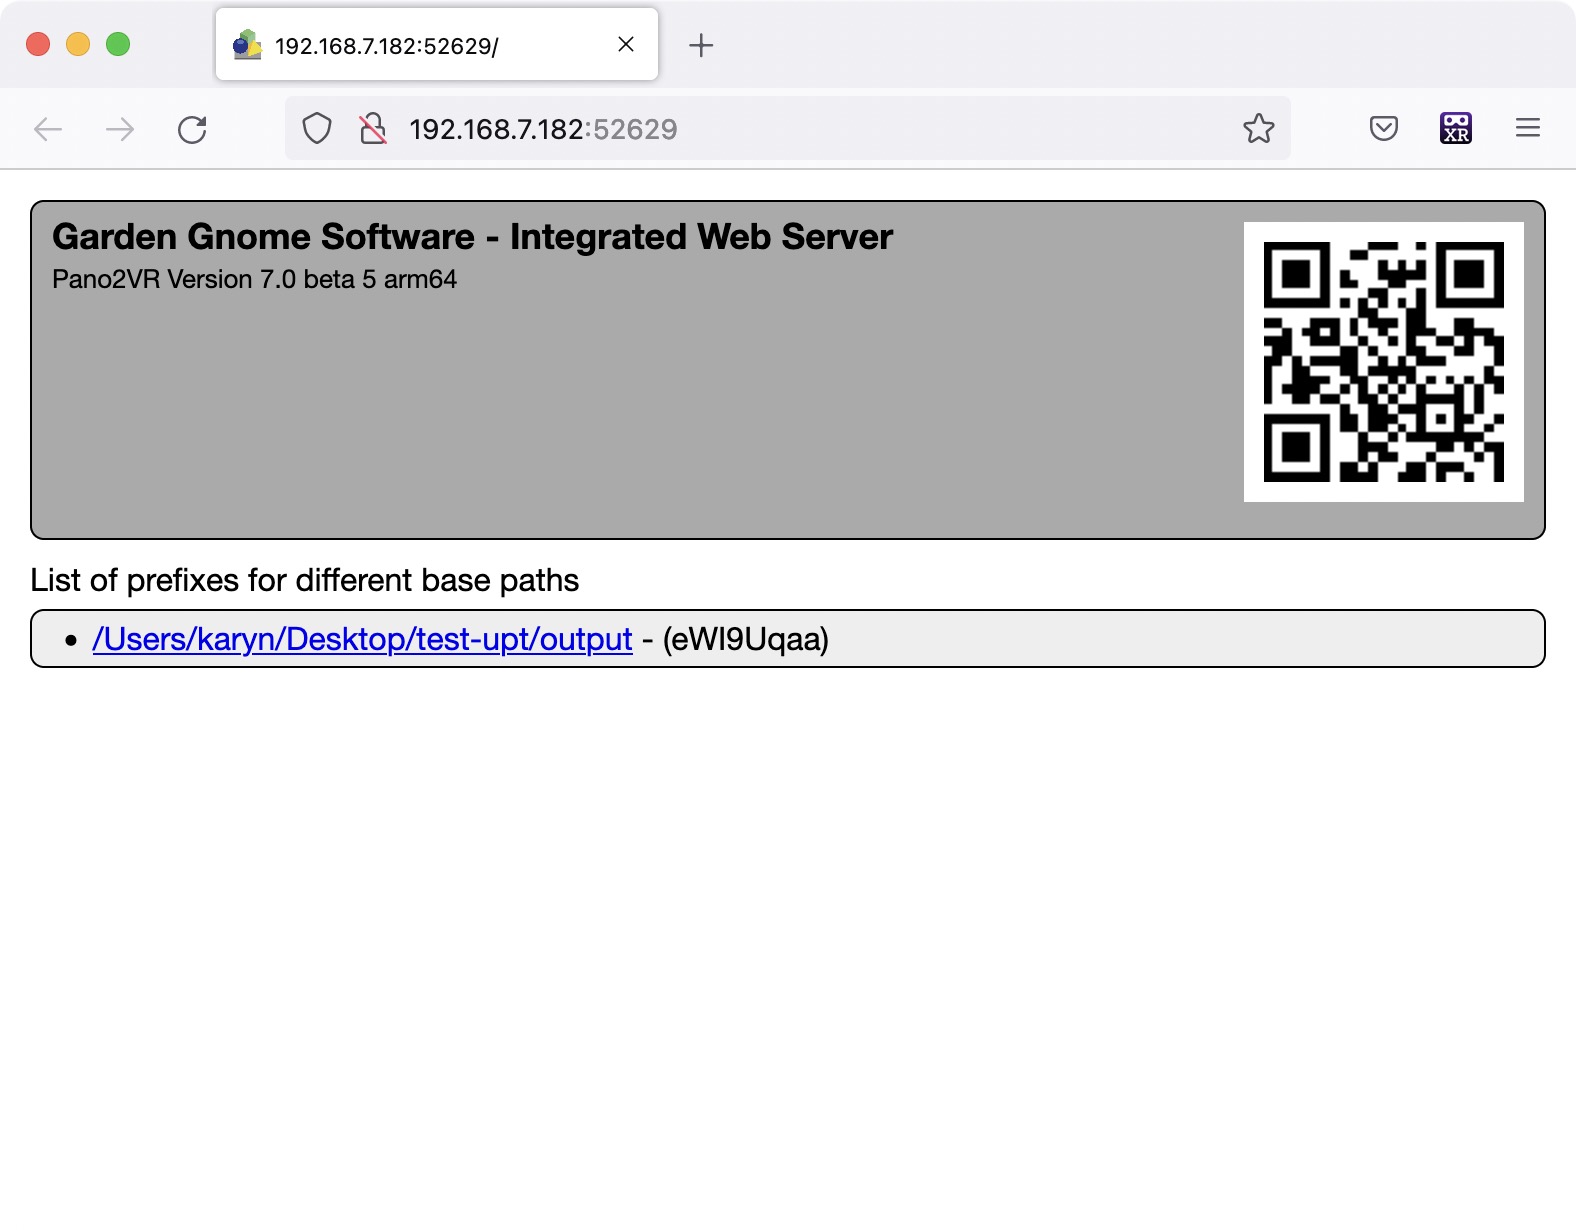
Enter any of the addresses in the web browser of any device. There are many ways to share a URL, but for added convenience use the QR code added to the web server page to open it on other devices.
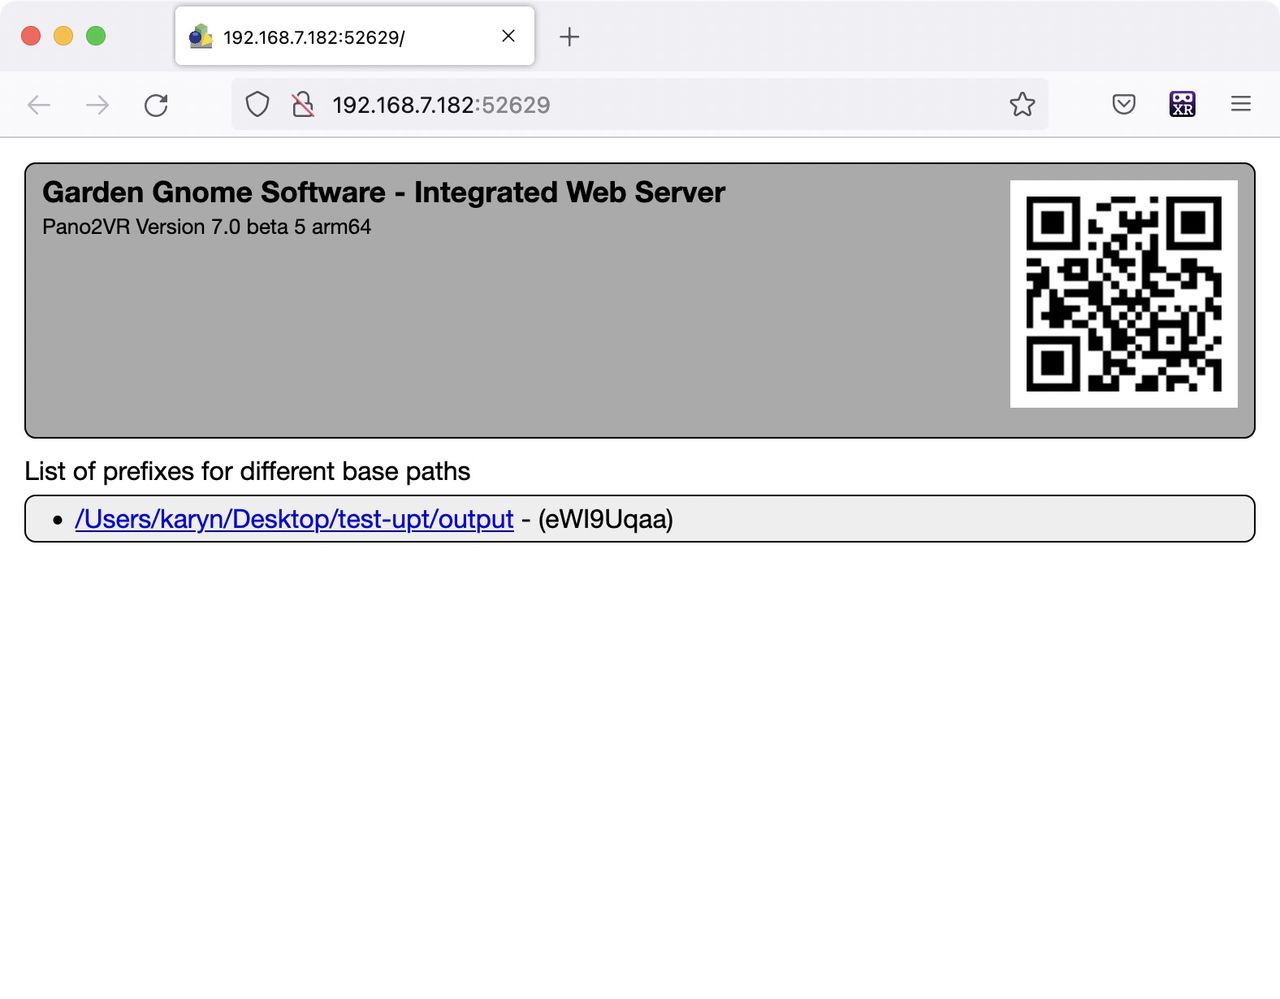
Locations of all open projects will be displayed. In the image above only one project is open. -
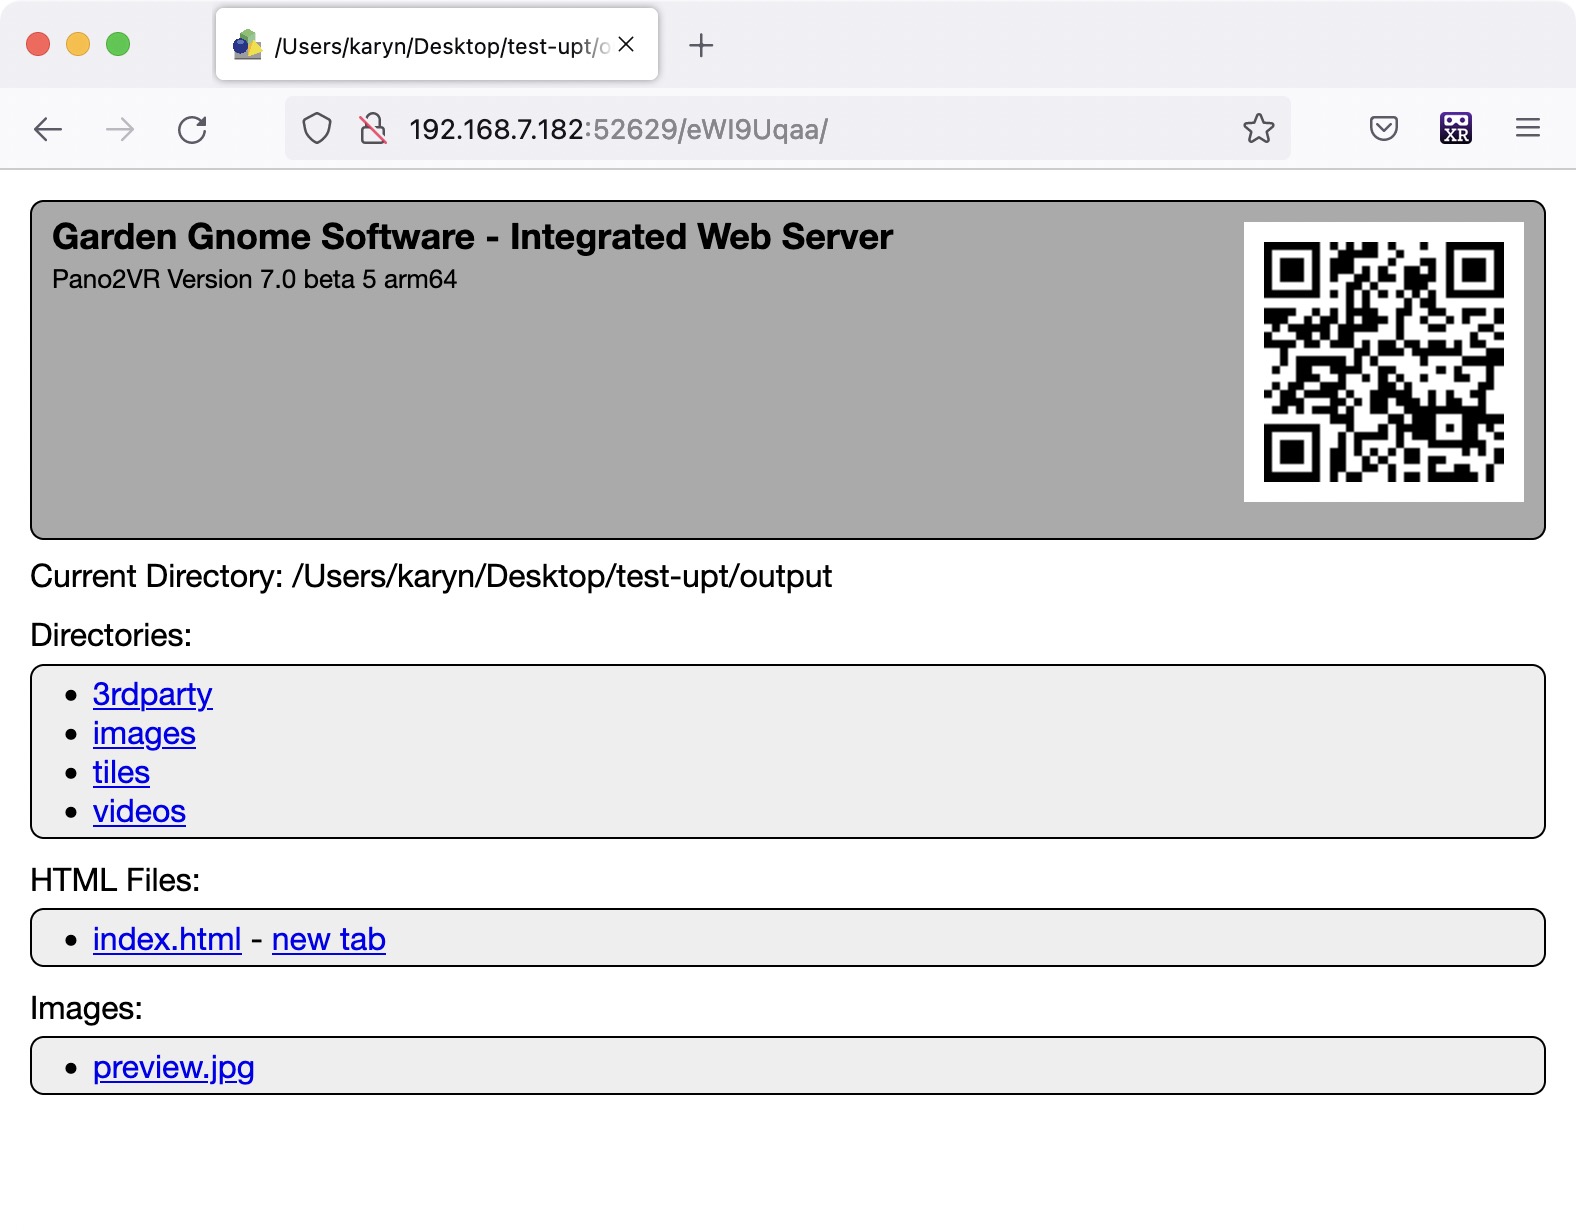
Click any path to display the project’s folder contents which will include any subfolders, HTML pages, and images.
-
To open the output click on the HTML file (
index.html).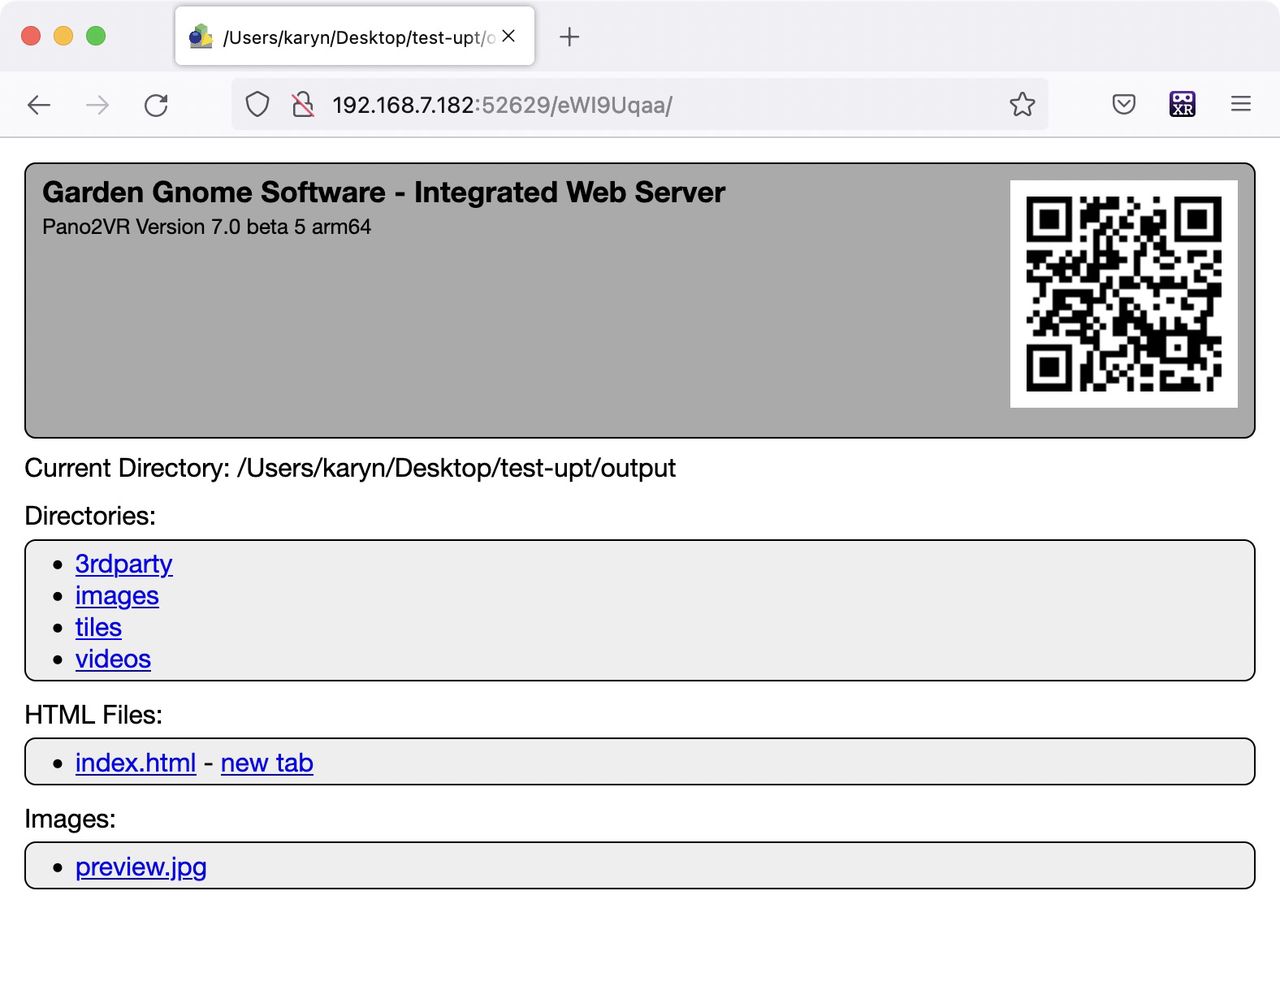
Projects on the local server. The operation and function of the project can now be tested before being uploaded.
Test Using a Simulator
Browsers like Chrome and Firefox have built-in tools that simulate handheld devices.
-
Open your output in the Integrated Web Server.
-
In Chrome, go to View ➝ Developer ➝ Developer Tools. The tools will open. In the toolbar, click the phone-like icon (second from left). From there you can toggle through virtually any device on the market.
In Firefox, go to Tools ➝ Web Developer ➝ Responsive Design View. From there, you can specify screen sizes.