Polygon Hotspot Activated Popups
Popups can be activated by Polygon Hotspots by using the Hotspot Proxy ID in the Skin Editor.
What if you want to use a polygon hotspot to open a popup? Well, you have to connect that polygon hotspot to the skin somehow because the polygon hotspots don’t have an equivalent to the Point Hotspot Template. But, we can still connect to them using the Hotspot Proxy ID.
Use Built-in Components
The easiest method consists of copying what already exists and applying a Hotspot Proxy ID. Use the built-in components for hotspots and then copy their actions to a container and add the Hotspot Proxy ID.
Set up the Hotspot
-
Add a Polygon Hotspot.
-
Give the hotspot a unique ID. Pano2VR will assign each new hotspot a unique ID. You can leave it as is or provide unique IDs.
-
For the Polygon Hotspot Type, choose Skin Proxy.
-
Provide a Title if you’d like to show a tooltip.
-
Optional Open the Web Output settings and navigate to the Hotspots panel. In the Polygon Hotspots settings, change the View Mode to Always Visible. This makes it easier to for testing. You can change this later.
Copy the Popup Window Actions
-
Open the Skin Editor.
-
Open the Components Toolbox and find the built-in Hotspots component. For example, Feather Orb Point Hotspots. Double-click to add the component.
-
Find the popup you’d like to use for the Polygon Hotspot. For example,
info_popup. -
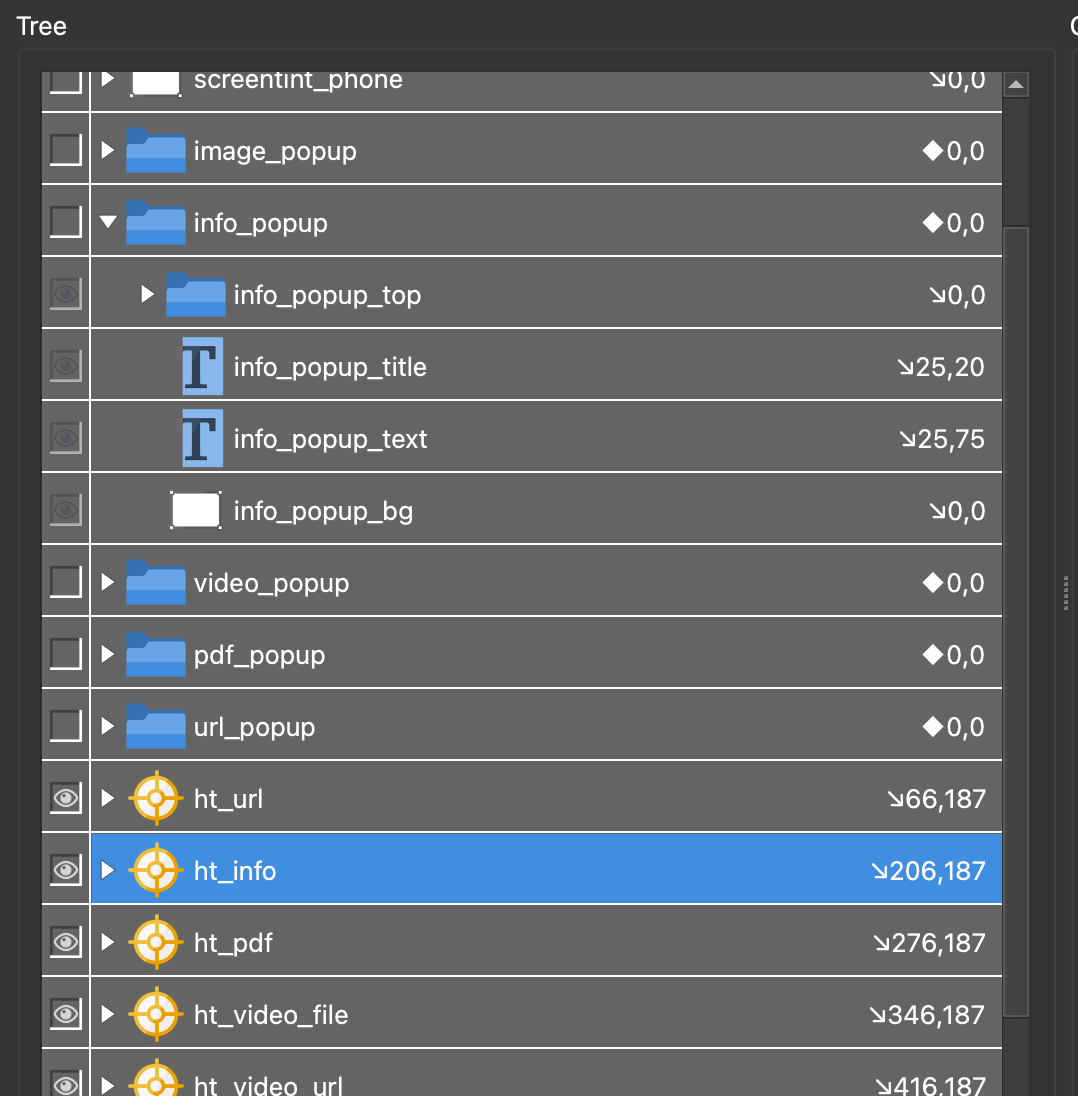
Find the corresponding Point Hotspot template. In our example, this would be
ht_popup. Click on it to select it.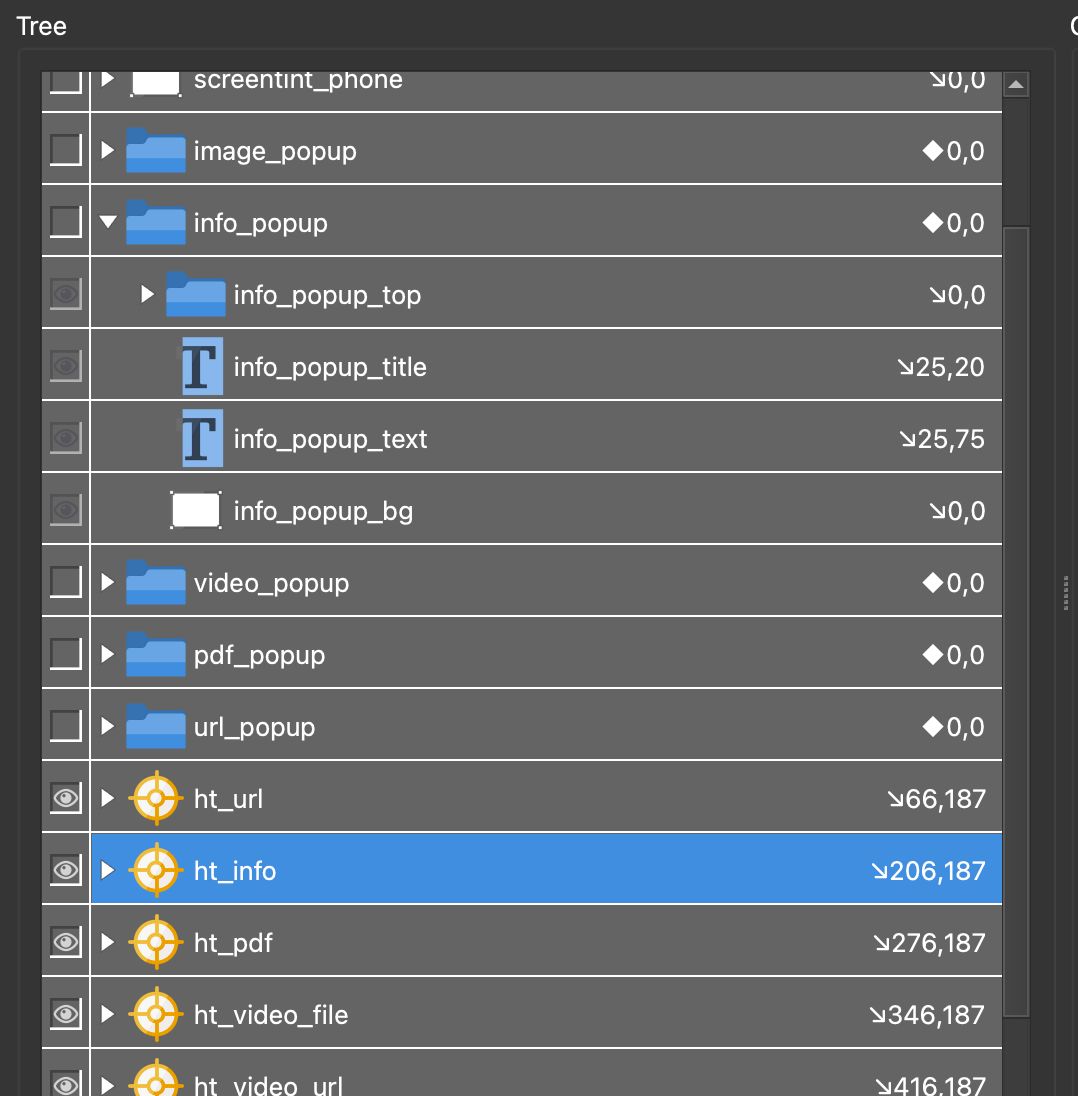
ht_popup point hotspot template in the Skin Editor’s Tree -
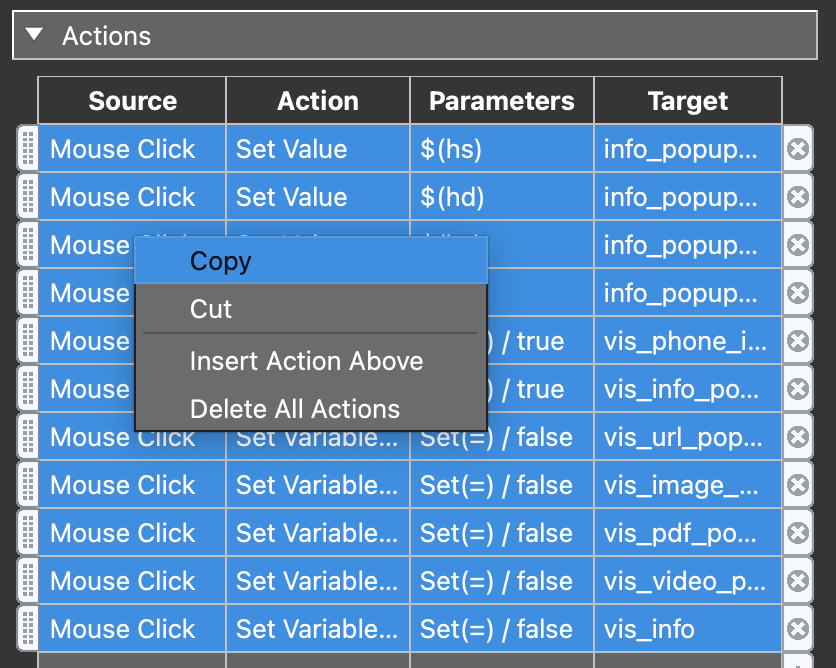
Open the Actions panel. Select all the actions by selecting the top action and while holding Shift, select the last action.
-
While the actions are selected, right-click and choose Copy (Command-C or Control+C work as well).
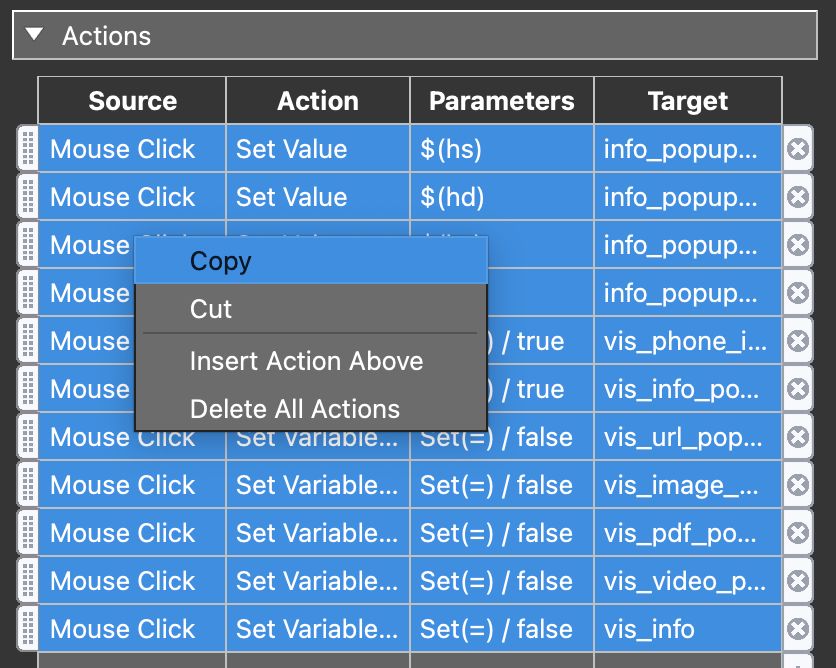
The actions selected -
Add a Container to the skin. Size and position do not matter.
-
Open the Container’s Actions panel and paste the copied actions. Right-click and choose Paste (or Command-P/Control+P).
-
Go to the Advanced pane and enter the Polygon Hotspots ID in the Hotspot Proxy ID field.
-
Save the skin and then output the project with that skin. Test the polygon hotspot.
If you don’t want Mouse Click as the Source, you can change source to use Mouse Enter, for example.
These actions take smaller screens into account (responsive).
Feel free to remove any of the hotspot templates and containers that are not needed.