iBooks Author Widget
★ iBook’s Author is no longer being updated by Apple. Parts of this tutorial may not work as expected. ★
This tip explains how to embed Panoramas in to Apple’s iBooks via iBooks Author.
To embed a Panorama within an iBook you need to package the files in a special folder known as a widget which has the file extension .wdgt.
Widgets are distributed as bundles. A bundle is a directory in the file system that groups related resources together in one place. – Apple, Inc.
Install the iBooks template
You can easily create this widget using our ibooks.ggt template, which needs to be added to the HTML Template directory for the HTML5 output.
-
Download and unzip the HTML template: ibooks_pano2vr.zip.
-
Open Pano2VR.
-
Go to the Pano2VR Preferences and add the Pano2VR ibooks template to the HTML Template Directory:
Right click on the file path and choose Open in Finder. Add the
ibooks.ggtfile to the html5 folder.
Now when you go to the HTML panel in the HTML5 output you will see the ibooks.ggt template as an option in the Template menu.
Using the iBooks template
-
Add your panoramic image.
-
Choose HTML5 output format.
-
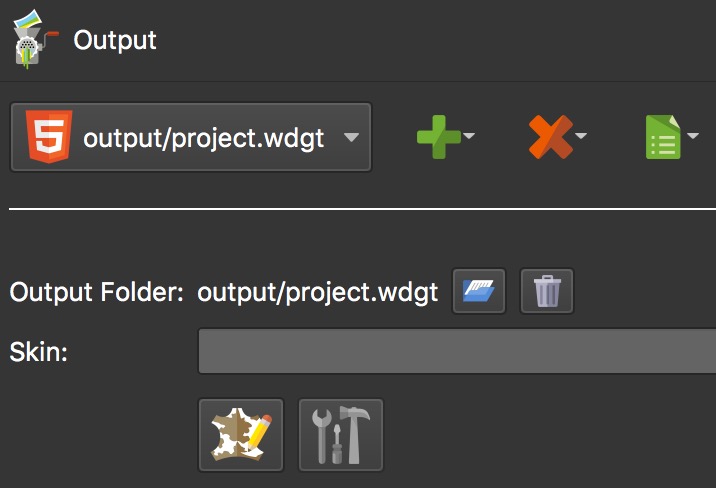
Add the widget’s file path to the Ouptut Folder. Right-click on the path and choose, Edit to add the path. The widget (.wdgt) can be named anything (i.e. park.wdgt, scooter.wdgt, etc.).
-
In the HTML panel, set the Window Size.
To get the most screen real estate when an iPad is in landscape orientation, set the window size 1024px x 768px.
✭ Tip: iBooks cannot resize the window. Rather, the project will be scaled so it will fit the width or height of the window; this includes the graphics in the skin. Make sure any text and/or images are easily visible when the output is scaled to its smallest size.
-
Add the template. Make sure HTML File is selected and then choose
ibooks.ggtfor Template.✭ Note: The HTML page must be named,
index.html. For example:ouput/project.wdgt/index.html. -
Go to the Advanced panel and select Convert SVG to PNG in the Skin section.
✭ Note: iBooks does not support SVG graphics. Therefore
we need to export the files as PNG. -
[Optional] Add a preview image. Go to the HTML panel and click the Edit Template button next to the
ibooks.ggttemplate. Click the folder and navigate to the preview image.✭ Pano2VR will automatically create a preview image for you. However, if you’d like a custom image, you can add it here. The size of the preview image determines the window size of the panorama. You can easily create a preview image using the Transformation output.
-
Output the project.
When the project is complete, it will create the widget which will contain all the needed files. To check the contents of the widget, simply right-click on the widget and select Show Package Contents.
This is the final widget that is now ready for iBooks Author. Continue on to learn how to add the widget in iBooks Author.
Create a Preview Image (Optional)
-
Add a Transformation Output.
-
Choose a projection by selecting one of the choices for Type in the Transformation panel.
You will need to use a projection that can be sized to the Window Size set in the HTML panel of the HTML5 output settings. For example, Rectilinear.
-
Choose PNG as the format.
-
Output the image.
Add the widget to iBooks Author
-
Open iBooks Author.
-
Select the page panorama will be in.
-
Drag the widget to the page.
-
Position the HTML widget in the page and change the text description.
-
In the widget settings (Widget Inspector → Interaction), choose to have the panorama play in fullscreen or on the page.
-
Preview the project.
When the iBook is previewed, the project’s preview image will be seen in the page. Tap this to open the interactive panorama. -
Publish your book to iBooks or simply export it.
