Point Hotspot Properties
This page describes all the settings of the point hotspot found in the Properties panel.
The hotspot properties are found in the Properties Panel and will appear once a hotspot is added or selected.
ID
The ID of the Hotspot which can be used in the Skin Editor.
Type
Choose what the hotspot will do. What you choose here will affect the Link Target URL below.
-
URL – Enter the website URL or file name of a node (i.e. http://www.example.com).
-
Tour Node – Pro – Choose a node from the menu to link to other nodes in a tour.
-
Image – Clicking on the Image hotspot will result in opening the image. Click the folder button for Link Target URL to navigate to an image. To pop-up an image, see: Adding an Image Pop-Up
-
Video – Lets you show a video when the hotspot is clicked. When you select ‘Video’, a drop down menu ‘Source’ will appear to the right, letting you choose the type of video. See: Adding a Video Pop-up.
-
Info – Use this to popup an Information window displaying the text you enter under ‘Description’. You can use one of the info pop-up components that are built in to the Skin Editor. See: Adding an Information Pop-up Box.
Skin-ID
Use this ID to connect this hotspot to a hotspot template. For example, if there is a hotspot template called, wiki, and you would like a point hotspot to take that template’s characteristics, you would enter, wiki, in this field.
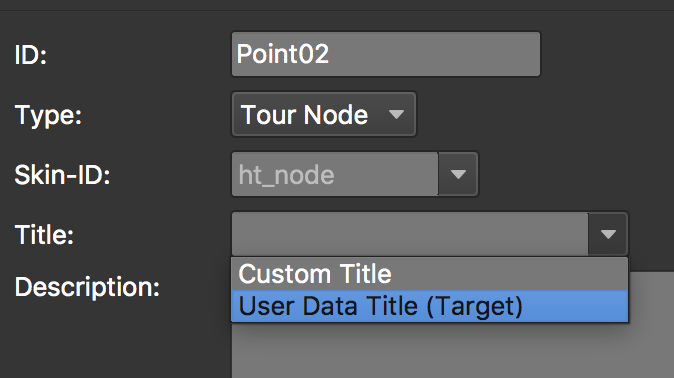
Title
Add the title of the hotspot here. This title will be visible (e.g. tooltip) when the mouse pointer hovers over the hotspot.
If the hotspot type is Tour Node, you will be able to choose between a custom title or to use the title of the connecting node.
Description
Enter a description of the hotspot here or text for an information pop-up box. If you plan to use an information hotspot template, the description would appear in the info pop-up box.
Link Target URL
The options here will depend on what is chosen for Type. If you’ve chosen,
-
URL – Enter the web or path URL to the node.
-
Tour Node – Pro – Choose a node from the menu. Click the green arrow to open the linked node.
-
Image – Click the folder button to navigate to the image.
-
Video – Depending on the video source you have chosen above, you can specify the file, web url or Youtube/Vimeo URL here.
-
Info – Link this hotspot with an element in the skin editor or simply add your tooltip text to the Title field above. You can use basic HTML tags.
Target
Add a target to specify where to open the website (or panorama).
If the Link Target Type is a tour node (Pano2VR Pro), the following options will be available:
-
Forward – Use Forward to ensure that the target direction always moves forward in a tour. This will override the default view.
-
Backward – Use Backward to look back to the previous node when arriving at the target node.
For example, in a tour with 3 nodes (node1, node2 and node3), you may want the connection from node1 to node2 to node3 to have the forward target and the connection from node3 to node2 to have the backward target, so you can immediately move back to node 2 once you arrive at node 3.
★ Tip: You can also enter the Pan, Tilt, and Field of View information in this field. This will override the default view settings in viewing parameters of the target node when entering through this hotspot. Enter the parameters separated by forward slashes (/), e.g. 324.0/-3.5/70.0.
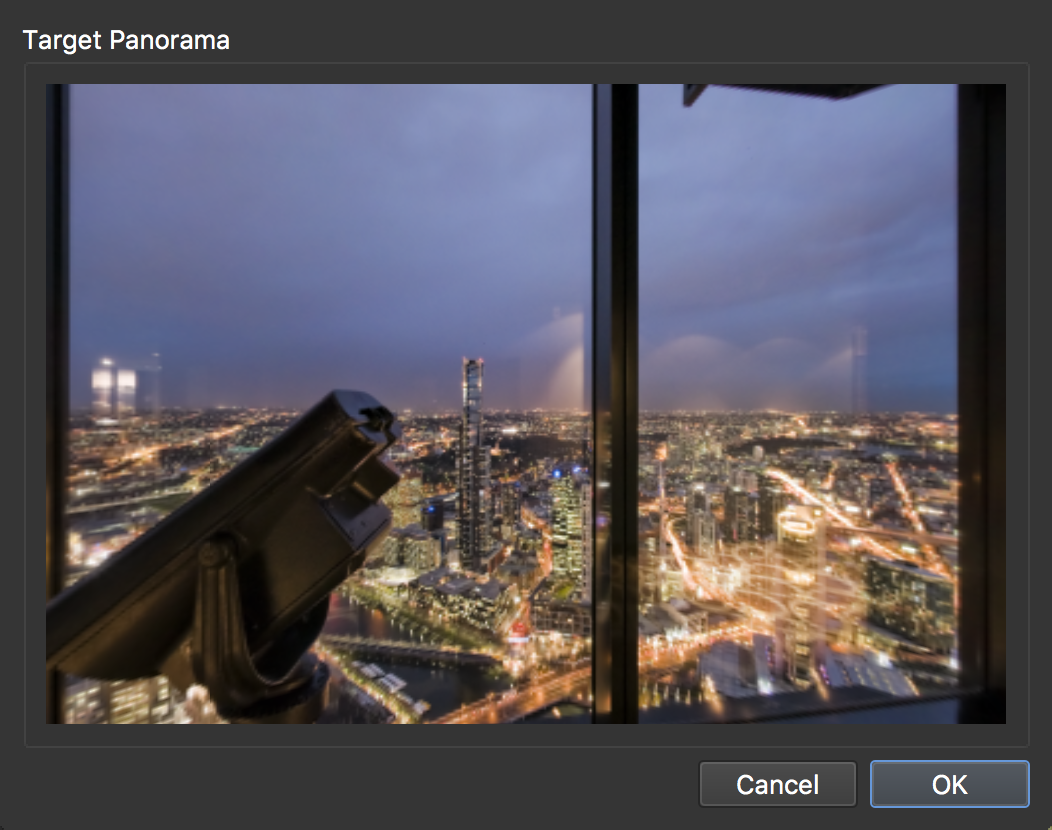
Target Viewing Parameters
This window will appear after clicking the bullseye button. Simply rotate the panorama to the desired opening view and click OK when you’re done.
✭ Command/Control-click on a point or polygon hotspot to open the Target Viewing Parameters.
Distance
The distance setting is available only for Tour Node point hotspot types.
Enter the distance between nodes. If the panoramas have GPS, distance can be determined automatically by selecting Auto.
Distance can now be displayed in text fields using placeholders in the skin and even used as triggers in logic blocks.
This setting will also affect a hotspot’s size, or how near or far the hotspot is to the viewer in WebVR.
Auto Place / Lock Position
Pano2VR Pro
For Auto Place, both the current node and the node you are linking to need GPS data. It is selected by default when activating a ghost hotspot and is signified with a lock symbol on the hotspot. This means that if the GPS data or North of one of the two linked nodes changes, the hotspot will be automatically placed in its new, correct location.
If you wish to move the hotspot to a different location, deselect Auto Place and move the hotspot or change the Pan and Tilt parameters.
A point hotspot can be locked even if it does not have location data.§
✭ If you plan to upload your project to Google Street View, be sure that Auto Place is selected.
Pan
Adjust the placement of the hotspot along the horizontal axis.
Tilt
Adjust the placement of the hotspot along the vertical axis.
Custom Image
Here, you can quickly assign a hotspot a custom image. This is useful for when a specific image is needed for one particular hotspot. For instance, if you are using a skin, but one hotspot needs a different image/icon, you can add it here. Likewise, you can add a custom image without having to create and add a skin.
Add the custom image by clicking the folder and navigate to the image. Once the image is added, it’ll be visible in the Viewer. To resize the image, drag on the red handles.
-
Width and Height – The image’s dimensions.
-
3D Distorted – When selected, the image will correctly distort with the panorama. You can also set the field of view (FoV) to adjust the hotspot’s size.
✭ If you’d like to apply custom images for certain hotspot types that will appear throughout a project, you can do this using hotspot templates.


