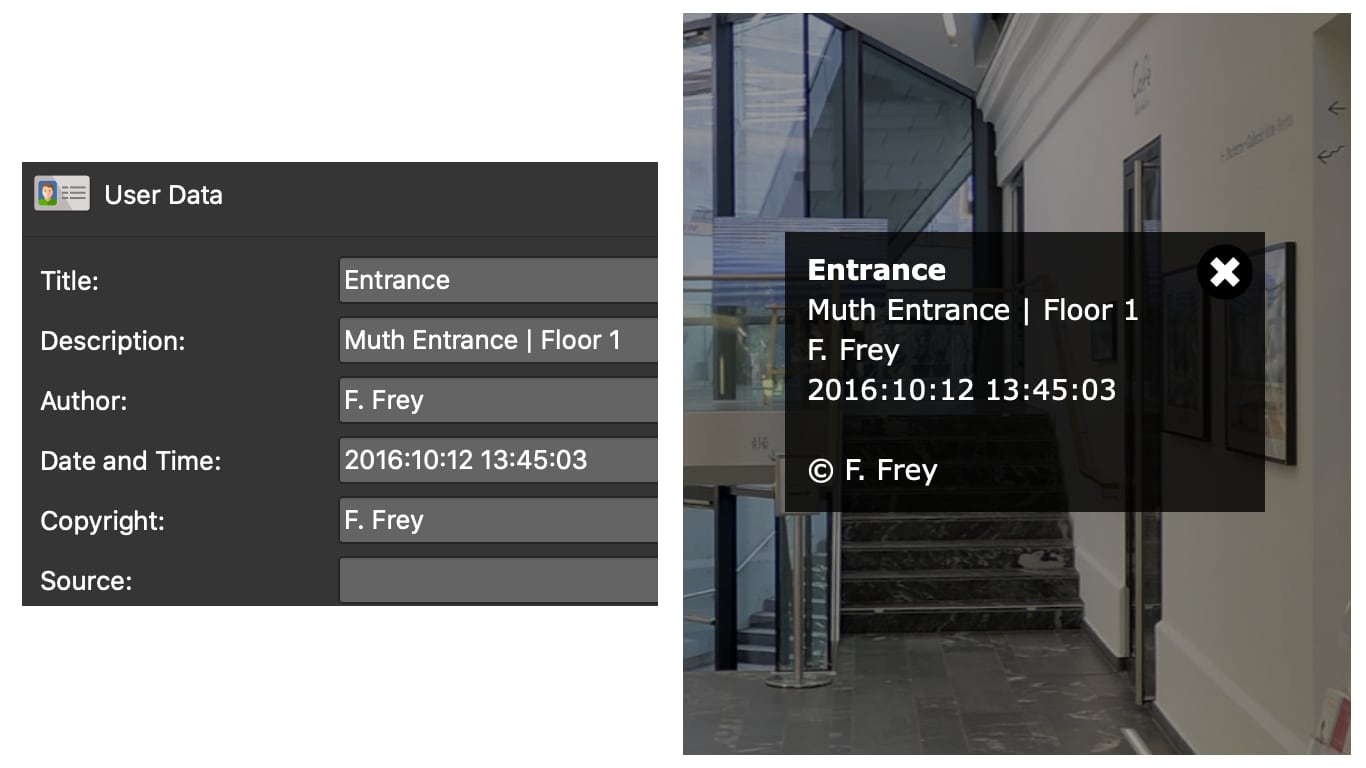
Adding User Data
Adding User Data is a crucial step in the workflow, especially for organization. Information added here can be used in the skin and the HTML template.
To add user data:
-
Open the User Data panel.
-
Fill in the usesr data (at the least, Title).
✭ Enable Exif import in the preferences/settings to have some fields automatically filled.
✭ If you have a tour in Pano2VR Pro, you can copy the data to all nodes by clicking the Copy to all nodes button to the right of each field.
✭ If you need more space to type, click the pencil icon to open a larger text field.
Data entered here will be used in the information popup in the built-in skins.
-
Add location data.
If location data was not recorded while taking the image, and you plan on making a tour with Pano2VR, you may want to geo-locate the panorama in Pano2VR. An easy way to add location data is in the Tour Map.
North can be set by holding down the N key and spinning the panorama to correct the direction.
North can also be set in the Tour Map
-
Give each node a custom ID. (optional)
Each node can have a unique ID like, kitchen, bedroom, entrance. These IDs can then be used in the URL:
http://www.example.com/my-house/kitchen.html. This URL will direct the user to the node with the ID, kitchen. If no custom ID is given, the default will be node01, etc., depending on it’s location in the tour. -
Add Tags.
Tags are tools for organization. Add as many tags as needed to the node. You can then filter the tags in the Tour Browser, or use them in the Skin Editor.
