Components Toolbox
The Components Toolbox is a collection of predefined skin elements. If, for instance, you have a button (or group of buttons) that you know you can use on multiple projects/skins, you can save it here. This makes it easier than saving different skin versions because you can categorize and tag them and even add descriptions.
Introduction to the Components Toolbox
Components Toolbox Interface
Components
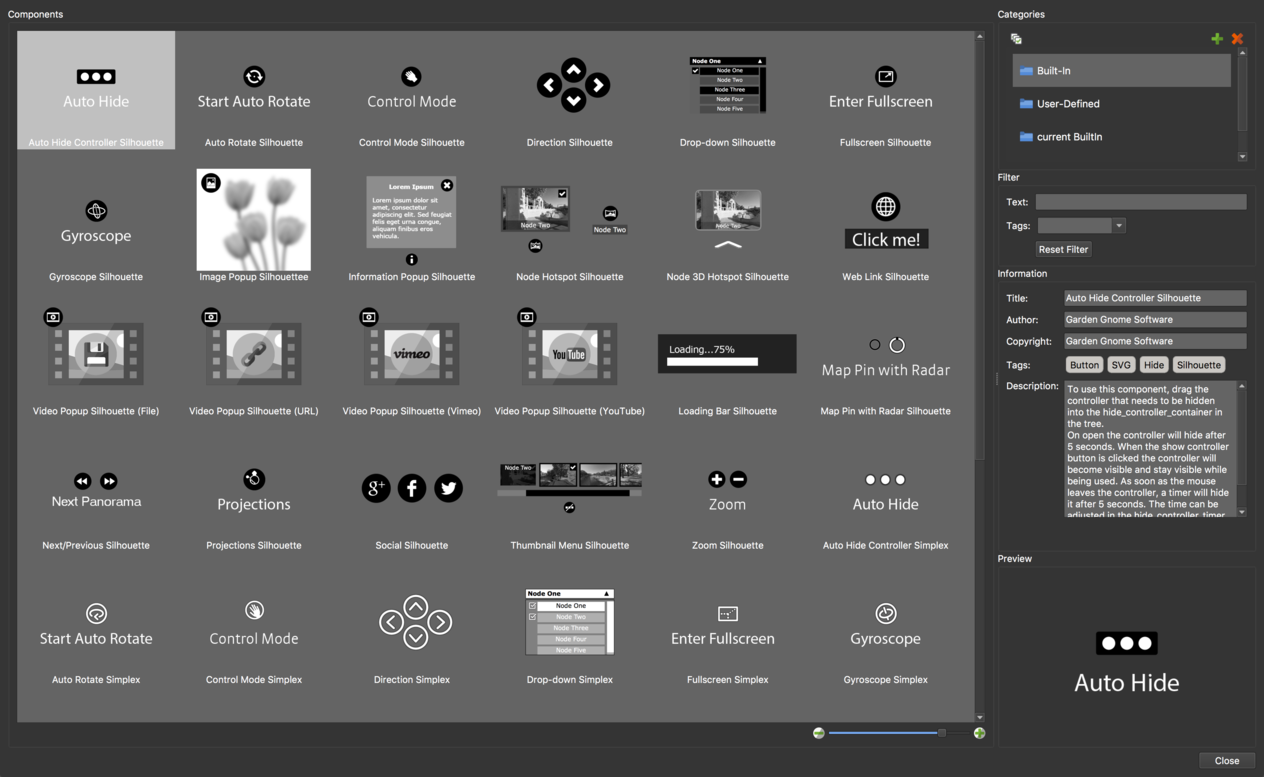
This is the components browser. All components you add to the Toolbox will be here. You can use the thumbnail slider below to change the thumbnail size. Click on a component to select it.
You can remove a component by selecting it and hitting the Delete key.
Categories
Categories give you a way to organize the components. You can add (green plus) and remove (red X) categories. There are two that cannot be removed; Built-In and User Defined.
Components can be moved to other categories by dragging them to a folder.
Select multiple categories by doing any of the following:
-
Control-click [win] or Command-click [macos] on the categories.
-
Click the Select All Categories button above the categories.
Filter
Filtering is helpful for finding specific components. You can use Text or Tags or both to filter which will filter down the list.
For example, if you want to find all Silhouette components that use Hotspot Templates, you can type, template for the Text and select Silhouette for the Tag. You would then see all components that include the text, template, and are tagged Silhouette.
Text – Filter the components with any text string. Text added to the Information section is searchable.
Tags – Filter the components with any tags.
Reset Filter – Click to clear all filters.
Information
Title – Give the component a title.
Author – Give credit to the person who created the component.
Copyright – Add copyright information.
Tags – Add tags to the components. Tags added here will show up in the Tags menu in the Filter section.
Description – Add any information about the component you find necessary.
Preview
This is a preview of the selected component.
Creating Components
If you want to create a component from the entire skin, go to the Edit menu and choose Create Component from Skin.
If you want to create a component from a group of elements, first make sure they are all selected and do any of the following:
-
Go to the Edit menu and choose Create Component from Selection.
-
Right-click on any selected element(s) in the Canvas or Tree and choose Create Component from Selection.
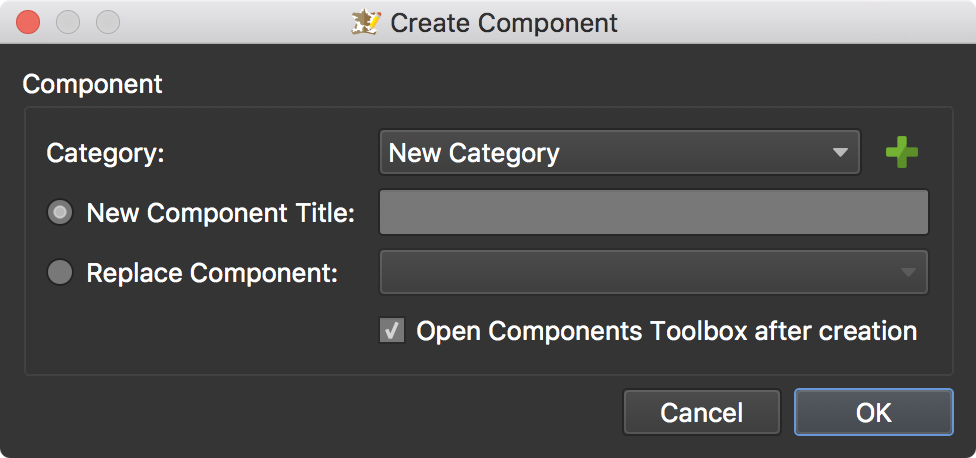
The Create Component dialog will appear.
Choose or create a new (green plus) category for your new component.
You can now choose what to do next:
- Give the component a name. The components’ name must be unique within a category.
or
- Replace an existing component.
Click OK to save or replace the component.
Using Components
Add a component to a skin by doing one of the following:
-
Right-click the component and choose Insert Component into Skin or Insert Component as Child of Active Element.
-
Double-click the component.
Sharing Components
-
Right-click a category in the Components Toolbox and choose, Open Category Folder in Finder/Explorer.
-
Navigate to the component you wish to share.
Adding a Component from outside Pano2VR to the Toolbox
-
In Finder/File Explorer, double-click the GGSKC file or drag it onto the Pano2VR logo. A dialog will appear.
-
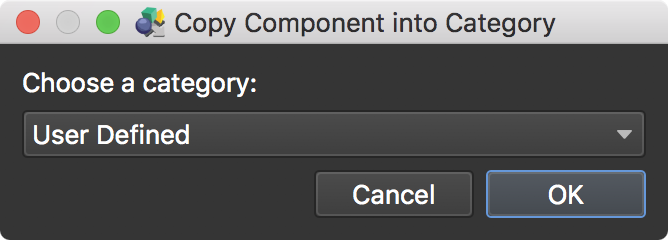
Choose a category in the dialog that appears.
Add and create a new category
-
Double-click the GGSK file or drag it onto the Pano2VR logo. A dialog will appear.
-
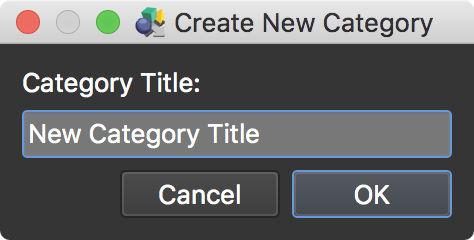
Select, New… to create a new category.
-
Enter a title. Click OK to add.
Share Skin Components
On our forum, Hopki has opened a place for everyone to share skin components. There are already a few there with detailed how-tos on how to use and build them.
Thumbnail Menu with Categories
This component will let you create nested menus. And the video below will show you how to work with it. The second video goes into the details of how nested cloners work to achieve the nested menus.
3D Arrow Hotspots
The 3D Arrow Hotspots are Street View style navigation buttons that include a popup thumbnail of the connected node. This component was added to the built-in components in Pano2VR 6 beta 4. You can see them in action here.
The original buttons have a preview that spins in space with the panorama. If you’d rather have the preview always face forward, then check out this post by Hopki to download the component and learn how to use it.
You can also download another version of this component. This one incorporates a Move to View action so that when you click on the hotspot, the panorama will spin towards the direction of the hotspot before transitioning to the next node. Check it out here.
Map Pin with Radar
✭ Pano2VR pro
Learn how to use the Map Pin with Radar component.
Text to Speech
Use this component to help make your project accessible. This will allow screen readers to read text from text fields and alternative text from images.


