Embedding Video
Learn how to embed videos into panoramas which allows for a seamless integration of video in a still panorama.
Adding an image mask
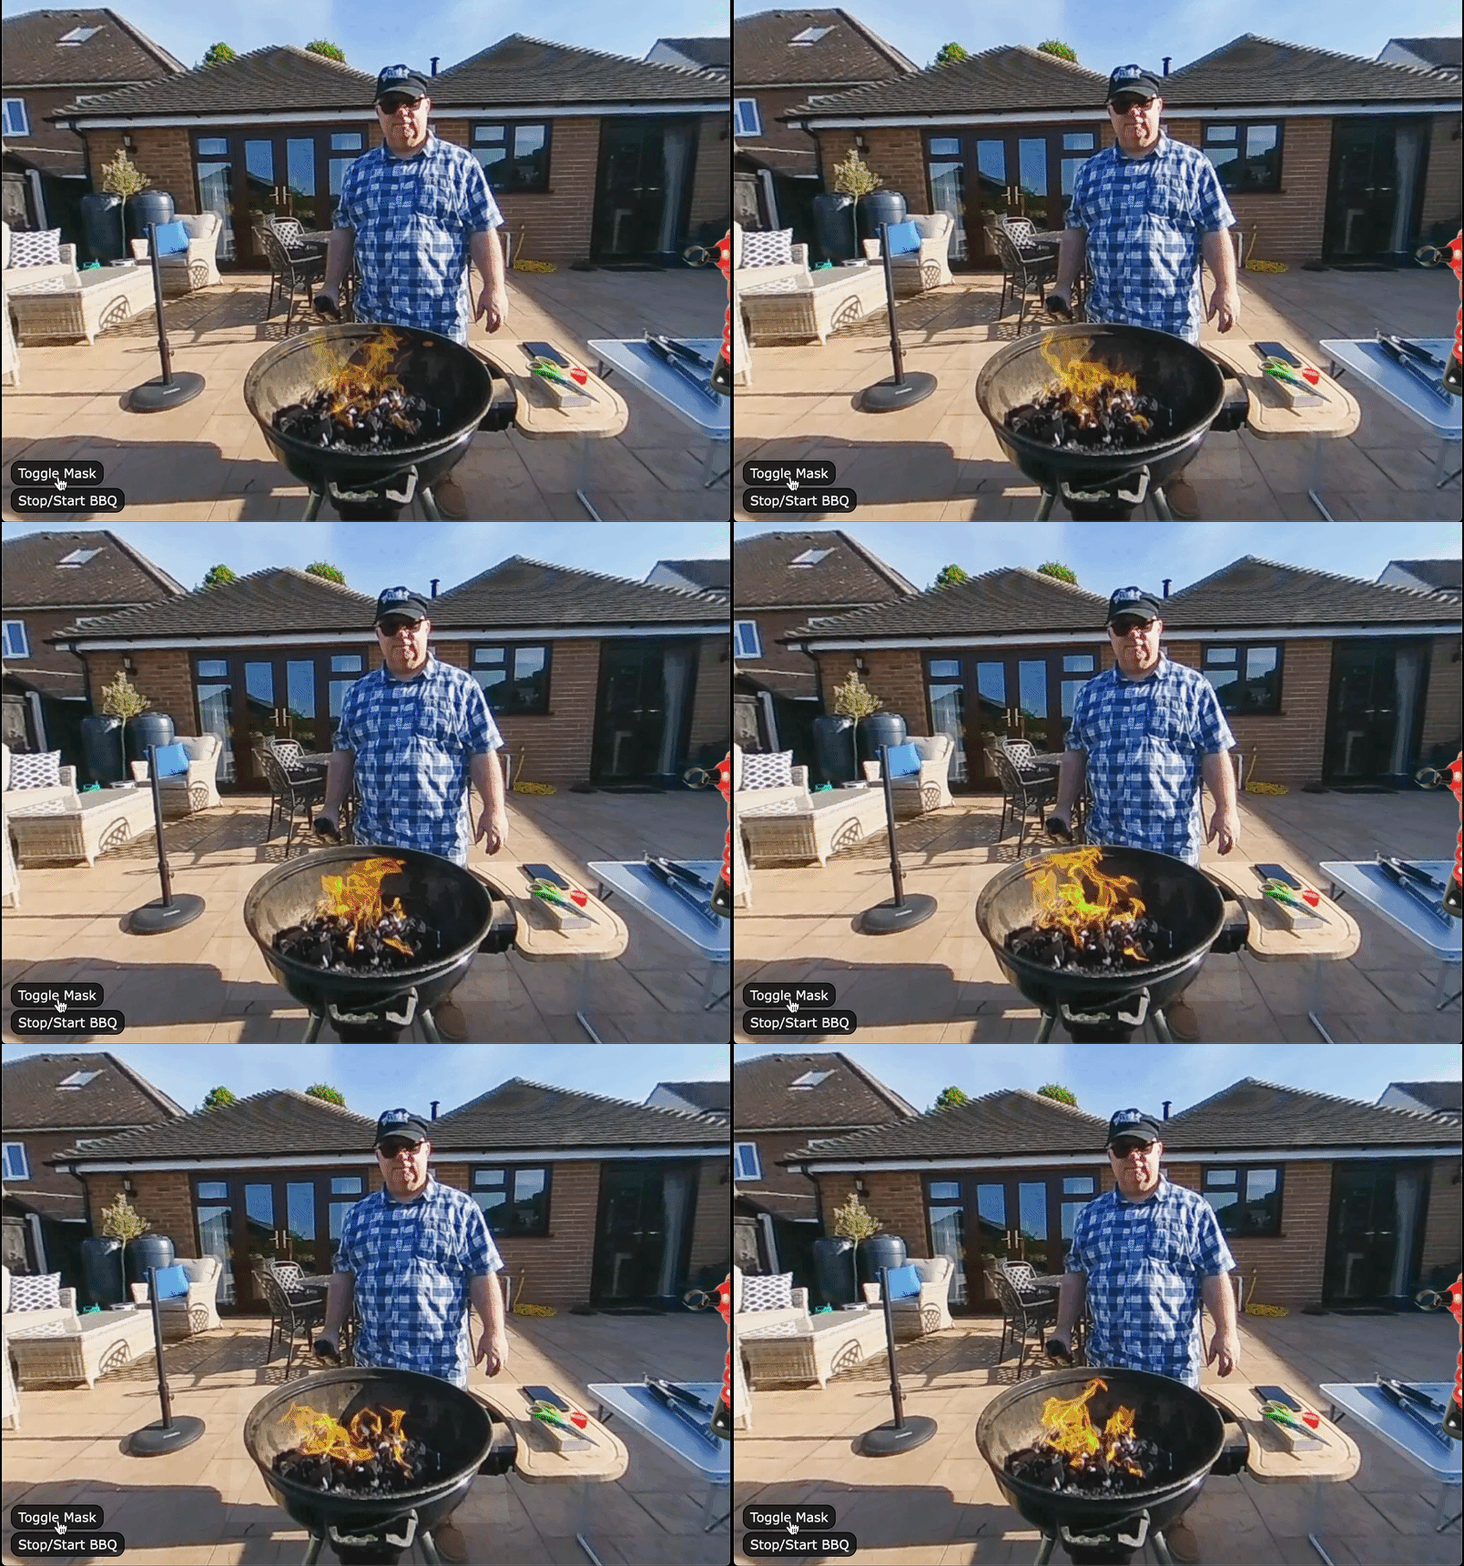
Sometimes the edges of the video are visible in the panorama. This is usually caused by the differences in the color spaces that images and videos use. Adjusting Gamma can help, but on high contrast scenes, it might not be enough. Adding an image mask to the patched area will help eliminate the video’s edges. You can see an example here.
The following steps mimic the steps in the video tutorial above but add a few extra steps that are needed for masking. Masking helps the video match the panorama. You can either have Pano2VR generate the mask or you can create a mask in your photo editor for more precision.
Using the mask generated by Pano2VR:
-
Extract the patch.
-
In your editor of choice, add the video clip and transform and edit as needed.
-
Back in Pano2VR, find the original patch and convert it to a pinned video.
-
Select the video you created in Step 2.
-
In the video’s properties, click the Generate Image Mask button for Image Mask File.
-
In the dialog that appears, define the amount of feathering.
-
Save and export the project.
If you need a more precise mask, create your own using the following steps.
Creating a mask in Photoshop (or any editor that supports a video layer):
-
Extract the patch.
-
Copy that patch in List View.
-
In Photoshop (or your editor of choice), add the video and the original patch image to the video timeline.
-
Add a mask to the video layer. Paint out the unneccesary parts, as in the video above.
-
Export the video with the mask.
-
Then drag the mask from the video layer to the image patch layer.
-
Invert the mask using Control-I or Command-I.
-
Hide the video layer.
-
Export the image patch out as PNG.
-
In Pano2VR, select the top patch and convert it to a pinned video. Then in the Patch properties, choose the masked video as the patch.
-
Select the second patch and covert it to a pinned image. Change its file to the inverted patch (the image with the inverted mask).
-
Save and export the project.
These steps are shown in the video below at about 34:00.
Webinar: Embedding Video
Take a deeper dive into the workflow of embedded videos with this webinar (with Project Files) recorded in October 2020.
