Linking Panoramas
If you have more than one panorama, you can link to them via hotspots. This is generally called a panorama tour.
★ If you have a large amount of panoramas to connect, it might be worth upgrading to Pano2VR pro, where you can create a tour in a faster, more efficient way. These steps describe linking to a tour using the standard version of Pano2VR.
In Pano2VR light
1. Make an Output Template
First, make an output template that you can use for every node. In this template, the filenames and their locations are changed so that each node is outputted to the same output folder and not overwritten.
-
Open Pano2VR (without an image).
-
Add an HTML5 output.
-
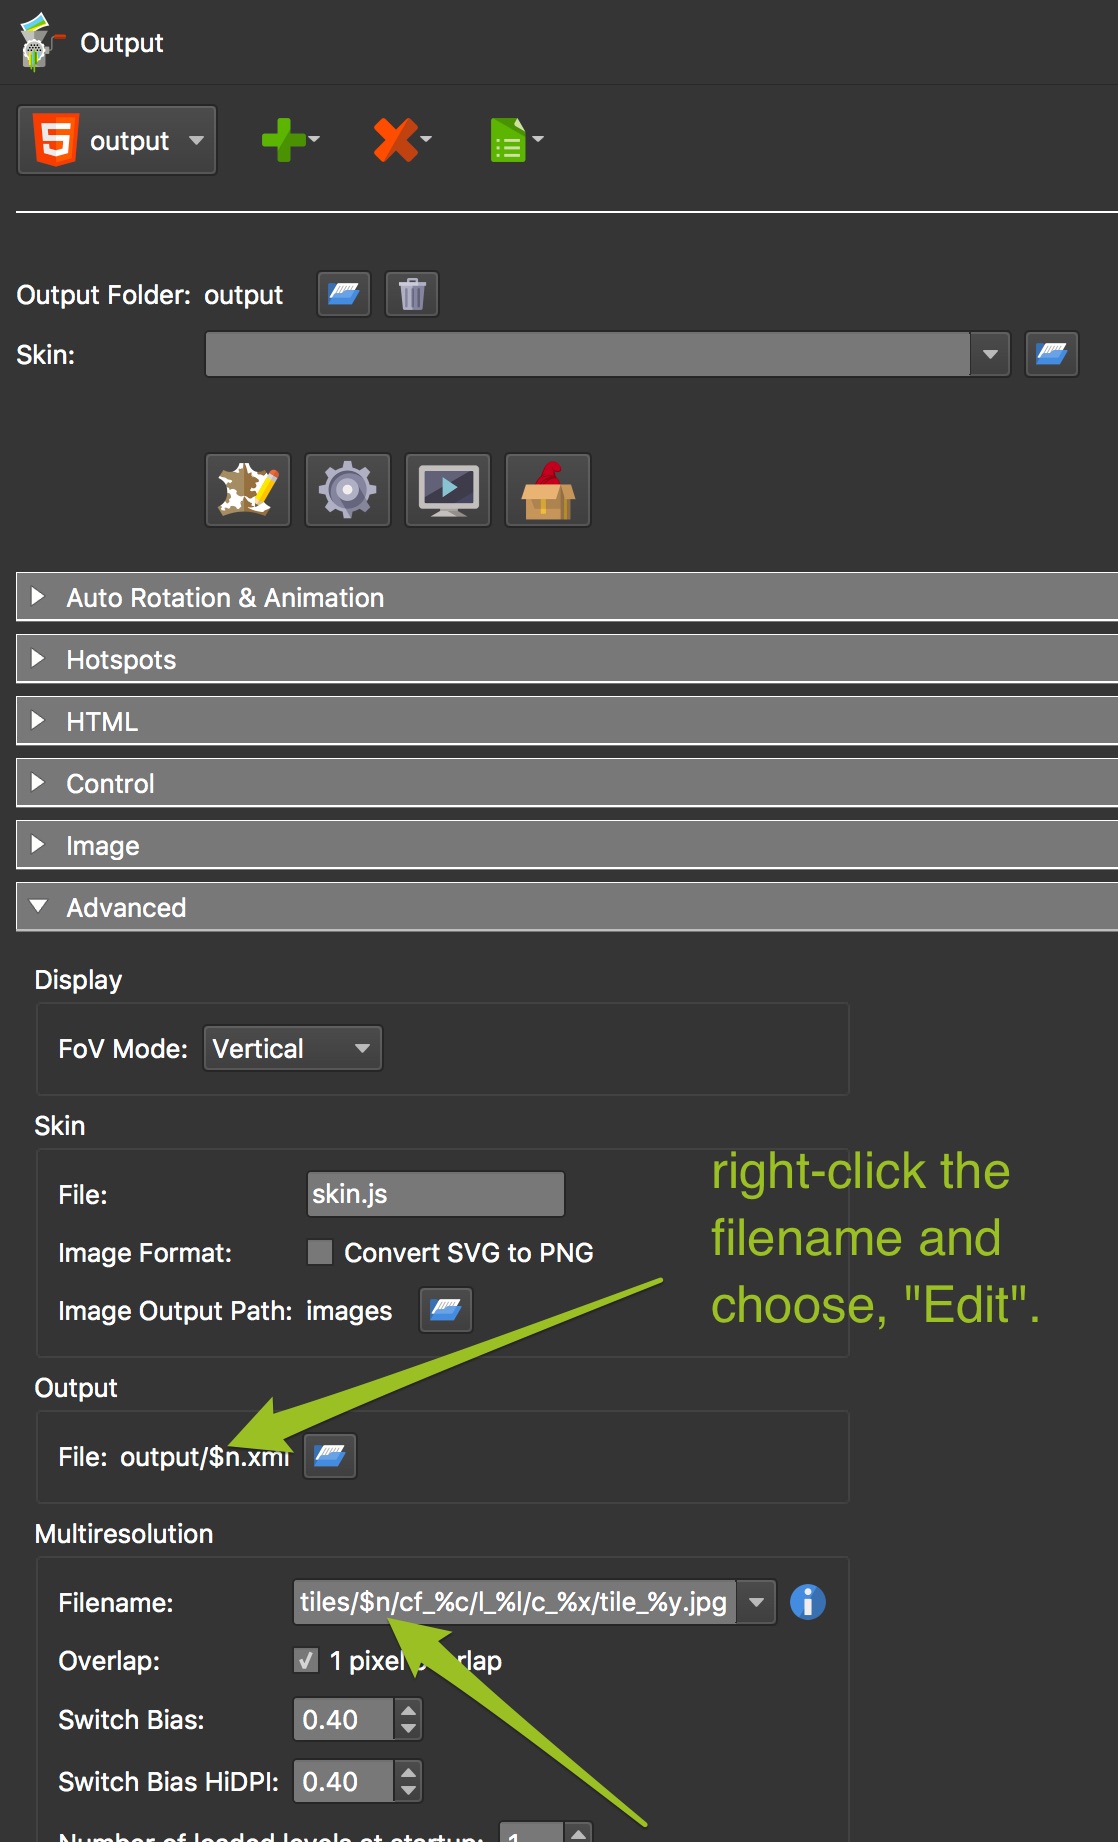
In the Advanced pane of the output settings, change the output filename from
output/pano.xmltooutput/$n.xml.
$nis a placeholder and will use the name of the input image. -
Also in the Advanced pane, replace
$ywith$nfor the Filename in the Multiresolution section.
$yis the placeholder for node ID, but because the outputs of the linked panoramas need to be in the same output folder, it’s necessary to make sure the folder here is unique for each image.
-
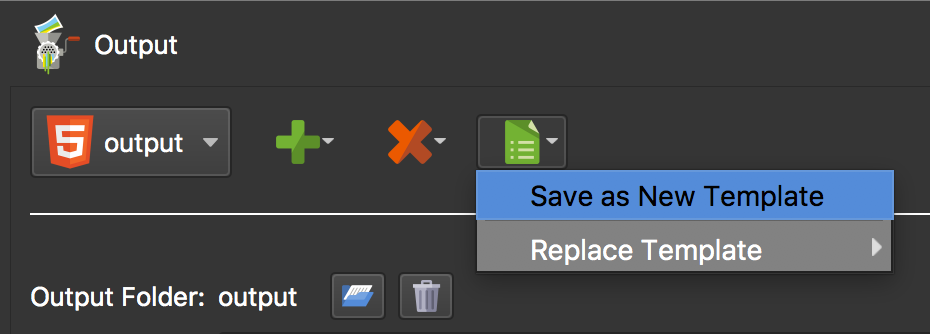
Save that output as a new template.
Once the projects have been outputted, their files should all be saved to the same output folder.
2. Create the Starting Panorama
The starting panorama will set the output folder.
-
Import the starting panorama (e.g. pano1) into Pano2VR.
-
Save the project.
-
Add the output template you just created. Click the Add Output button in the Output panel and choose Template. Select the template.
-
Output the project.
3. Create the Next Panorama
-
Create a new project with the next panorama (e.g. pano2).
-
Save the project.
-
Add the output template you created.
-
Output the project.
4. Link the Panoramas
-
Open the project for the starting panorama (pano1).
-
Add point hotspot.
-
For Type, choose, URL.
-
Add the filename of the panorama to be linked to (pano2) to the URL field (
pano2.xml). -
Set the Target View of the linked panorama:
- Open pano2 in Pano2VR.
- Drag the image to the desired opening view (target view).
- Note the pan, tilt and field of view values found in in the Viewing Parameters panel.
- In the project for pano1, select the hotspot and in the field called Target, enter the values: pan/tilt/fov (separated by forward slashes).
So, now, when the hotspot is clicked, pano2 will open in the desired view. If you do not set the target view, then the image’s default view will be used.
-
Output the project.
Repeat this process for each panorama.
★ Note: In WordPress, the start panorama’s XML file must be pano.xml. Otherwise, an error will occur saying the XML cannot be found.


