Pinning Images
Images can be easily pinned to the panorama with correct distortion.
-
Select the Images mode either by selecting in the Viewer or by using the keyboard shortcut
I. -
Double-click in the Viewer to add the image.
A dialog will appear. Navigate to your image and click Open. Once added, a transparent version of the image will appear.
✭ The image will be at its original transparency on output. It is only transparent in the media editor to help aid placing and positioning.
-
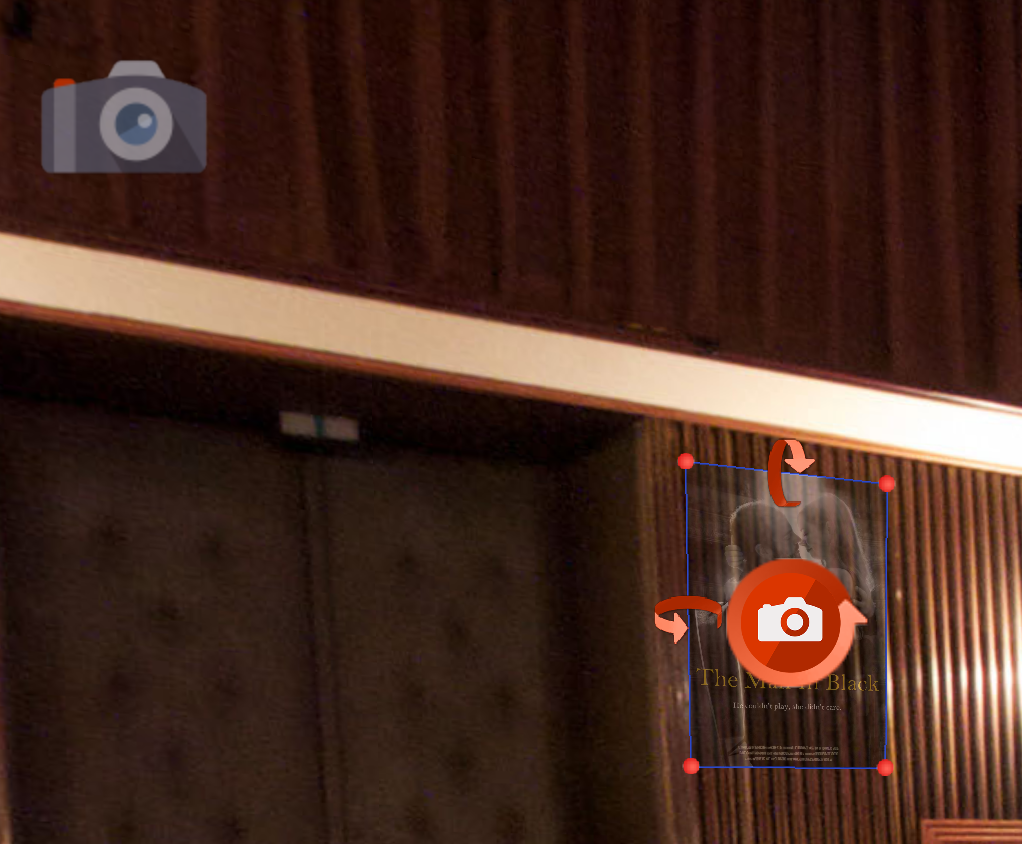
Adjust the image to the panorama by doing one or all of the following:
→ Click on the center icon and drag to move the entire element into position.
→ Drag on the handles (red corner dots), to match it to its environment.
→ Click the top arrow and drag in a vertical motion to move the element forward or backwards on the horizontal axis.
→ Click on the left arrow and drag in a vertical motion to move the element on its vertical axis.
→ Click and drag on the center arrow in a vertical motion to rotate the element.
-
In the image properties, choose a Click Mode.
Pop out 100% – This will animate the image to come forward and fill the window. The next click will return the image to its original position.
Pop out normal – This will pop the image out to its original size which could extend beyond the window.
✭ Copy and paste pinned images by right-clicking in the viewer with a pinned image active, and then choose Copy Active Media Element. Right-click anywhere in the panorama and select Paste Media Element to paste.
