Create a Simple Animation
Learn how to create a basic animation from a single panorama. Here, we will create a single clip with a simple rotation, then export the project as a movie file that you either upload directly to YouTube or import to your NLE (video editor) for further processing.
-
Add your image to Pano2VR.
-
Open the Animation Editor panel by clicking the Animation button in the Toolbar.
-
Add a clip by clicking the New clip button in the top-left section of the editor.
In the dialog that pops up, give the clip a Title and click, OK. You’ll then see the clip listed in the Clips section of the Animation properties.
-
Start animating! The simplest animation is a rotation along the horizon.
First rotate the panorama to where you want the panorama to move.
-
Hit Enter.
This adds Magic Keyframes to the Pan, Tilt and FoV tracks.
The magic keyframe feature allows you to add evenly timed (constant speed) keyframes. The default speed is 10 degrees per second. You can change this to any value.
-
Hit the Page Up key to move the playhead back to the beginning and hit the spacebar to play back to see if you like the rotation. If you’re not satisfied you can undo and try again.
-
[Optional] Trim to the last keyframe. This is only relevant if there is extra time after the keyframe that was just added. This will trim the excess time at the end.
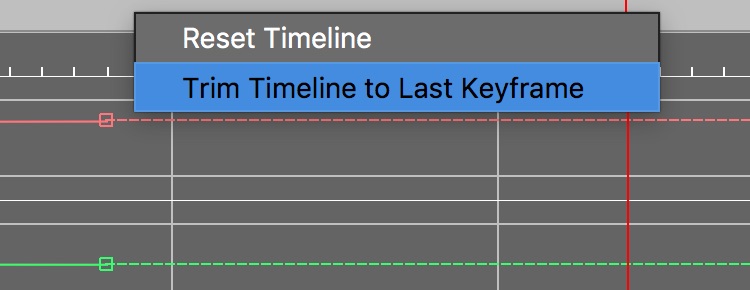
Right-click in the top, gray bar of the timeline and choose, Trim Timeline to Last Keyframe. -
You can stop here and export a video or just frames. Or continue and add more keyframes and edit the animation.
Add More Keyframes
We’re keeping the project simple, so we will continue adding magic keyframes.
-
Rotate the panorama again. But this time, try zooming in to or out of the panorama.
-
Add another group of magic keyframes by hitting Enter again.
✭ You can also click the Add Magic Keyframes button. -
Play it back to see if it’s what you want.
-
Edit the keyframes by doing any of the following:
-
Drag the keyframes to re-adjust.
-
Each keyframe has bezier curve handles. Drag these handles to modify the motion.
Delete a keyframe by doing one of the following:
-
Right-click and choose Delete keyframe
-
Drag the mouse over the keyframes to select one or more and hit the Delete key.
Learn more about editing keyframes.
-
-
Output the movie. You have a few output choices: Video and Frames.
Output a Video
✭ FFmpeg must be installed.
In the Animation Properties check that the clip you’ve created is in the Clips table. If not, double-click in the clips table. In the dialog that pops up, confirm the panorama (node) and the clip by clicking OK.
-
Open the Output Panel panel.
-
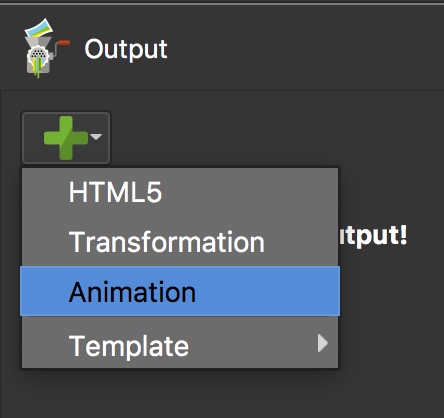
Add an Animation output by clicking on the Add Output button.
-
Open the Animation pane and in the Video section, enter a video resolution (i.e. 1920 x 1080).
-
Enter a frame rate.
✭ Tip: A higher frame rate will result in smoother playback.
-
Select Generate video file.
-
If you won’t need the frames, select Delete frame files after video creation. Pano2VR will first, create each frame of the video. If this is not selected, then the frames are saved in the output folder.
-
Click the Generate Output button.
-
Choose, All Frames. If you created multiple clips and want to output a single clip, choose Clip and select the clip to output.
✭ Tip: You can create multiple clips from the same image to capture different perspectives or projections.
-
Click Render.
Output Frames
-
Open the Output panel.
-
Add an Animation output by clicking on the Add Output button.
-
In the Frames section, choose the file format of the frames. If you choose JPEG, define the quality.
-
Edit the filename if needed. The image sequence number will be appended to the file’s base name.
-
Click the Generate Output button.


