Menu Bar
In the menu bar, you’ll find some more tools and shortcuts.
File
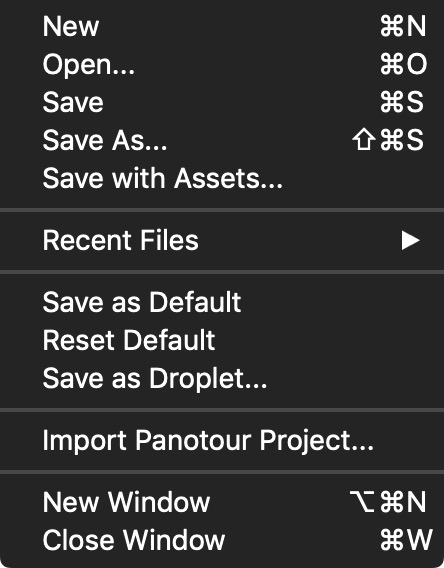
- New – Opens a new project window. If a project window is already open, you’ll be prompted to save the project and then it will close before opening a new project window.
- Open – Open a saved project.
- Save – Save the project file.
- Save As – Save the project with a different name.
- Recent Files – Choose from the most recently opened projects.
- Save as Default – Saves your project preferences as the default. For Pro users, if the project has patches and user data added, then these will also be saved and added to a project with more than one node. To change the patch and user data, edit the Master Node.
- Reset Default – Resets the default preferences.
- Save as Droplet – Save your project and preferences as a droplet onto your desktop for quick image batch converting.
- Save with Assets – Saves the project and consolidates all associated assets in a new location. You will be asked to save the project. You must save the project to a different folder than the original project.
- New Window – Opens a project window without closing any previous open project. This allows you to have multiple project windows at a time. Mac only
- Close Window – Closes foremost open project window. Mac only
Edit
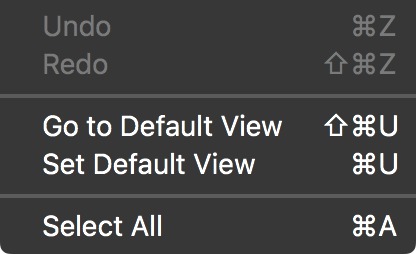
- Undo – Undo last action.
- Redo – Redo last action.
- Go to Default View – Sets panorama to its default view.
- Set Default View – Sets the default view.
- Select All – Selects all images in the Tour Browser.
Elements
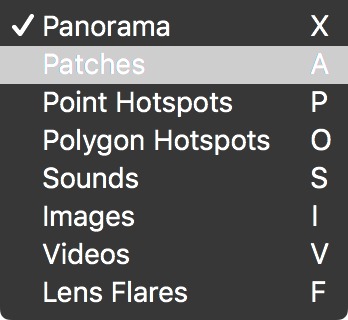
Each of these options will change the Viewer Mode. Panorama is the Viewer’s default mode.
- Panorama
- Patches
- Point Hotspots
- Sounds
- Images
- Videos
- Lens Flares
Tools
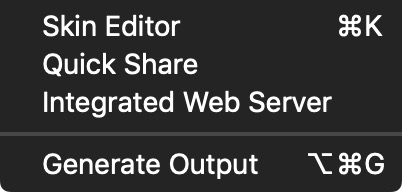
- Skin Editor – Opens the Skin Editor.
- Quick Share – Export the current panorama as a flat panorama with the necessary embedded metatags for sharing online. The exported panorama will apply the default view so it is centered. If viewing limits have been applied, the image will be cropped to those limits.
- Integrated Web Server – Opens the Integrated Web Server for simplified local testing.
- Generate Output – Generate the output without having to open the output panel. Use the keyboard shortcut Ctrl-Alt-G [win] or Opt-Cmd-G [macos]. This will always generate the current output.
Tour
Pano2VR Pro
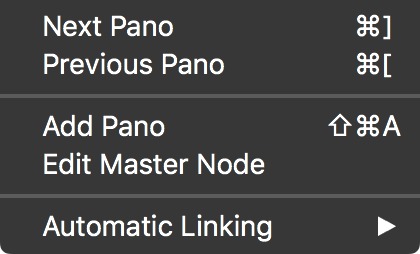
- Next Pano – Go to the next panorama.
- Previous Pano – Go to the previous panorama.
- Add Pano – Adds a panorama to the tour.
- Edit Master Node – Choose this to edit the master node.
-
Automatic Linking – This will automatically link all panoramas in a tour (or those selected in the Tour Browser) based on the chosen option:
★ Images must be geotagged and their directions correctly set for automatic linking to work.
-
Sequential – The panoramas will be linked in their order in the Tour Browser.
-
Closest Node – The panoramas will be linked based on their closest neighbor based on GPS data.
✭ Suggested mode for uploading to Google Street View. -
Complete – This links each panorama to every other panorama in the tour.
- Remove All Links – Click to remove all point hotspot types that are a Tour Node. If multiple nodes are selected, the links between them will be removed. This is especially useful for trying out different Automatic Linking methods.
-
Animation
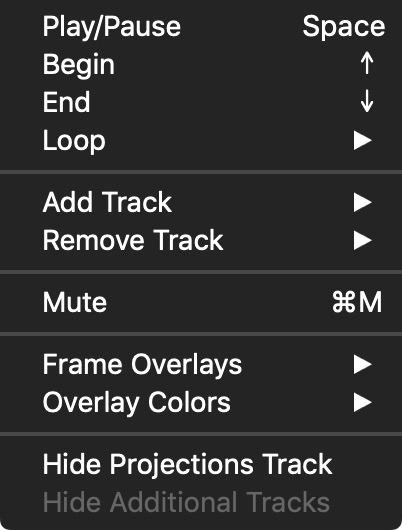
- Play/Pause – Play or Pause the animation.
- Begin – Go to the beginning of the animation.
- End – Go to the end of the animation.
-
Loop – Choose from the following to loop playback:
- Current Clip – Only the current clip will be looped.
- All Clips – All clips will be looped.
- Off – Turn off looping.
-
Add Track – Adds a new additional track.
-
Remove Track – Removes an additonal track.
-
Mute – Mute sound of video panoramas.
-
Frame Overlays – The Frame Overlays will add an aspect ratio overlay so you can correctly frame the panorama.
-
16:9 – HD video
-
4:3 – SD video and still photography
-
None – Choose to remove the overlay.
✭ Once you add an output format (HTML5, Animation), you will see the chosen output’s dimensions listed in the Frame Overlays.
Overlay Colors – Set the Viewer’s overlay color (viewer borders).
-
Black
-
Dark Gray
-
Medium Gray
-
Light Gray
-
Hide/Show Projection Track – Hides or shows the projection track in the time line.
- Hide/Show Additional Tracks – Hides or shows all additional tracks in the time line.
Window
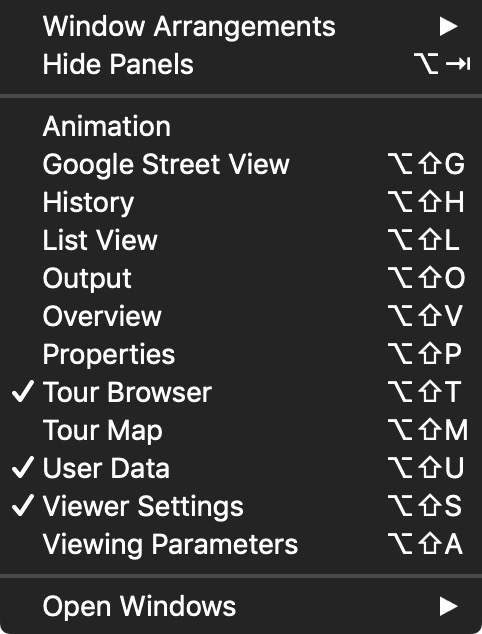
- Window Arrangements – Saves your window layouts.
- Hide/Show Panels – Hides or Shows all panels, to maximize the Main Viewer.
- Animation – Opens the Animation Editor
- Google Street View – Opens the Google Street View Panel.
- History – Opens the History panel.
- List View – Opens a List View of all the elements added to the panorama.
- Overview – Opens the Overview panel.
- Properties – Opens the Properties panel.
- Tour Browser – Opens the Tour Browser.
- Tour Map – Opens the Tour Maps panel.
- User Data – Opens the User Data panel.
- Viewer Settings – Opens the Viewer Settings panel.
- Viewing Parameters – Opens the Viewing Parameters panel.
- Open Windows – Displays a list of all windows currently open. Choose one to bring it forward.
Help
- Help – Opens the Help pages (documentation).
- Video Tutorials – Takes you to the video tutorials page.
- Check for Updates – Choose to check for software updates.
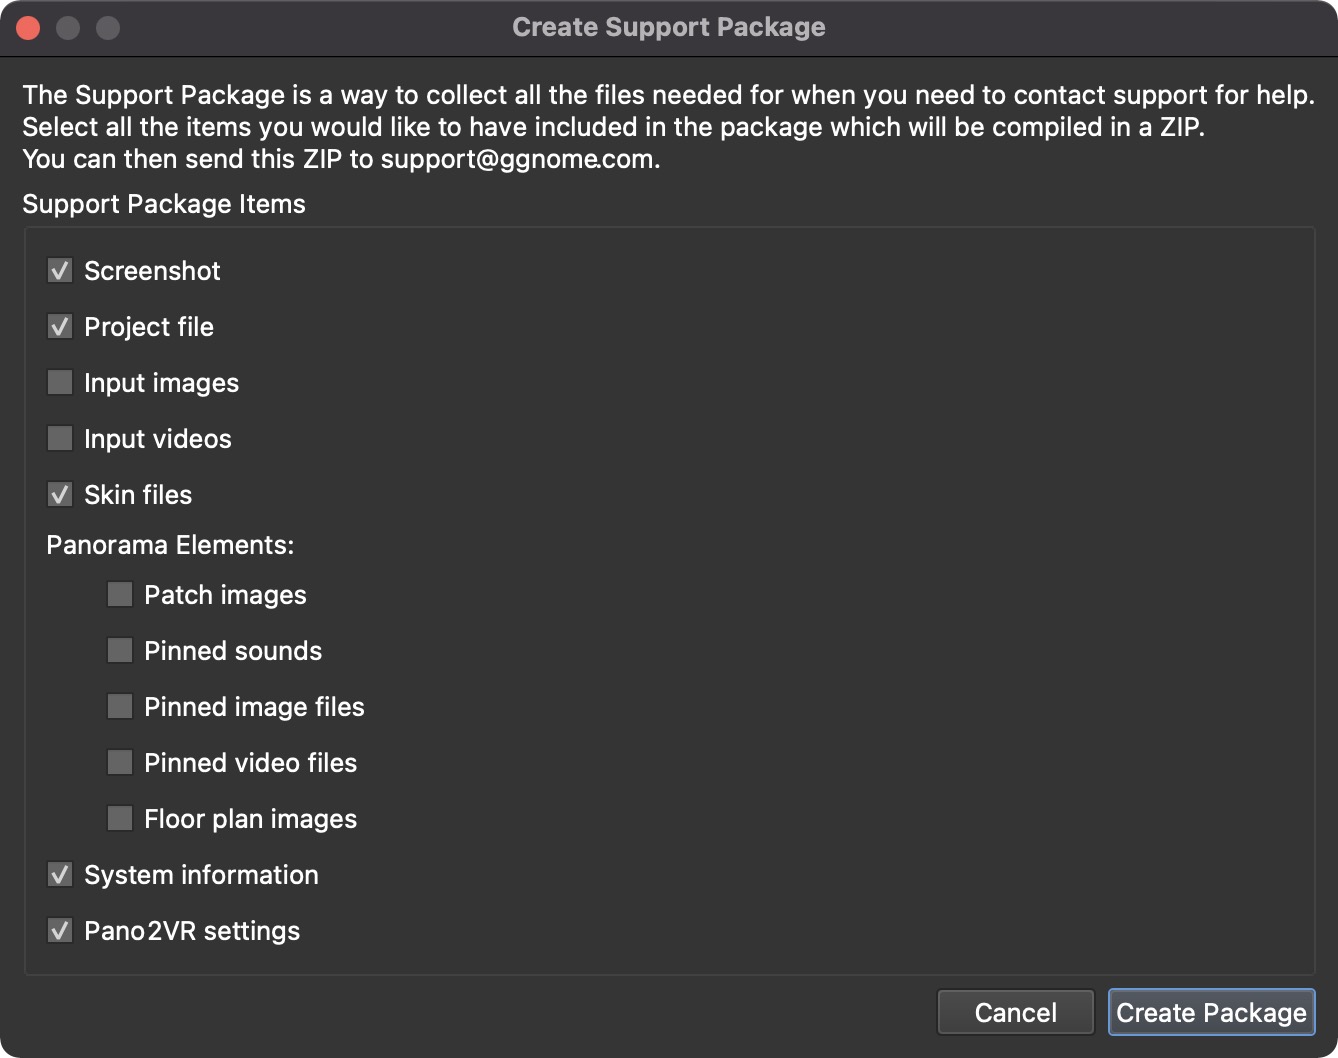
- Create Support Package – If you require help and need to contact our support team, you can use this to collect all the files the support team would need to help you. Select the files needed, and hit, Create Package. Pano2VR will collect the files and package them in a ZIP, ready for sending to our support team.
If you’re unsure what files to send, just stick with the default selection (Screenshot, Project file, Skin files, System information, Pano2VR settings).
- About – Information about Pano2VR (On a Mac this is found under Pano2VR > About.)
