The Viewer
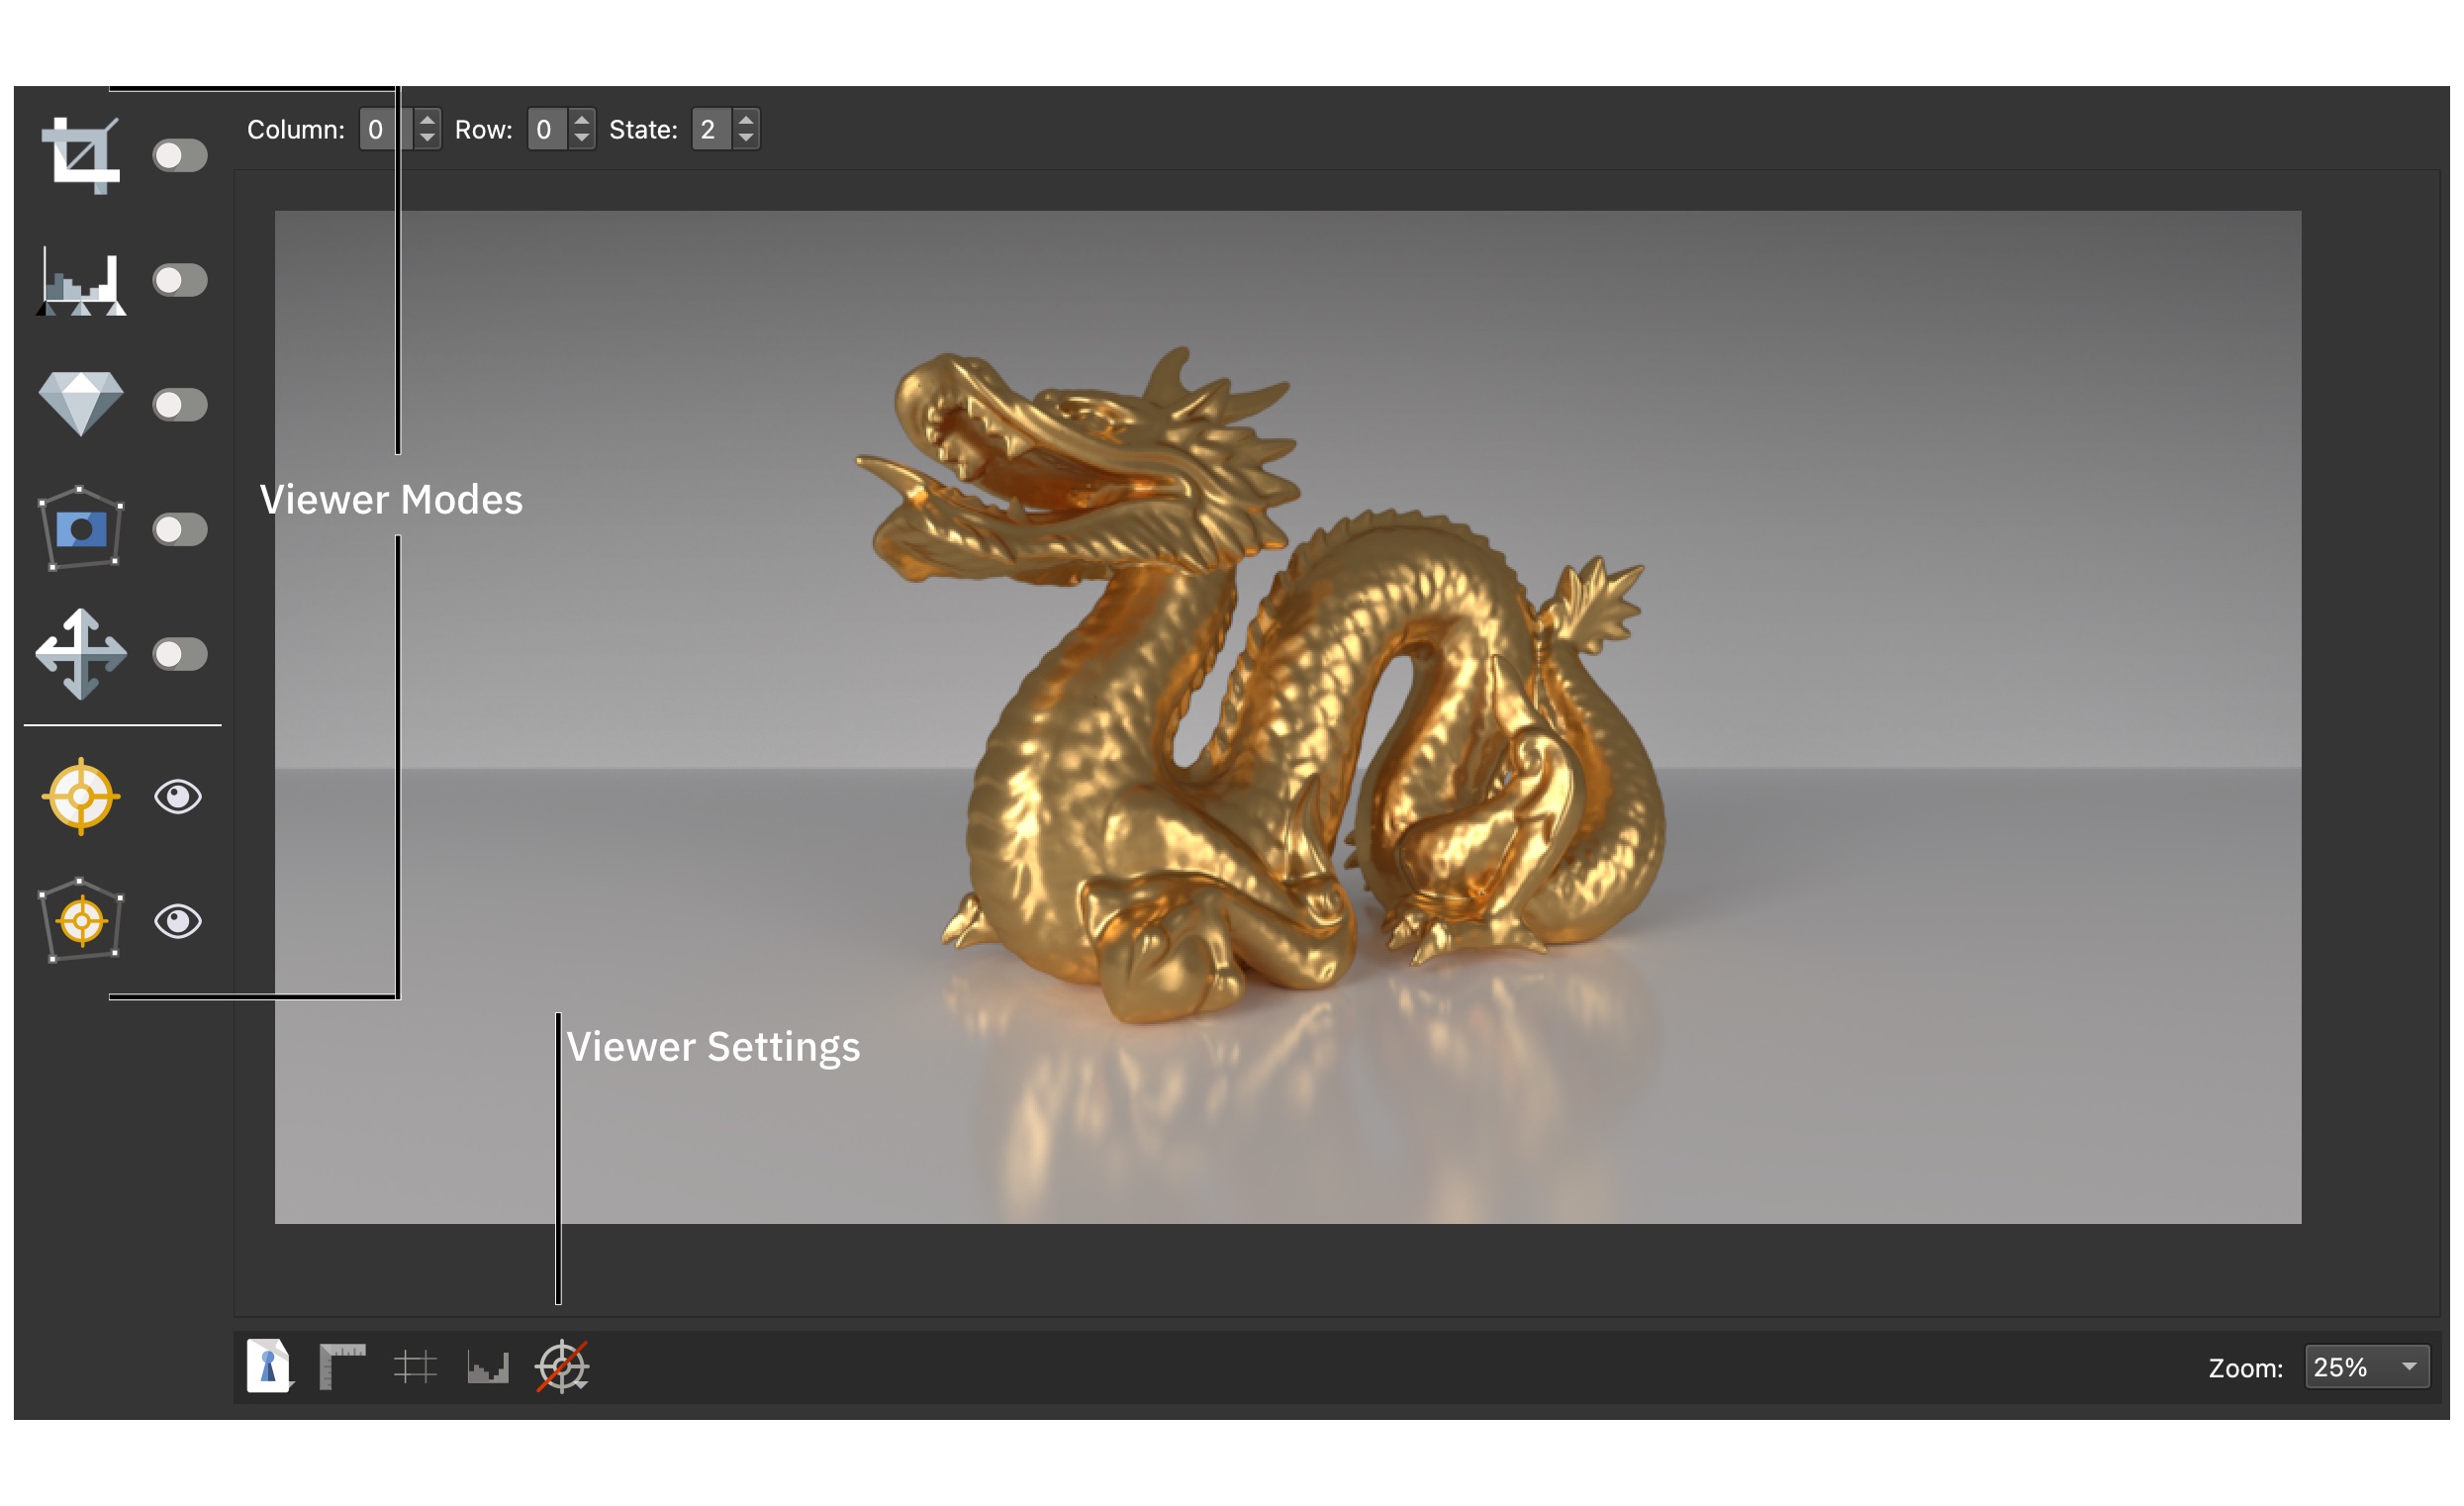
The center of Object2VR features the Viewer. This is where you add hotspots to the object. It also where you'll used some of the image processing tools, like crop and transformation.
Note that the Viewer in Object2VR light will only have Hotspot Viewer Modes. The Image Processing Tools are available in Object2VR pro and Object2VR studio.
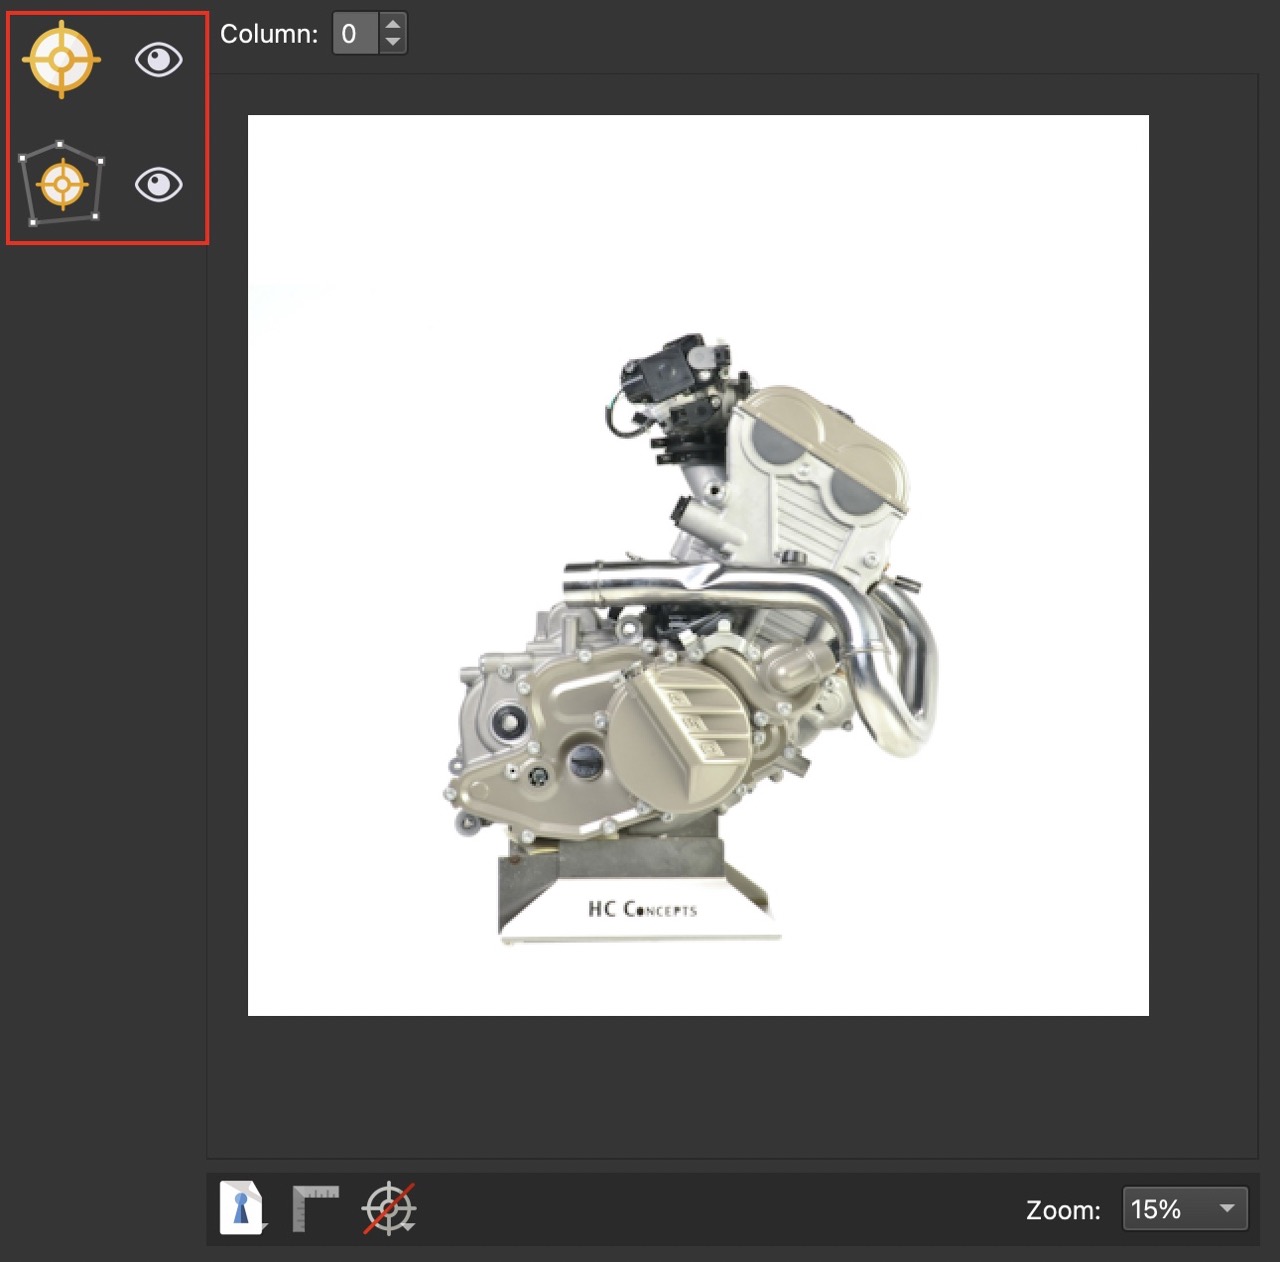
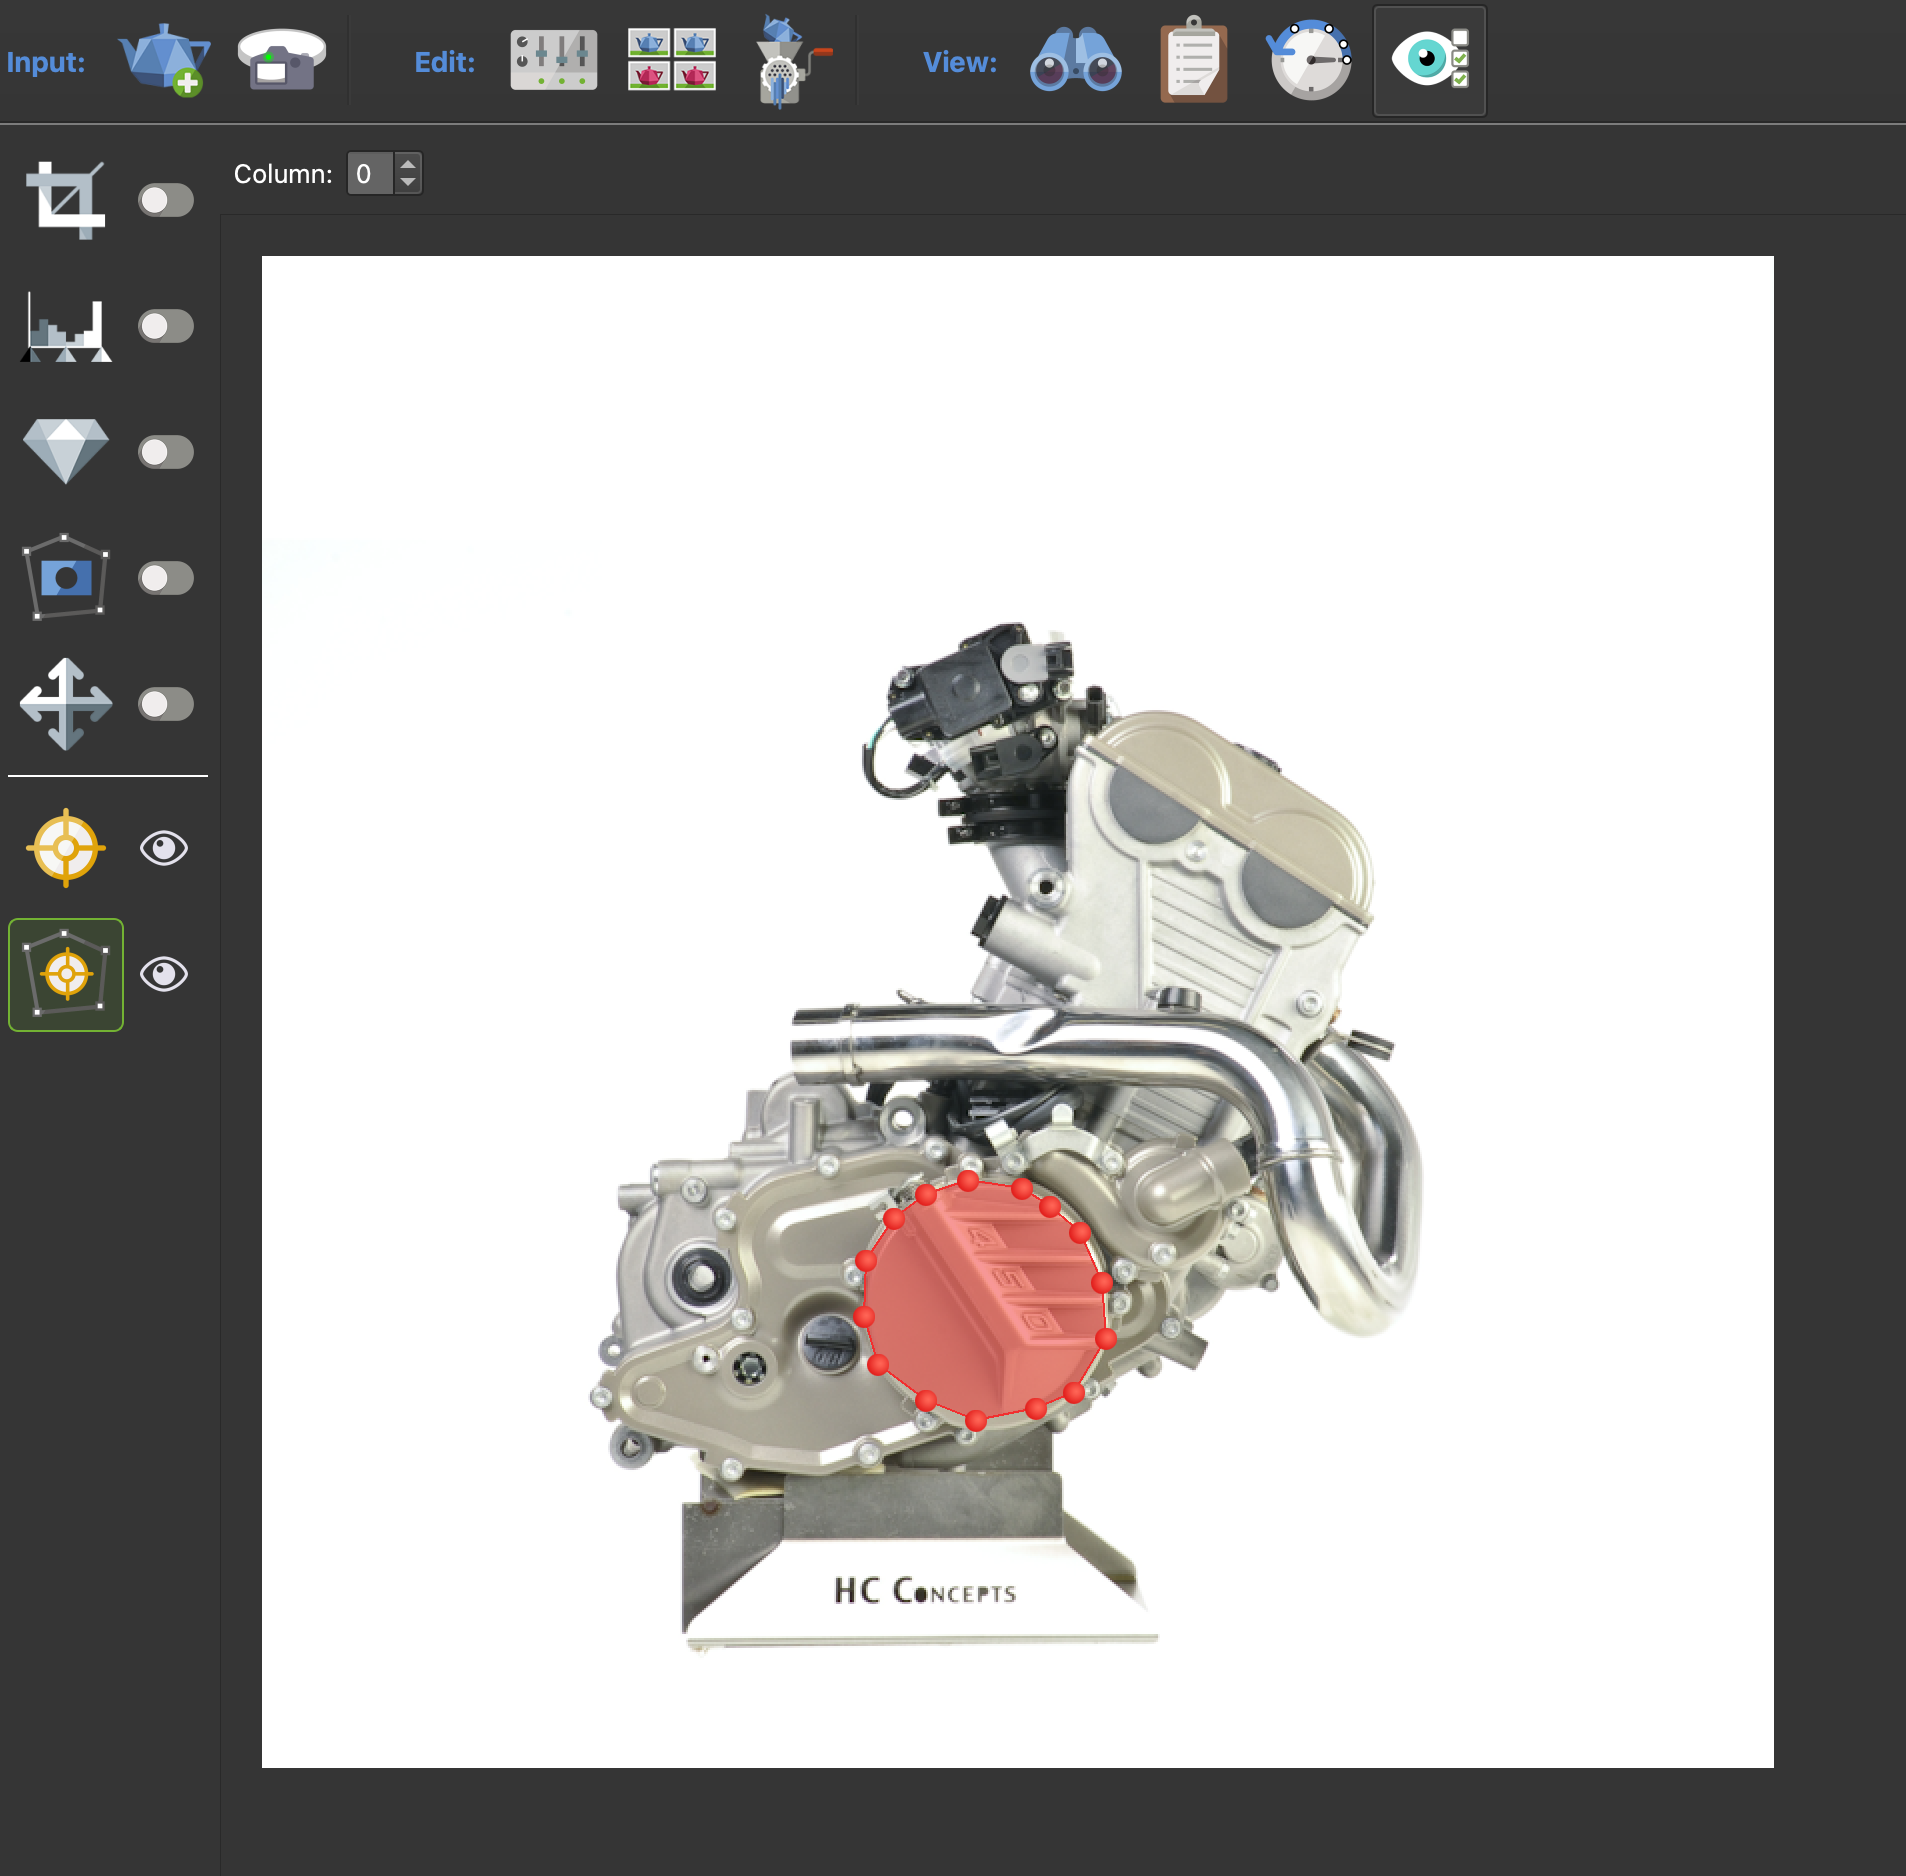
Object2VR’s Viewer is used place point hotspots and polygon hotspots.
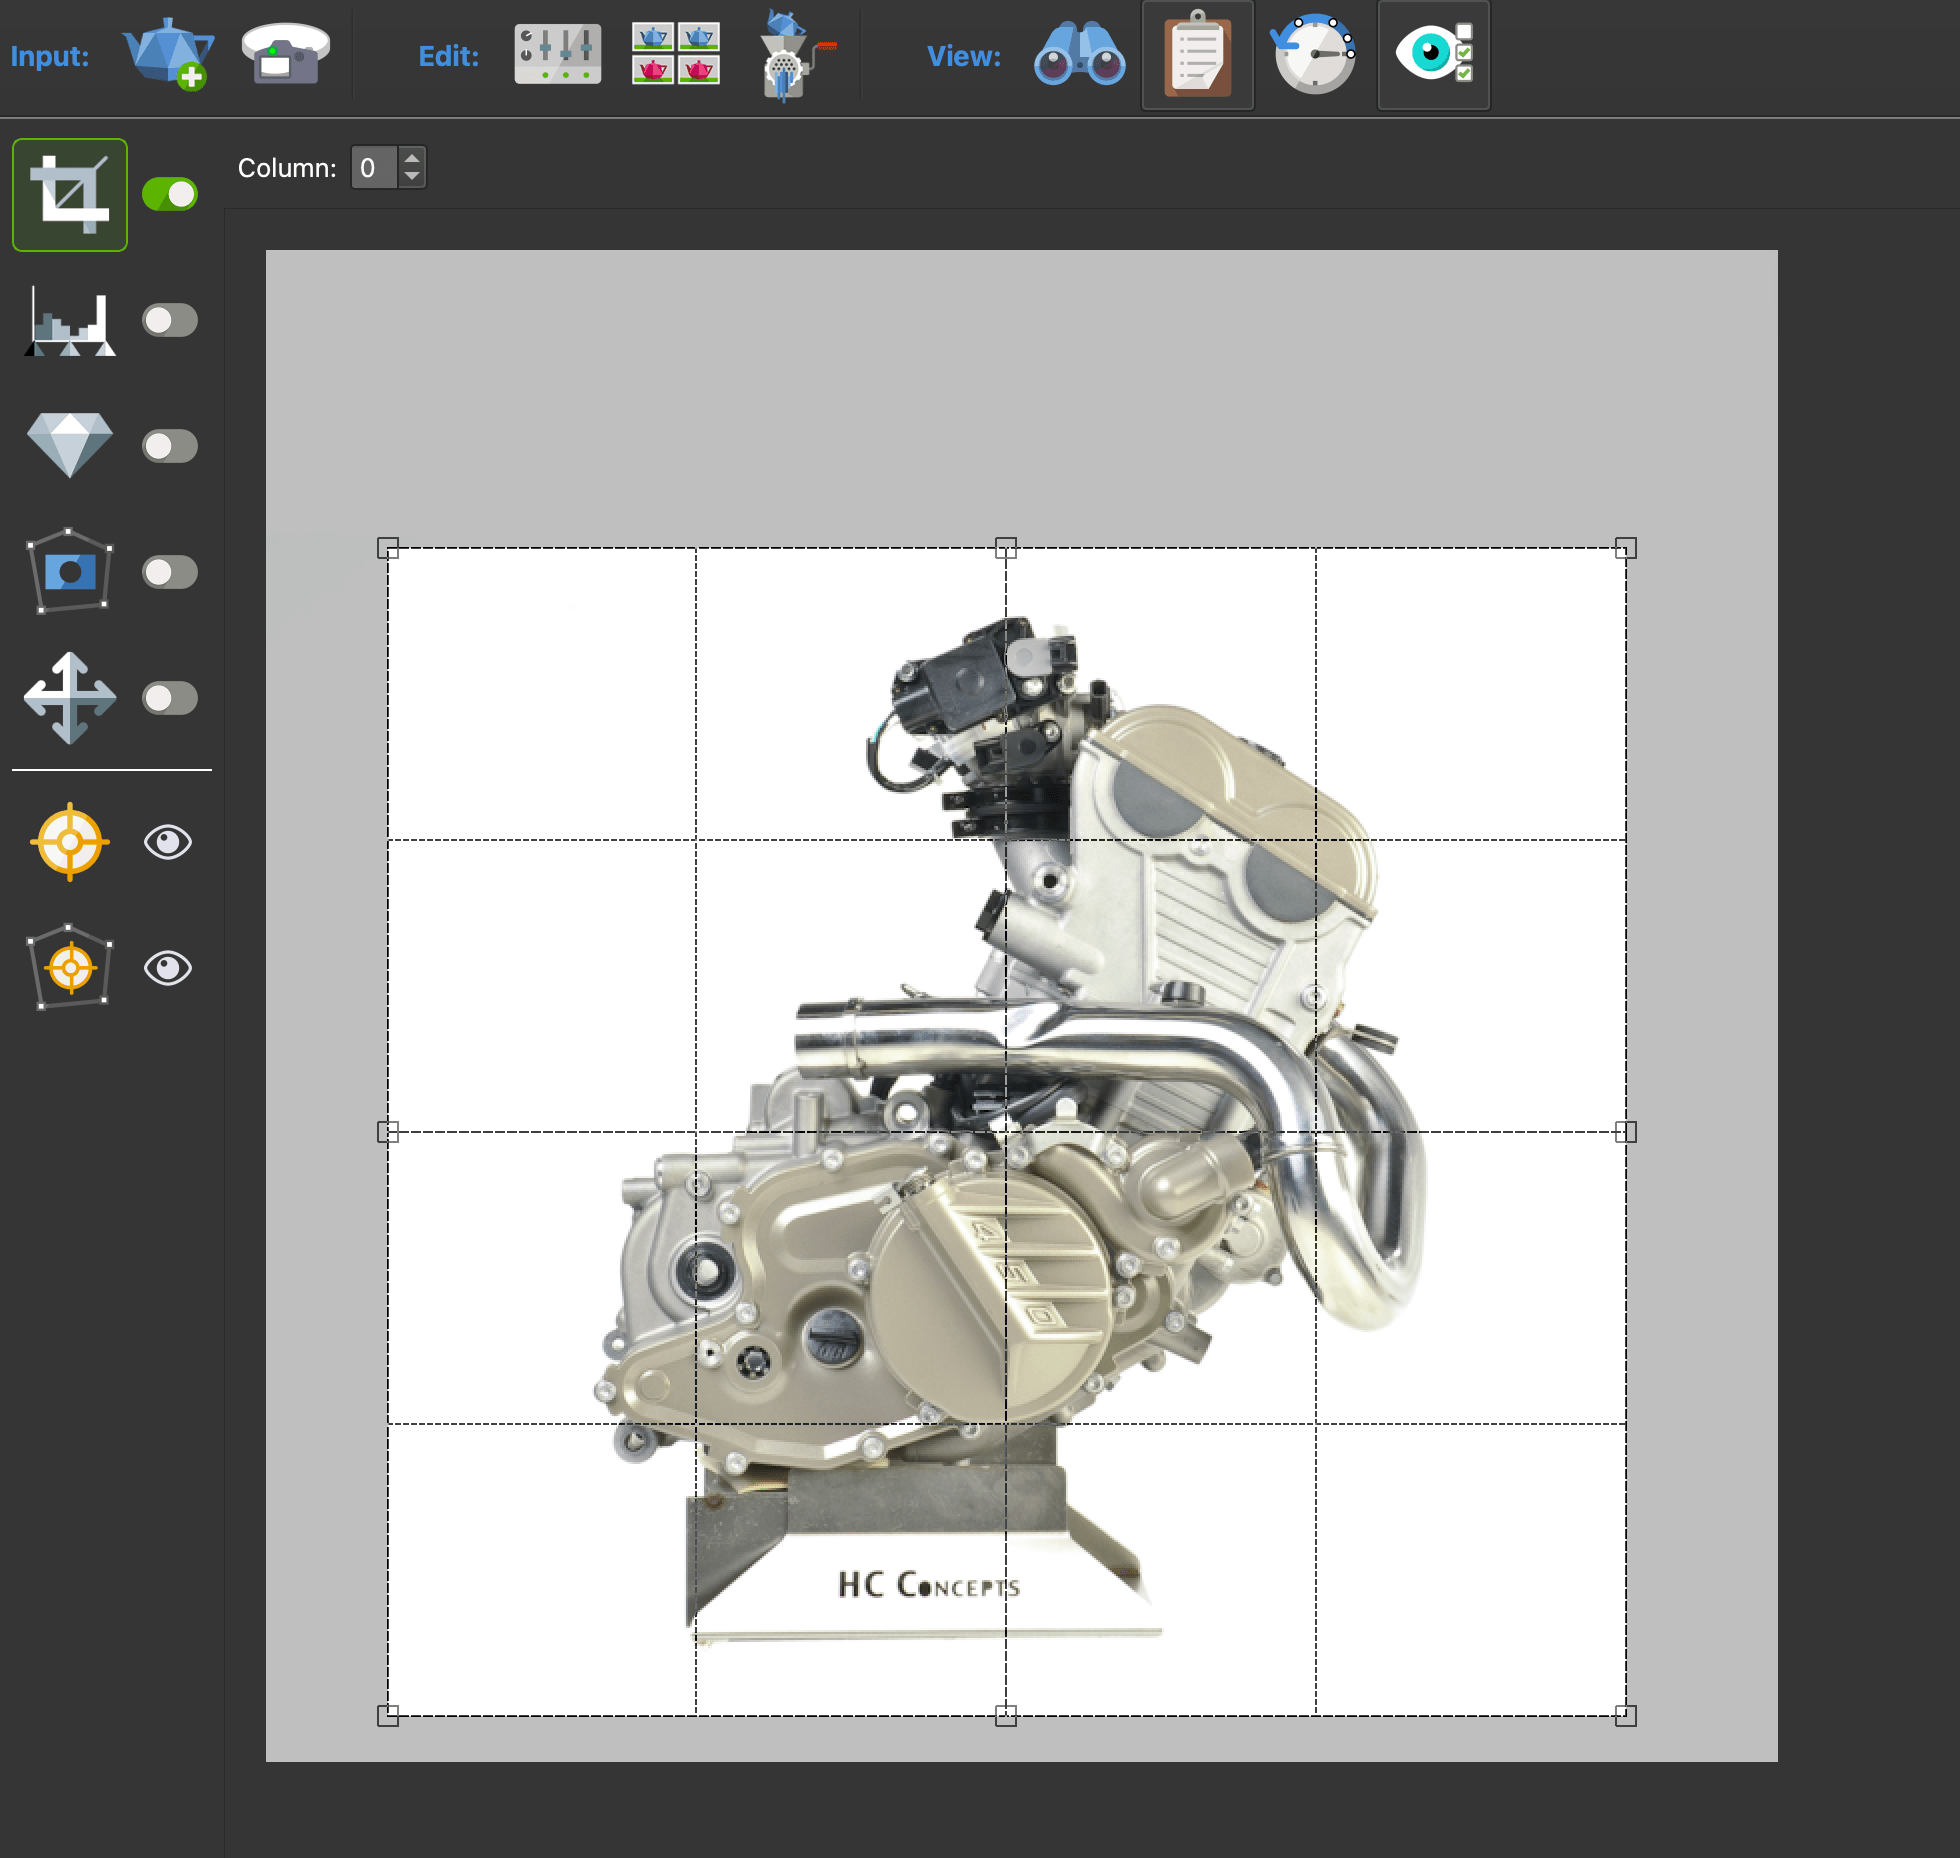
It’s also used to adjust the image processing tools like the Crop Tool. (Available in Object2VR pro and Object2VR Studio.)
Context Menu
Right click in the Viewer to bring up a context menu.
Undo/Redo – Undo or Redo the last task.
Go to Default View – Jump to the default view.
Set Default View – Set the Default View.
Viewer Settings
Located at the bottom of the Viewer are the Viewer Settings:
Display Mode
Use to view highlights within the image.
Normal Mode – The image is shown without any overlay or colorization.
Highlights Mode – This will display the highlights that are nearly blown out as red, while the blown out highlights will be displayed in white. If you’re using a white background and turntable, you might want the highlights blown out.
Rulers
Click to show rulers in the Viewer and to add guides.
Add guides to the Viewer by double-clicking on the ruler or by clicking the plus sign in the upper left corner of the preview window.
Open the guides settings by double-clicking on a guide or clicking the plus in the upper left corner of the preview window.
Guides Settings
Position – Set the guide’s location in pixels or percent.
Mirrored – Select to add at a set of guidelines that will mirror each other. Drag the guides to separate.
Project & Global – Select either Project or Global to set guides for the current project only (Project) or to set them as defaults (Global).
Locked – Select to lock the guide in place. Remove the guides by dragging them out of the ruler strip, or clicking Delete.