Add a Polygon Hotspot
Polygon hotspots require you to draw a shape as opposed to creating a single point of interactivity.
To add a polygon hotspot:
-
Open the Hotspots List.
-
Click Create Polygon Hotspot. This will add a hotspot to the list and activate Polygon Hotspot Mode in the Viewer.
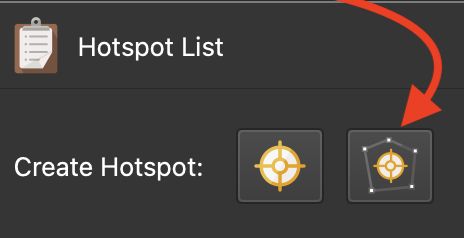
Click Create Polygon Hotspot -
Draw the hotspot by first double-clicking in the image. Then move to the next point, click, and continue until the shape is finished. Double-click to finish the shape. It will have a red fill. Each point is a handle that can be moved to refine the shape.
★ Tip You can also finish the polygon hotspot by pressing right mouse button or by hitting the ESC key. -
In the properties panel, select the Hotspot Type and add a Title and Description if necessary.
-
Select to use the default colors of the hotspots or customize them. The default colors are set in the Web Output Properties.

If the hotspot should be visible and in the same position in all columns, select In all columns. Otherwise, the hotspot will only be visible on the image(s) it’s been added to.
Edit the Hotspot
Once the polygon hotspot has been drawn, you can adjust the shape by dragging the handles (red dots), move the hotspot, and copy it.
To add more handles, click on the polygon’s border.
To remove a handle, right-click it.
To move the entire hotspot, click the move handle and drag the hotspot.

Copy the Hotspot
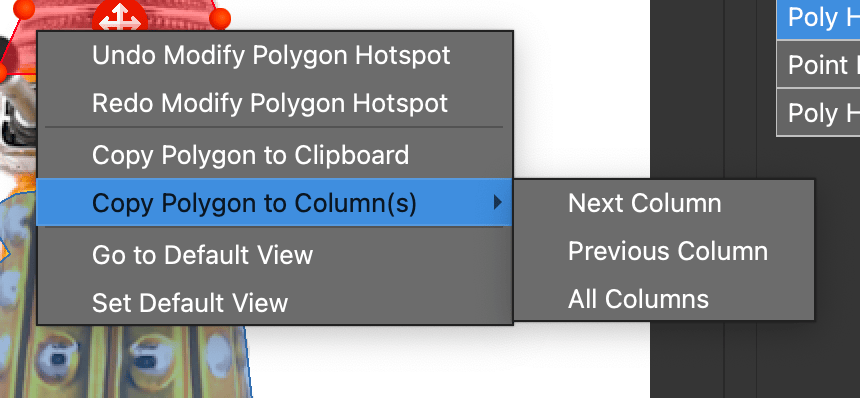
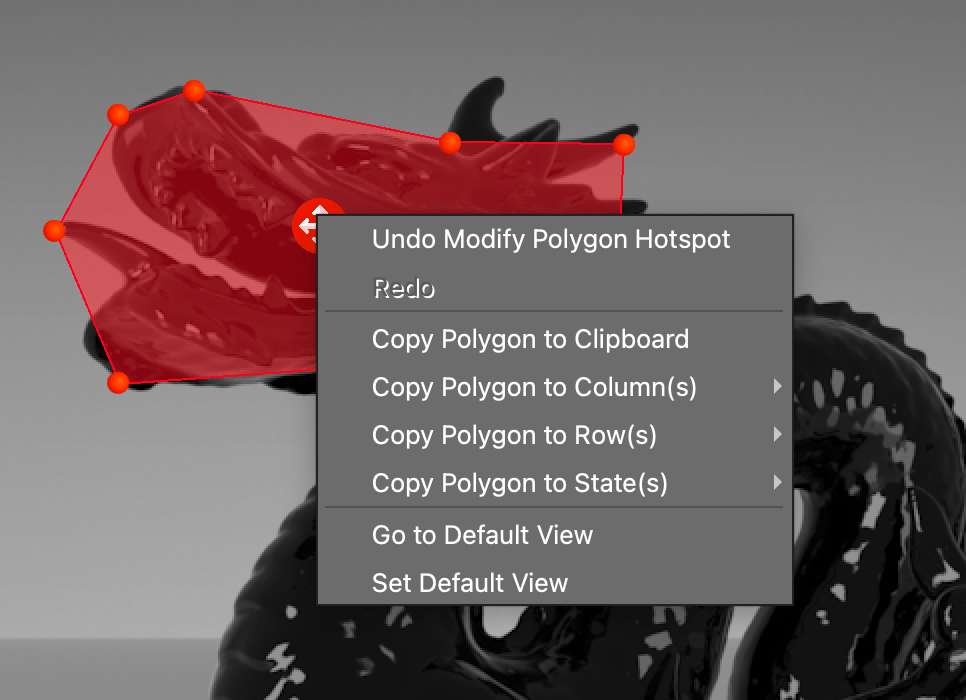
Right-click in the Viewer to open the context menu. Choose to either copy the polygon hotspot to the clipboard or to copy to columns/rows/states. The menu will adapt to the project. When a polygon hotspot has been copied, Reuse Hotspot in the Properties is disabled.
Delete the Hotspot
- To remove a hotspot from an image, select it and hit the Delete key.
- To delete a hotspot entirely, click the “x” for that hotspot in the Hotspots List or right-click and choose, Delete.
- To delete multiple hotspots, Command-click (macOS) or Control-click (windows) each hotspot to delete, then right-click and choose Delete.