Layout Customization
Pano2VR has a modular interface which allows for custom layouts.
Show Panels
To show a panel do any of the following:
-
Select the panel from the Toolbar.
-
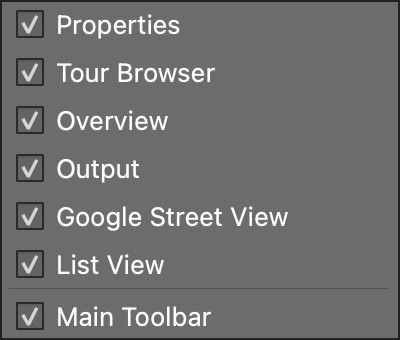
Choose from the context menu found by right-clicking in any panel’s heading or the Toolbar’s heading.
-
Select the panel from the Window menu.
Hide Panels
To hide a panel do any of the following:
-
Deselect the panel from the Toolbar, context menu or window menu.
-
Close the panel by clicking the x.
Arrange Panels
To rearrange the panels drag the panel heading and drop to another edge location. Dragging the panels out without docking them to an edge will create a floating panel.
To stack the panels, drag the panel heading and drop onto an existing panel. You will see the background of the panel highlight, indicating it can accept that panel. You will then see the panels as tabs along the bottom edge.
If multiple panels are stacked, dragging the heading will drag the entire stack. If you just want to drag one panel from a stack, click and drag the panel’s tab at the bottom edge.
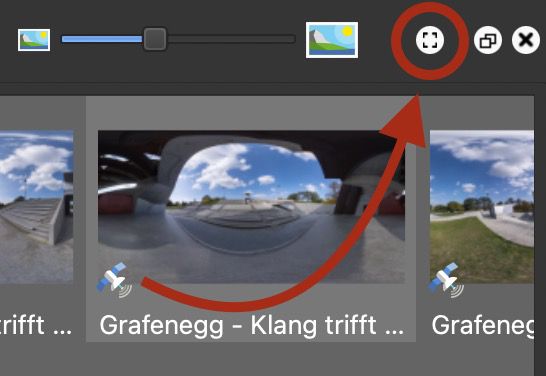
To expand a panel, first undock it to get the expand/fullscreen button. Click this button to expand the panel to fill a screen’s window.
Right-click in any panel top heading or the toolbar to bring up a context menu that can show or hide the panels.
Save the Layout
Once you have customized your layout, Pano2VR will save the configuration on closing. You can also save layouts by going to Save in the Menu Bar > Window Arrangements.

