Project Properties
The Project Properties contain settings for the entire project.
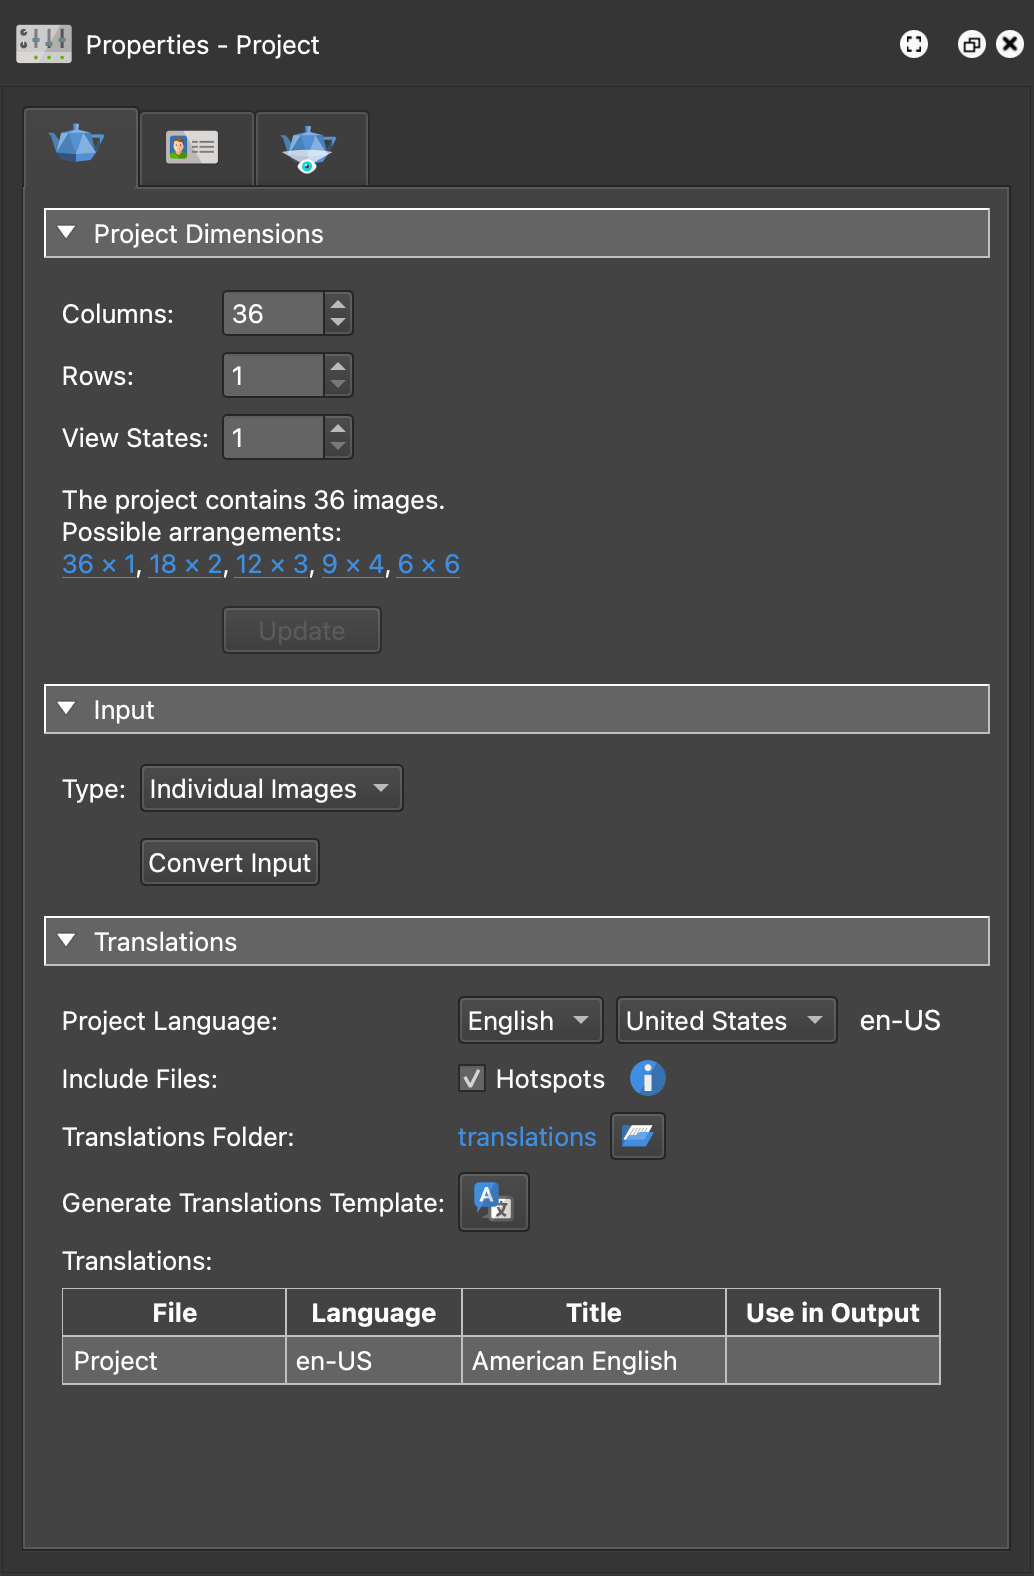
Project Dimensions
Set up the number of columns, rows and states the project has.
- Columns – Enter the amount of columns the image series makes up. Columns are the number of images taken around the object.
- Rows – Enter the number of rows the image series makes up. Rows are the number of image series taken around the object. For example, a single row movie consists of one row of images taken at a single level. A multi-row movie contains multiple series taken at different levels or angles.
- View States – Enter the number of view states or how many alternate states of the object occur. For example, if an object is an item that is available in multiple colors, a view state could represent an optional color.
- Update – This button will fill the Light Table with placeholders that represent the number of columns, rows and view states that have been added.
View States
This section will be visible when a project has multiple view states.
The table that fills this section shows each state and provides an ID and a Title. Click a title to change it.
The titles will be used in the Light Table and in the Translations file (.pot).
There is also a placeholder, $(statetitle), so the titles can be easily added to text boxes and for creating menus with the Cloner.
Input
Select the type of input images that will be used. Image Sequence is the recommended type for projects with many images.
-
Individual Images – Import individual images by dragging images directly to the Light Table.
-
Image Sequence – Import images by defining an image sequence. Object2VR will then add the images to the Light Table based on this pattern.
See: Importing with Select Input
Use Convert Input to quickly create a new project. This is especially useful if the images have been processed.
See: Converting Images
Translations
Add translation files here to make your entire project multilingual.
Project Language – Choose the default project language from the first menu. From the second menu, choose the region of the language or change it to <Main> (found at the beginning of the list). The label next to the menus shows the langauge code. If you are already familiar with langauge codes, you can add the code here by double-clicking the language code.
Include Files – Select to include files in the translation. It’s possible that in your project, not every file or media needs to be included in the translation file, so here you can decide to exclude them.
- Hotspots – Deselect to exclude any media and URLs added to hotspots from the translation files. This includes YouTube and Video URLs, images, videos, PDF files, and URLs.
Translation Folder – This is the location of the translations files. To choose a new location, click the folder icon. To change the folder name or view it’s location, right-click.
Generate Translations Template – Click this button to create a template for translations.
Translations – This is a table of all translations that exist in the project. Translations here correspond to .po files in the translations folder. You can change the Title of the langauge and you can choose to exclude translations from the output. The translations added here will also show in the Set Language action in the Skin Editor.