Image Processing Tools
Use the Image Processing Tools to make quick image adjustments. Avaliable in Object2VR Pro and Studio.
Helper Alpha – Use this to change the transparency of the overlay. This is found at the top of the Viewer.
Column, Row, State – Found at the top of the Viewer, use these options to change the images.
Crop

Enable the tool to edit its properties.
Click the reset button to clear the properties.
Crop
X, Y – Set the position of the crop.
Width, Height – Set the size of the crop.
Orientation
Rotate Images – Rotate the images to 0º, 90º, 180º, or 270º.
Background
Color – Set the background color using the color well. Or use the eye-dropper to select a color from the image.
Transparent – Select to make the background transparent.
Levels
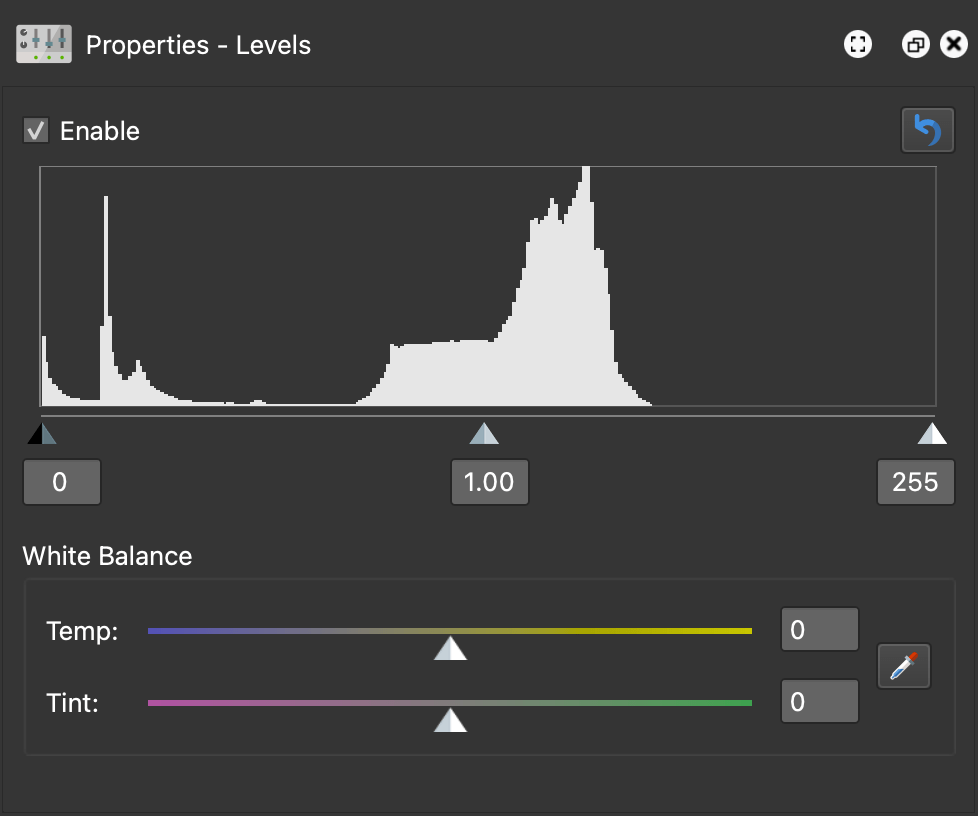
Adjust exposure.
Enable the tool to edit its properties.
Click the reset button to clear the properties.
Histogram – Use the sliders to adjust the dark portions of the image, the midtones, and the highlights.
White Balance
Adjust the color temperature by sliding the triangles of the Temp and Tint sliders.
Use the eye dropper to identify white within the image.
Sharpen
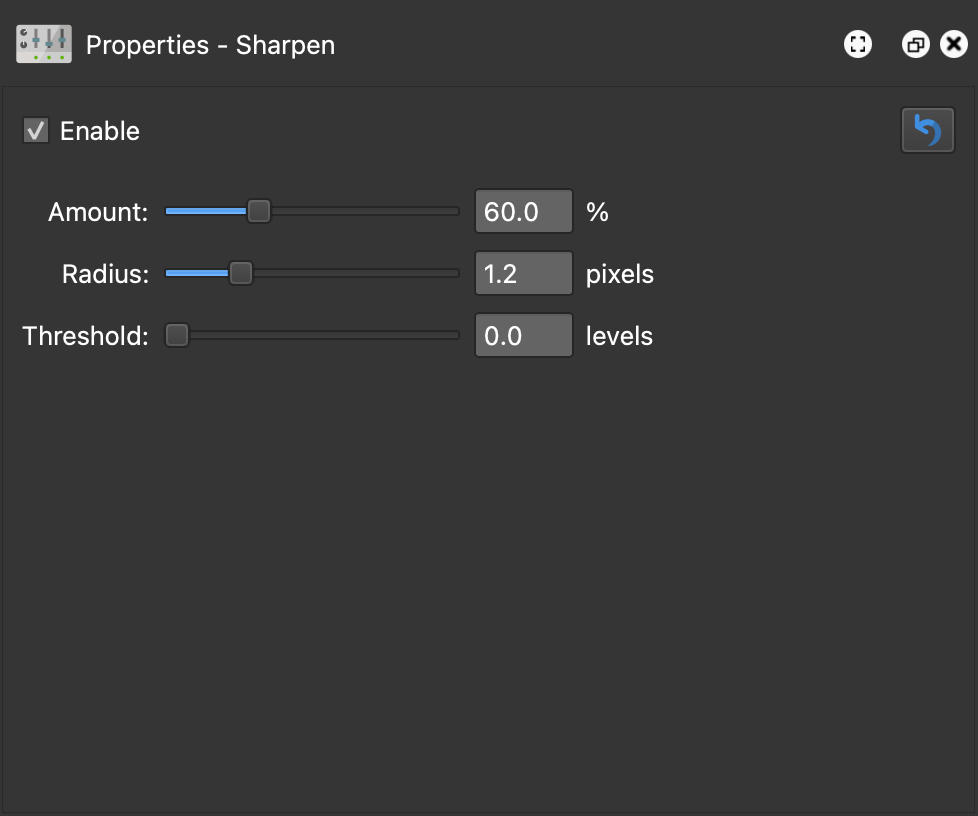
Enable the tool to edit its properties.
Click the reset button to clear the properties.
Amount – Adjust the overall amount of sharpening that is added to the image.
Radius – Adjust the size of details to sharpen.
Threshold – Specify at which point pixels are sharpened. A setting of “0” will sharpen all pixels.
Mask
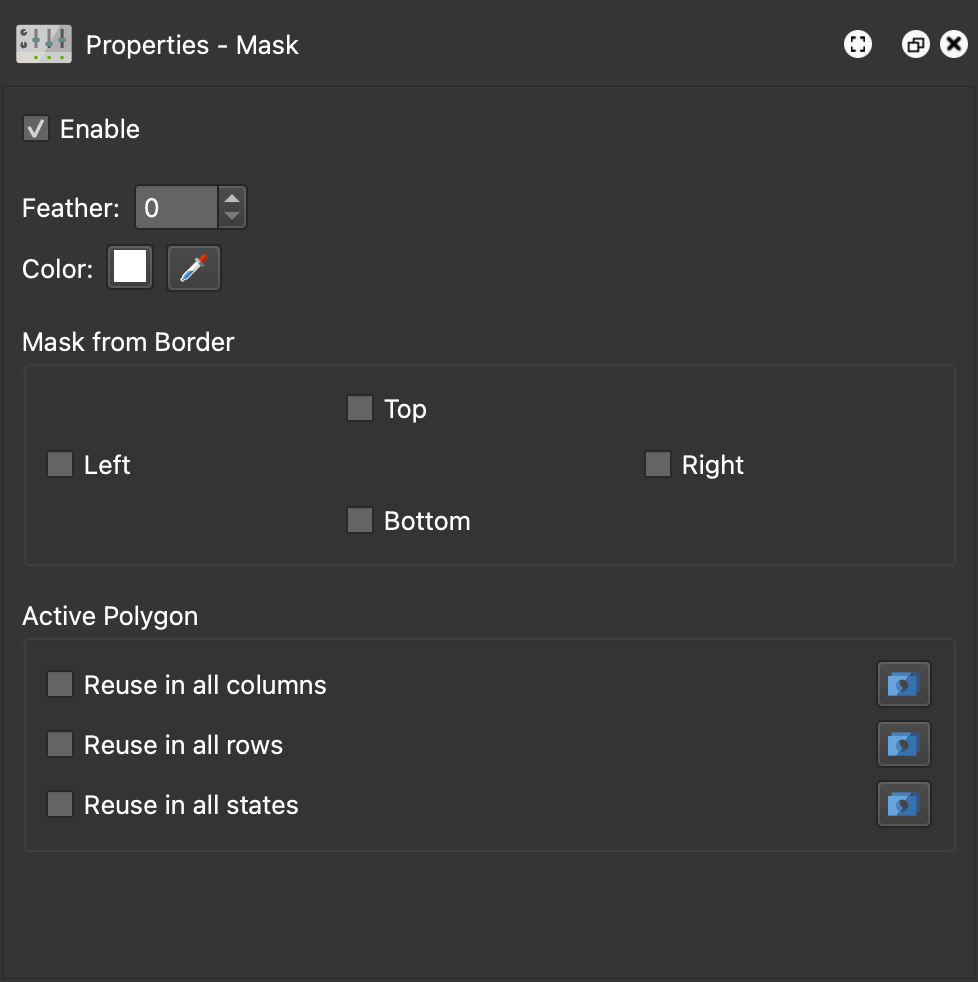
Enable the tool to edit its properties.
Click the reset button to clear the properties.
Feather – Increase or decrease the edge softness. This will affect both the border and polygon masks.
Color – Choose the color of the mask by clicking on the color well and selecting a color or use the eyedropper and select a color from the image.
Mask from Border
Select which border the mask should be applied. If none are chosen, then there will be no border mask.
Active Polygon
This section is active after a mask is drawn.
Reuse in all columns – Select to have the current (active) polygon used in all columns.
Reuse in all rows – Select to have the current (active) polygon used in all rows.
Reuse in all states – Select to have the current (active) polygon used in all states.
Copy mask – Click this button to copy the current (active) polygon to all columns, rows, or states.
Transformation
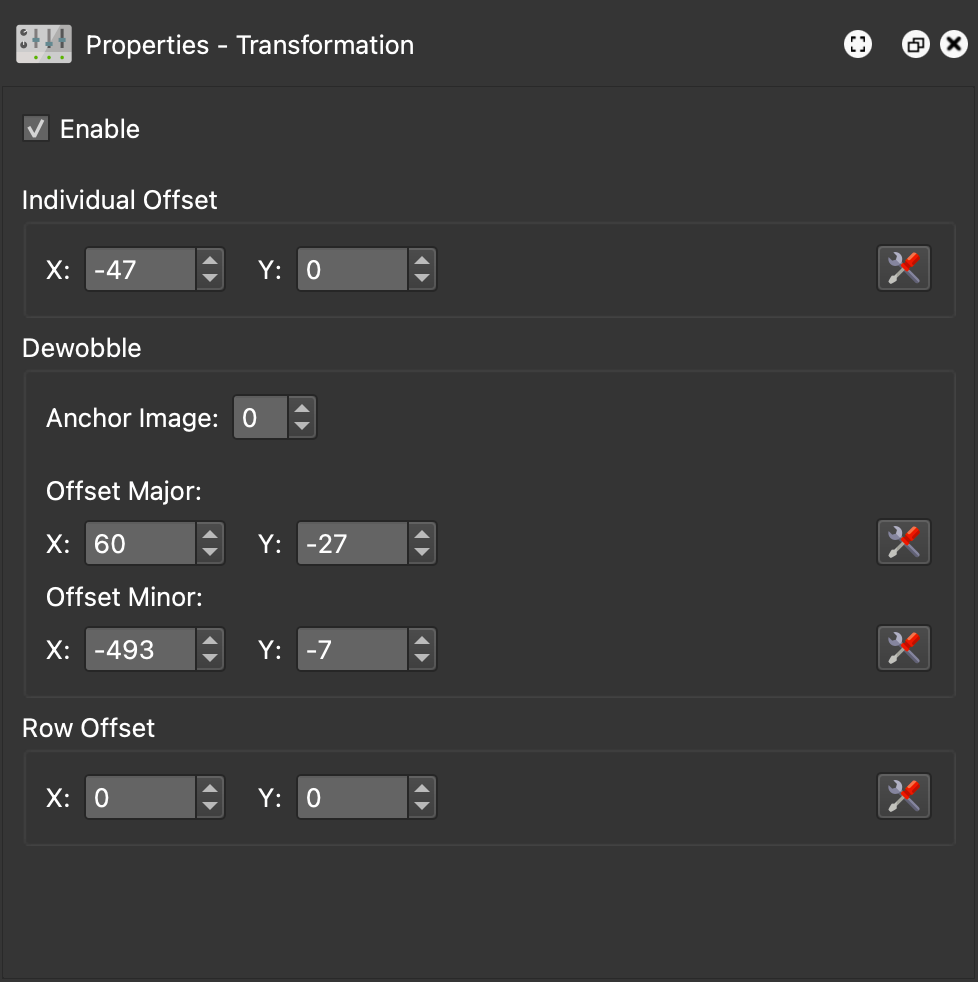
Enable the tool to edit its properties.
Click the reset button to clear the properties.
Individual Offset
Adjust the offset for each image (column). For example, if your images were taken without the use of a turntable (ellipse), the images will need to be adjusted manually.
Click the Edit button to activate on the option.
Dewobble
Use this feature to offset any off-centered objects that were captured on a turntable. Use the following two settings as reference points and the software will correct the wobbling of the off-centered images.
Anchor Image – Select an image to match the offset images to.
Offset Major – Adjust the major offset by matching it with an overlay of the object at 180º with the anchor image.
Offset Minor – Adjust the minor offset by matching it with an overlay of the object at 90º and 270º with the anchor image.
Click the Edit button to activate each option.
Offset Row
Adjust the offset between rows.
Click the Edit button to activate on the option.