Web Output
The web output exports all the files needed to add a project to a website for playback in any modern web browser.
Object2VR exports all the files needed to display your project in any browser. However, the files must be added to a self-hosted web server. Alternatively you can export the Garden Gnome Package file, or upload the project to our hosting service, Gnome Cloud.
-
Open the Output Panel.
-
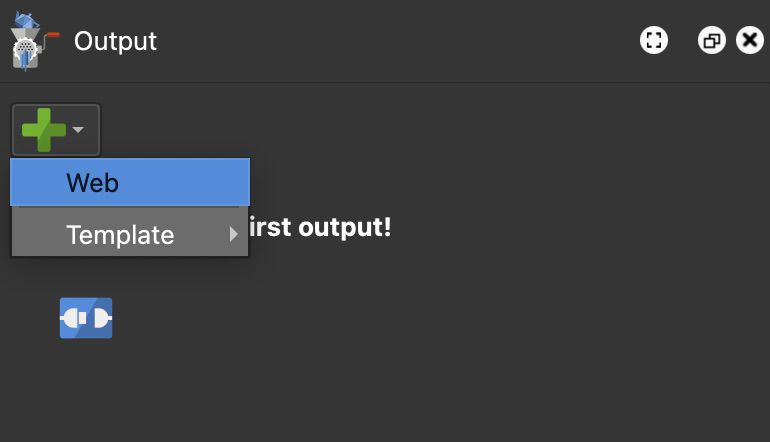
Click the green plus sign to select an output format and choose Web.
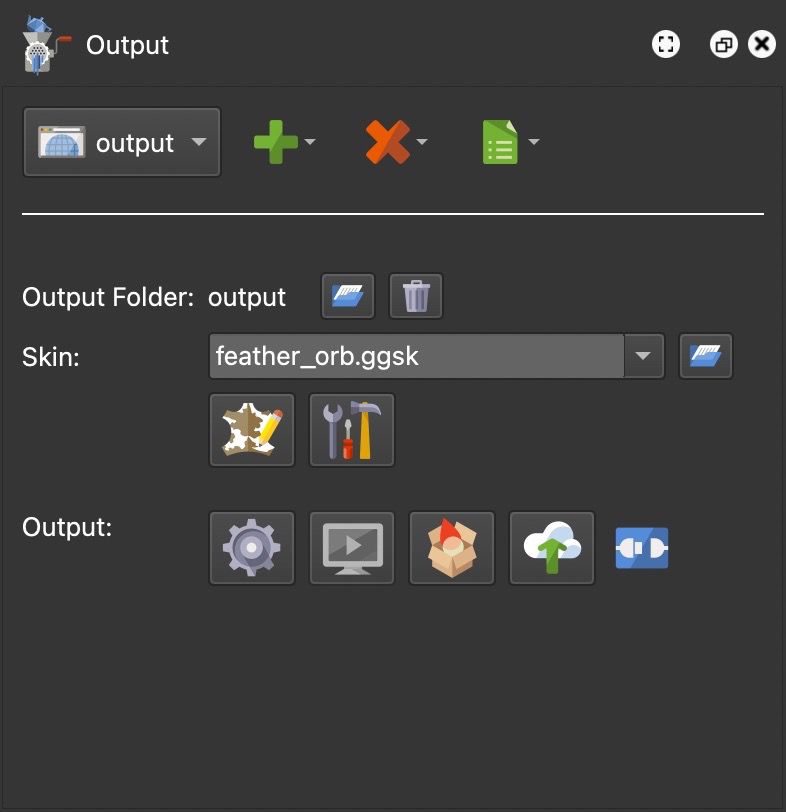
Choose Web as the output format. The Web Output Properties will open in the Properties panel. For now, we’ll keep all these settings at their defaults.
-
Add as skin. The skin provides interactivity and icons for hotspots, and control buttons. You can add your own or use on of the built-in skins. For this example, we’ll use feather_orb.
-
Output the project using the Generate Output button (the gear icon). If you haven’t saved your project yet, you’ll be instructed to do so before outputting. After the project is saved, the output will be generated.
The project will open with the Integrated Web Server that allows you to see and interact with the project locally. It is not being uploaded to the internet.
You can then take the output folder and all of its contents to your self-hosted webserver, or send it to a client to upload to their webserver.
Alternatively, you can also:
-
Output a package format output to embed the project in your CMS site
-
Upload the project to our cloud service
-
-
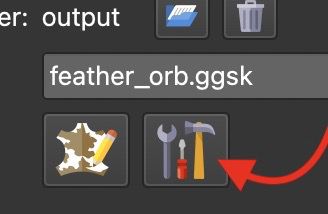
Go back to Object2VR and add a controller. In the output panel, click the Skin Configuration button. Let’s change the color of the buttons and add a controller.
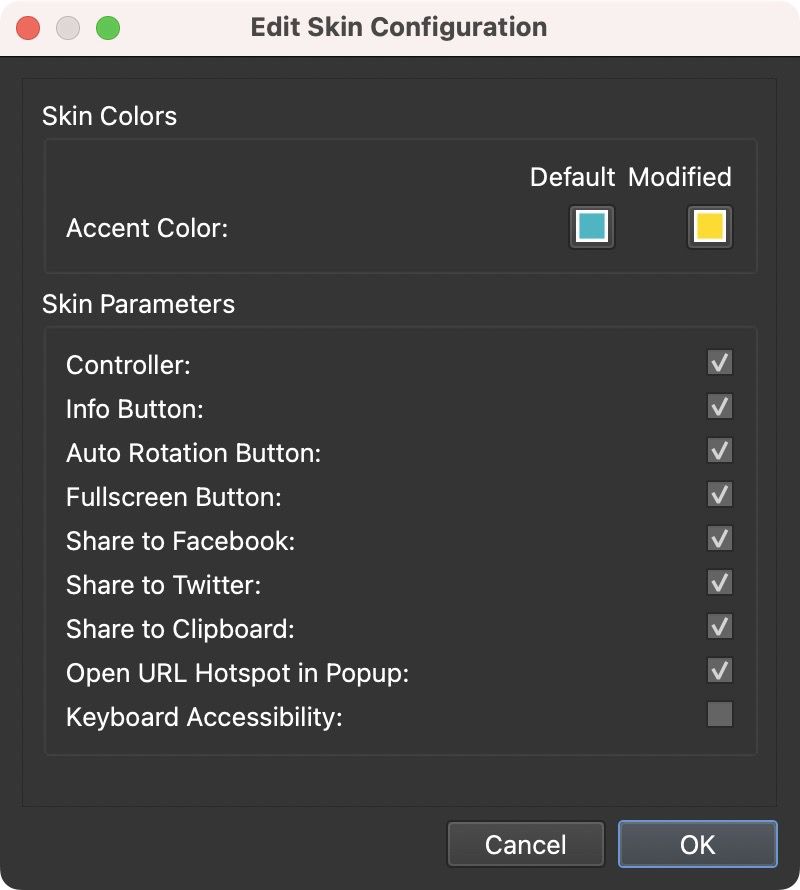
Skin Configuration button For the skin color, click the color well under Modified and then change to a color you prefer. For this example, we want to use the color of the object. To do this, click Pick Screen Color and then hold the mouse down and drag to the color to be used.
Select Controller in the Skin Parameters section to add an interactive color.
-
Save the project and then output it again.
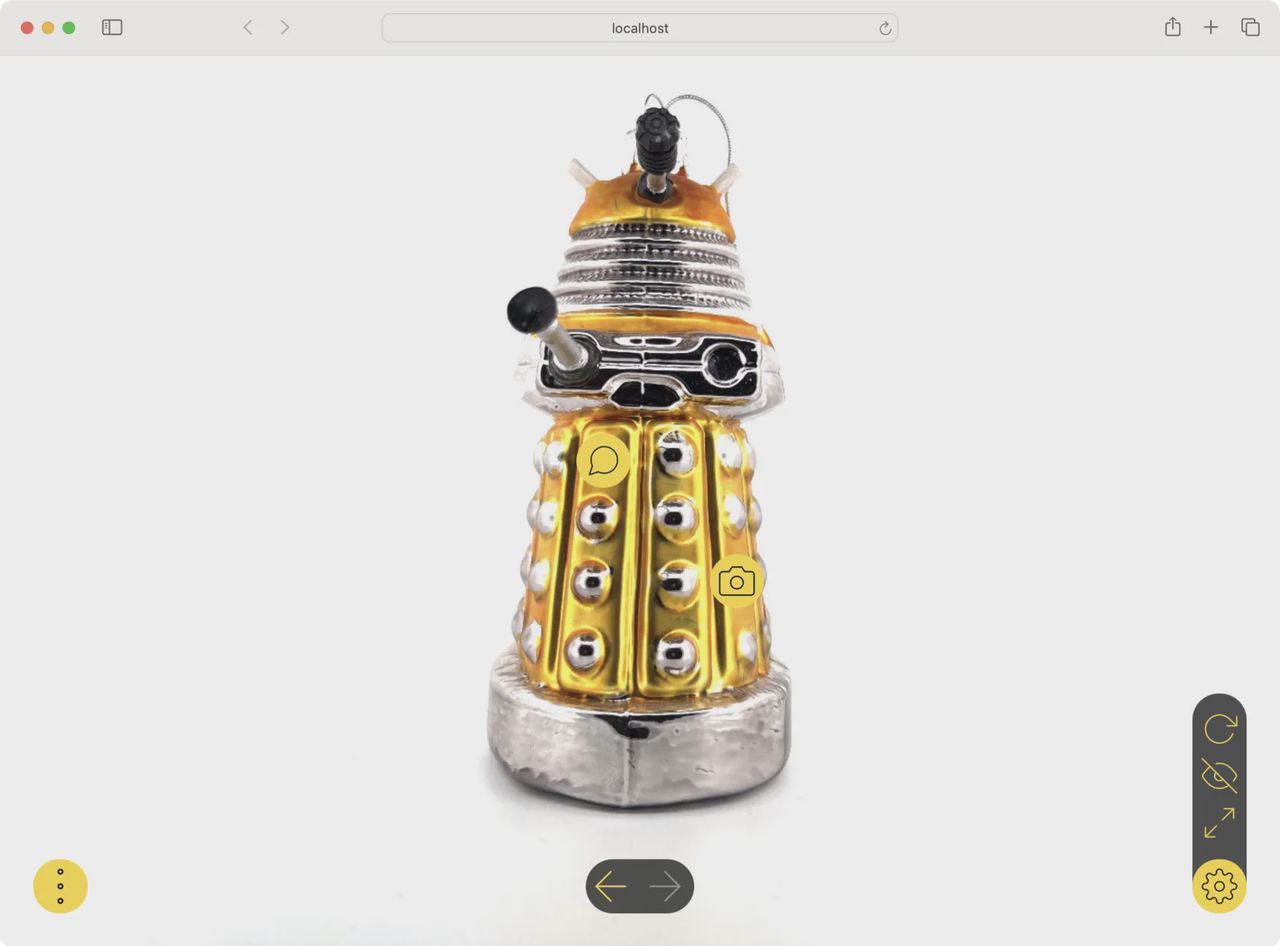
Final output! -
Share the project! Take the output folder and add it to a self-hosted webserver and then link to the HTML file.
Alternatively, you can also:
-
Output a package format output to embed the project in your CMS site
-
Upload the project to our cloud service
