Using Tags
Tags provide a way to group nodes and filter them in the Tour Browser and to build menus in the Skin Editor.
Notes on Tags
- They are added in User Data, in the Tour Browser, or in the Tour menu
- They are used as Triggers in the Skin Editor
- They are limitless; nodes can have as many tags as you need
- Colors and symbols can be applied to the tags
- The folder name of node will be added as a tag
- Remove a tag by clicking the
Xnext to the tag name - There are Auto Tags; tags Pano2VR automatically applies
- There are Standard Tags; tags you add to the Tour menu that are saved in Pano2VR for use in all projects and are assigned keyboard shortcuts
- Acceptable characters:
A-Z,a-z,0-9,_,-, and=.
Auto Tags
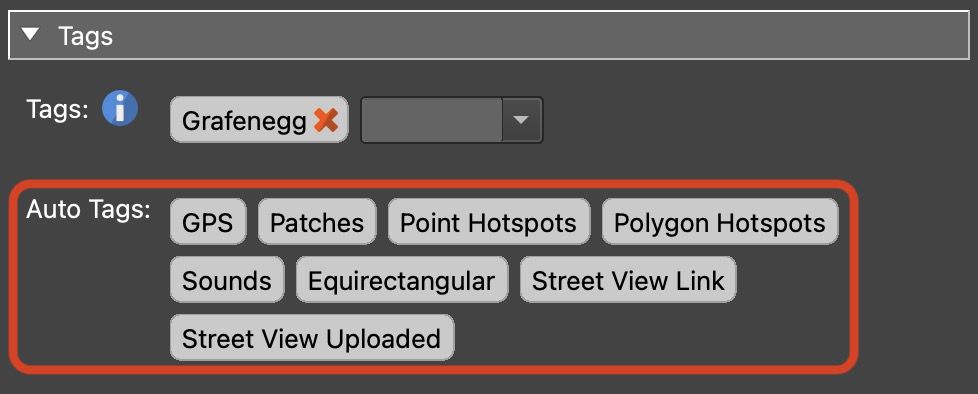
Every node is automatically assigned tags with Auto Tags. These tags describe the image with terms like, GPS, if it has GPS, or No Title if the image has no Title in User Data. They cannot be removed. If you have, for instance, 200 images, and a few don’t have GPS assigned, you can filter for these nodes.
Standard Tags
Standard Tags are tags that are saved in the program. Add them in the Tour Menu: Standard Tags > Create. You can also add a color to the tag. You can also add standard tags by right-clicking on existing tags and choosing, Save as Standard Tag.
Once Standard Tags are created, you can quickly add these tags to a large number of nodes. Select nodes in the Tour Browser and then use the assigned keyboard shortcut to quickly apply the tag.
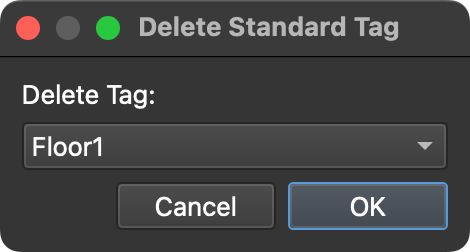
Removing the tag from a node will only remove the tag from the node. Using Remove from Project will only remove the tag from the entire project. To remove the tag from the menu use Standard Tags > Delete.
Right-click any user tag to add it as a Standard Tag
Adding Tags in User Data
To add a tag, type a word or string followed by space, comma, or tab. The tag will be set and is now ready for another to be added. Click the red X to remove the tag.
Assign a Color Tag
Tags can be assigned colors for easy tag identification in the Tour Browser and User Data panel. Right-click any tag and choose Assign Color, then select a color from the list.
Once a color is assigned, the tag will be colored and the color will be seen on the image in the Tour Browser.
Assign Symbols to a Tag
A tag can also have a symbol assigned to it. Right-click a tag or auto tag and choose Assign Symbol. Once the symbol is assigned, it will be visible on the node’s thumbnail in the Tour Browser.
Adding Tags in the Tour Browser
You can add tags to nodes in the Tour Browser with the Stamp Tags Mode, or by right-clicking the node in the Tour Browser and choosing Add/Remove Tags.
To add a tag to multiple nodes:
-
Select a range of nodes.
-
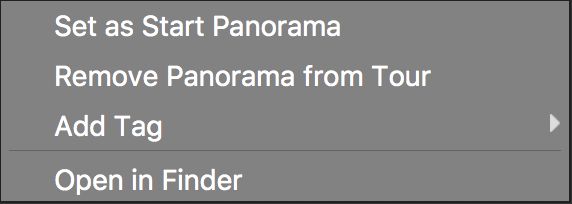
Right-click on any selected node, choose Add/Remove Tags and select an existing tag or choose Add Tag > New Tag.
✭ Tags can also be dragged from the User Data panel to a node (or selected nodes).
Stamp Tags Mode
Stamp tags mode is used to quickly add or remove the same tag to nodes in a tour. To add tags to each node do the following:
-
Click the stamp icon and either add a tag or choose a tag.
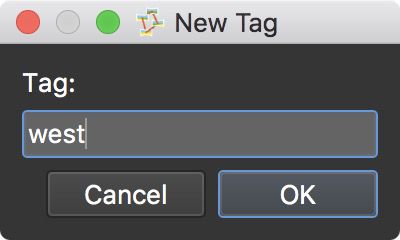
If you don’t have any tags, you’ll have to add one. Just choose, New Tag, from the menu and enter the new tag in the dialog.
-
The cursor icon changes to a stamp. Now click images in the Tour Browser to add (or remove) the tag to that image.
-
Add that tag to all images in the Tour Browser by clicking the green plus symbols to the right. Likewise you can remove the tag from all images by clicking the red x’s.
✭ If you have selected multiple nodes in the Tour Browser, clicking the green plus symbols will add the tag to only the selected nodes.
-
Click the close icon to exit Stamp Tags mode.
Now you’re ready for filtering.


