Web Output
The web output exports all the files needed to add a project to a website for playback in any modern web browser.
This basic workflow is for exporting a tour for the web.
The output will produce all the files needed to upload your project to a webserver.
-
Open the Output Panel.
-
Click the green plus sign to select an output format and choose Web.
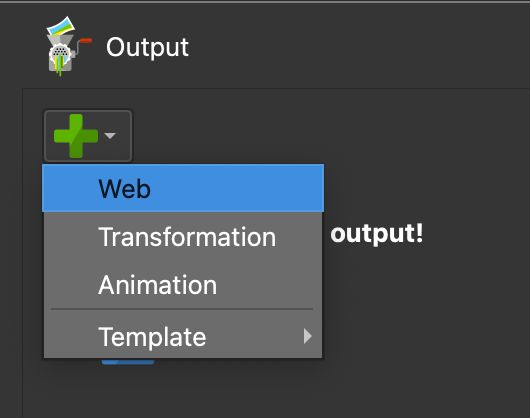
Choose Web Output The Web Output Properties will open in the Properties panel.
-
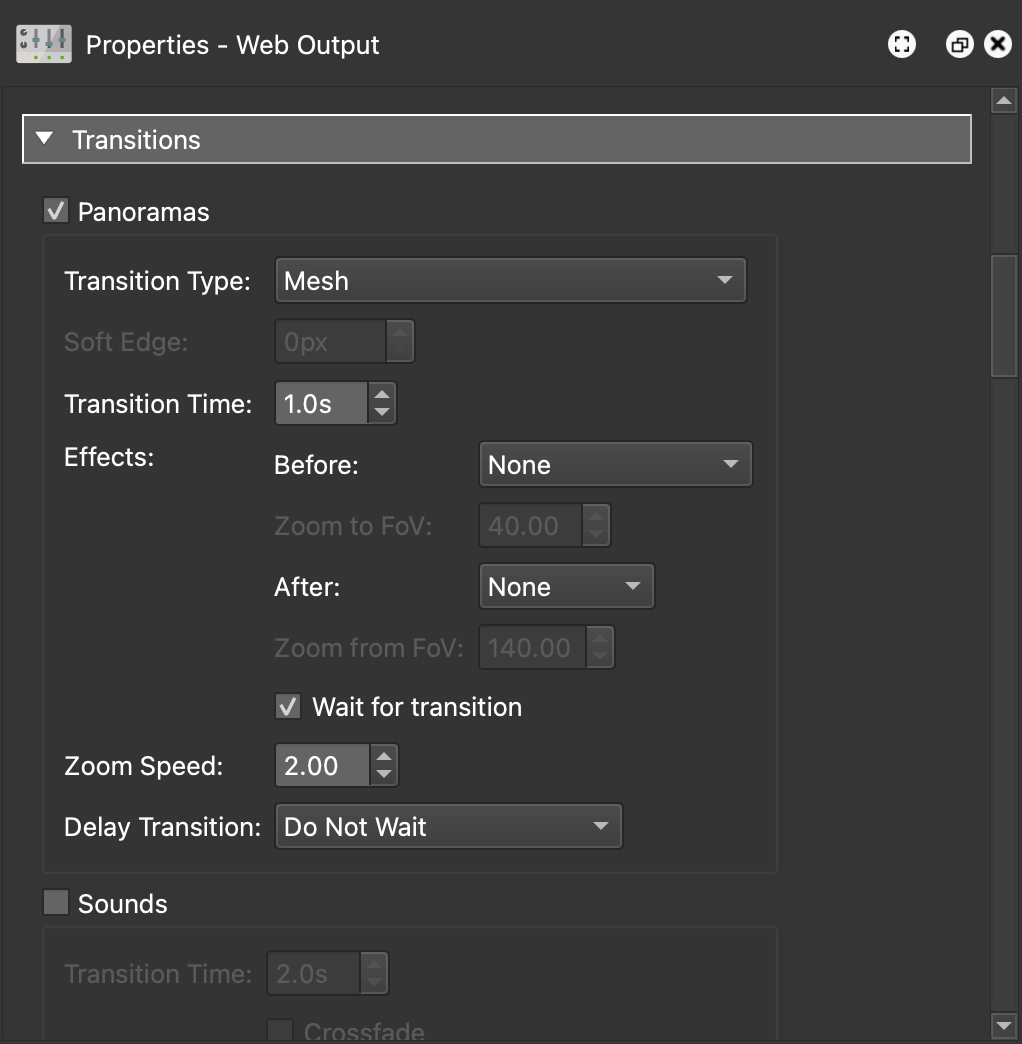
Add Autorotation, Transitions, and a VR output from the Web Output Properties.

Add Autorotation to the tour. 
Add a Mesh transition for a walk-through effect between tour nodes. 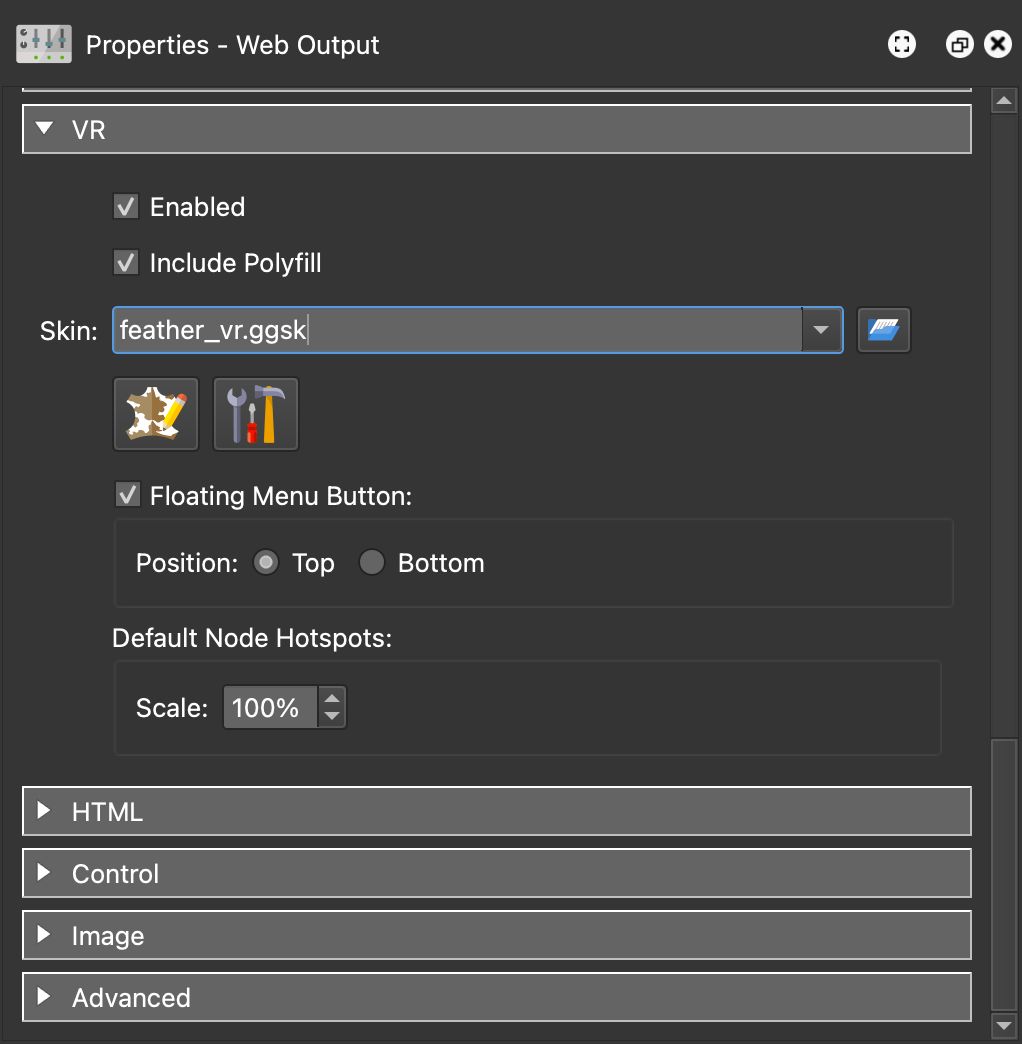
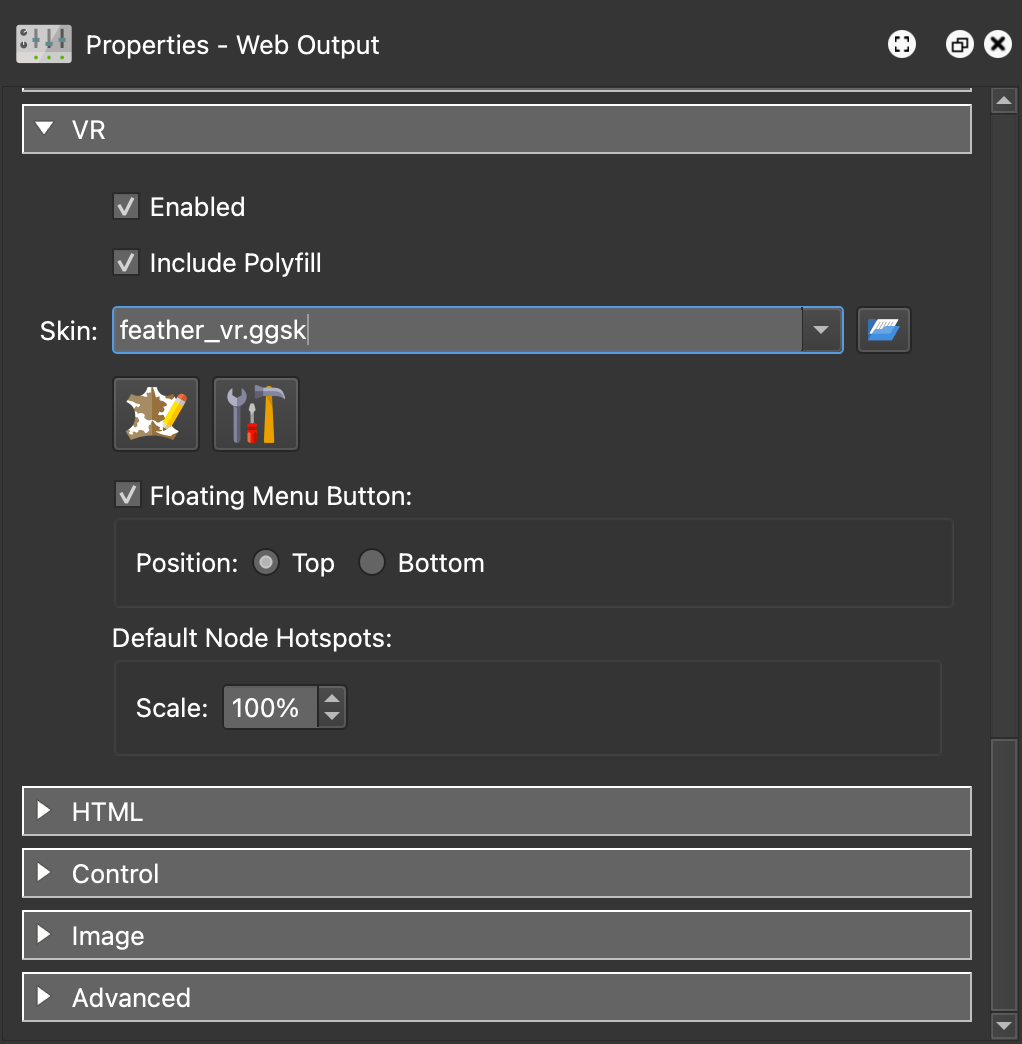
Add a VR skin for viewing in a VR headset. -
Choose a skin from the Skin menu. For instance, the
feather_box.ggskskin. The skin provides functionality to the project. This one will provide Hotspot icons and an Autorotation button. -
Output the project by clicking on the gear wheel.


The tour will open with the Integrated Web Server that allows you to see and interact with the project locally. It is not being uploaded to the internet.
You can then take the output folder and all of its contents to your self-hosted webserver, or send it to a client to upload to their webserver.
Alternatively, you can also:
- Output a package format output to embed the project in your CMS site
- Upload the project to our cloud service