Leveling Images
Panoramas should always be level. Otherwise, when we spin them, they will be very disorienting. When leveling, make sure the horizon is straight and that vertical lines are straight up and down.
Pano2VR automatically levels panoramas (if needed). However, you might need to refine the leveling, especially if you’re working with one-shot cameras (Ricoh Theta, Insta360, GoPro Fusion, etc.).
Leveling happens in the Viewer.
-
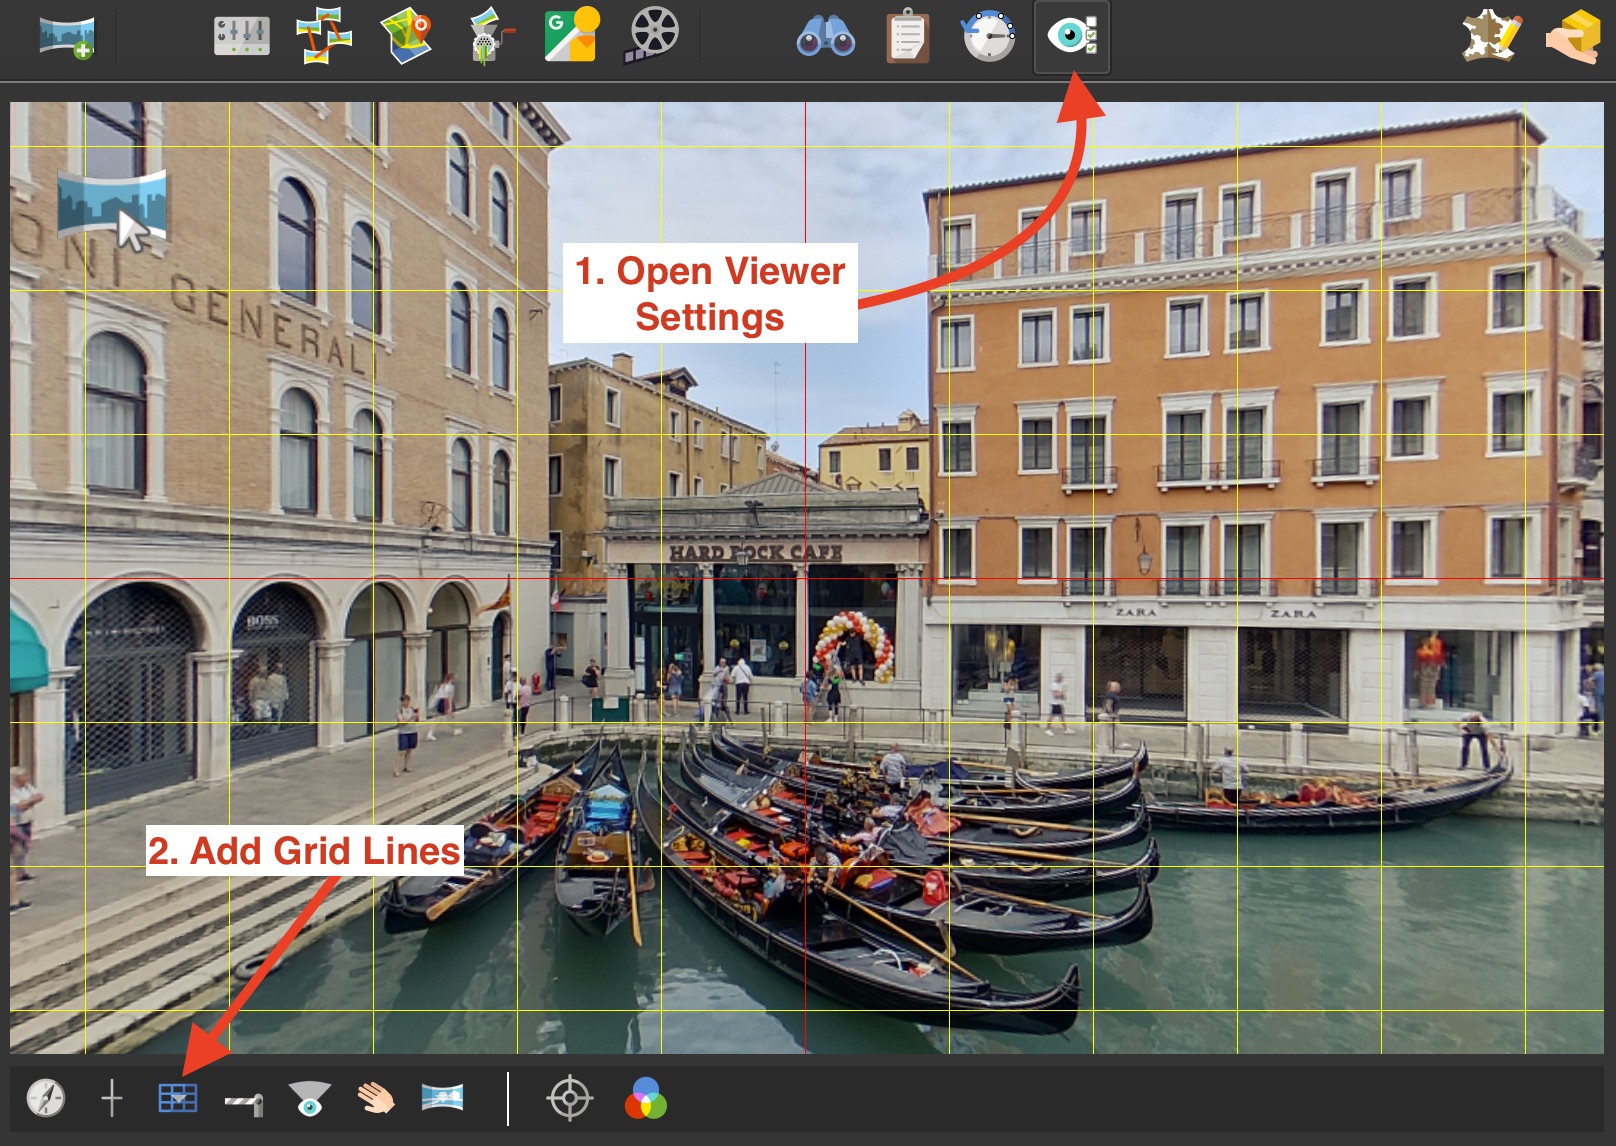
Add Grid lines to help line up horizontal and vertical lines. Open the Viewer Settings, and click the Toggle Grid button. To define the number of grid steps and to change the grid color, hold down the mouse to bring up the Grid Properties.

Added Grid -
In the Viewer, hold L and drag on the edges of the panorama. One method is to first line up a straight line (door jam, window) on the left most side of the preview window by dragging the panorama (up/down) on the right most side. Without lifting up the L key, place your mouse on the line you just straightened and then drag on the left until the right side is straightened.
-
Spin the panorama and repeat if necessary.