Using Auto Tags in the Skin
Auto Tags are added to each input panorama automatically. Learn how to address these tags in the skin.
To use an auto tag in the skin, they must first be exported. Once they are exported you can use the tag as a Logic Block Trigger.
-
In User Data, right-click any Auto Tag and choose Export Auto Tag.

Export Auto Tag -
Give the tag an export title. This is what will be used in the Skin Editor. You can apply the same title to multiple auto tags. For example, if you have a node with pinned sound and another node with pinned video. Both nodes have sound. You can give the auto tag, Sound, a title of sound and the auto tag Pinned Video the same title, sound. Now, in the Skin Editor you can have a volume control that only appears when nodes are tagged with the export title, sound.
-
In the Skin Editor, add an element. Following the example from the previous step, we can only show this element when a tour node has sound. So, deselect the element’s visibility and apply a logic block.

Visibility Logic Block

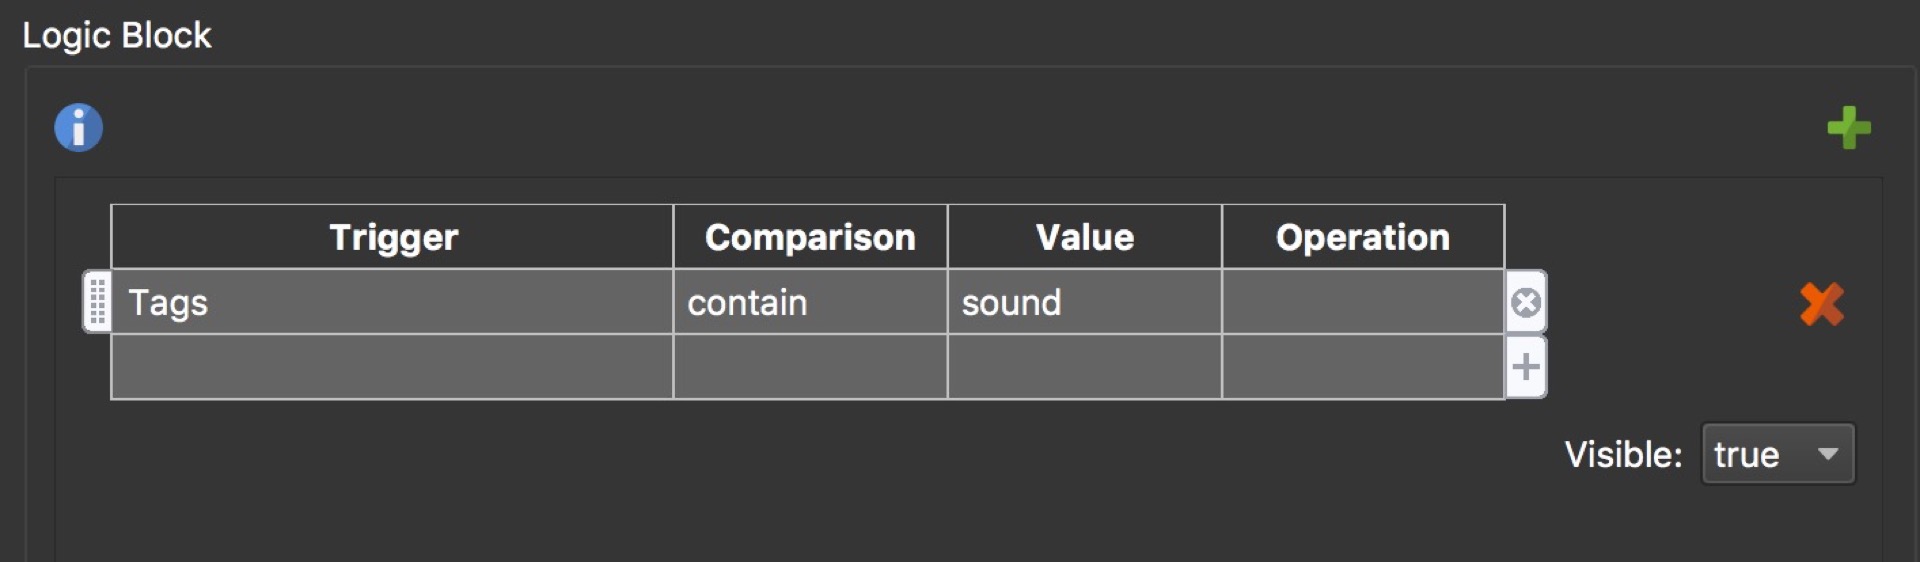
After you output the project, you’ll notice that the element will only be visible when sound is in a node. The advantage of this is that you only need to apply the tag title once to an auto tag. For example, if you add another pinned video to a node, it will automatically be given the Pinned Videos (sound) tag.
To remove the title, open Export Title Tag and remove the export title.