Pinning Web Elements
Learn how to pin a web element. In this example we pin a Wikipedia page to a tour node.
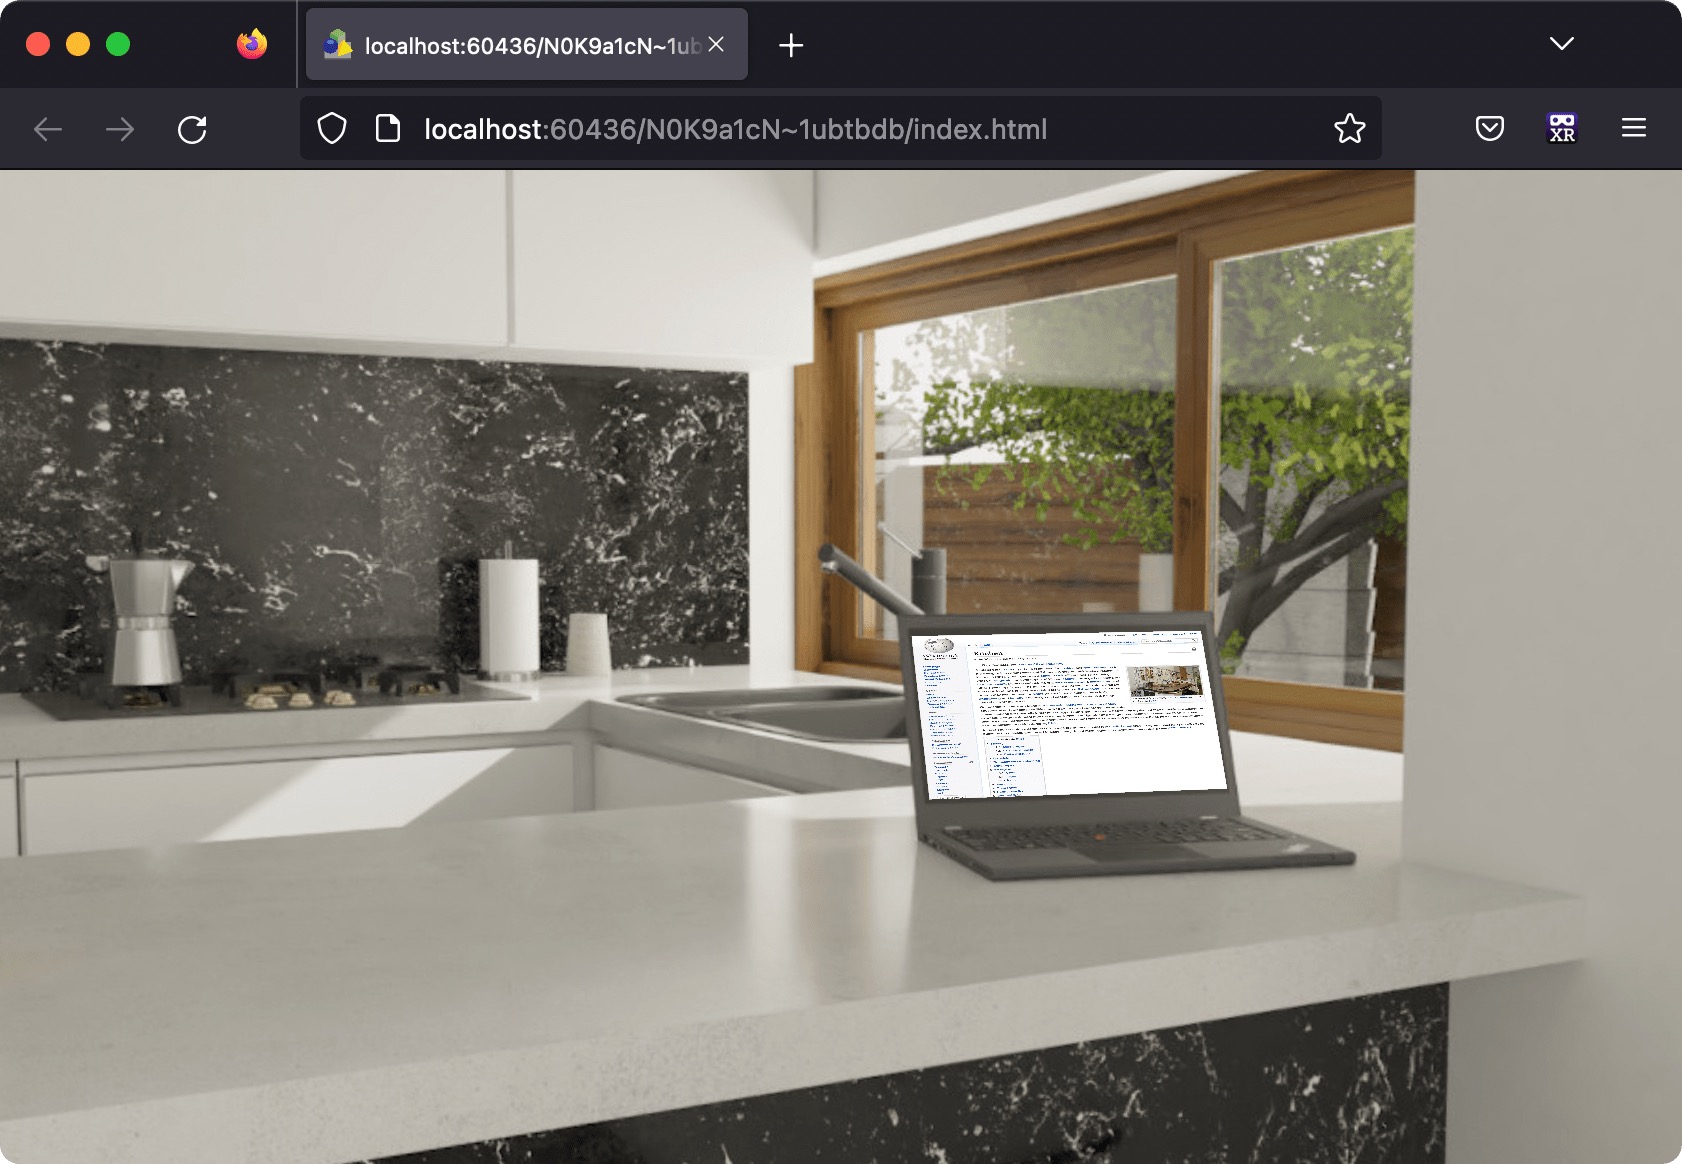
The web element is great for adding webpages to a tour node and have them properly distorted within the image. On output, the webpage is fully interactive.
-
Select the node that should have the web element. Our example is a CG rendered model, and includes a laptop. Here, we’ll add wikipedia webpage to the laptop’s screen.

This node will have a web element added to the laptop’s screen. -
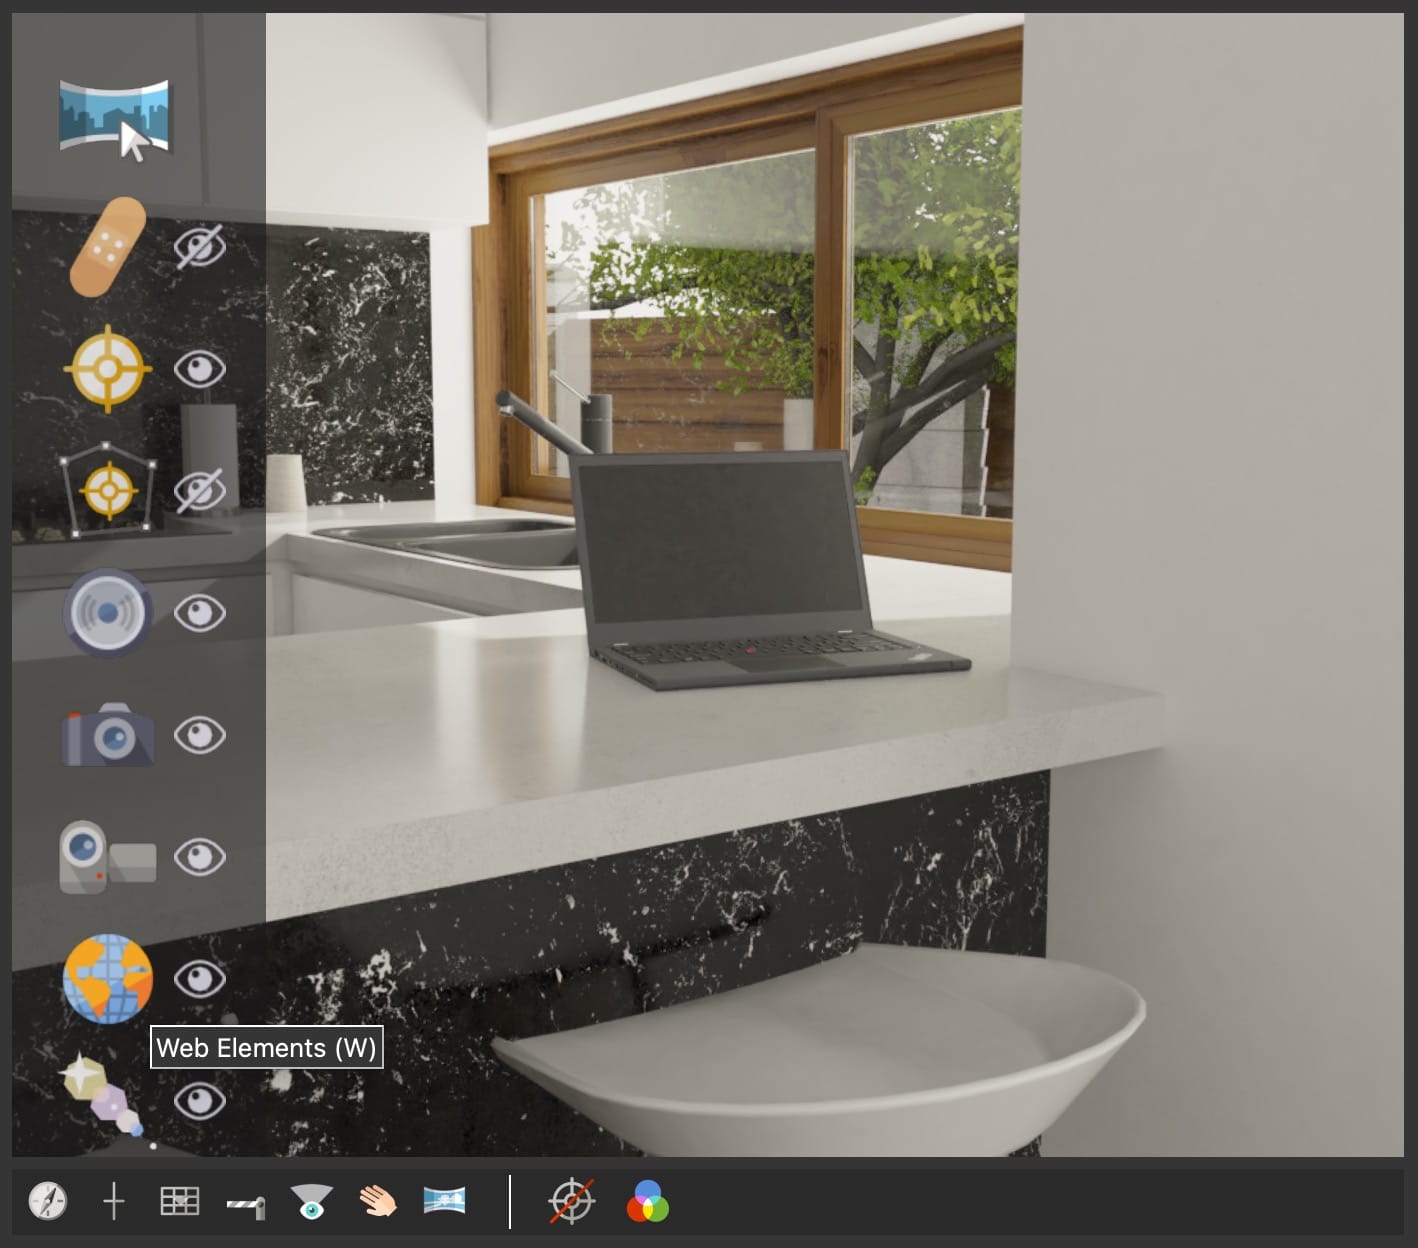
Select Web Elements from the Elements Drawer. Or use
won the keyboard.
Web Elements Viewer Mode -
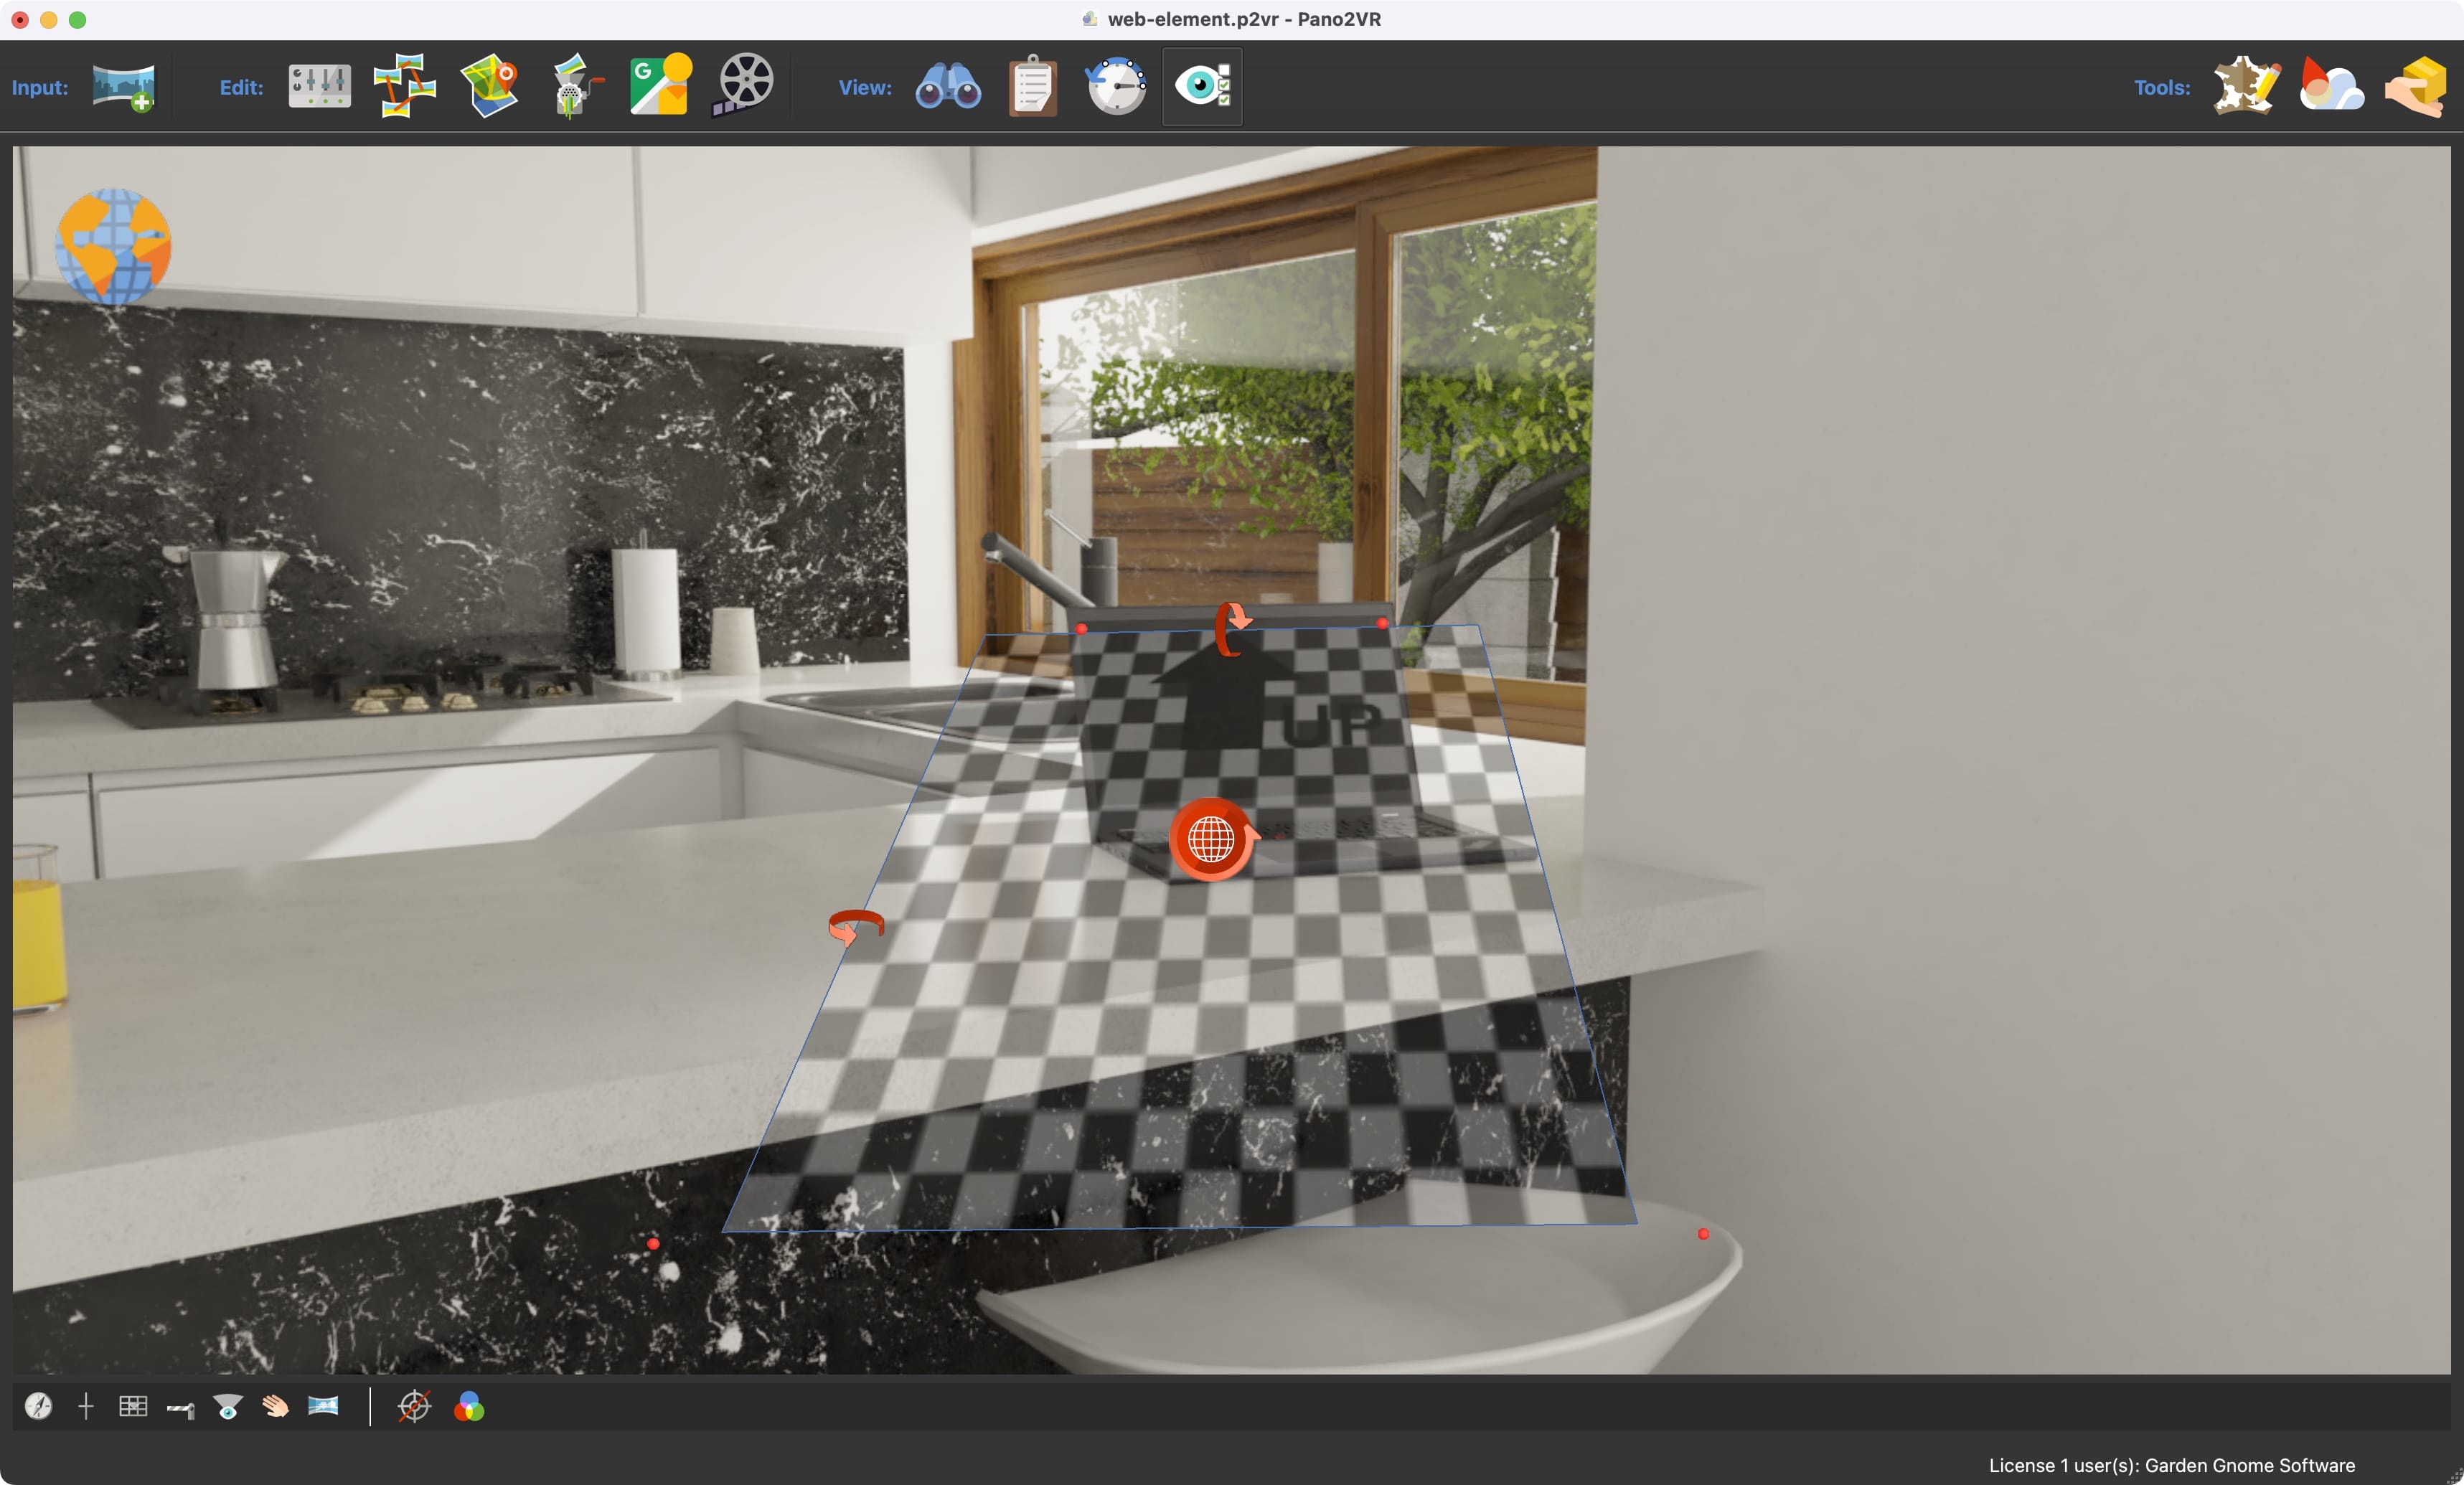
Double-click in the Viewer.
This adds a transparent checkerboard with red corner handles (dots). Drag those corner handles to match the area of what the web element should cover. In our example, it should fit within the laptop’s screen.
Tip: Make the Viewer bigger by hiding all the other panels with CMD-Option (macOS) or CTRL-Alt (win).
Adding the web element -
In the Properties, add an iframe. An iframe is an HTML element that is used to embed a web page inside the current document.

Adding an iframe as a web element. Below is the code we used:

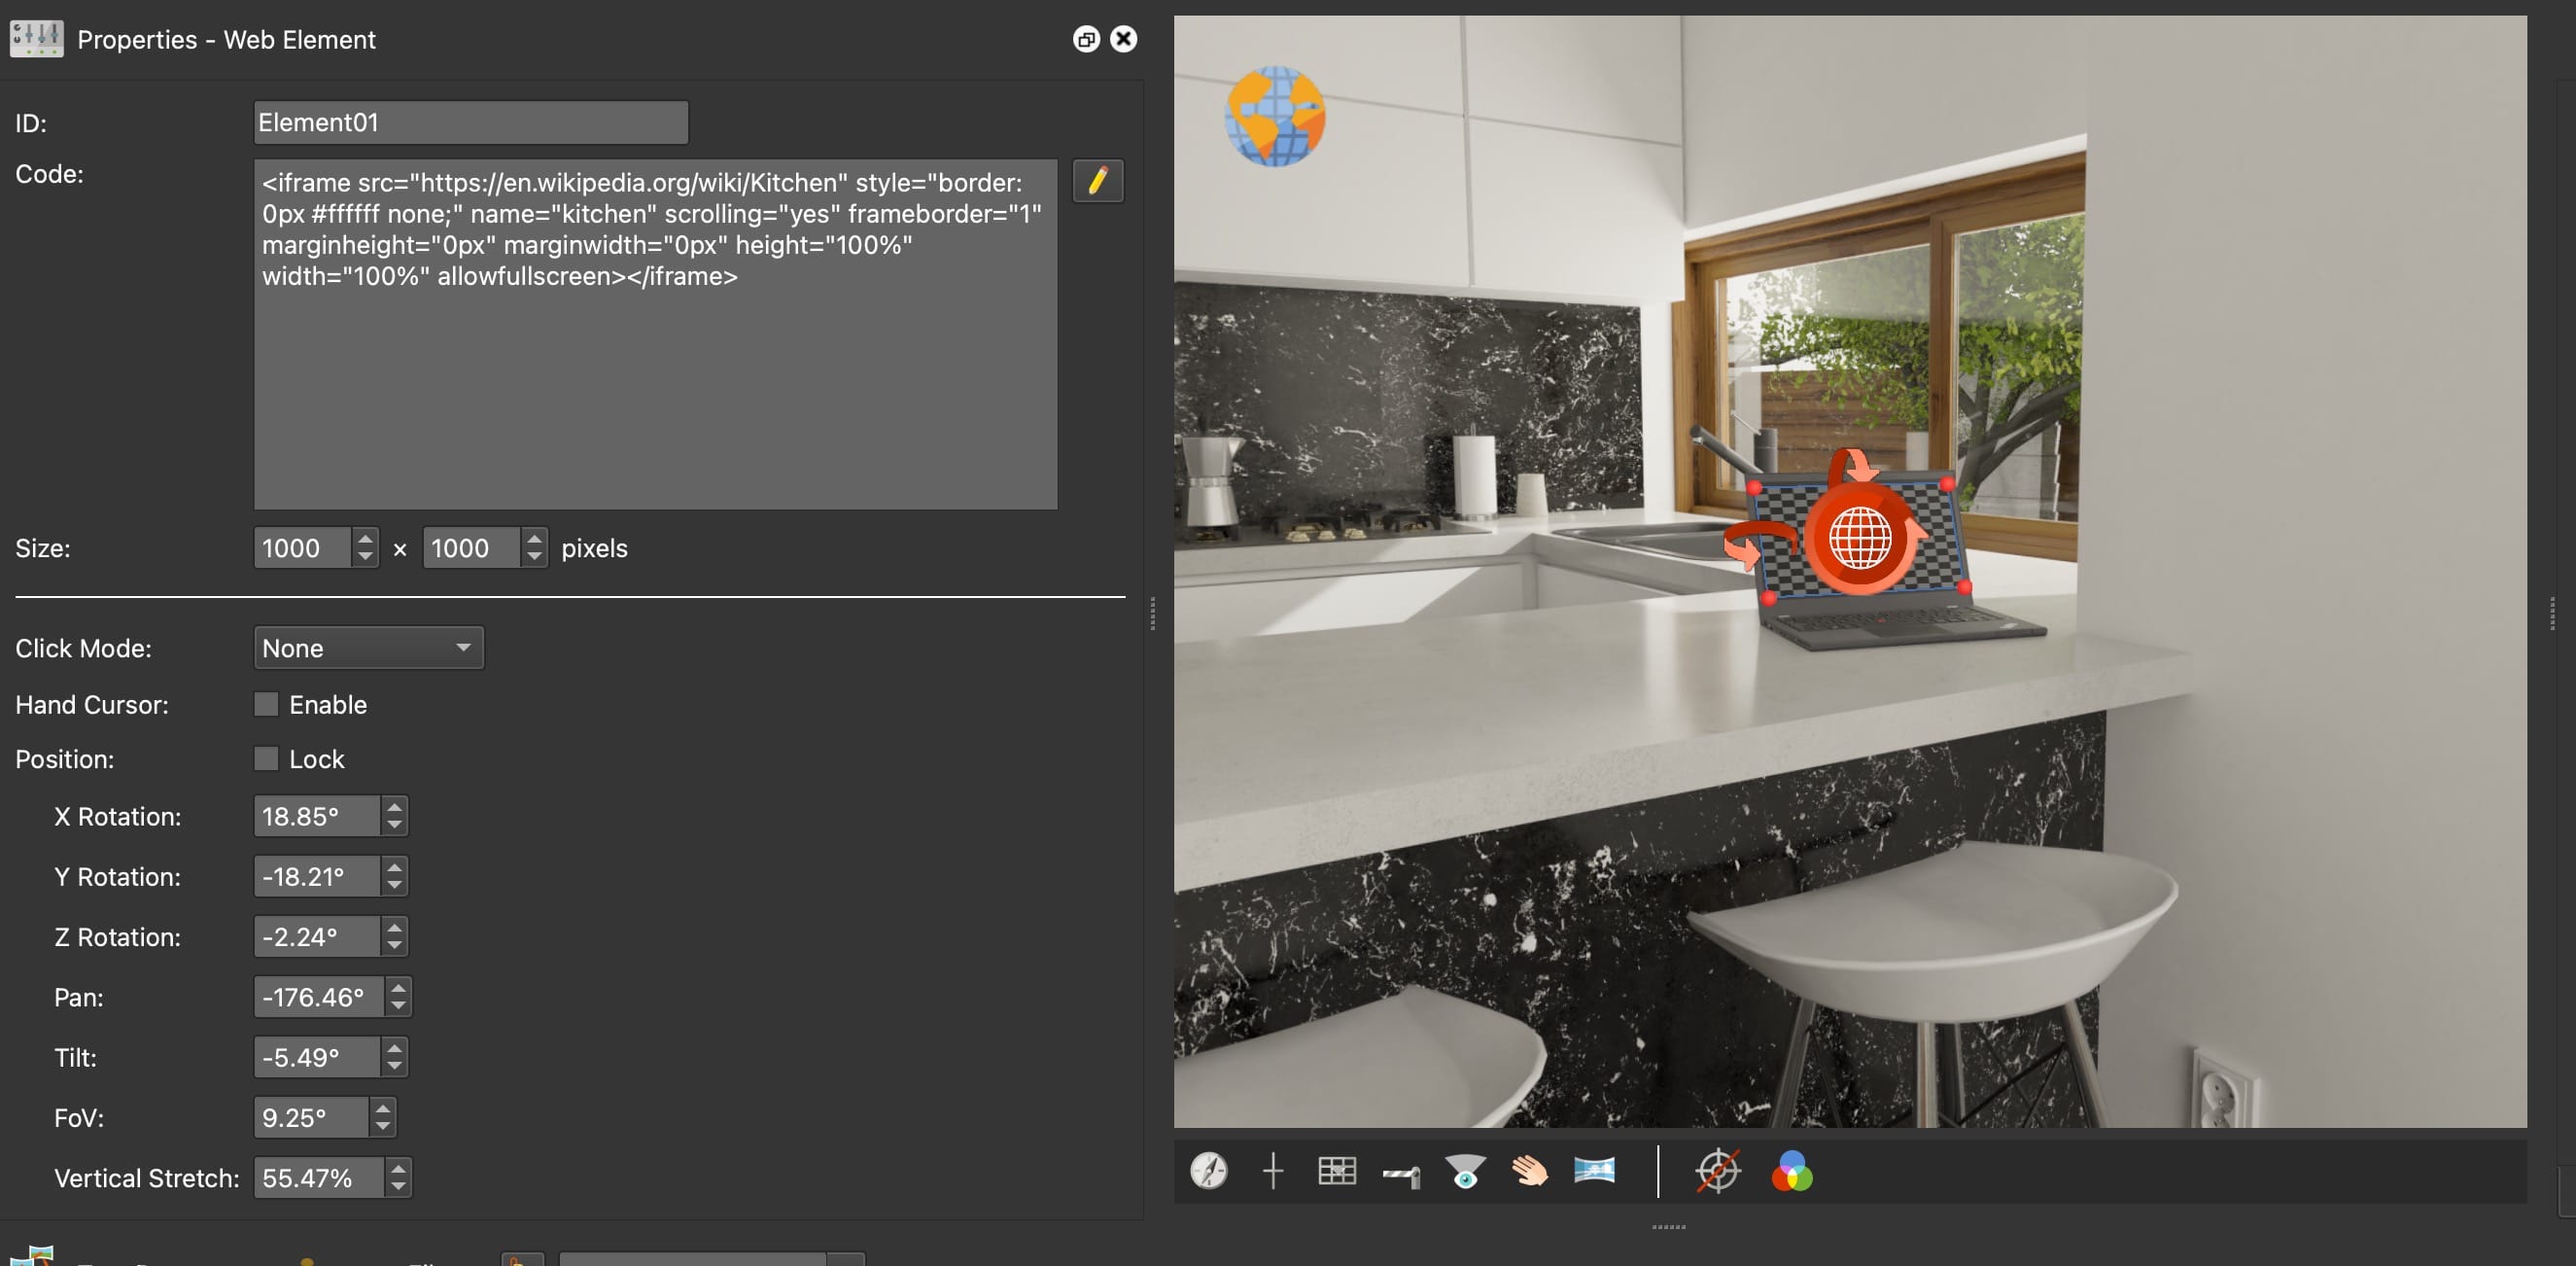
<iframe src="https://en.wikipedia.org/wiki/Kitchen" style="border:0px #ffffff none;" name="kitchen" scrolling="yes" frameborder="1" marginheight="0px" marginwidth="0px" height="100%" width="100%" allowfullscreen ></iframe> Notice that the attribute, scrolling, is used and set to yes. This is needed if you’d like to have the webpage scroll.
Save the project and export it.