Viewer Settings
The Viewer Settings bar below the Viewer turns viewing aids on and off, such as the compass, grid, frame overlays, and the projection used in the Viewer.
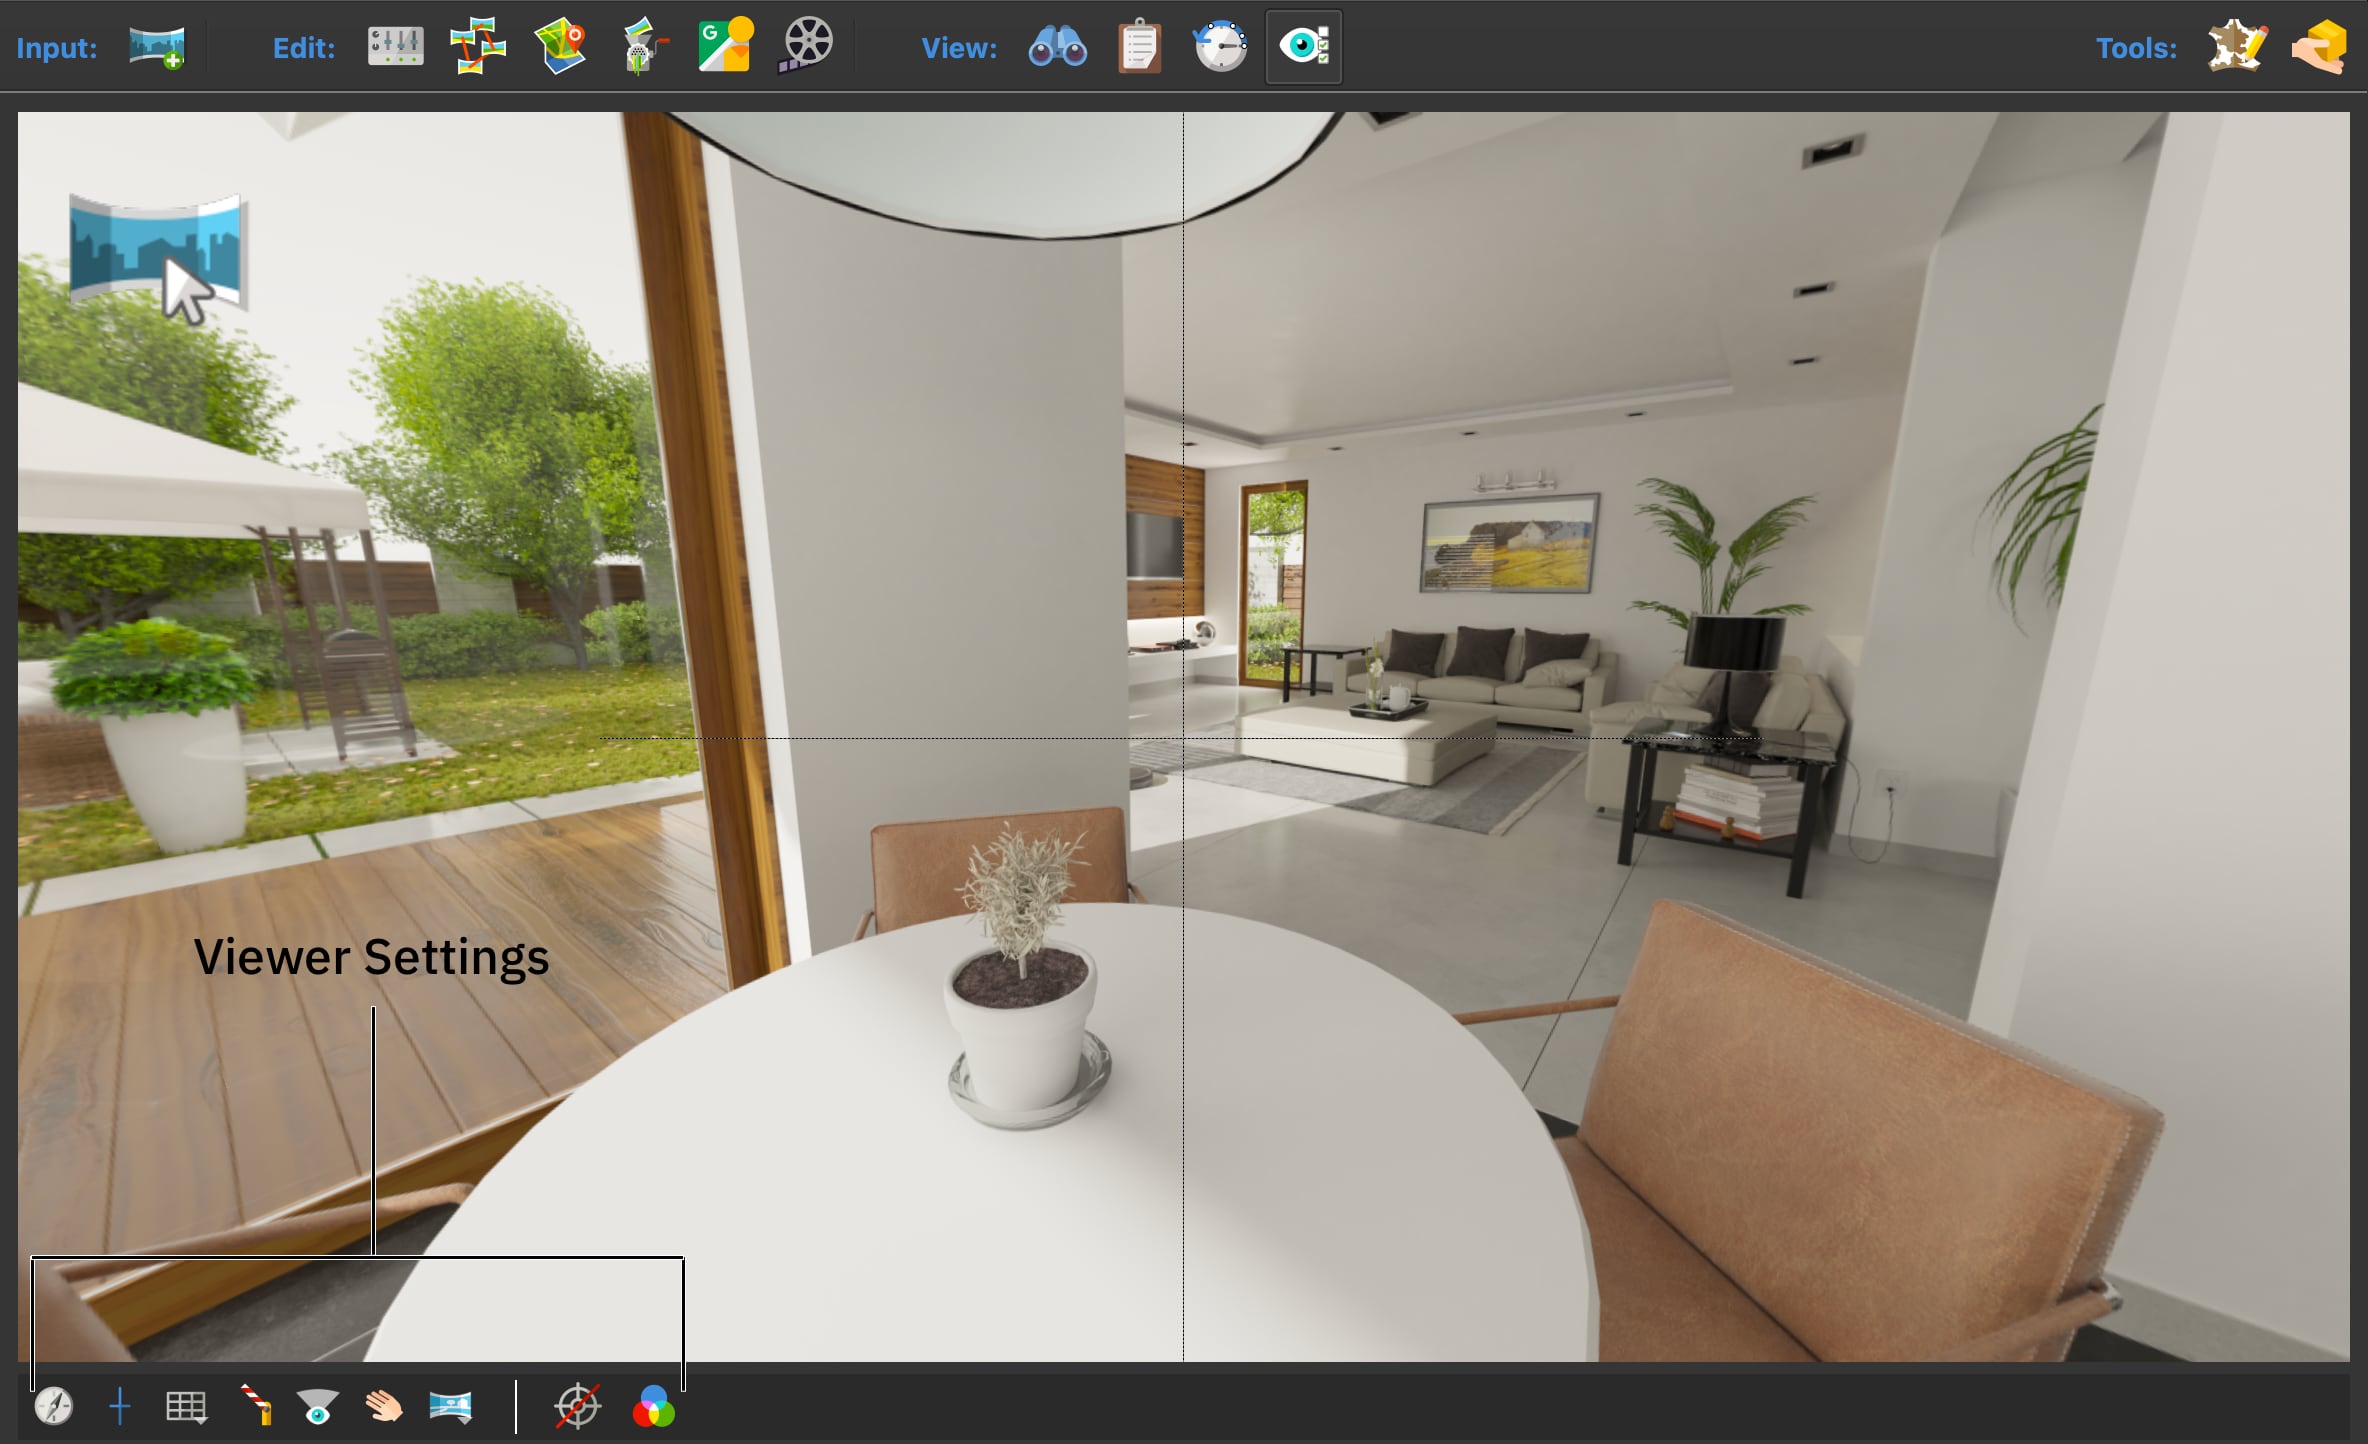
The Viewer Settings bar sits at the bottom edge of the Viewer. Its buttons change only what you see in the Viewer while you work; none of them change the output. To show or hide the bar, click Viewer Settings in the toolbar (Option-Shift-S on macOS, Alt+Shift+S on Windows).
The buttons are described from left to right. When a 3D model node is open, the bar shows a different set of buttons, described in 3D Model Viewer Settings.
Compass
Click to show or hide a compass overlay in the Viewer.
Center Marker
Click to show or hide vertical and horizontal center lines. They help you straighten panoramas and line up landmarks for setting north.
Grid
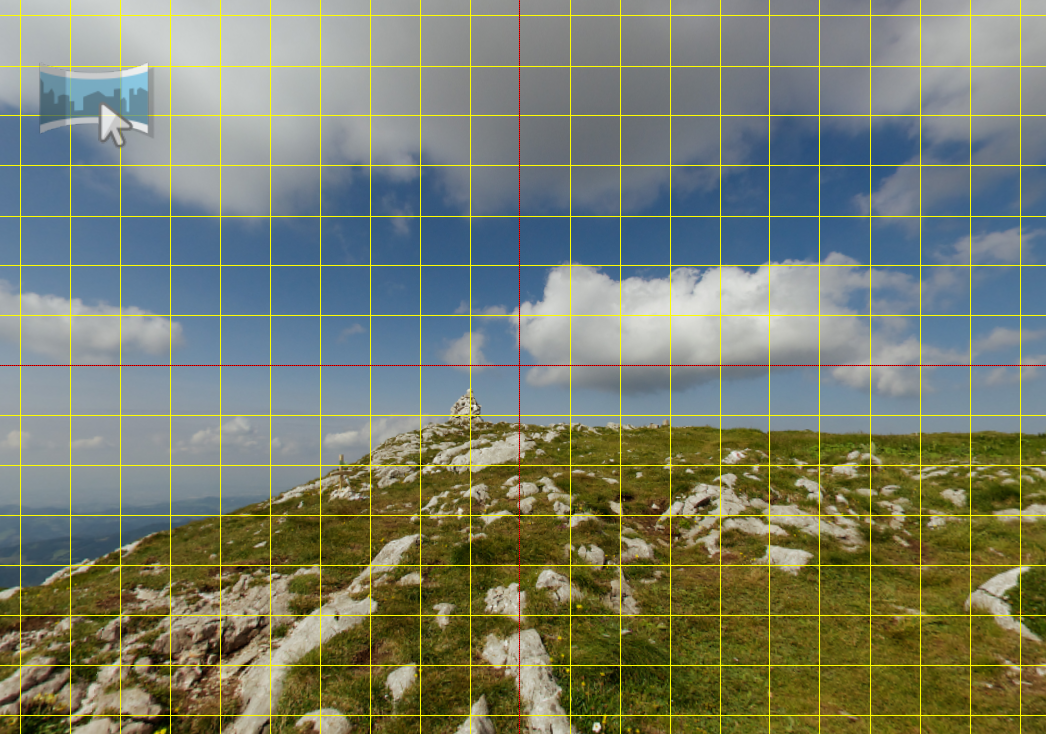
Click to show or hide a grid, which is especially useful for leveling panoramas. Press and hold the button to open a menu with two settings:
Steps – The number of grid lines, from 1 to 20. The default is 3.
Color – The color of the grid lines: gray, red, yellow, black, or white.
Frame Overlays
Masks the Viewer to an aspect ratio, so you can frame the view exactly as it appears in a still image or a video, for example before you set a default view or keyframes for an animation.
- Click the button to step to the next aspect ratio.
- Shift-click to step back to the previous one.
- Press and hold the button to choose an aspect ratio from a menu.
The menu lists the aspect ratios from the widest to the narrowest, followed by the pixel sizes of the project’s Animation outputs and of its Transformation outputs with a Rectilinear, Stereographic, or Fisheye projection. None, at the end of the list, removes the overlay.
The aspect ratios themselves are set under Images in the Settings. The area outside the frame uses the Overlay Color from Viewer Colors.
Ignore Limits
Click to ignore the viewing limits in the Viewer, for example to look past a limit while you set it. The limits still apply in the output. The button is unavailable for flat images.
Open Nodes in Default View
When this is turned on, a node opens in the Viewer with the projection and view of its default view. When it is turned off, the Viewer keeps looking in the same direction as you switch between nodes, corrected for the north of each node.
Drag Mode
Switches between two ways of turning the panorama with the mouse. When the hand icon is showing, the panorama sticks to the pointer as you drag. When the four-way arrow icon is showing, the panorama keeps turning with inertia for as long as you hold the mouse button.
Switch Projection
Changes the projection used in the Viewer: Rectilinear, Stereographic, or Fisheye.
- Click the button to step to the next projection.
- Shift-click to step back to the previous one.
- Press and hold the button to choose a projection from a menu.
The button is unavailable for flat images.
Ghost Hotspots
Click to show or hide ghost hotspots, which mark where the other nodes of a tour are located. Double-click a ghost hotspot to turn it into a point hotspot linked to that node.
Viewer Colors
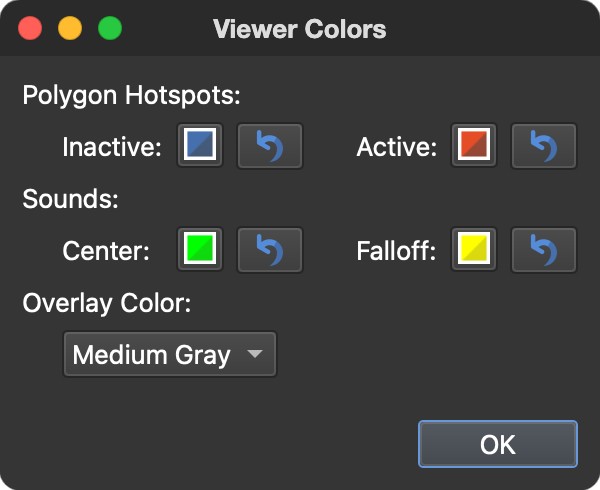
Click to open the Viewer Colors dialog. The colors apply only to the Viewer, not to the output. To change the colors of polygon hotspots in the output, use the Polygon Hotspot Properties or the web output properties.
Polygon Hotspots – The Inactive and Active colors of polygon hotspots in the Viewer. Click a color well to pick a color, and click the button next to it to return to the default color.
Sounds – The Center and Falloff colors of the sound field of directional and effect sounds.
Overlay Color – The color of the area outside a frame overlay: Black, Dark Gray, Medium Gray (the default), or Light Gray.
Exposure
When the current node’s panorama is a high dynamic range (32-bit floating point) image, an Exposure slider appears at the right end of the bar. Drag it to brighten or darken the panorama in the Viewer, so you can inspect detail in the highlights and shadows. The slider covers five stops in either direction, with the unchanged image in the middle. It affects only the Viewer: the exposure is not saved with the project and doesn’t change the output.