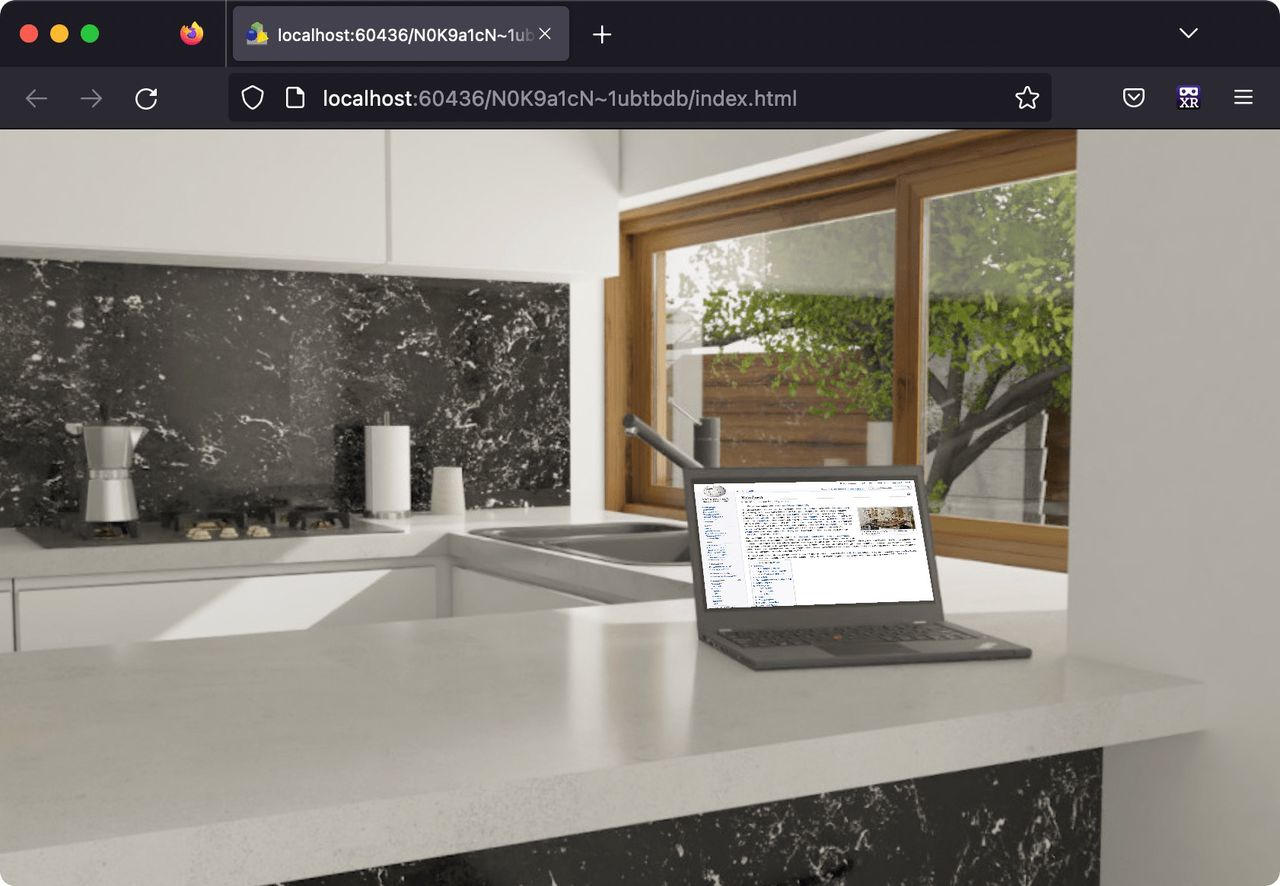
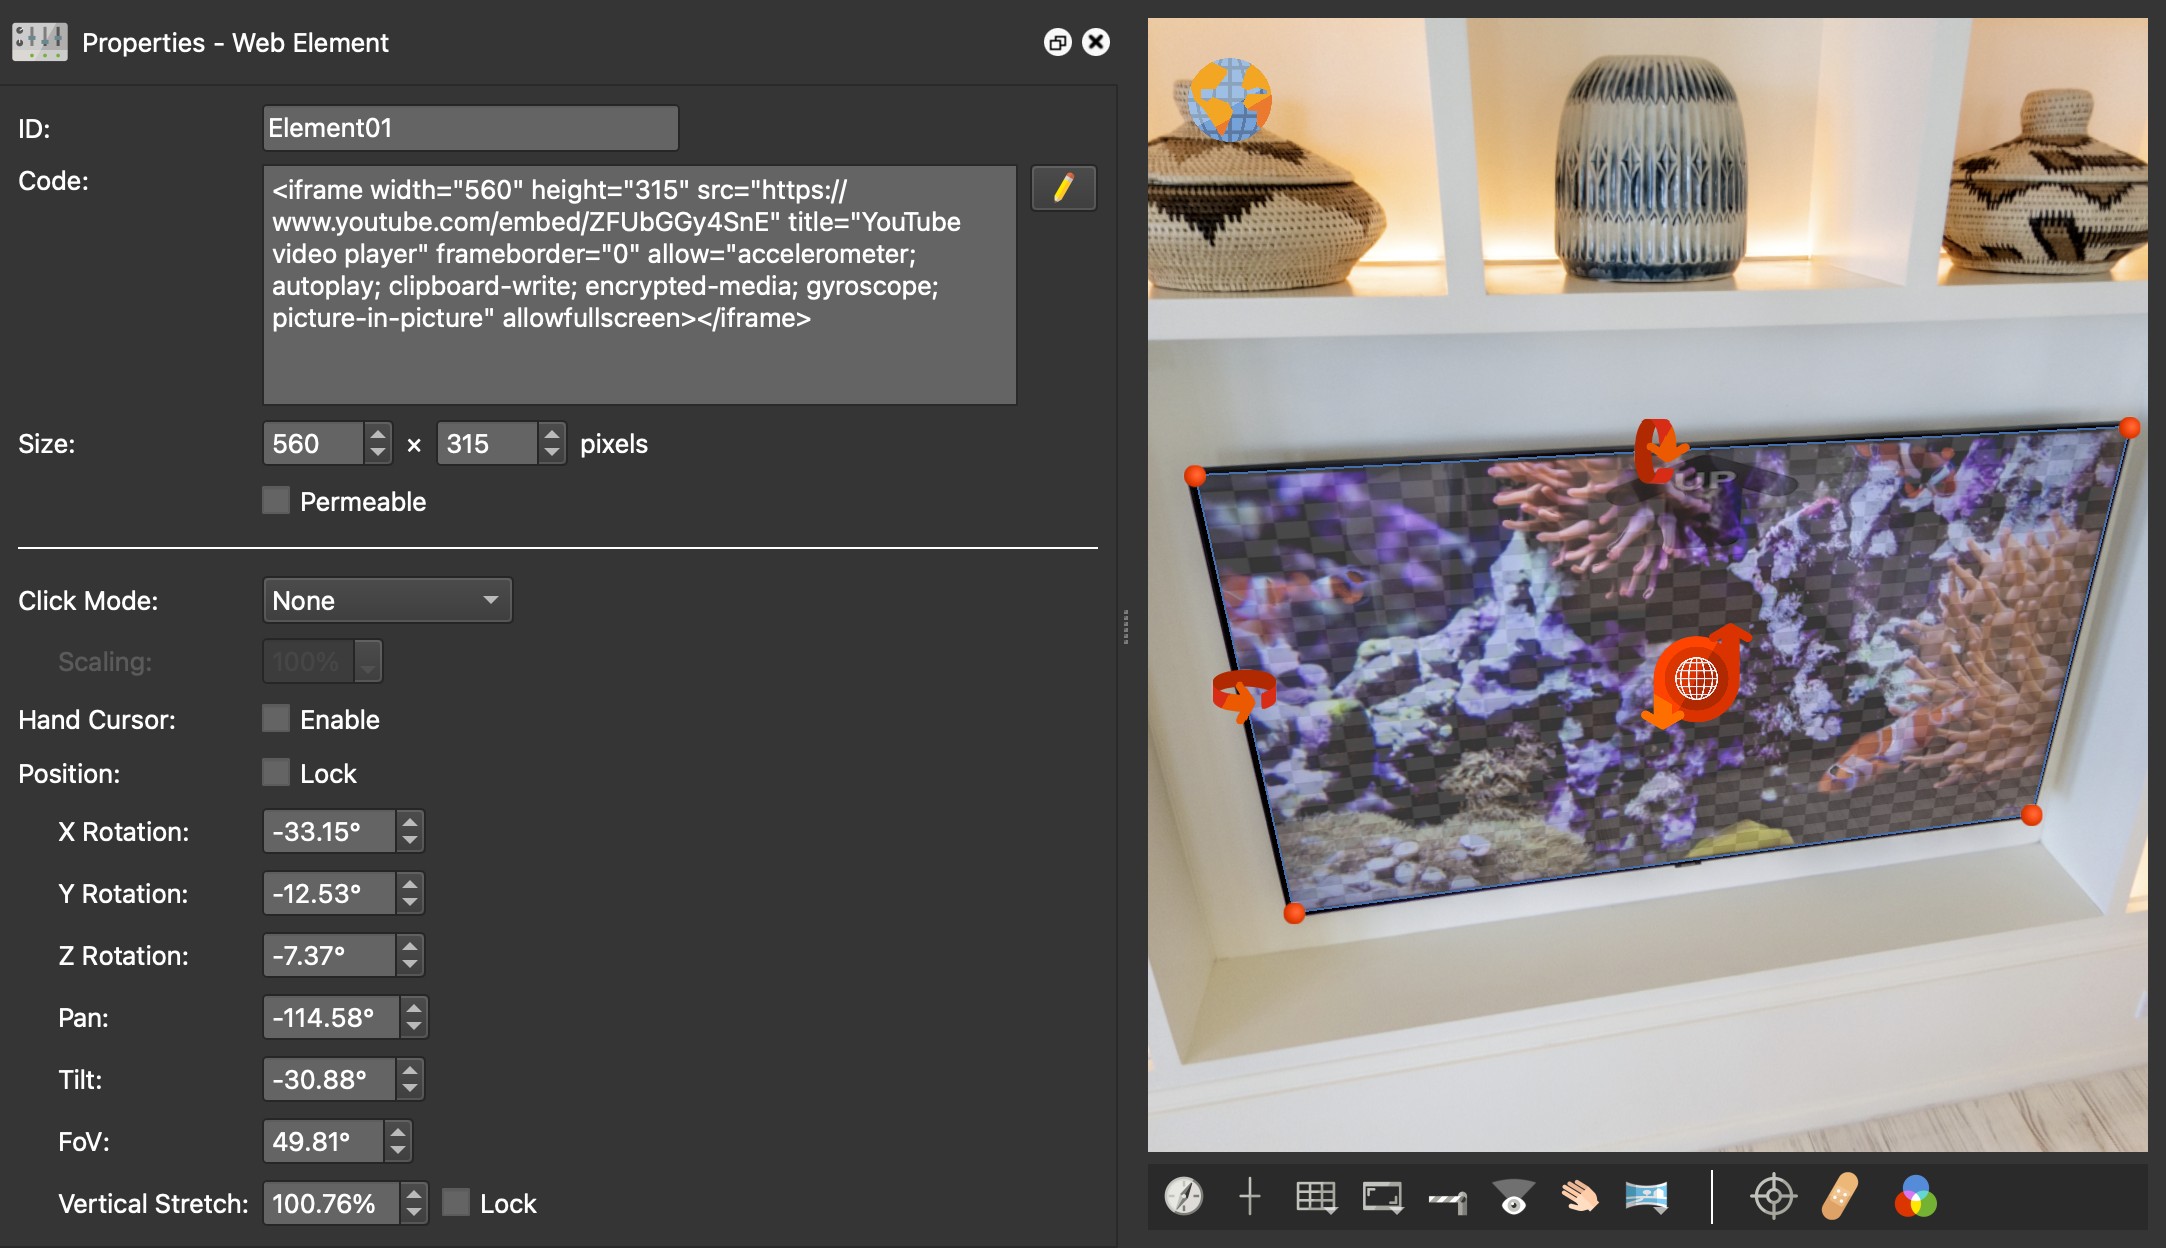
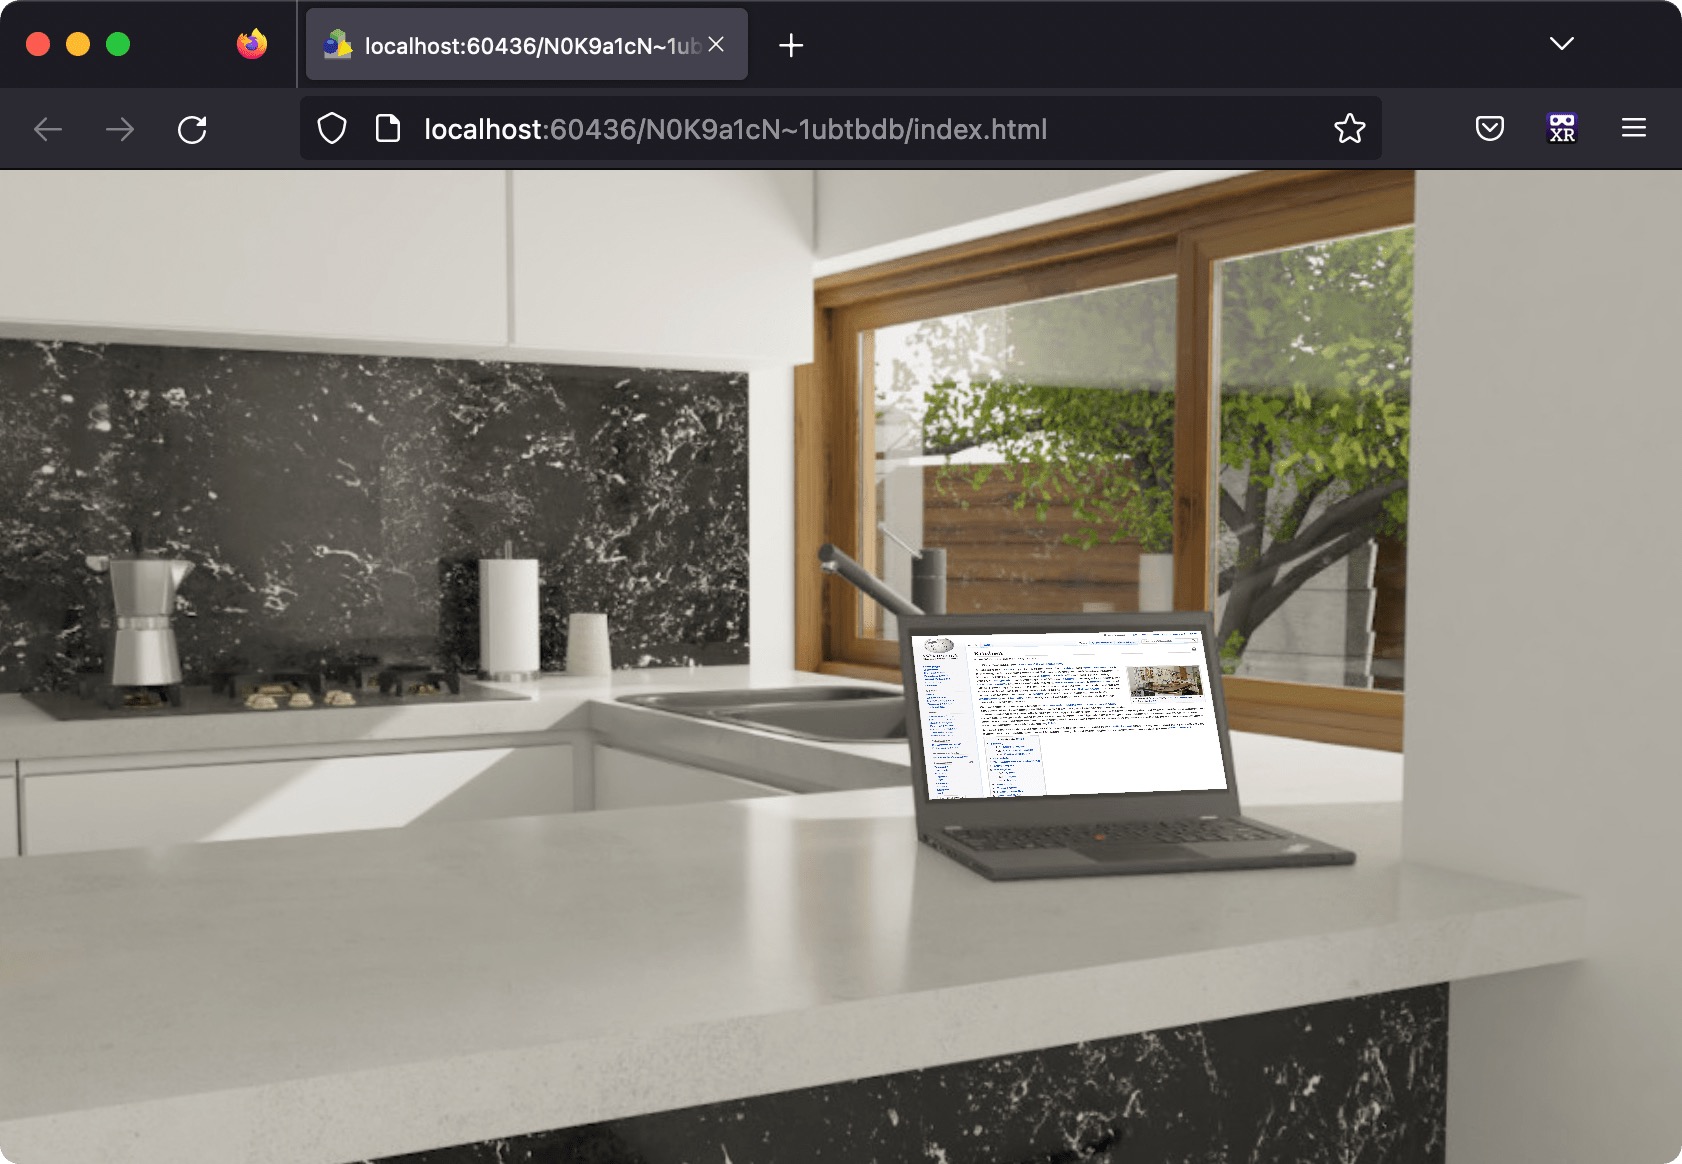
Learn how to pin a web element. In this example we pin a YouTube video to a TV in a tour node.
The web element is great for adding webpages to a tour node and have them
properly distorted within the image. On output, the webpage is fully
interactive.
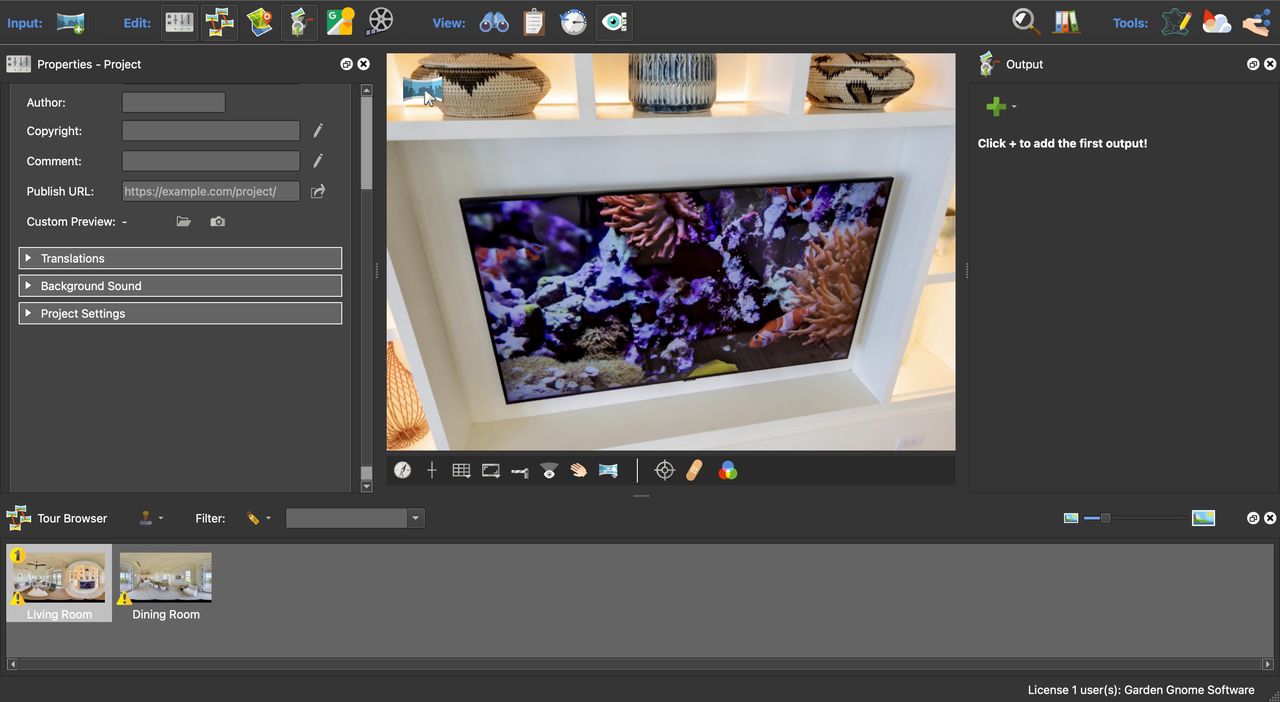
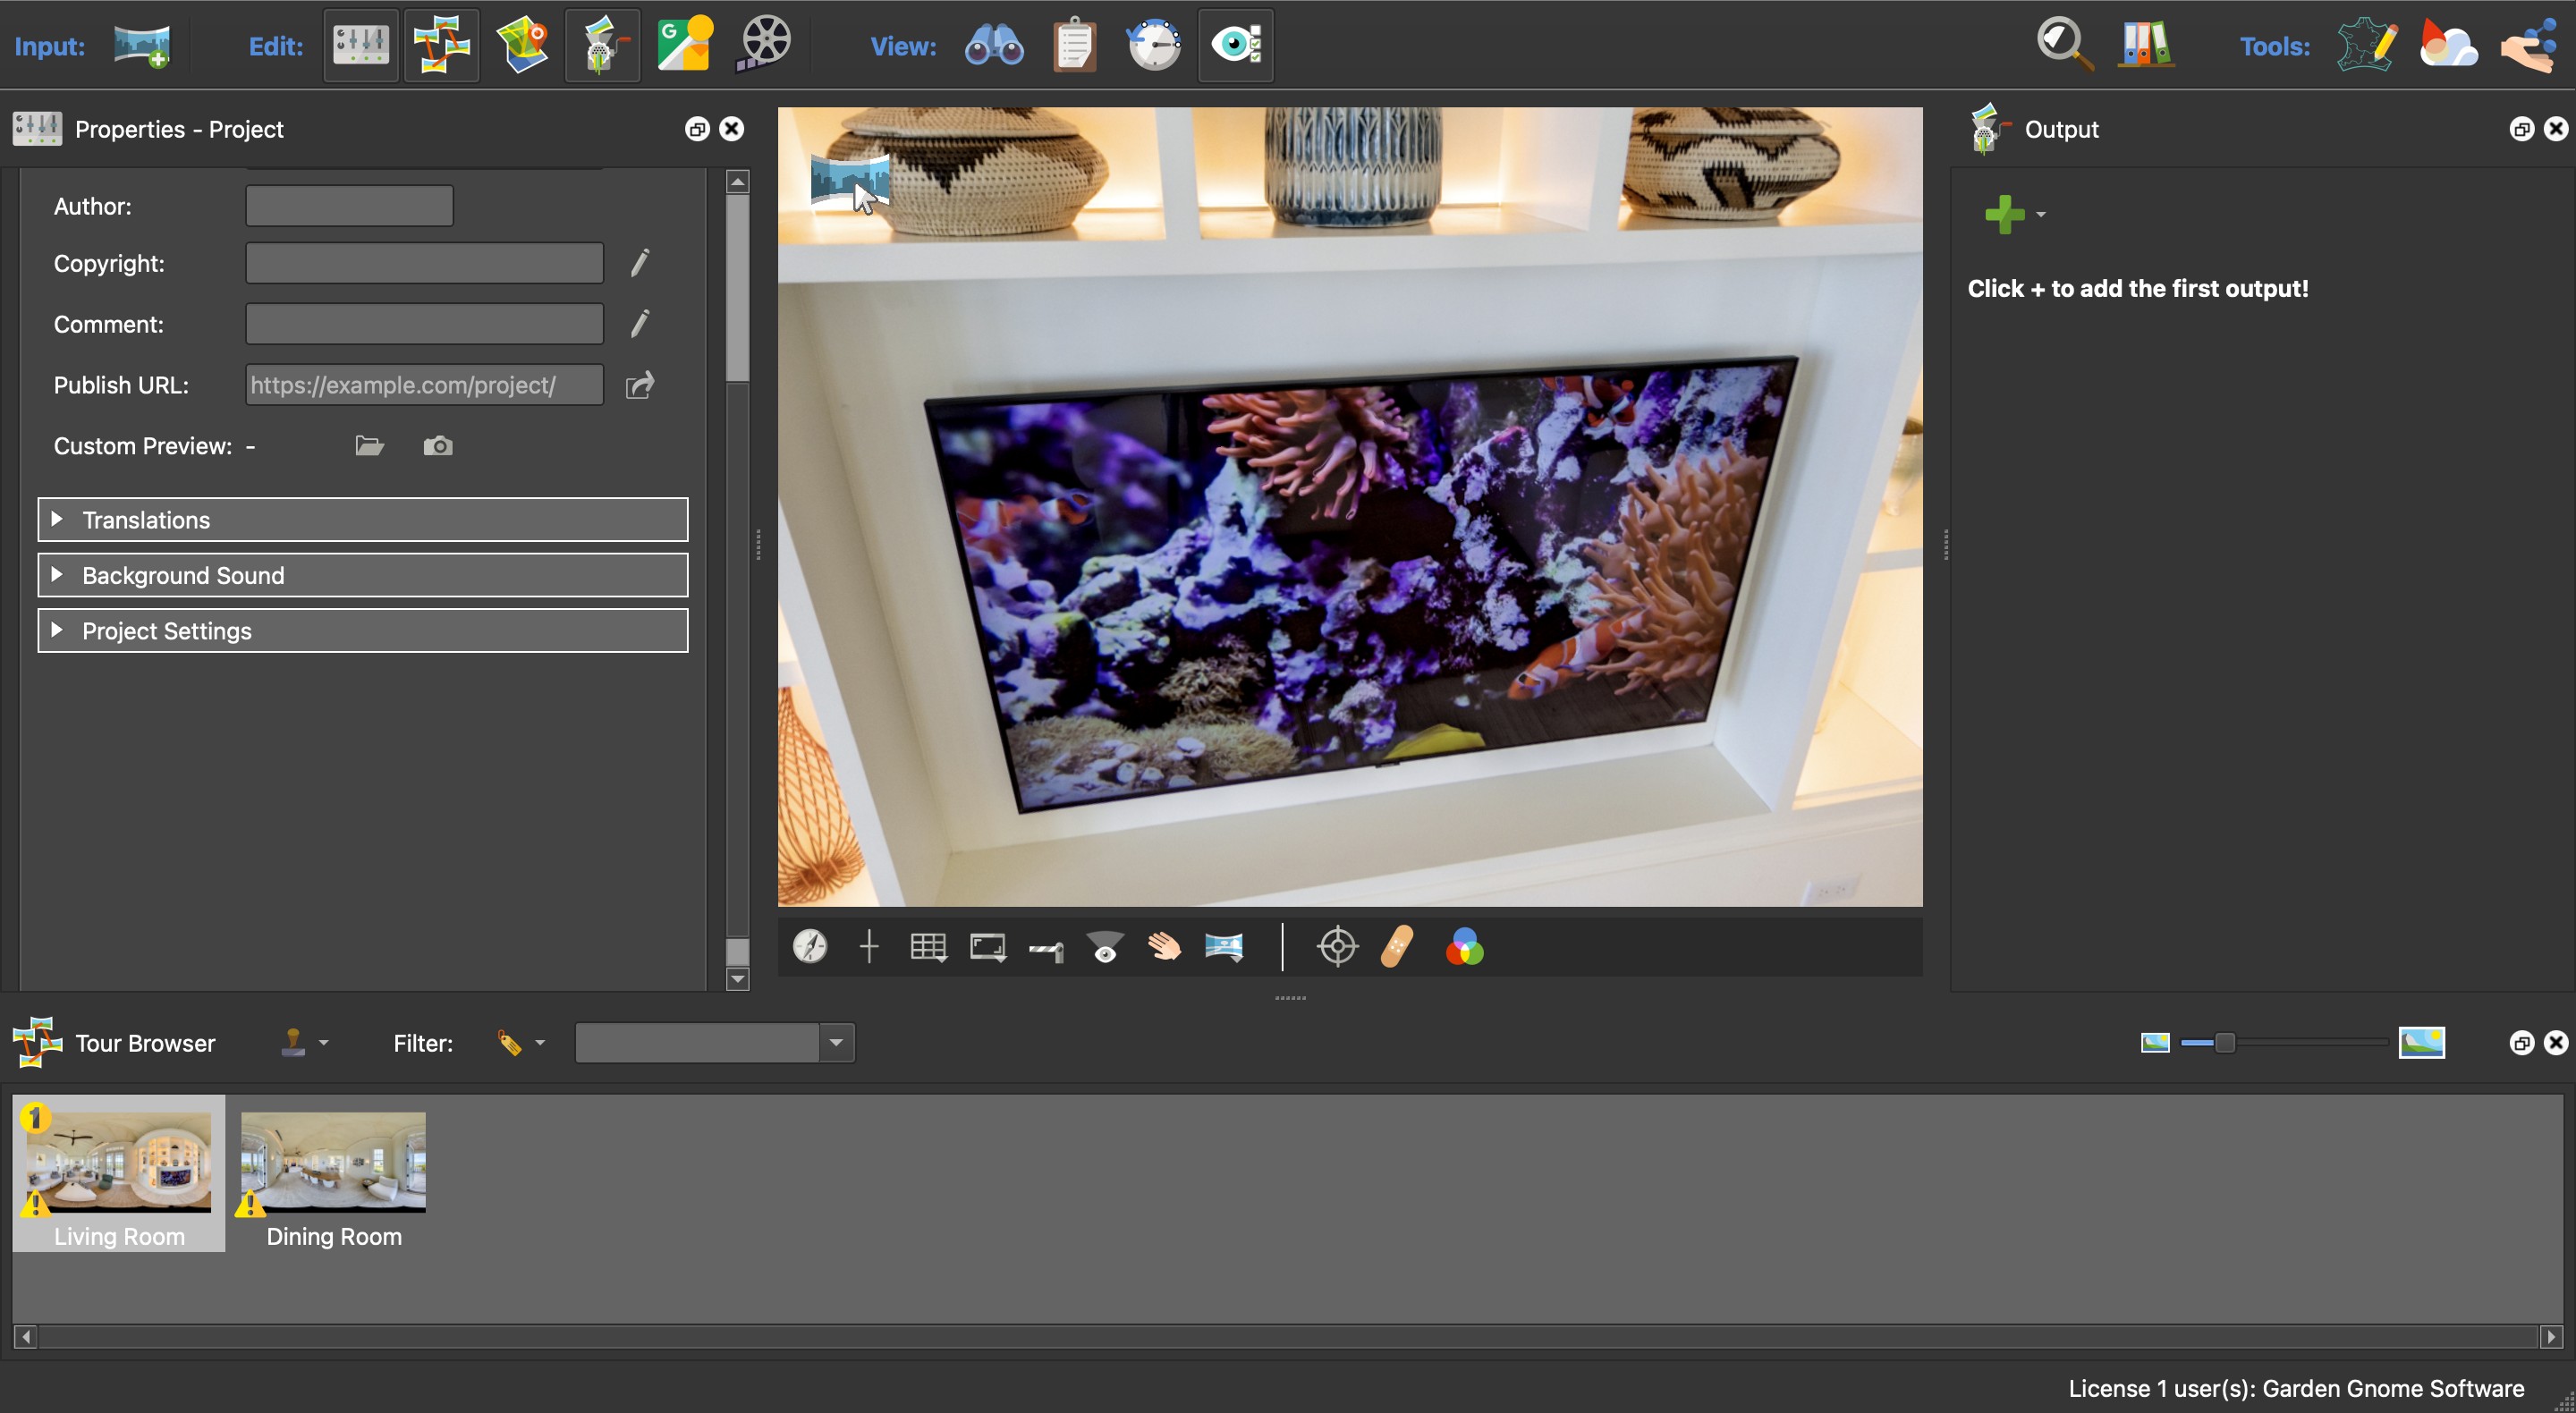
Select the node that should have the web element. Our example is a living
room with a TV on the wall. Here, we’ll add a YouTube video to the TV’s
screen.
This node will have a web element added to the TV’s screen.
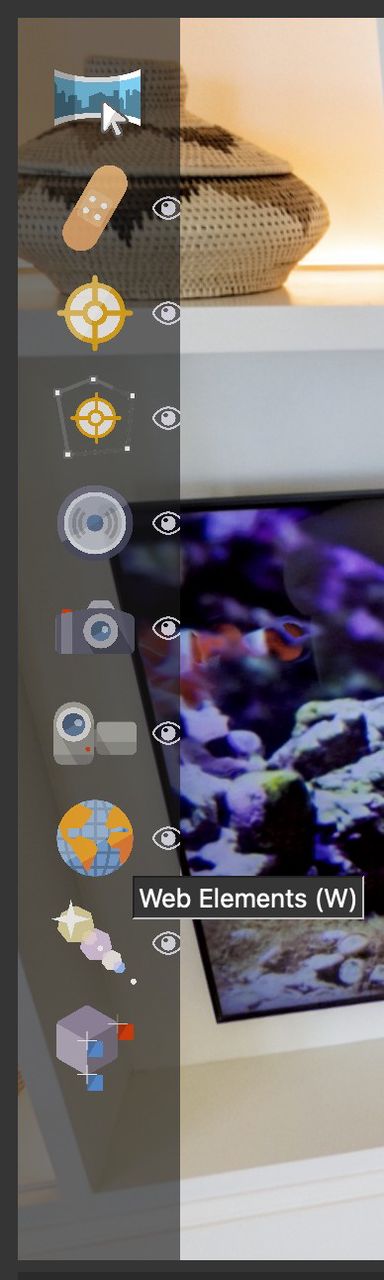
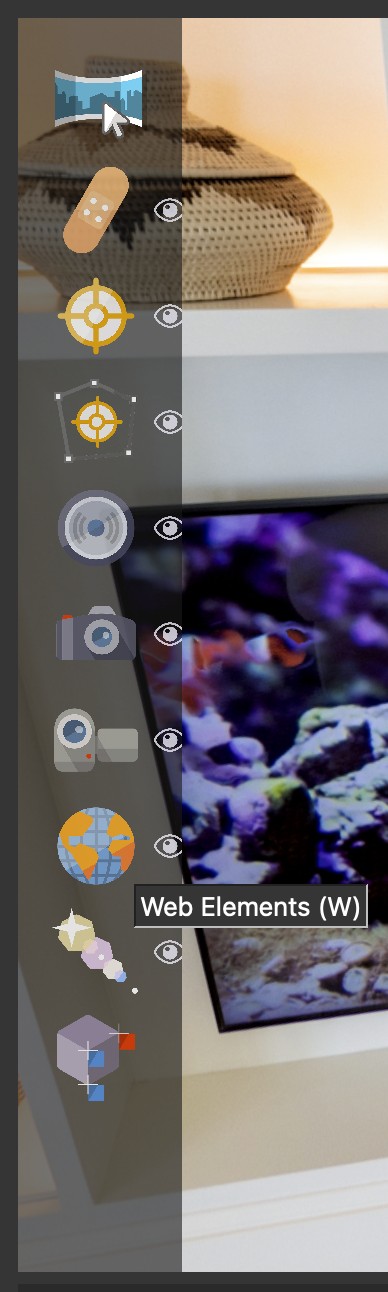
Select Web Elements from the Elements Drawer. Or use w on the
keyboard. Web Elements Viewer Mode
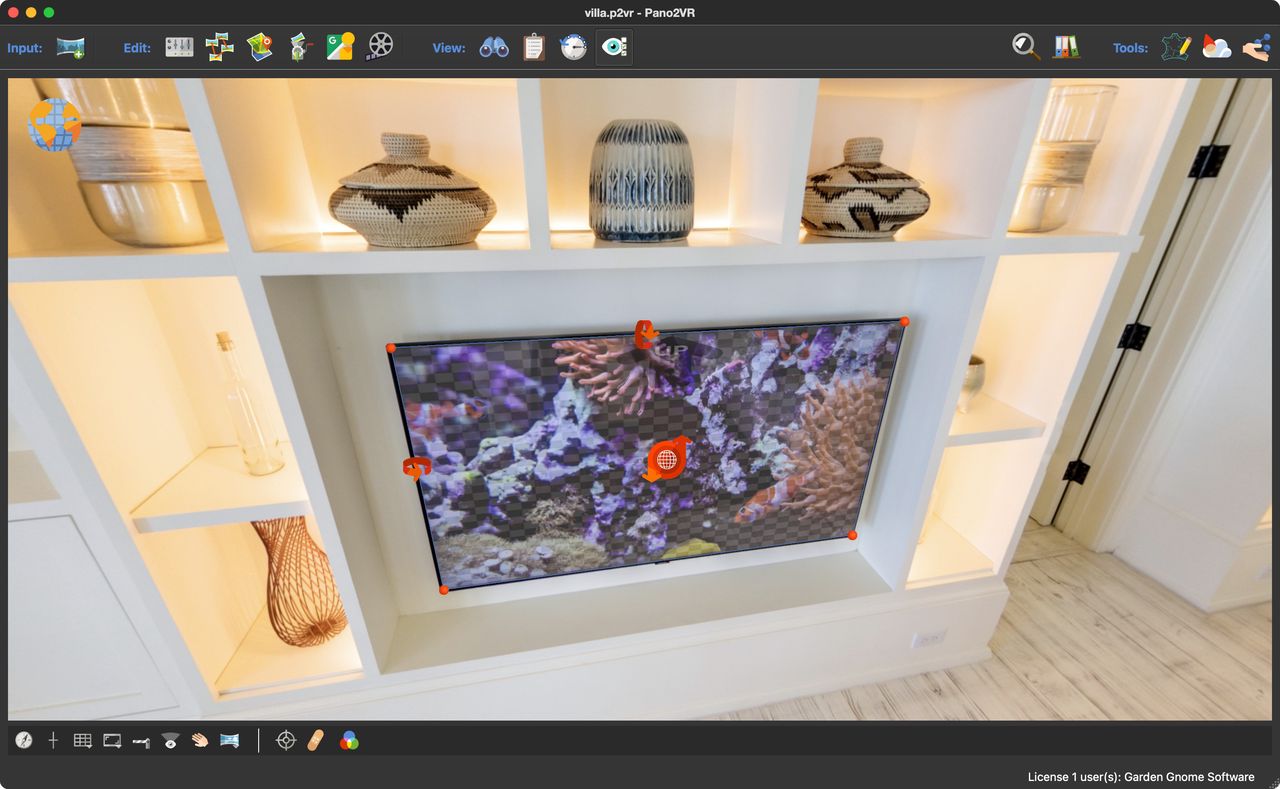
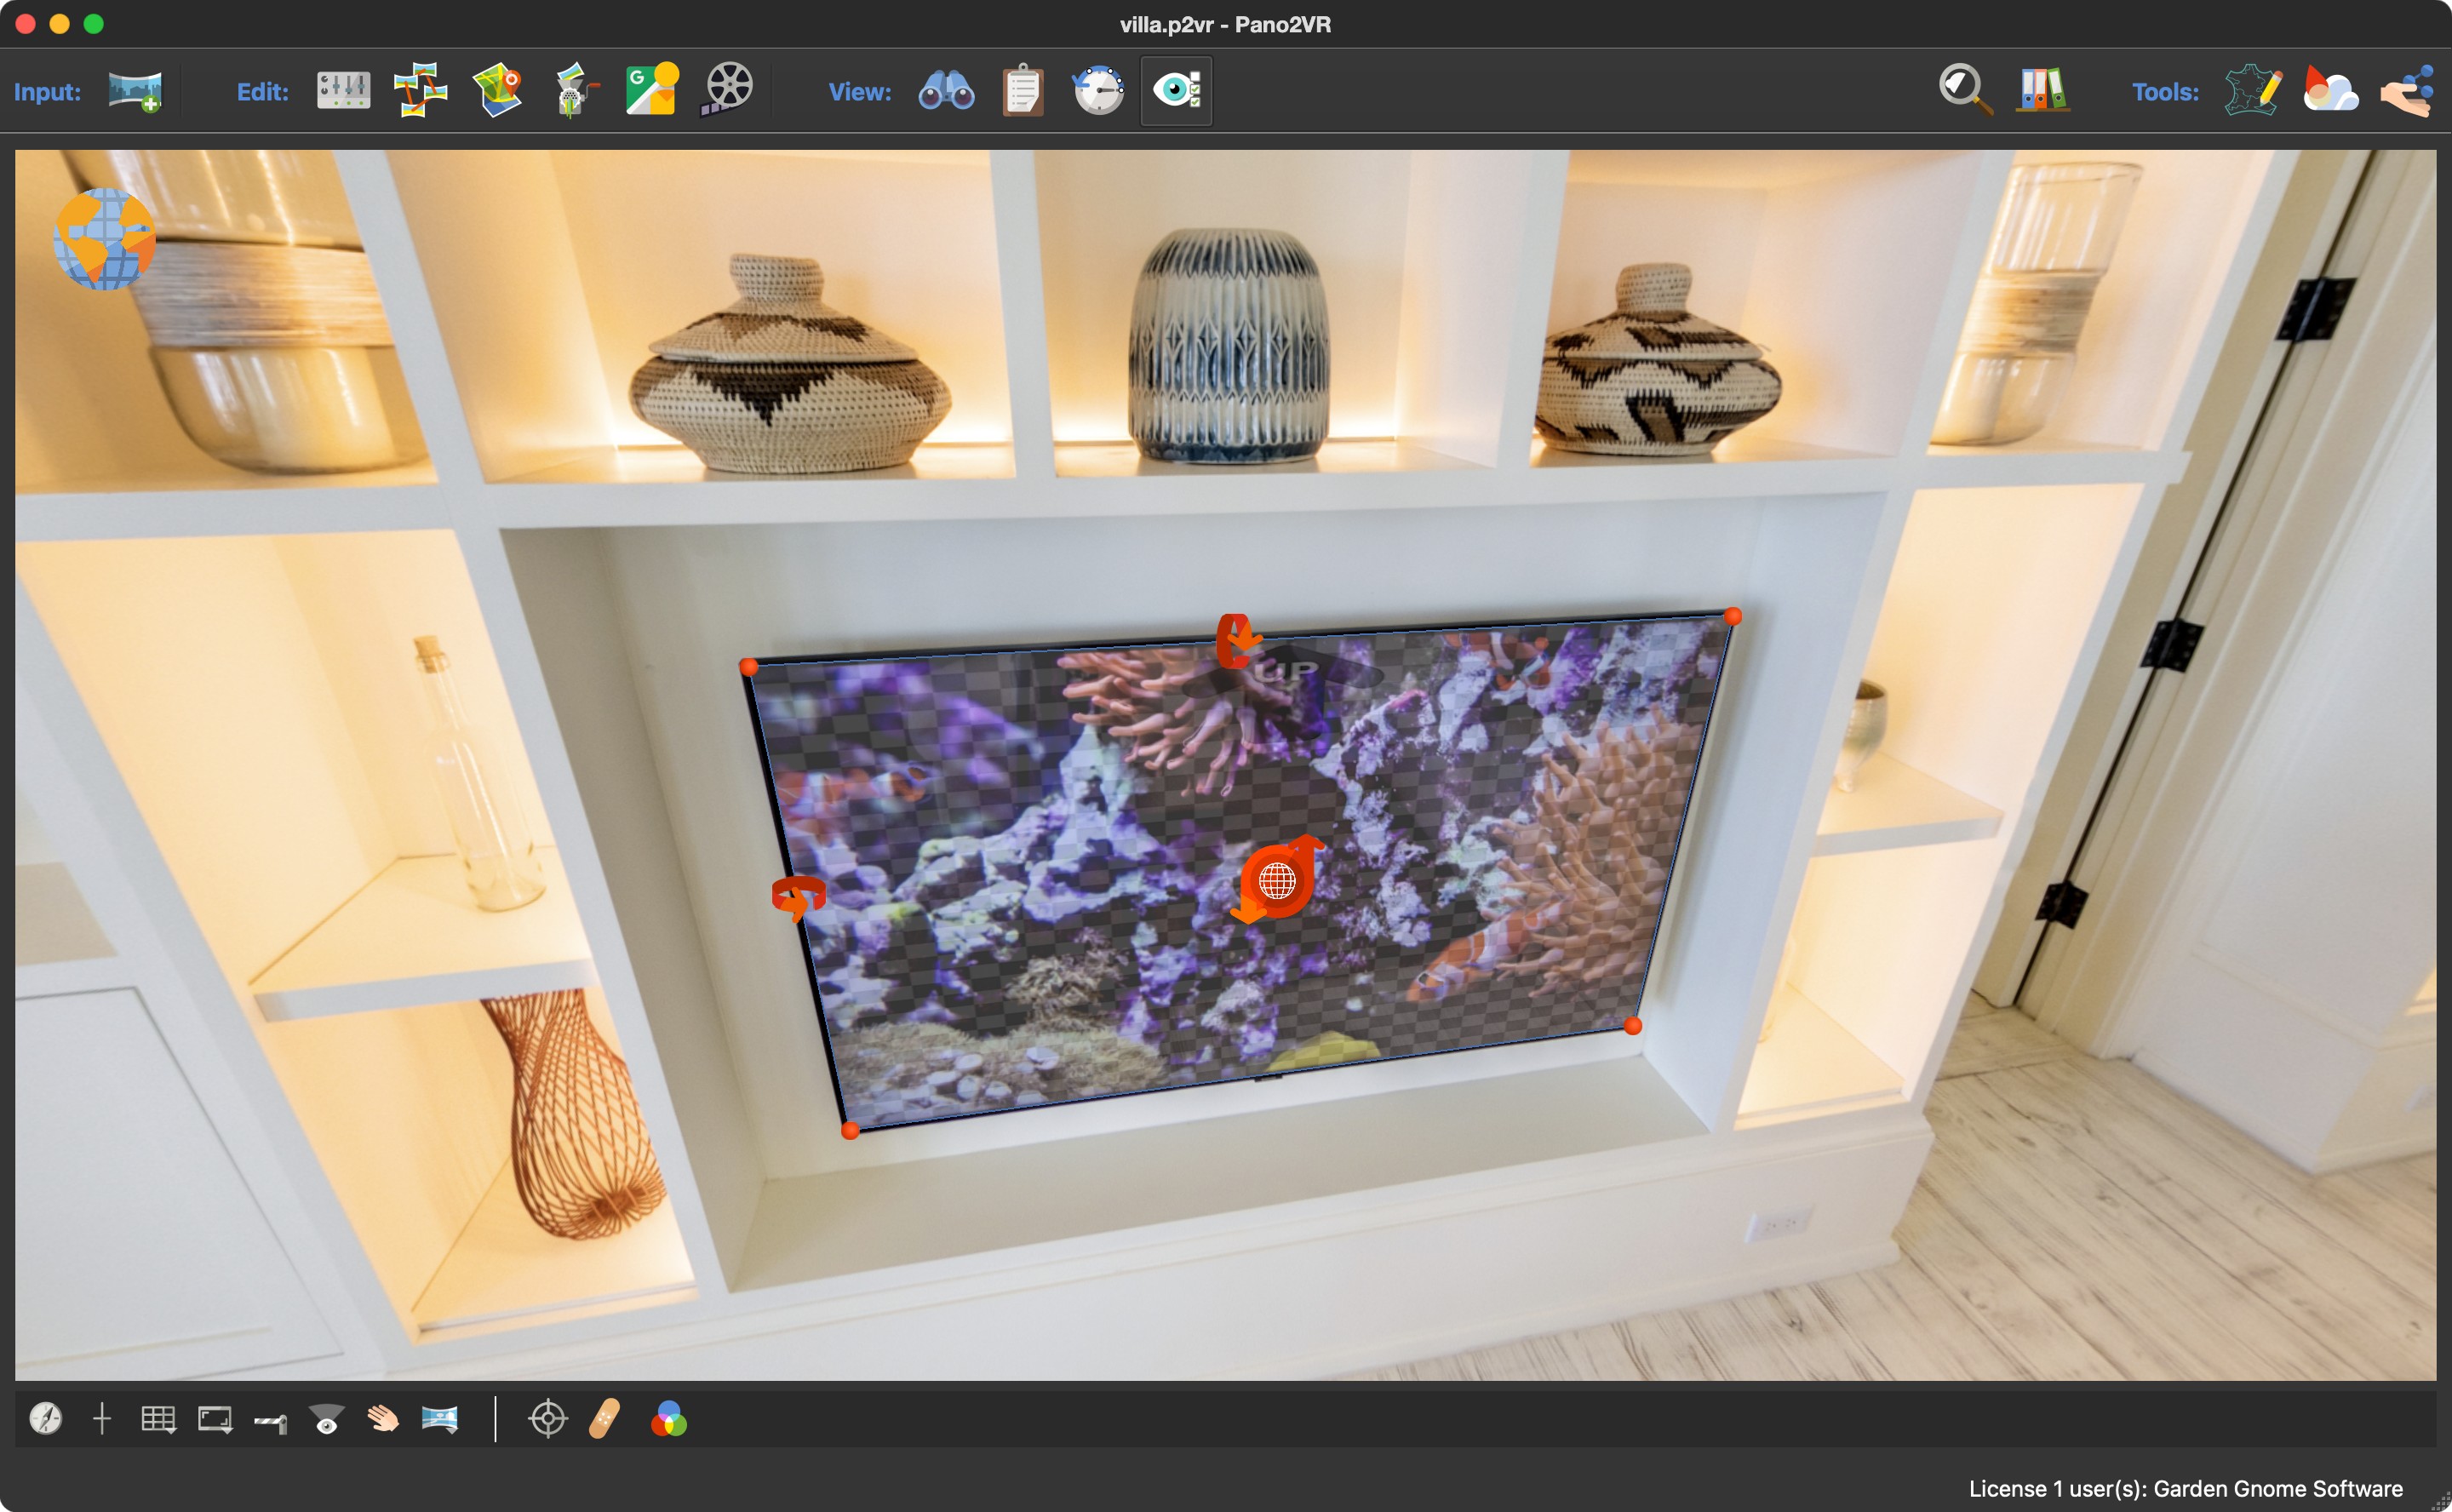
Double-click in the Viewer.
This adds a transparent checkerboard with red corner handles (dots). Drag
those corner handles to match the area of what the web element should cover.
In our example, it should fit within the TV’s screen.
★ Tip Make the Viewer bigger by hiding all the other panels with CMD-Option (macOS) or CTRL-Alt (win).
Adding the web element
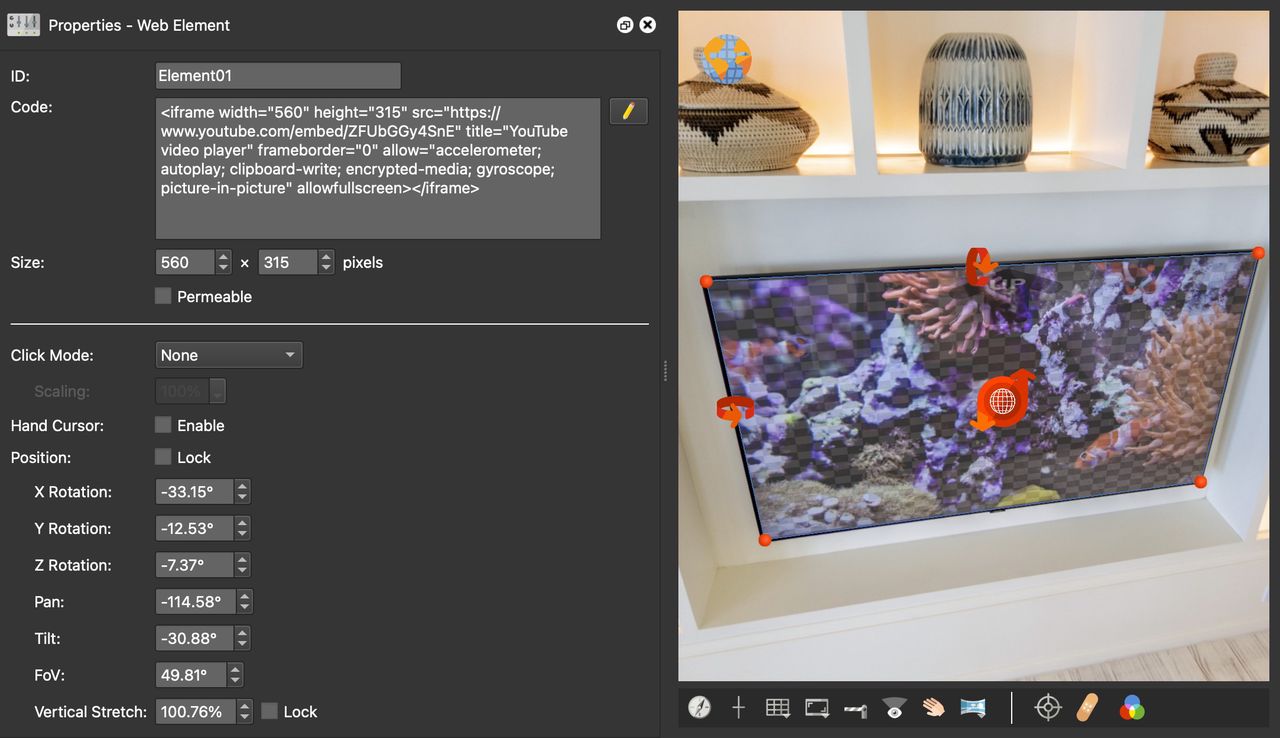
In the Properties, add an iframe. An
iframe is an HTML element
that is used to embed a web page inside the current document.
Adding an iframe as a web element. Below is the code we
used:
<iframewidth="560"height="315"src="https://www.youtube-nocookie.com/embed/ZFUbGGy4SnE"title="YouTube video player"frameborder="0"allow="accelerometer; autoplay; clipboard-write; encrypted-media; gyroscope; picture-in-picture"allowfullscreen></iframe>
This is the code YouTube gives you when you choose Share and then
Embed below a video. To get the code for a Vimeo video, or to show a web
page like a Wikipedia article, see
Getting the Embed Code.
★ Tip The Web element will adjust its size to match the width and height parameters set in the iframe code.