Getting Started
Get started quickly with the welcome screen and the Project Wizard, then learn the basic workflow of building a tour in Pano2VR.
The Welcome Screen
When you open Pano2VR, the Welcome to Pano2VR screen greets you. From here you can:
- Click New Project to start a new project with the Project Wizard.
- Click Open Project to open a saved project, or click one of your five most recent projects under Recent Projects.
- Click Getting Started or Documentation to open the tutorials and this documentation in your browser, and read the latest Garden Gnome News.
Deselect Show on startup to skip the welcome screen, or set this in the Settings. In trial mode, the welcome screen always appears, with buttons to buy or enter a license; see Installing Pano2VR.
Create a Project Using the Project Wizard
The Project Wizard is the quickest way to create a tour. Open it by clicking New Project on the welcome screen, or choose File > New Project Wizard at any time.
- In the first step, Add Panoramas, drag your panoramas, videos, or 3D models into the list, or click the folder button to select them. If you need images to start with, you can download some here.
- Click Continue in the upper right corner of the wizard.
- In the second step, Select a Skin, choose a skin for your tour. A skin is the interactive overlay with the tour’s buttons, menus, and hotspot graphics. Hover the pointer over a skin to see a larger preview. The list shows your favorite skins; choose No Skin (the default) to leave the tour without one.
- Click Continue. Pano2VR adds the panoramas to the project and creates a web output with the chosen skin.
- In the final step, Next Steps, click Configure the Skin to change the skin’s colors and other settings before you export. This button is only shown when you chose a skin.
- Click Generate the Output, or click Close to continue working on the project first.
If the project hasn’t been saved yet, you’re prompted to save your project before the output is generated.
After the project is saved, the output is generated and opens in your browser. It is not on the internet or public! Pano2VR runs an Integrated Web Server that lets you view your projects before uploading them to a web server.
Since the tour nodes are not linked yet, the tour has no point hotspots to move between nodes. Now that you’ve created your project and generated your output, you can go back and refine it, as described below.
Pano2VR Basic Workflow
The easiest way to start a project and quickly put together a tour is to use the Project Wizard. But you might want to do more with the tour. Read on to learn the general workflow of building a virtual tour in Pano2VR.
Prepare the Project Files
Good practice is to keep all the files organized in one location.
- Create a folder for your project.
- Add all the input media (panoramas, models, and video panoramas) to that folder.
- Use subfolders for all the project assets (pinned media, hotspot images, sounds, etc.). This is suggested workflow. You don’t have to use subfolders!
Pano2VR has built in organization tools. For example, when you drag in a folder of input media, the folder name is added as a Tag. So if you have multiple nodes in a single room, you could create a subfolder called Kitchen. When you drag the Kitchen folder into Pano2VR, each image in that folder gets the tag Kitchen.
Learn more about organization in Pano2VR.
Import Input Media
Input media refers to the images, videos, or 3D models that are added to the Tour Browser. This is your main content.
There are multiple ways to get the content into Pano2VR:
-
Select the input media in your file browser and drag them on to the Viewer or the Tour Browser, or to the Project Wizard
-
On macOS, select the input media in Finder and drop them on the Pano2VR icon in the Dock, or Control-click and choose Open With > Pano2VR. They are added as nodes of the project in the open window
-
Drag a folder containing the input media to the Tour Browser or Viewer. Pano2VR adds the images and
.movvideos in that folder, but not those in its subfolders. -
Click the input button in the Toolbar and navigate to your input media
Learn more about dropping media into Pano2VR
Add User Data
In the Project Properties, give the project some metadata. To start, give the Project a Title. This is the title of the HTML page.
Also give each input media a Title in User Data. This title can be used in menus and as tooltips.
Exif data is imported with the images and added to User Data according to what is set in the Preferences/Settings.
Learn more about adding User Data.
Patch
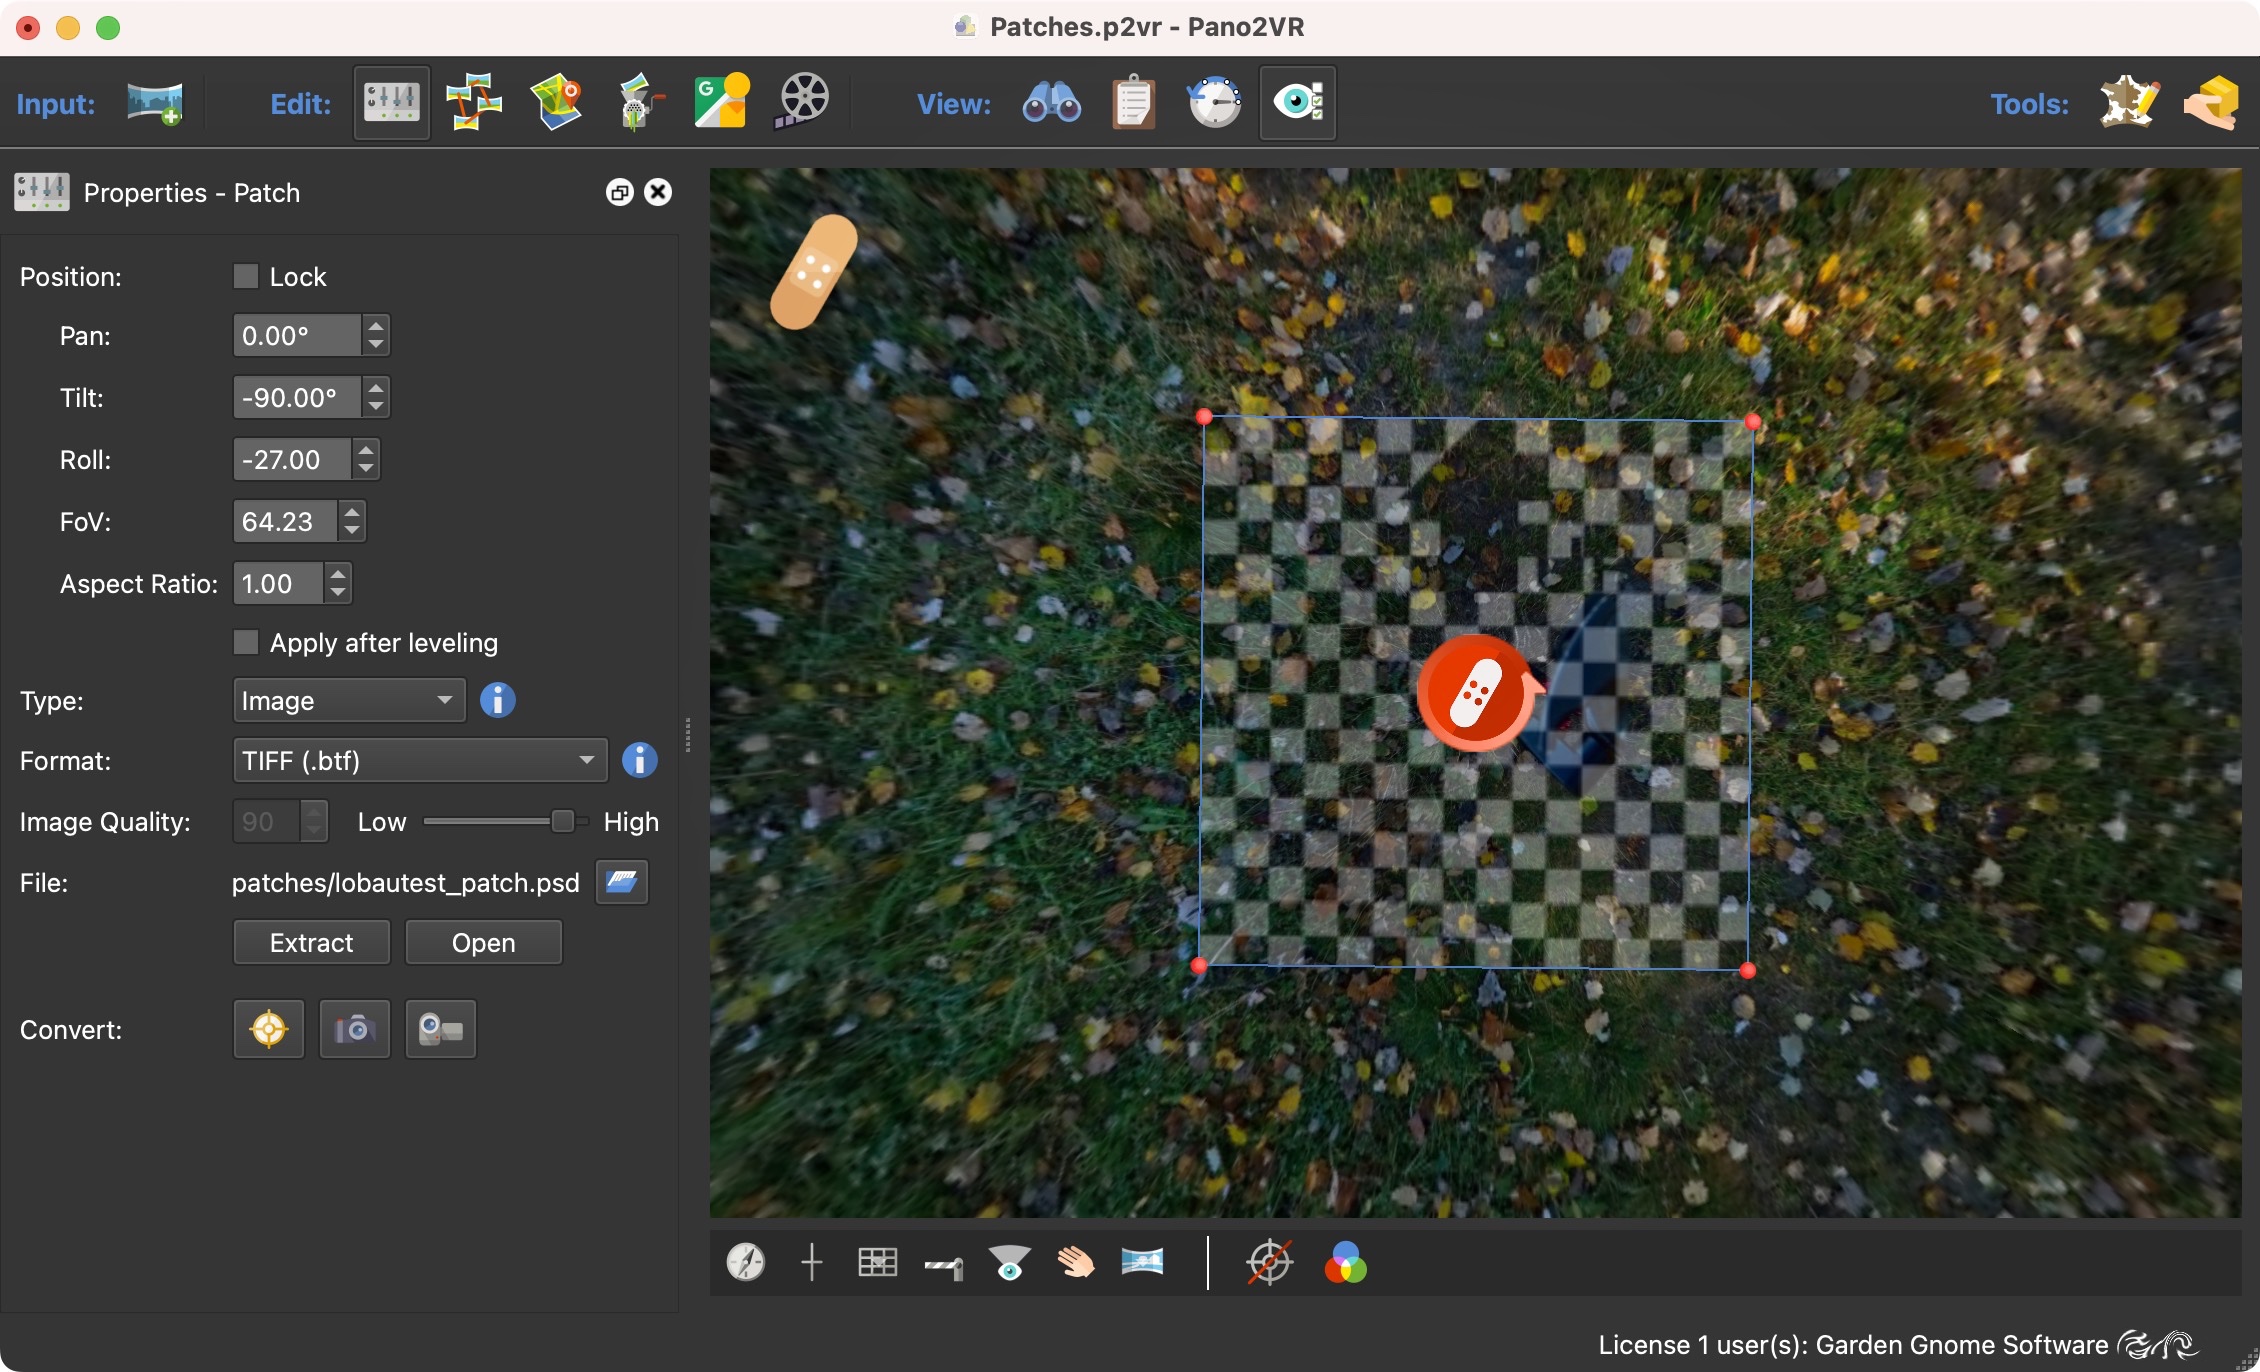
Patching is generally used to remove a tripod at the nadir. But it can also be used to blur faces and license plates or to edit a section of the panorama without distortion.
Leveling
In some cases, the panoramas might need to be leveled or fine-tuned. Press and hold L and drag on the sides of the Viewer to level.
Add North
Make sure North is set for the images if the project uses maps or floor plans, or if you plan to upload it to Street View.
Learn more about adding location data.
Link the Nodes
Now you’re ready to link everything together. Tour Nodes are linked together using hotspots. Point Hotspots provide a point of interaction, providing the link to the next node.
Here is one way to link nodes together:
-
Switch to Point Hotspots mode: hover the pointer over the icon in the upper-left corner of the Viewer and click Point Hotspots, or press P.
-
In the Viewer, spin the panorama to where you would like to place the linked hotspot.
-
Drag the node that should be linked from the Tour Browser to the Viewer.
A point hotspot is created, including its connection to the panorama.
For a faster way to connect the nodes, use Automatic Linking.
Learn more about linking nodes.
Output the Project
The last step is to export the project from Pano2VR.
-
Open the Output Panel.
-
Click the green plus sign to select an output format and choose Web.
-
Choose a skin (a graphical interface that applies icons to interactive areas) from the Skin grid or menu. For example, the
quaranta.ggskskin. -
Output the project by clicking on the gear wheel.
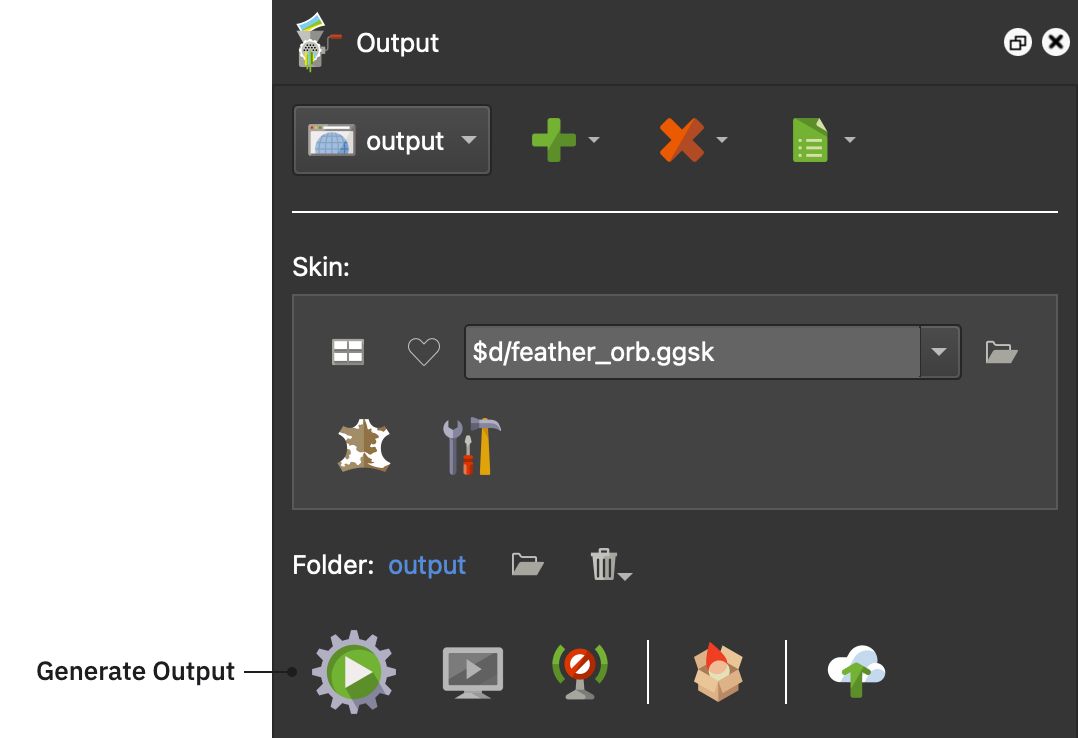
Generate Output Button The tour opens in your default browser via the Integrated Web Server. This allows you to see and interact with the project locally, on your computer. It is not being uploaded to the internet unless you choose to use Gnome Cloud for hosting projects.
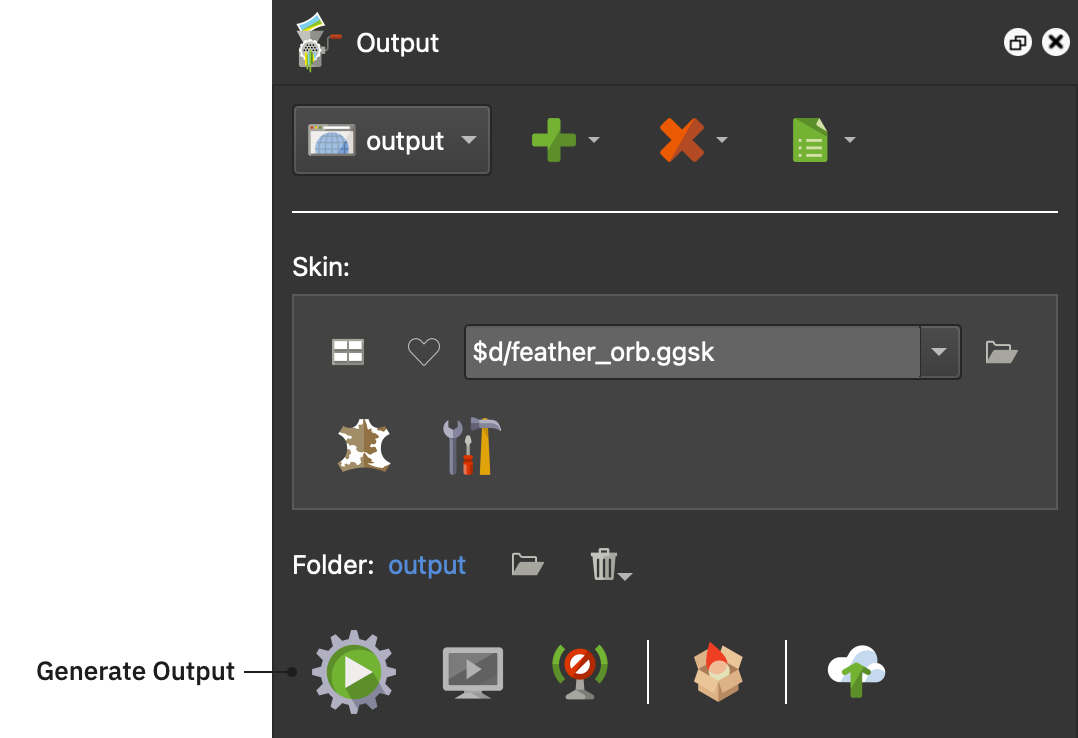
You can then take the output folder and all of its contents to your self-hosted webserver, or send it to a client to upload to their webserver.
Alternatively, you can also output a package format output that you used to upload and embed the project in your CMS site. Or upload the project using Gnome Cloud.