Skin Actions and Modifiers
Actions are like a set of directions that are applied to any element added to the skin to create interactivity.
The actions are found in the Properties section of the Skin Editor for each element.
Double-click in the Actions area or click the plus sign to the right to open the Action Settings.
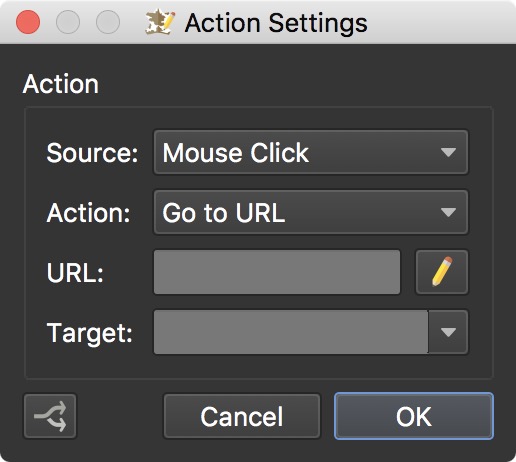
Action Settings
Source – Choose which event causes the Action to occur. The sources are grouped into submenus, for example More Mouse Actions. See the list of sources.
Variable – Only shown for the Variable Changed source. Choose the variable to watch. In a skin with more than 30 variables, this opens the searchable variable picker.
Action – Choose what kind of thing happens when the event occurs, for example Panorama Movement or Visibility.
Type – Most actions have a second menu for the exact action. For instance, if Pressed is the Source, Panorama Movement the Action, and Pan Left the Type, then the panorama pans left for as long as the user holds the mouse button down on the element. See the list of actions for every Action and Type.
Depending on which Action is chosen, different parameters that are associated with that Action appear below. For example, for the pan actions, you can define the pan speed. Actions that animate an element show Transition Duration, Easing Function, and Delay rows. The Set Value action has a Parameter menu for the property to change.
Target – The element the action affects. When setting a Target, the
targeted element is highlighted in the Canvas. Hovering your mouse over the
target field in the Actions properties panel also highlights the targeted
element. If you’d like to address multiple elements and they have the same ID,
use # in front of the target’s ID, which turns it into a
regular expression.
If the entered ID cannot be found in the skin, a warning icon appears next to
the Target field. The warning icon also appears when the target lives in another
scope (for example, inside a different cloner or hotspot template), or is cloned
dynamically in the browser, so it can only be reached with a regular expression.
In those two cases, click the warning icon to put a # in front of the target
ID. Media and Volume actions, and targets that already start with # or %,
never show the warning.
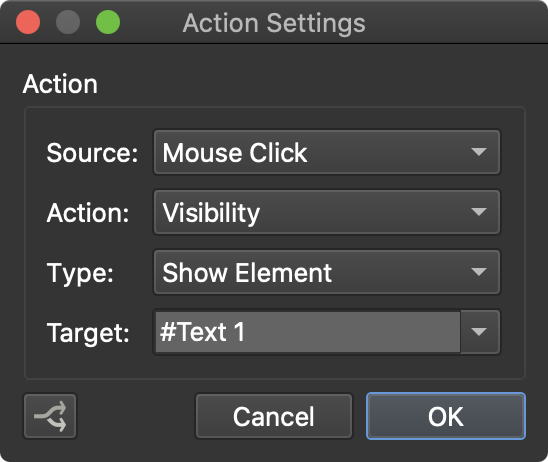
Expert mode – Select to type the action’s values as text instead of using the menus and fields, for example to enter placeholders or variables. Some advanced parameters can only be added in expert mode. The list of actions shows the expert values of each action. Some actions, like Go to URL, Visibility, or the Maps actions, don’t have this option.
Action Filter – The button in the lower left corner of the dialog opens the Action Filter.
Click OK to save the action. An action needs a source other than None.
Context Menu
Once an action has been added, right-click a row to open the context menu.
- Copy/Cut – Copy or cut the selected actions.
- Paste – Paste copied actions. When an action filter has been copied instead, this entry reads Paste Action Filter and adds the filter to the selected actions.
- Insert Action Above – Inserts an action above the selected action.
- Delete All Actions – Remove all the actions in one fell swoop.
Action Filter
Use the Action Filter to create a condition for that action, so that the action only executes if the condition is true.

The above states, to execute the action only if the current projection is Rectilinear. If the panorama is viewed in any other projection, the action doesn’t execute.
Action filters can be copied (click Copy) and added to other actions. Select actions in the Action pane, right-click and choose Paste Action Filter. Within the Action Filter dialog, use Paste to add copied expressions to the current filter and Delete to remove the action filter.