Properties
The Properties panel is where individual settings are found for various features within the program.
The Properties panel adjusts to show the settings of the currently selected feature. For example, a hotspot selected in the Viewer has its parameters in the Properties panel. The panel header shows which properties page is currently displayed (for example, Properties – Point Hotspot).
When no element is selected, the panel shows the general node settings, organized in the following tabs:
- Project – Project Properties
- Panorama – Panorama Node Properties, or 3D Model Node Properties when a 3D model node is open
- User Data – User Data
- Viewing Parameters – Viewing Parameters
Selection Pages
When you select something other than a node, the panel switches to a page for that selection. Each page is described with the feature it belongs to:
- Patch – Patch Properties
- Point Hotspot – Point Hotspot Properties
- Polygon Hotspot – Polygon Hotspot Properties
- Sound, Video, Image, and Web Element – Sound, Video, Image, and Web Element Properties
- Lens Flare – Lens Flare Properties
- Map – Map Properties, shown only while the Tour Map panel is open
- Animation – the clip and track settings of the Animation Editor
- Web Output, Animation Output, and Transformation Output – Web, Animation, and Transformation Output Properties
- Control Points – Control Points Properties
- Camera Points – Camera Points Properties
When the selection is cleared, the panel returns to the node settings, except while the Control Points page is open.
Solo Mode
The settings on each properties page are grouped in collapsible sections. Click a section header to open or close it. With Solo Mode enabled, opening a section closes all other sections, so only one section is open at a time. Solo Mode is enabled by default.
To turn Solo Mode on or off, do one of the following:
-
Option-click a section header on macOS, or Alt+click it on Windows.
-
Hover over the right edge of a section header and click the ellipsis button.
Rich Text Editor
The rich text editor is found in many places of the program including the User Data fields, and Skin Editor for text input fields. Click the Edit button to open (pencil icon).
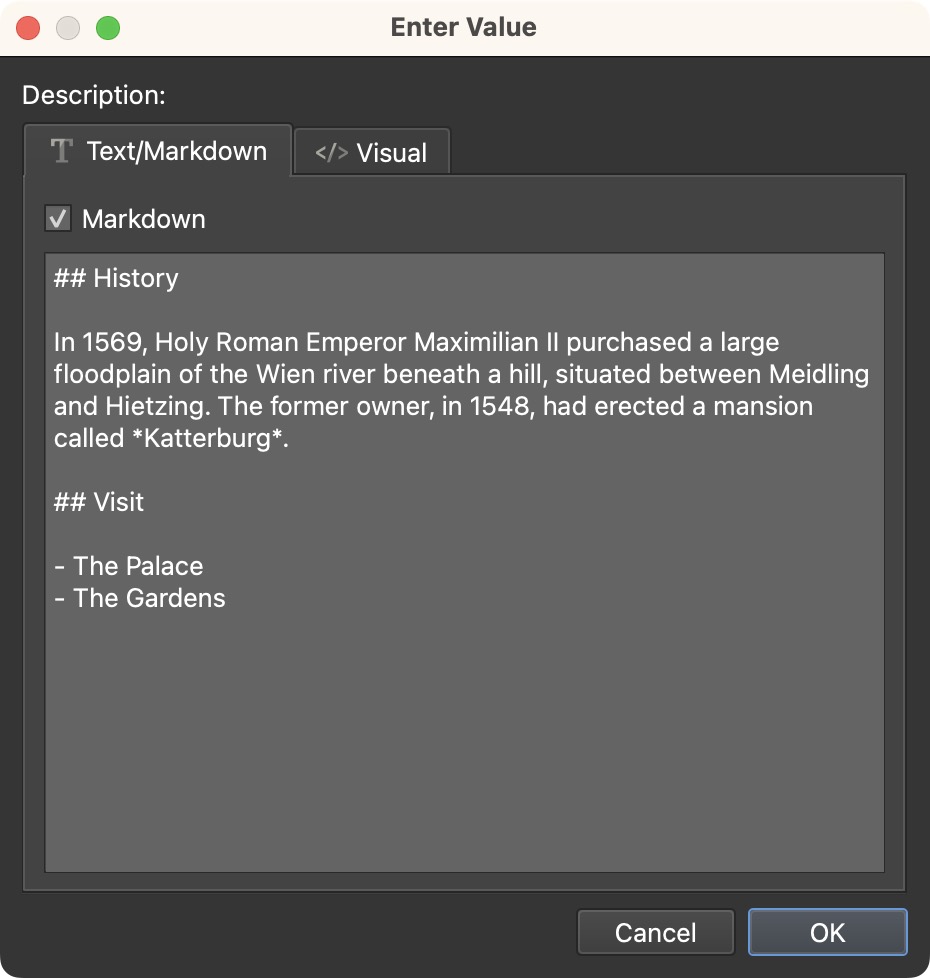
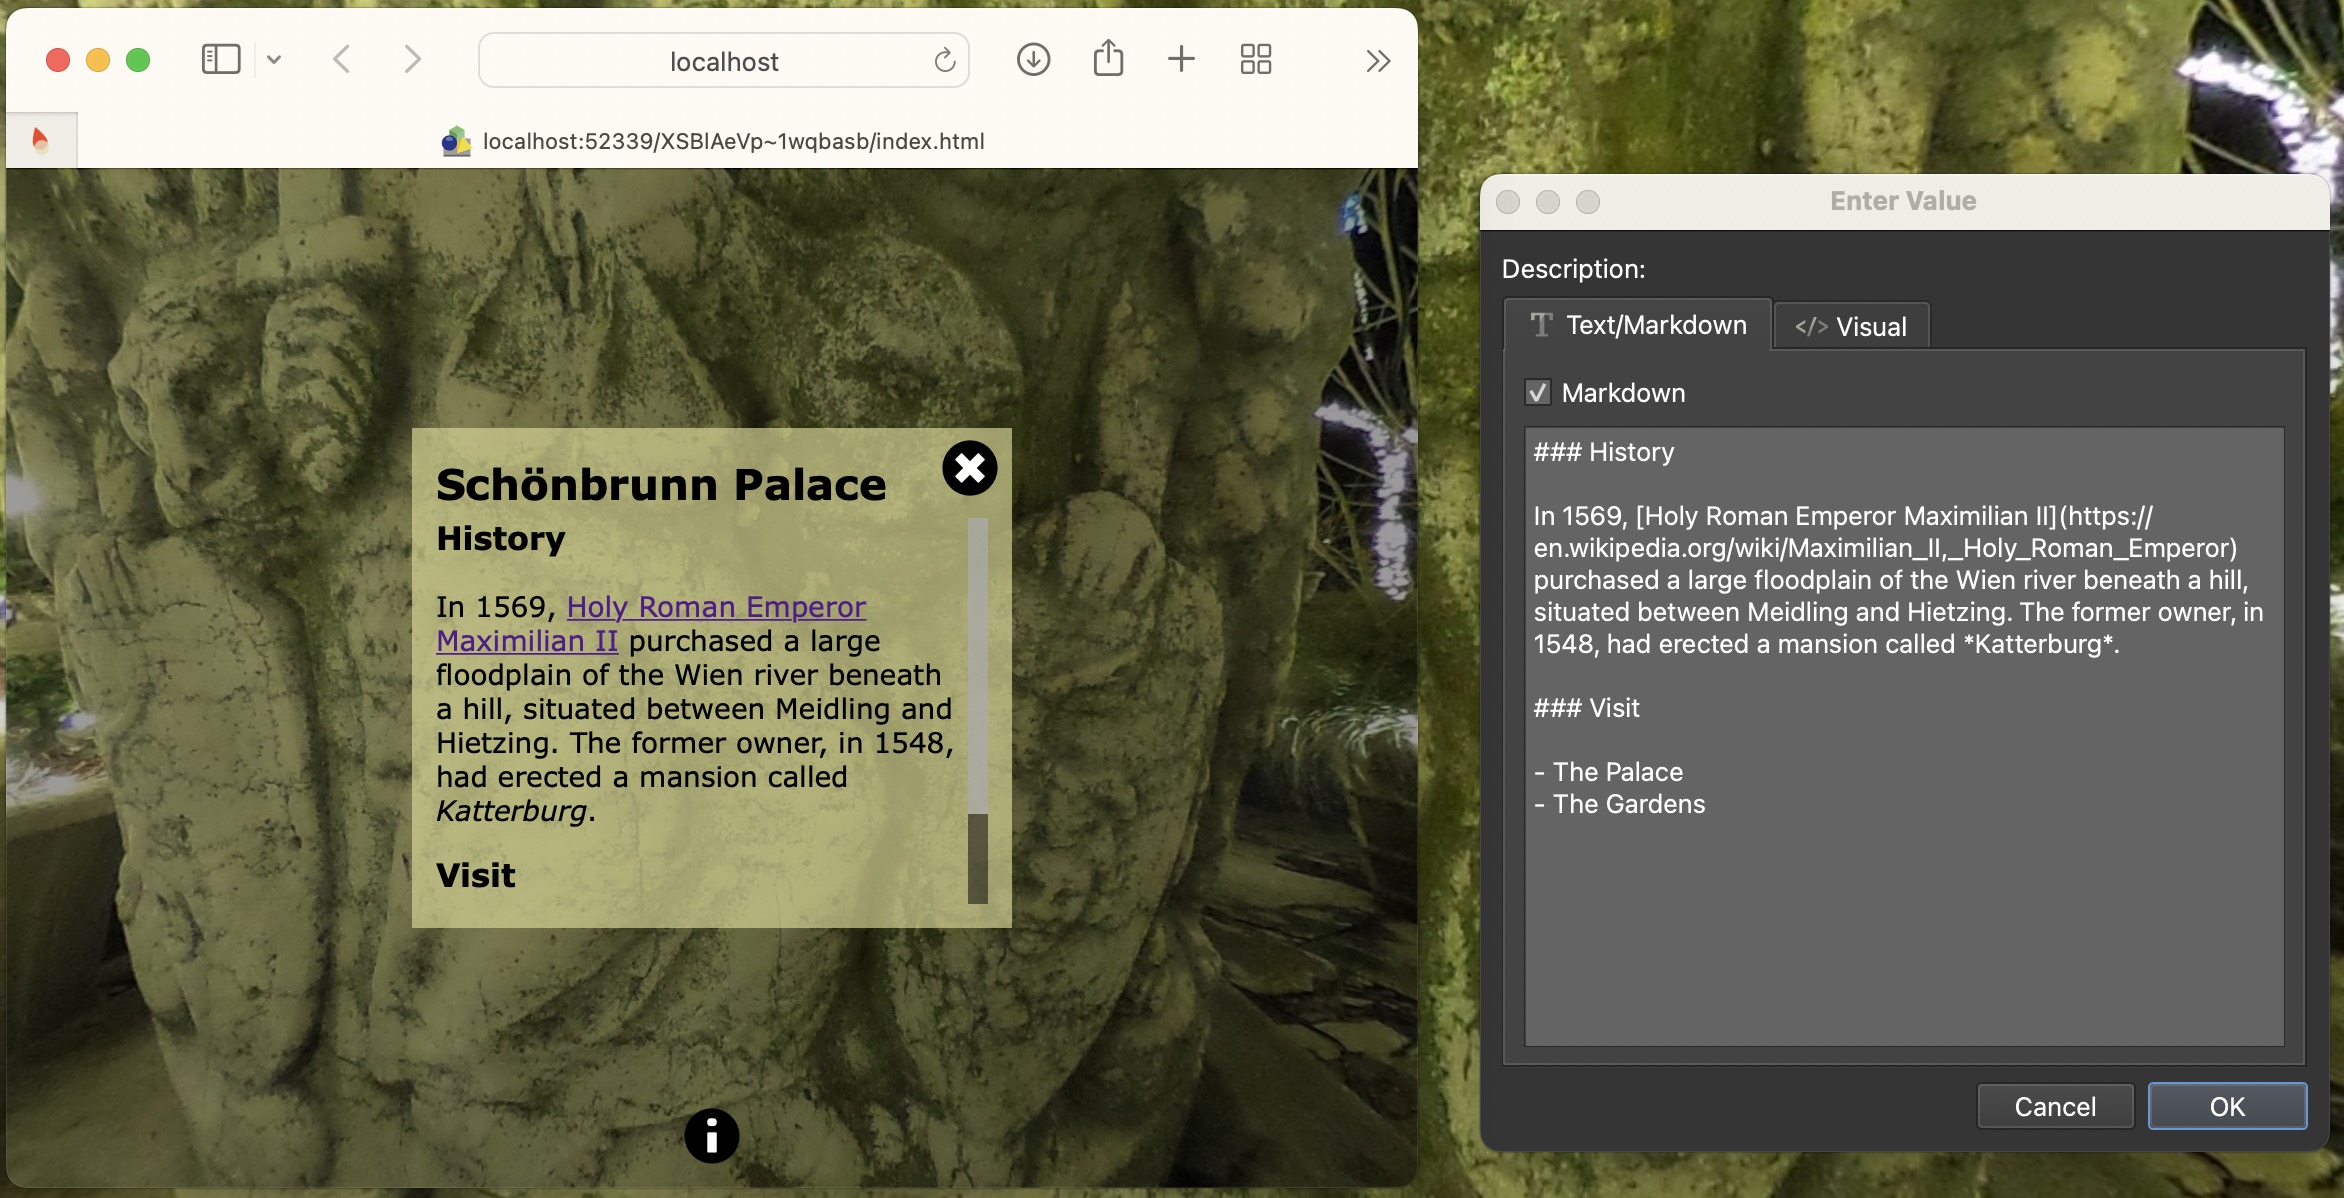
Use the text editor to write in plain text, rich text, and Markdown. Commonmark is the flavor of markdown that is supported in the editor.
Text/Markdown
The Text/Markdown tab is for writing plain text or Markdown.
If using Markdown, select Markdown.
The Markdown editor supports Commonmark. To learn Markdown or to see what Commonmark supports, visit this Markdown Reference.
Visual
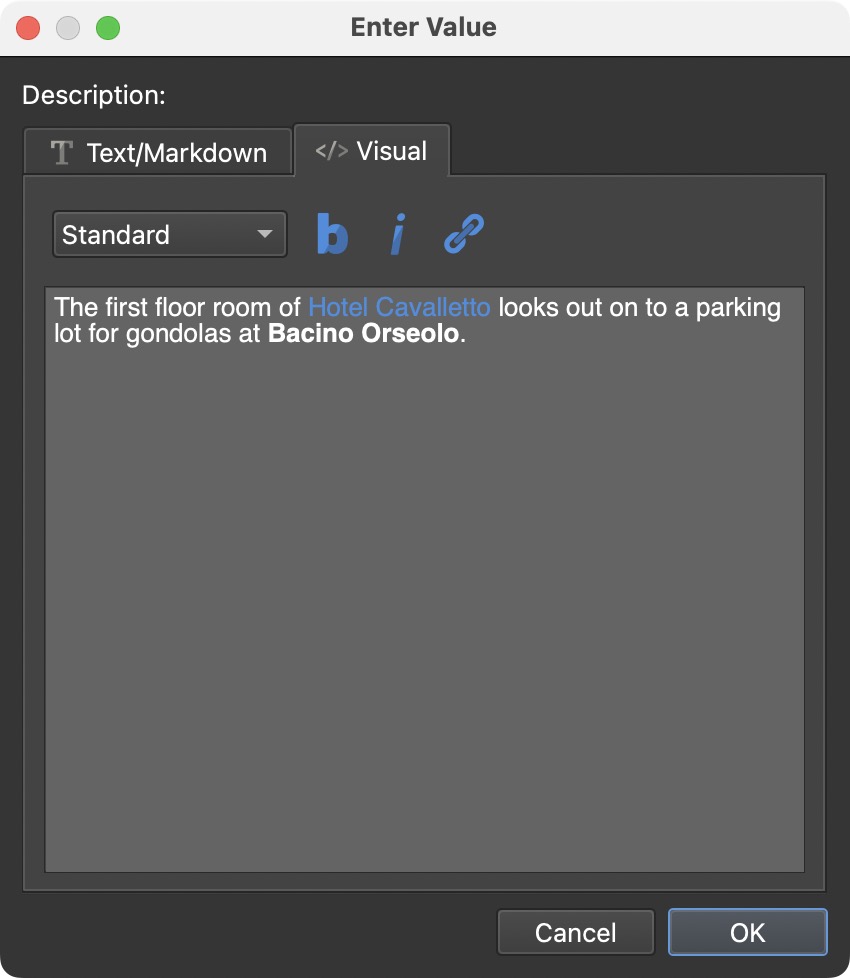
Use the Visual tab to write rich text. Here, you can choose the text style from the menu. The default is Standard. Next to the list is the option to change the text to bold, italic, and to a web link.