Menu Bar
Every command of the main project window, menu by menu, from opening and saving projects to tours, animations, the Gnome Cloud, and help. The Skin Editor has a menu bar of its own.
The menu bar holds every command of the main project window. The Skin Editor has its own menu bar. Many commands have a keyboard shortcut, shown next to the command in the menu; see Keyboard Shortcuts for the full list, and change them in the Settings.
On macOS, About Pano2VR, Settings, and Quit Pano2VR are in the Pano2VR menu.
File
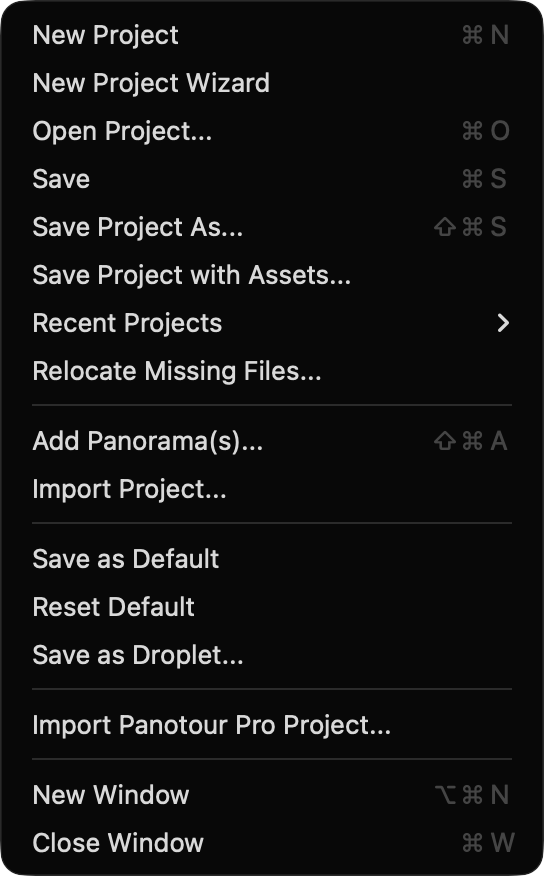
New Project – Starts a new, empty project. If the current project has unsaved changes, you’re asked to save it first.
New Project Wizard – Starts a new project and opens the Project Wizard, which guides you through adding panoramas, choosing a skin, and creating a web output.
Open Project… – Opens a saved project. Hold Option (macOS) or Alt (Windows) while you choose the project to open it without loading the node images, for example to repair a project that runs out of memory when it opens.
Save – Saves the project file.
Save Project As… – Saves the project with a different name.
Save Project with Assets… – Saves the project and copies all of its assets into a new folder. The folder must be different from the original project’s folder.
Recent Projects – Choose one of the projects you opened recently. Projects that no longer exist are left out. Choose Clear Menu to empty the list. As with Open Project, hold Option (macOS) or Alt (Windows) to open a project without loading its node images.
Relocate Missing Files… – Opens the Locate Missing Files dialog to find and relocate missing files in the project. If no files are missing, Pano2VR tells you so.
Add Panorama(s)… – Adds panoramas to the project. ★ Pano2VR Pro only.
Import Project… – Adds the nodes of another Pano2VR project (.p2vr) to
the current project, including their settings, maps, and floor plans. ★ Pano2VR
Pro only.
Save as Default – Saves the current project settings as the default for new projects, including the outputs and the Master Node with its patches and user data. This only works in a project without nodes, so set up an empty project the way you want it and then choose Save as Default.
Reset Default – Resets the default project settings to Pano2VR’s original defaults.
Save as Droplet… – Saves your project settings as a droplet for batch converting images.
Import Panotour Pro Project… – Imports a Panotour Pro project. Learn more about importing PTP projects. ★ Pano2VR Pro only.
Settings… – Opens the Settings (Windows). On macOS, this command is in the Pano2VR menu.
Exit – Quits Pano2VR (Windows).
New Window – Opens another project window, so you can work on several projects at the same time (macOS).
Close Window – Closes the front project window (macOS).
Edit
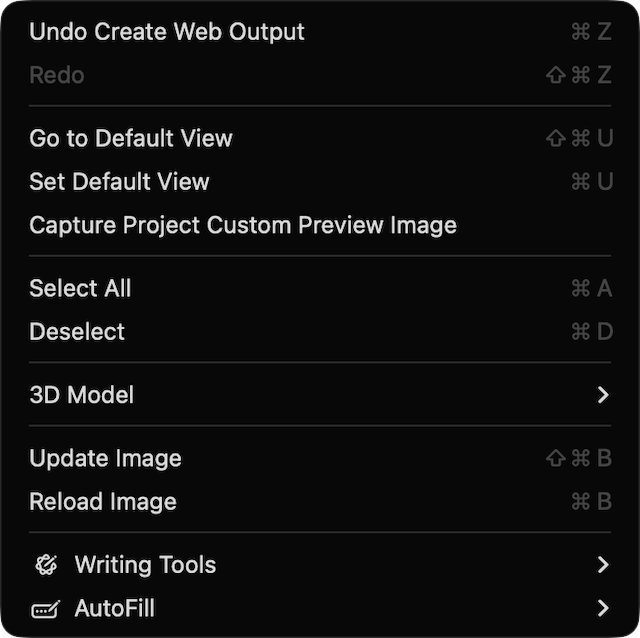
Undo and Redo – Undo or redo your last change. The History panel lists all changes.
Go to Default View – Turns the Viewer to the node’s default view.
Set Default View – Sets the node’s default view to the current view in the Viewer.
Capture Project Custom Preview Image – Captures the current Viewer image
and saves it as <projectFile>-preview.jpg in the project folder. Web outputs
and integrations, such as the WordPress plugin, use this image as the project’s
preview.jpg. Set the Viewer to the view you want before you capture. Works for
panorama and 3D model nodes.
Select All – Selects all nodes in the Tour Browser.
Deselect – Deselects all nodes in the Tour Browser.
Find in Project… – Opens Project Search to search, and replace, text across the whole project.
3D Model – Commands for 3D model nodes. This submenu is only available while a 3D model node is open.
- Camera Points – Switches to Camera Points mode in the Viewer.
- Manipulate 3D Model – Switches to Manipulate 3D Model mode.
- Select Mode, Move Mode, Rotate Mode, and Scale Mode – Choose the transform tool in Manipulate 3D Model mode.
- Link Mode – Switches to Link Mode (Creating Model Transitions).
- Toggle World/Local Space – Switches the transform tools between world and local coordinates.
- Toggle Rotation Snapping – Turns snapping to 45° steps on or off when you rotate the model.
- Camera Modes – Choose the Viewer’s camera mode: Orbit, Fly, Walk, Fly Over, or Panorama.
- Capture Preview Image – Captures the current view of the model as the node’s preview image, shown in the Tour Browser and included in the output.
- Capture Target Camera – Adds a Target Camera at the current view of the model.
Update Image – Updates the current image, for example after you’ve changed a patch.
Reload Image – Reloads the current image from disk, for example after you’ve edited it in another application while Pano2VR was open.
Elements
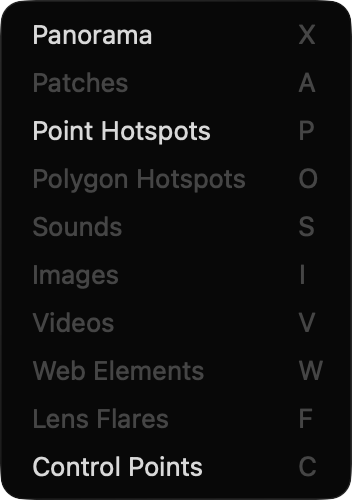
Each of these commands changes the Viewer Mode, the same as the Viewer’s mode buttons.
-
Select – The Viewer’s default mode, for looking around and selecting elements.
-
Patches – Overlays that retouch or replace part of the panorama.
-
Point Hotspots – Interactive points on the panorama that show information or link to other nodes.
-
Polygon Hotspots – Interactive areas on the panorama that show information or link to other nodes.
-
Sounds – Sounds placed in the panorama.
-
Images – Images pinned to the panorama.
-
Videos – Videos pinned to the panorama.
-
Web Elements – Web pages pinned to the panorama.
-
Lens Flares – Lens flare effects that simulate a bright light source.
-
Control Points – Matching points in a panorama and a 3D model, used to align the node with the model.
Tools
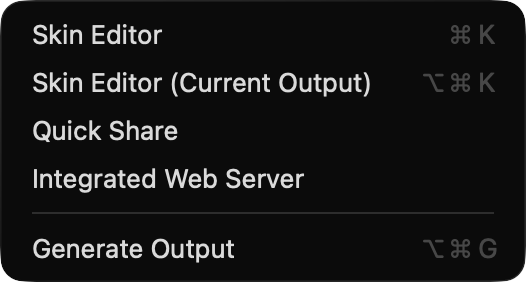
Skin Editor – Opens the Skin Editor.
Skin Editor (Current Output) – Opens the skin of the output that is currently selected in the Output panel.
Quick Share – Saves a single image of the current node, ready to share on social platforms. See Quick Share.
Quick Share Settings… – Opens the Quick Share dialog. This command only appears while Quick Share is set to save without showing its dialog.
Integrated Web Server – Opens the Integrated Web Server for testing your output locally.
Generate Output – Generates the output currently selected in the Output panel, without opening the panel first. Press Option-Command-G on macOS or Ctrl+Alt+G on Windows.
Tour
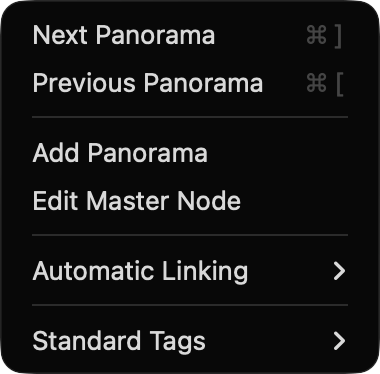
★ The Tour menu is available in Pano2VR Pro only.
Next Panorama and Previous Panorama – Open the next or previous node in the Tour Browser.
Add Panorama – Adds panoramas to the tour.
Edit Master Node – Choose this to edit the master node.
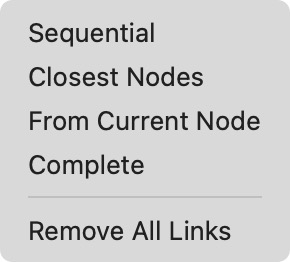
Automatic Linking – Links the panoramas of the tour (or the nodes selected in the Tour Browser) with each other, in one of these ways:
-
Sequential – Links the nodes in their order in the Tour Browser.
-
Closest Nodes – Links each node to its closest neighbors, based on their GPS positions. This is the suggested mode for uploading to Google Street View.
-
From Current Node – With a single node selected, links it to all other nodes in the project. With several nodes selected, links the current node to the other selected nodes.
-
Complete – Links each node to every other node in the tour.
-
Remove All Links – Removes all point hotspots that link to a tour node. With several nodes selected, only the links between them are removed. Handy for trying out different linking methods.
Automatic linking based on positions needs geotagged images with a correctly set heading.
Standard Tags – Your own list of tags for quickly tagging nodes. The list is saved with Pano2VR, so it’s available in every project. Choose a tag to add it to the selected nodes, or to remove it from them if the current node already has it. The first nine tags get the shortcuts Command-1 to Command-9 on macOS and Ctrl+1 to Ctrl+9 on Windows.
- Create – Enter a tag name and choose a color to add a tag to the list.
- Delete – Choose a tag to remove from the list.

Animation
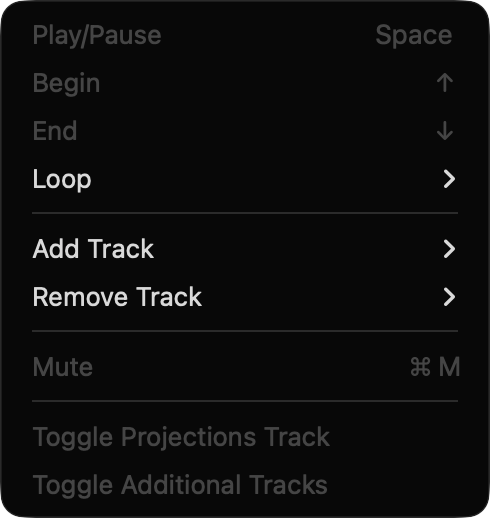
These commands control the Animation Editor.
Play/Pause – Plays or pauses the animation.
Begin – Goes to the beginning of the animation.
End – Goes to the end of the animation.
Loop – Choose how playback loops:
- Current Clip – Loops the current clip.
- All Clips – Loops all clips.
- Off – Plays once without looping.
Add Track – Adds an additional track to the current clip. Choose New to set up the track yourself, or choose one of the project’s skin variables and custom properties. When there are many of them, choose From Skin Variable… to pick one from a searchable list.
Remove Track – Removes one of the current clip’s additional tracks.
Mute – Mutes the sound of video panoramas.
Toggle Projections Track – Shows or hides the projection track in the timeline.
Toggle Additional Tracks – Shows or hides all additional tracks in the timeline.
Cloud
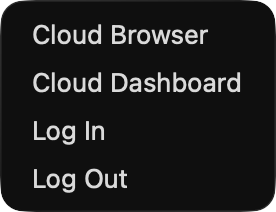
Cloud Browser – Opens the Gnome Cloud Browser.
Cloud Dashboard – Opens the Gnome Cloud dashboard in your web browser.
Log In – Logs in to the Gnome Cloud. In the Connect to Gnome Cloud dialog, choose a Method. Web Browser (the default) opens your browser and asks for your credentials on ggnome.com. ggnome.com – User/Password and gnome.cloud – User/Password ask for a user name and password in the dialog. Pano2VR remembers the login.
Log Out – Logs out of the Gnome Cloud.
Window
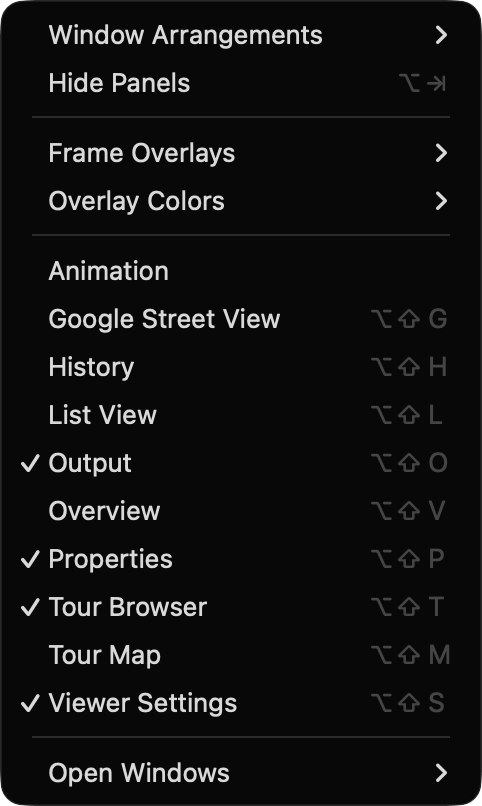
Window Arrangements – Choose Standard to return to the standard panel layout, choose one of your saved arrangements, or Save and Delete your own. See Layout Customization.
Hide Panels – Hides all panels to give the Viewer the whole window. Choose Show Panels to bring them back.
The next commands show or hide a panel: Animation, Google Street View, History, List View, Output, Overview, Properties, Tour Browser, Tour Map, and Viewer Settings.
Open Windows – Lists all open windows. Choose one to bring it to the front.
Frame overlays and the Viewer’s overlay color are set in the Viewer Settings below the Viewer.
Help
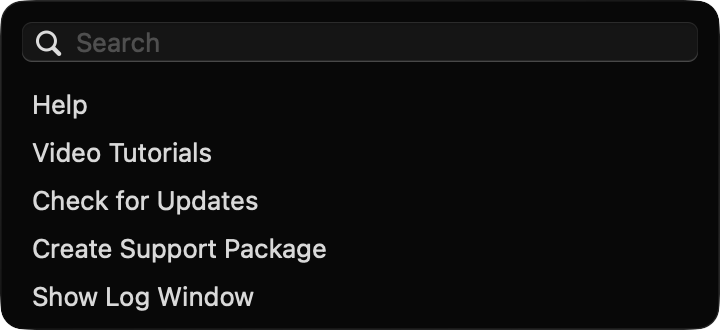
About Pano2VR – Shows the version of Pano2VR, details about your graphics card, and the legal notices (Windows). On macOS, this command is in the Pano2VR menu.
Help – Opens the documentation. If a control has the keyboard focus, its own documentation page opens. You can also press F1 at any time, or click Click for Help in the Toolbar and then click any control, to open the page for that control.
Video Tutorials – Opens the video tutorials page.
Check for Updates – Checks for a newer version of Pano2VR. Not available in the Mac App Store version.
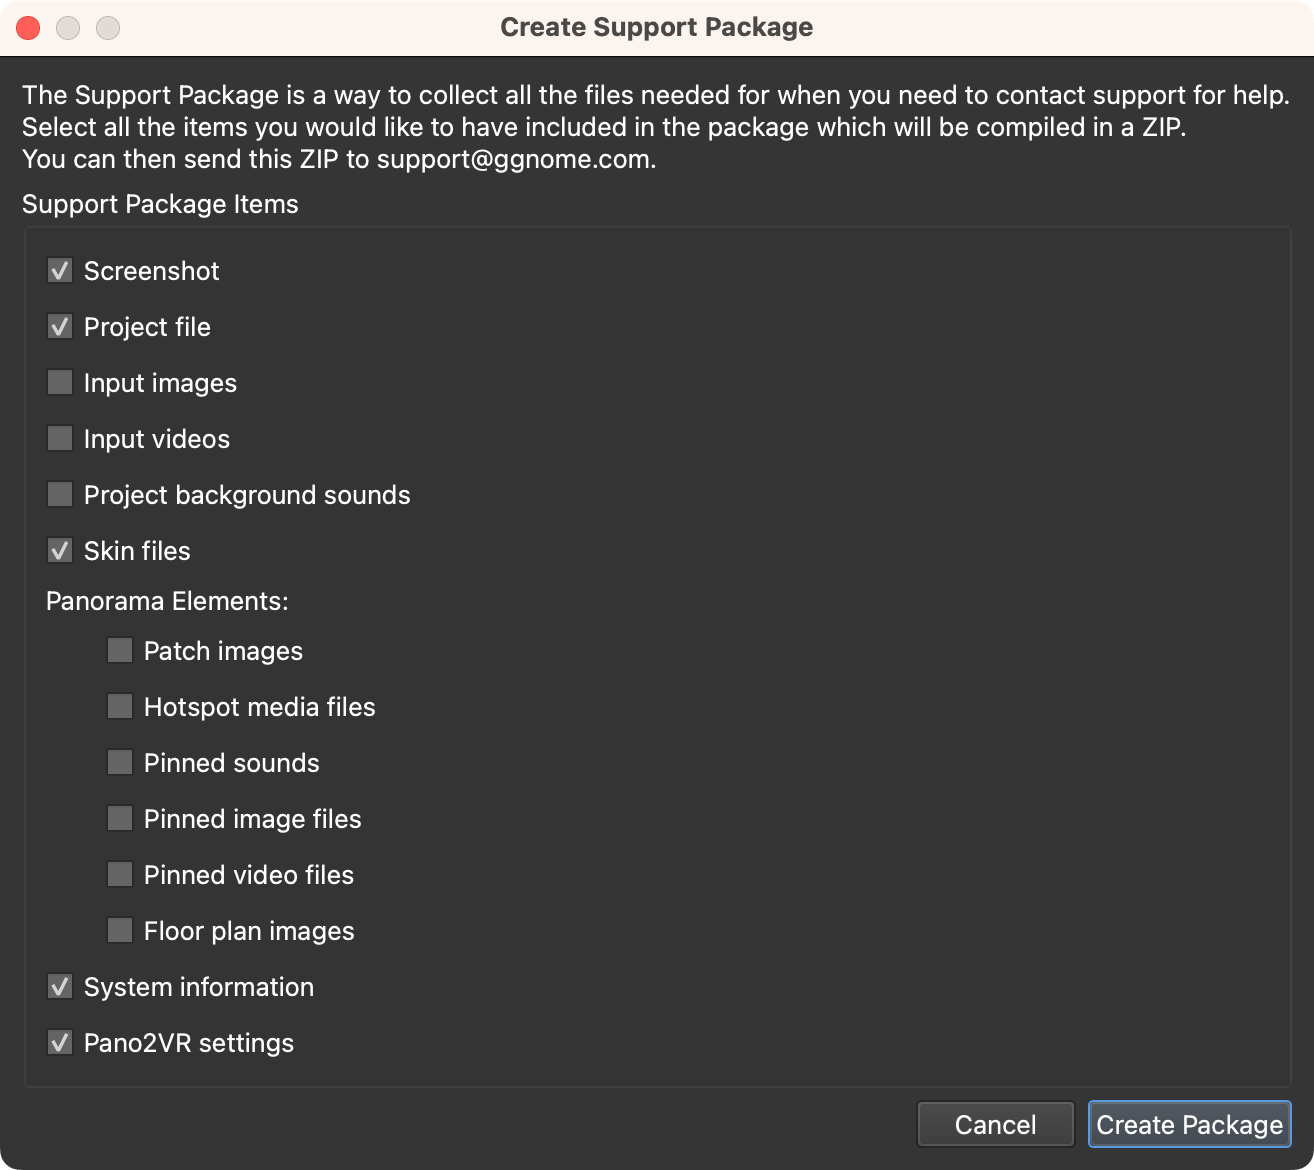
Create Support Package – If you need help from our support team, this collects the files they need in a ZIP file. Select the files to include and click Create Package, then send the ZIP file to our support team. See How to Create a Support Package for details.
Show Log Window – Opens a window with Pano2VR’s log messages, which can help you, or our support team, find out what went wrong.