Converting Images
After you have brought your images into Pano2VR, you can choose to convert them into a different format for faster loading with tiled TIFFs for gigapixel images and large projects, or to convert to a different image type, or even to convert the image to cube faces.
Convert Input turns a node’s input image into another projection or file format, for example cube faces or a tiled TIFF, and then uses the converted file as the node’s new input. Your original file stays where it is. The options of the Convert Panorama dialog are described under Convert Input in the panorama properties.
Convert a Single Panorama
-
Import the image and select its node in the Tour Browser.
-
In the Panorama properties, in the Input section, click Convert Input to open the Convert Panorama dialog.
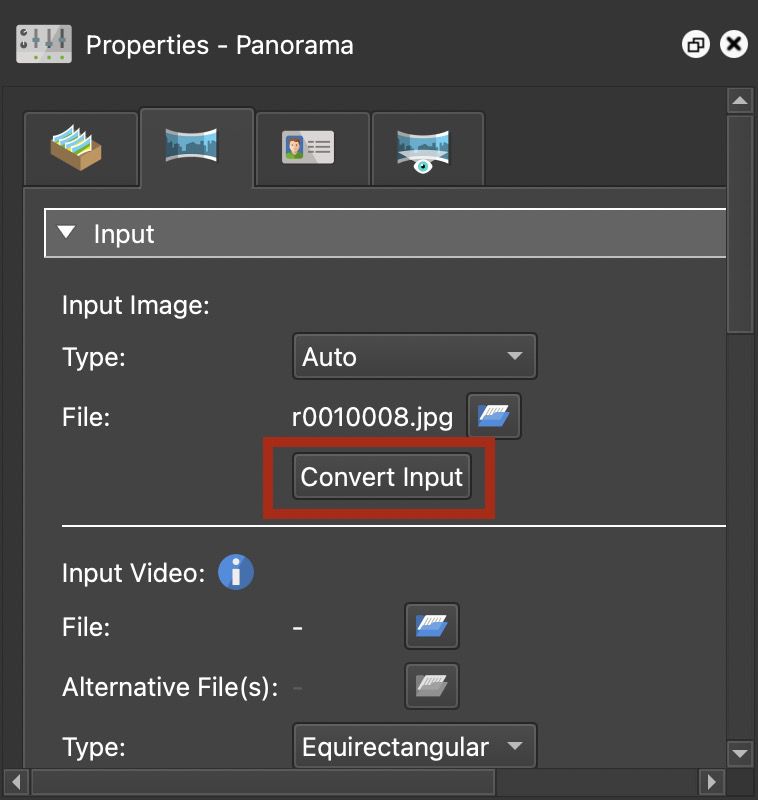
Convert Input in the Panorama Properties -
Choose the Type. If converting to Cube Faces, see below.
-
Choose the Format. Under Format Settings, set the options of that format, for example the Quality for JPEG, WebP, or JPEG XL, or the Compression for TIFF.
-
If the image has patches that should be part of the converted image, select Apply all patches. The patches are removed from the node once they’re part of the image.
-
If leveling was applied, select Apply leveling.
-
Rename the output file or change the destination folder in Output File.
-
Click Convert.
Convert Several Panoramas at Once
- Select the nodes to convert in the Tour Browser. To convert every node of the tour, select the Master Node instead.
- Click Convert Input in the Panorama properties.
- Set the options as described above. The size is set to auto, so each panorama gets the size that fits it.
- In Output File, keep the
$(n)placeholder in the file name, so each panorama gets a file name of its own. For example,converted-images/$(n)_equi.tif. - Click Convert.
Convert a Large Tour to Tiled TIFFs
When converting to TIFF, Pano2VR creates Tiled TIFFs (Pyramid TIFF). This is useful if you have a very large tour, because tiled TIFFs load faster in Pano2VR. They do, however, take more disk space.
You can convert the images of an existing project with Convert Input, or use a droplet to convert all the images before adding them to a Pano2VR project.
See: Working with Large Images and Projects.
Convert a Gigapixel Panorama
If you are importing a gigapixel panorama, you can convert the PSB to BigTIFF (.btf) for faster loading.
- Import the gigapixel panorama.
- Click Convert Input in the Panorama properties.
- Choose the Type.
- For the Format, choose TIFF (.btf).
- If patches or leveling were applied, the matching options are available. Select them as needed.
- Click Convert.
Convert to Cube Faces
-
Bring your images into Pano2VR.
-
Select the image or images to be converted in the Tour Browser.
-
In the Panorama properties, click Convert Input.
-
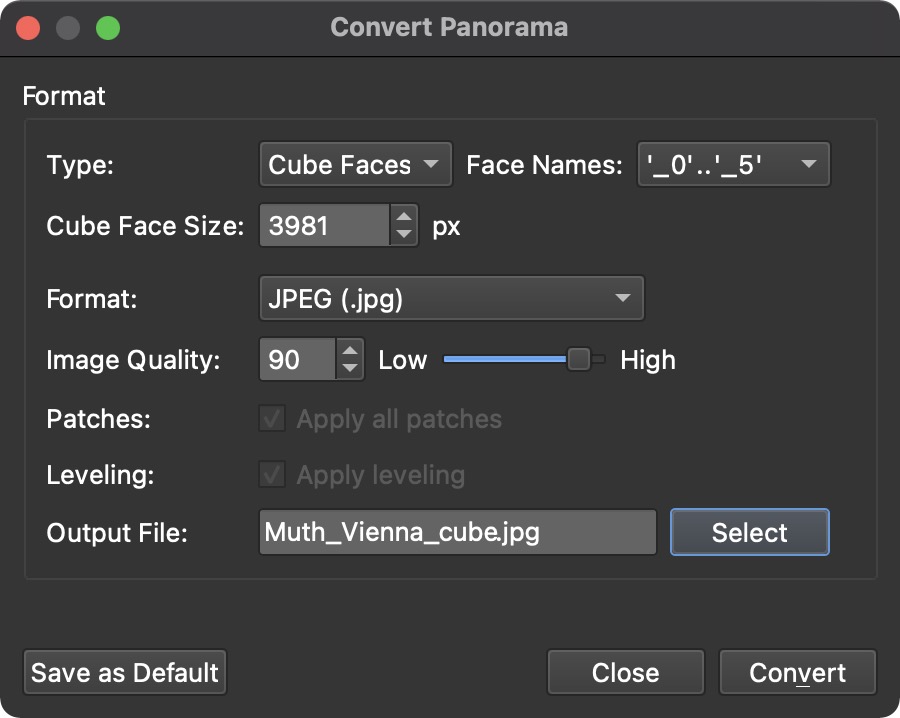
In the dialog, choose Cube Faces as the Type.
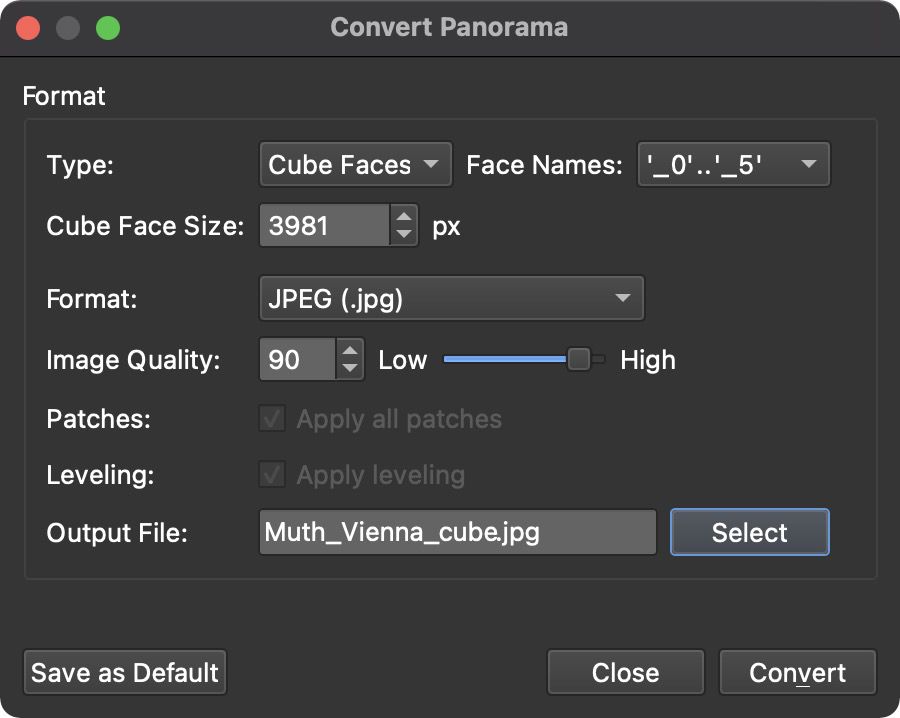
Choose Cube Faces in the Convert Panorama dialog. -
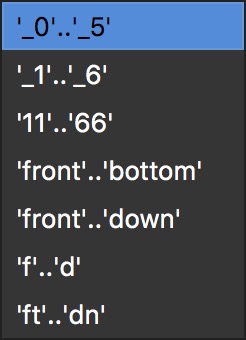
Choose the naming convention for your cube faces in the Face Names menu.
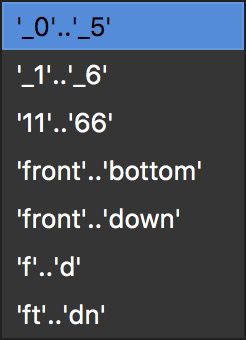
Face Names -
Check the Cube Face Size.
The suggested size is the width of the panorama divided by π or by 4, depending on Use width/Pi as conversion factor on the Advanced tab of the Settings.
-
Choose a format and set its Format Settings, for example the quality for JPEG.
-
Change the file name and folder in Output File if you wish.
★ Tip If you use the same format often, click Save as Default to keep the current settings for the next conversion. -
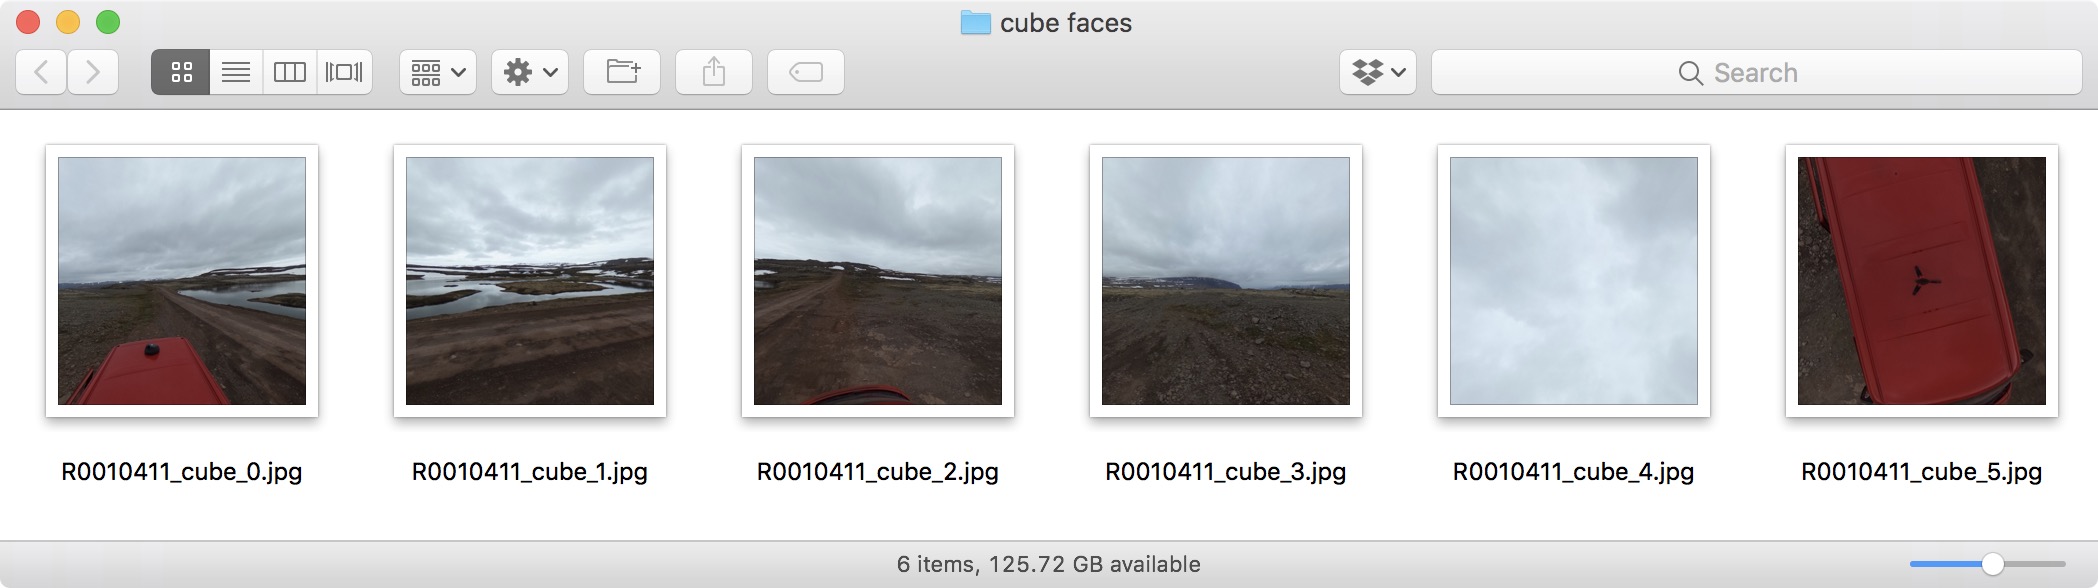
Click Convert to convert and save the images, which should look something like this:
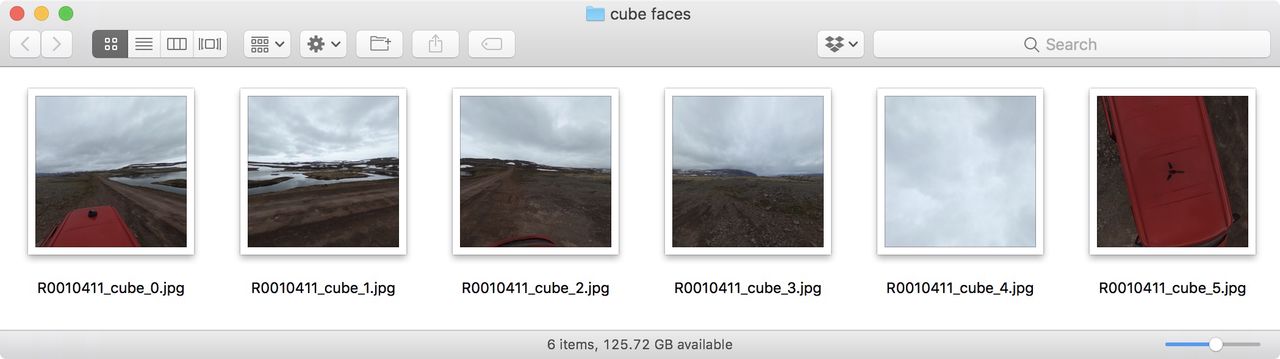
Converted Cube Faces
From Cube Faces to Equirectangular
- Import any one of the cube faces into Pano2VR. Pano2VR recognizes the rest of the cube faces.
- In the Panorama properties, click Convert Input.
- In the dialog, choose Equirectangular as the Type.
- Follow steps 6 through 9 from above. For cube faces, the size field sets the Width of the equirectangular image.