Animation Output
Use the Animation Output to create a flat video from the clips and sequences created in the Animation Editor.
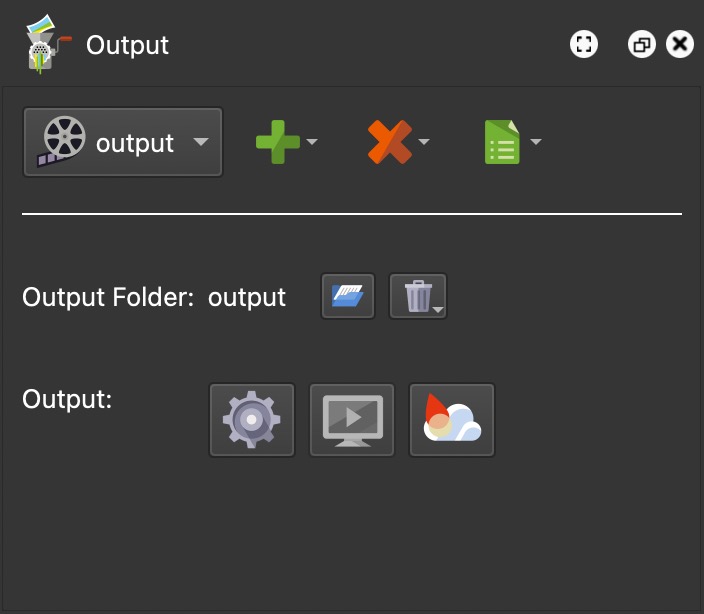
Choose the Animation Output type using the green plus button. The Animation Output Properties open in the Properties panel. Below are the settings for exporting the project.
The animation output renders panoramas only. Clips that animate a 3D model node are left out, and Pano2VR tells you which ones when you generate the output.
Output Folder
All files associated with this output will be added to this folder unless
otherwise specified. Its default name is output. Its default location is the
same folder as the source image.
Change the output folder’s location by clicking the folder icon and navigating to the new location.
- Right-click the folder name to change its name or to find the folder’s location in Finder (macOS) or Explorer (Windows).
Erase Output Folder – Click the trash can icon to erase all the content from the current output folder.
Output
When you click the Generate Output button, the Render Animation dialog appears. Choose from the following to render an output:
-
All Frames – This option renders all of the frames in the selected animation sequence. This means all clips will be rendered.
-
All Clips as Separate Videos – Use this option to export all the clips in the chosen sequence as separate video files.
-
Clip – Select a specific clip to render. Only this clip will be outputted.
-
Frame, Time or Timecode – Define a range to output. You can output a range of frames, time in minutes and seconds (MM:SS) or in Timecode (MM:SS:FF). If Generate video file is selected, the frames outside the range must already exist in the output folder from an earlier render; otherwise the output is cancelled.
Click Render to create the output.
Open Output – Click this button to play the video once it has been created. If you rendered clips as separate videos, the button opens a menu: choose Main Animation or one of the clip videos, named after the node and the clip.