Pano2VR Settings
Set up Pano2VR the way you like to work, from language and theme to folders, the image cache, the web server, image handling, the MCP server, and keyboard shortcuts. Choose Pano2VR > Settings on macOS or File > Settings on Windows.
On macOS, choose Pano2VR > Settings (called Preferences on older macOS versions). On Windows, choose File > Settings. The settings apply to Pano2VR as a whole, not to a single project. Click OK to keep your changes or Cancel to discard them.
General
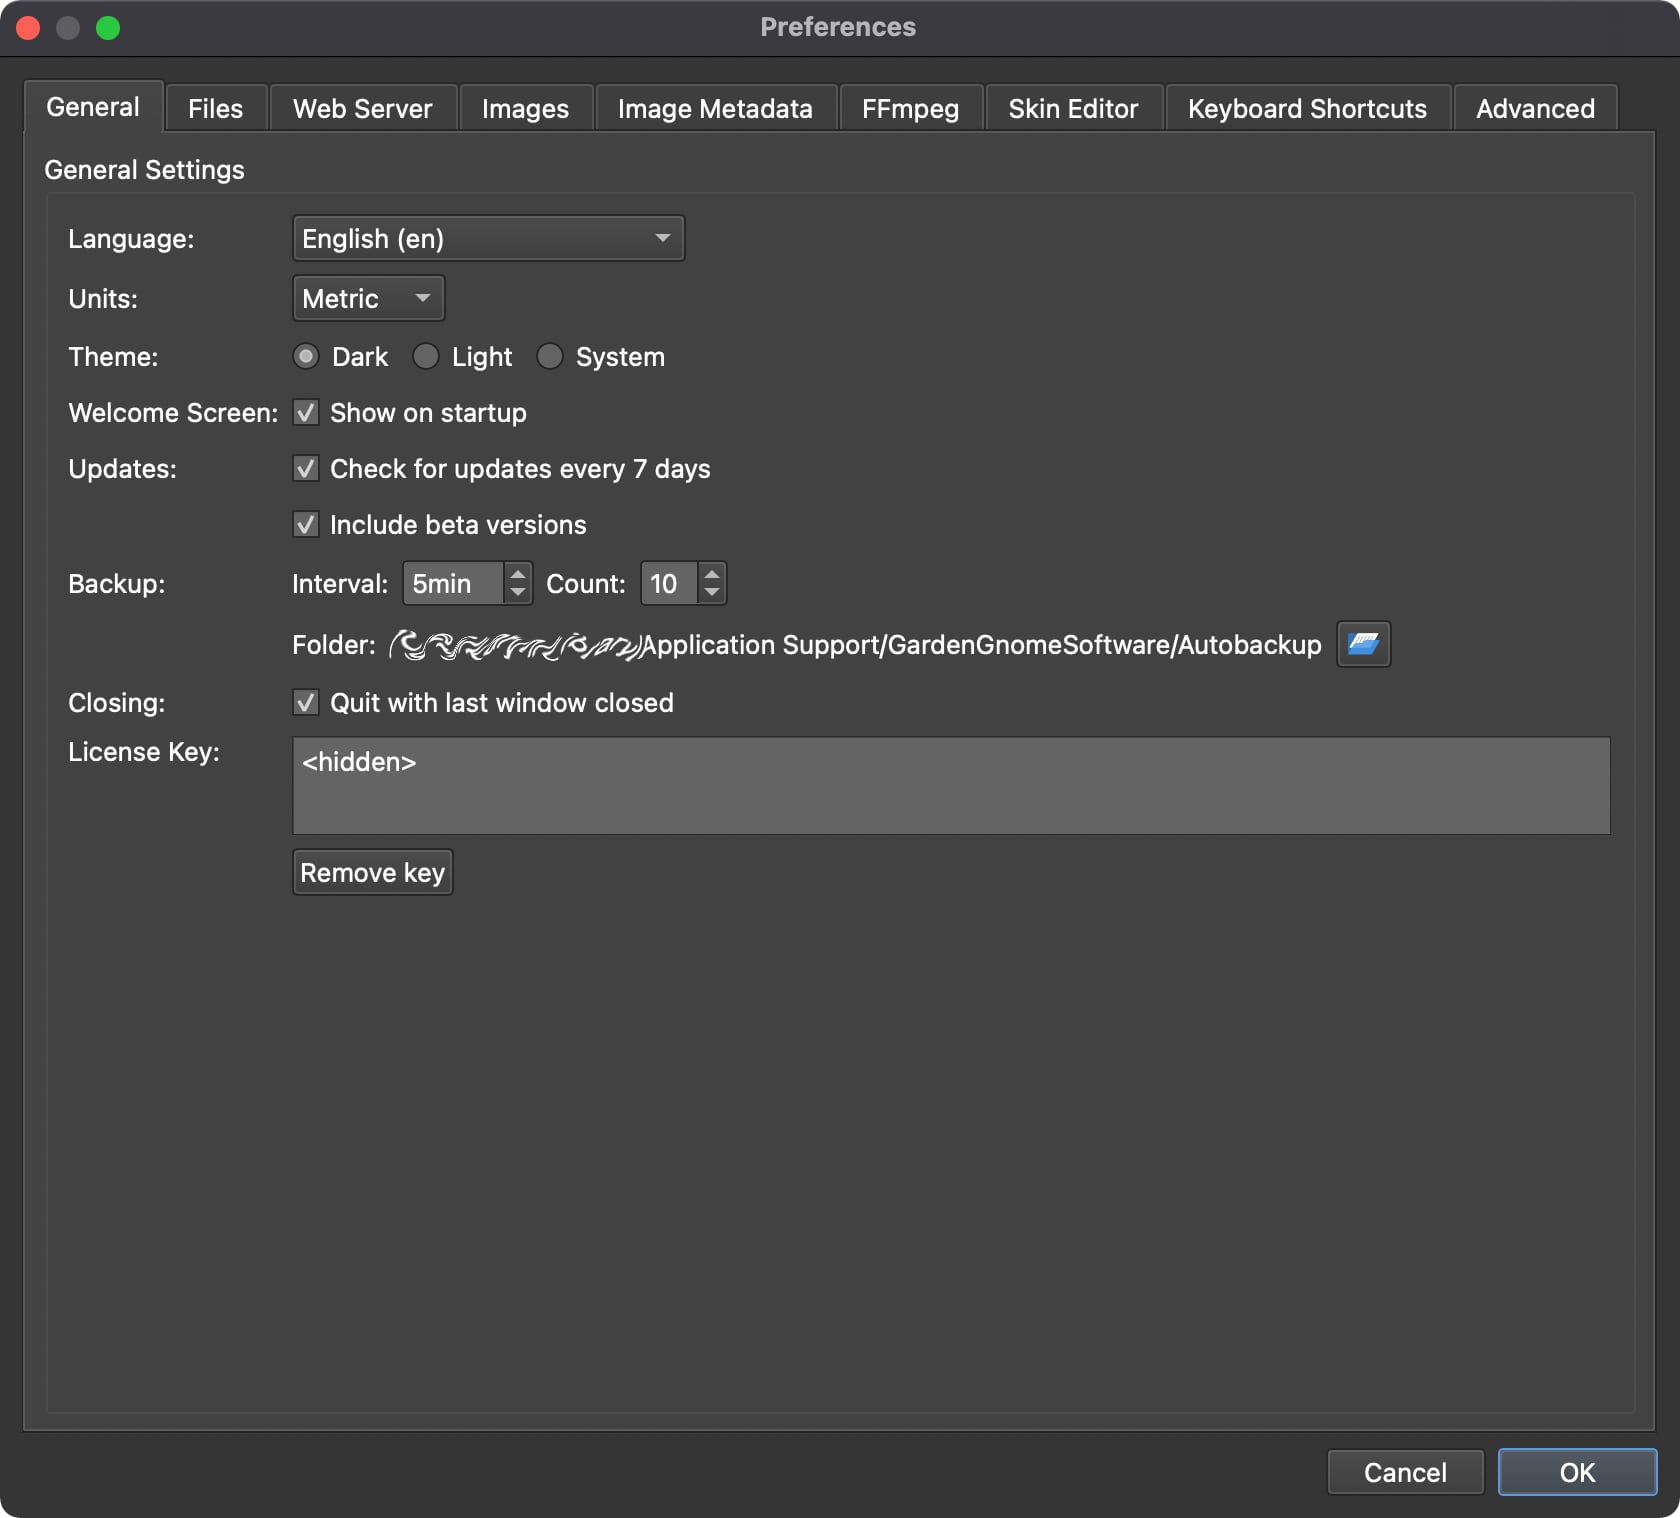
Language – Choose from the following languages:
- System Default
- English
- Arabic
- Czech
- German
- Spanish
- Farsi
- French
- Hebrew
- Italian
- Japanese
- Korean
- Lithuanian
- Dutch
- Polish
- Portuguese (Brazil)
- Russian
- Swedish
- Turkish
- Chinese (Simplified)
- Chinese (Traditional)
Restart Pano2VR to apply a changed language.
Units – Choose Metric or Imperial for distances and heights. The default follows your system’s region settings.
Theme – Select Dark (the default), Light, or System to follow your operating system’s appearance. Restart Pano2VR to see the change.
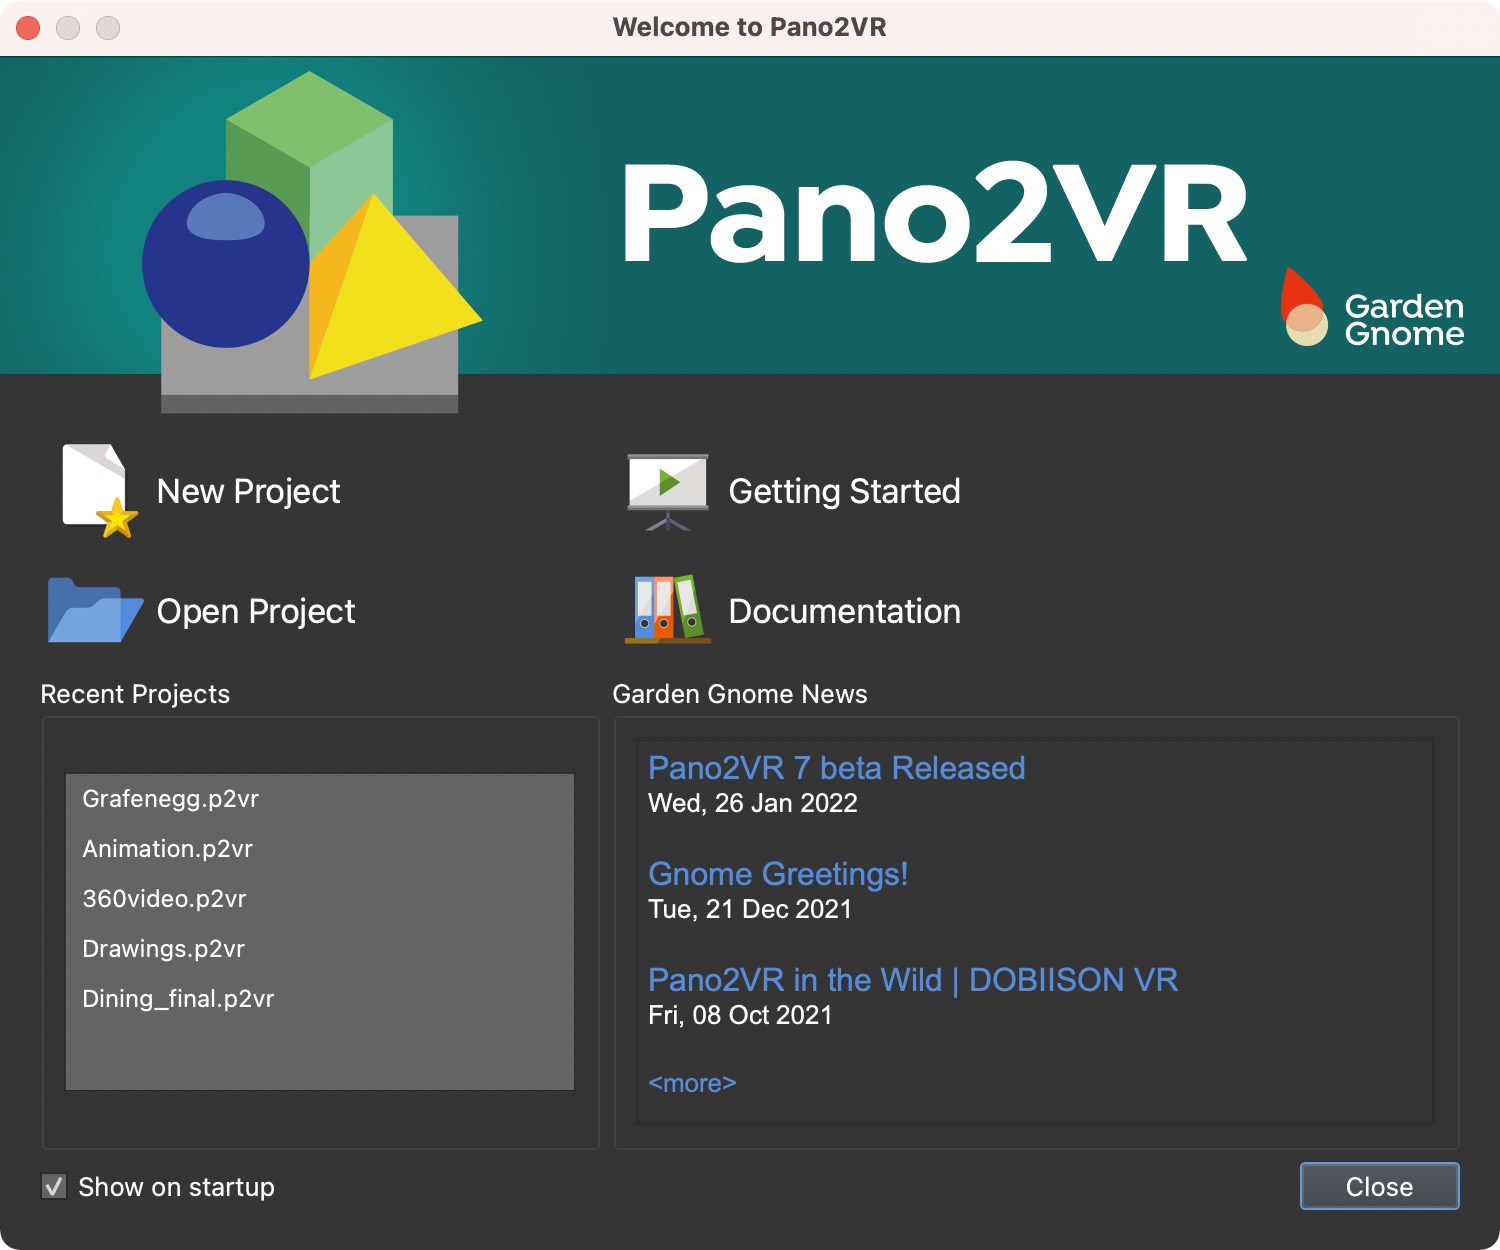
Welcome Screen – The welcome screen appears on startup by default and includes links to the documentation, the latest news, and recent projects.
- Show on startup – Deselect to skip the welcome screen on startup. In trial mode, and while your license isn’t activated, the welcome screen always appears.
Updates (not available in the Mac App Store version)
-
Check for updates every 7 days – When selected (the default), Pano2VR checks for software updates every 7 days and tells you when a new version is available to download and install.
-
Include beta versions – Select to include beta versions when checking for software updates. This option is only available when Check for updates every 7 days is selected.
Backup
Pano2VR automatically backs up your project and skin files. To turn automatic
backups off, set the Interval to 0, which shows as never.
- Interval – Set how often, in minutes, Pano2VR creates a backup (up to 99). The default is every 5 minutes.
- Count – Set how many backups are kept (1 to 99). The default is 10.
- Folder – This is the location of the backup folder. Click the folder icon to choose a new location. Right-click the file path to edit the path or to Open in Explorer/Show in Finder.
If Pano2VR closes unexpectedly, or the current project wasn’t saved when it closed, Pano2VR offers to load the most recent backup the next time you open it. When you save that project, it’s saved to its original location, not to the backup folder.
Skin files (GGSK) are only backed up when the Skin Editor is open.
Closing (macOS only)
- Quit with last window closed – When selected (the default), closing the last open project window quits Pano2VR.
License Key (not available in the Mac App Store version) – Add your
license key here. Once a license is added, the box shows <hidden>. Click
Remove key to remove the key and return to trial mode (or select the text
and press Delete). To add a new key, for example when upgrading, click Remove
key and paste your new key in the box.
Files
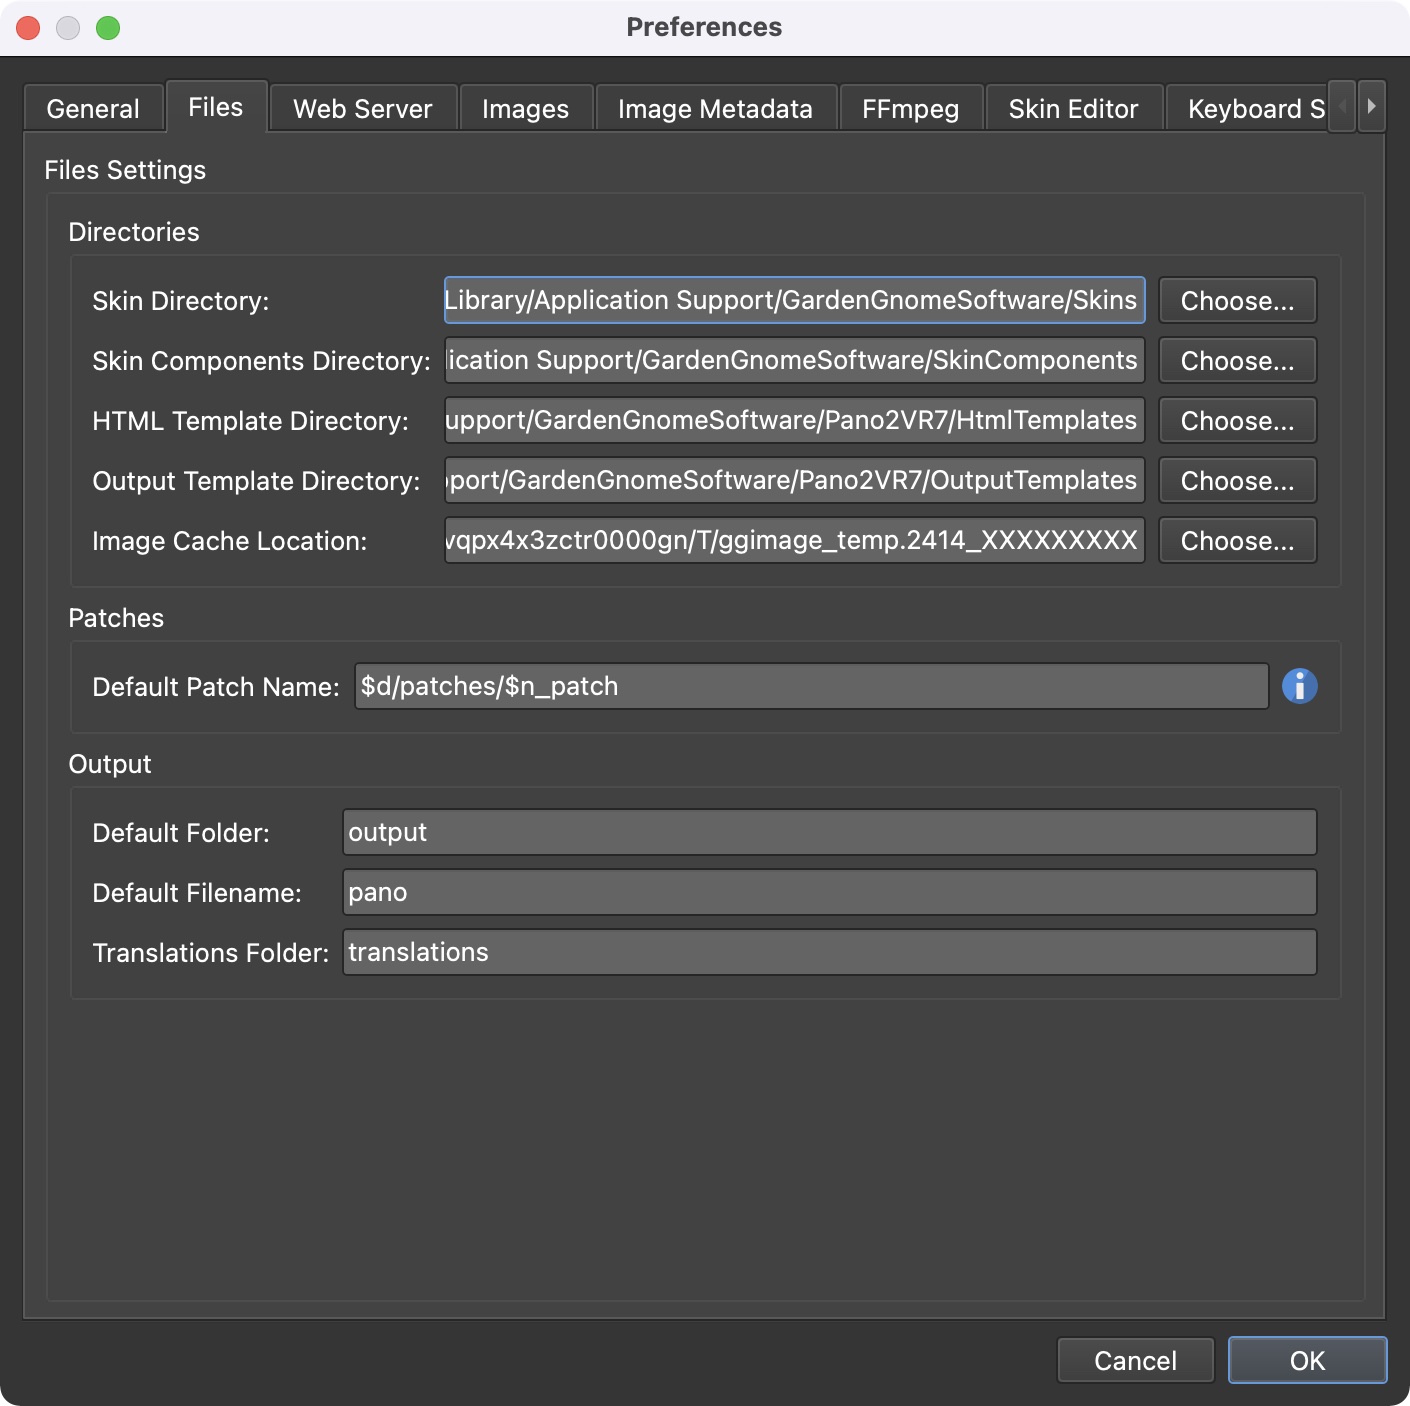
Directories
This section provides directory information. Click the folder button to change where the following files should be stored. Right-click in the file path to open the folder in Finder or Explorer.
- Default Skins – Skin directory location. Click the plus button to add additional skins directories; drag folders into the list or add them with the folder button.
- Default VR Skins – Default location of skins built for VR. Additional VR skins directories can be added with the plus button.
- Skin Components – Default location of skin components.
- HTML Templates – HTML templates location.
- Output Templates – The location for output templates.
- Image Cache Location – Where Pano2VR stores image tiles that don’t fit into memory. See Image Cache Location below.
Image Cache Location – While you work, Pano2VR keeps image data in memory up to the Memory Size Hint. Image tiles beyond that are moved out to cache files on disk and read back when they’re needed again. The line in the Settings shows the location, or the number of locations, together with the selection method. Click Configure… to open the Image Cache Files dialog.
Under Cache File Locations, build the list of folders for the cache files with Add Folder…, Replace…, and Remove, or click Default to go back to your system’s temporary folder. Double-click a location to replace it. Several locations let Pano2VR spread the cache over more than one drive, which helps when a single drive is too small or too slow for a large project.
The Selection Method decides where the next tile is written:
- Round robin – Use the locations one after the other, so they fill evenly. This is the default.
- Fill disk until 90% full – Keep writing to the current location until its drive is 90% full, then move on to the next one.
- Available – Write to whichever location is the least busy at that moment. Useful when the drives differ a lot in speed.
Whichever method is chosen, a location whose drive has stopped keeping up is skipped for a while, as long as another one can take the tiles.
If Pano2VR has already created its cache files, changed locations are used the next time you start Pano2VR.
Patches
- Default Patch Name – The naming pattern for the file names of extracted
patches. The default is
$(d)/patches/$(n)_patchand uses Placeholders:$(d)is replaced by the project folder and$(n)by the input image’s file name. Add$cto include the patch’s location in the name.
Output
- Default Folder – Pano2VR places all the output files into one folder for
better access and organization. The default name of the folder is
output, and this can be changed here. If left blank, no output folder is created. - Default Filename – The default file name of the panorama’s output
configuration file (the XML file). The default is
pano.
The folder for translation files is set per project, in the Translations section of the project properties.
Web Server
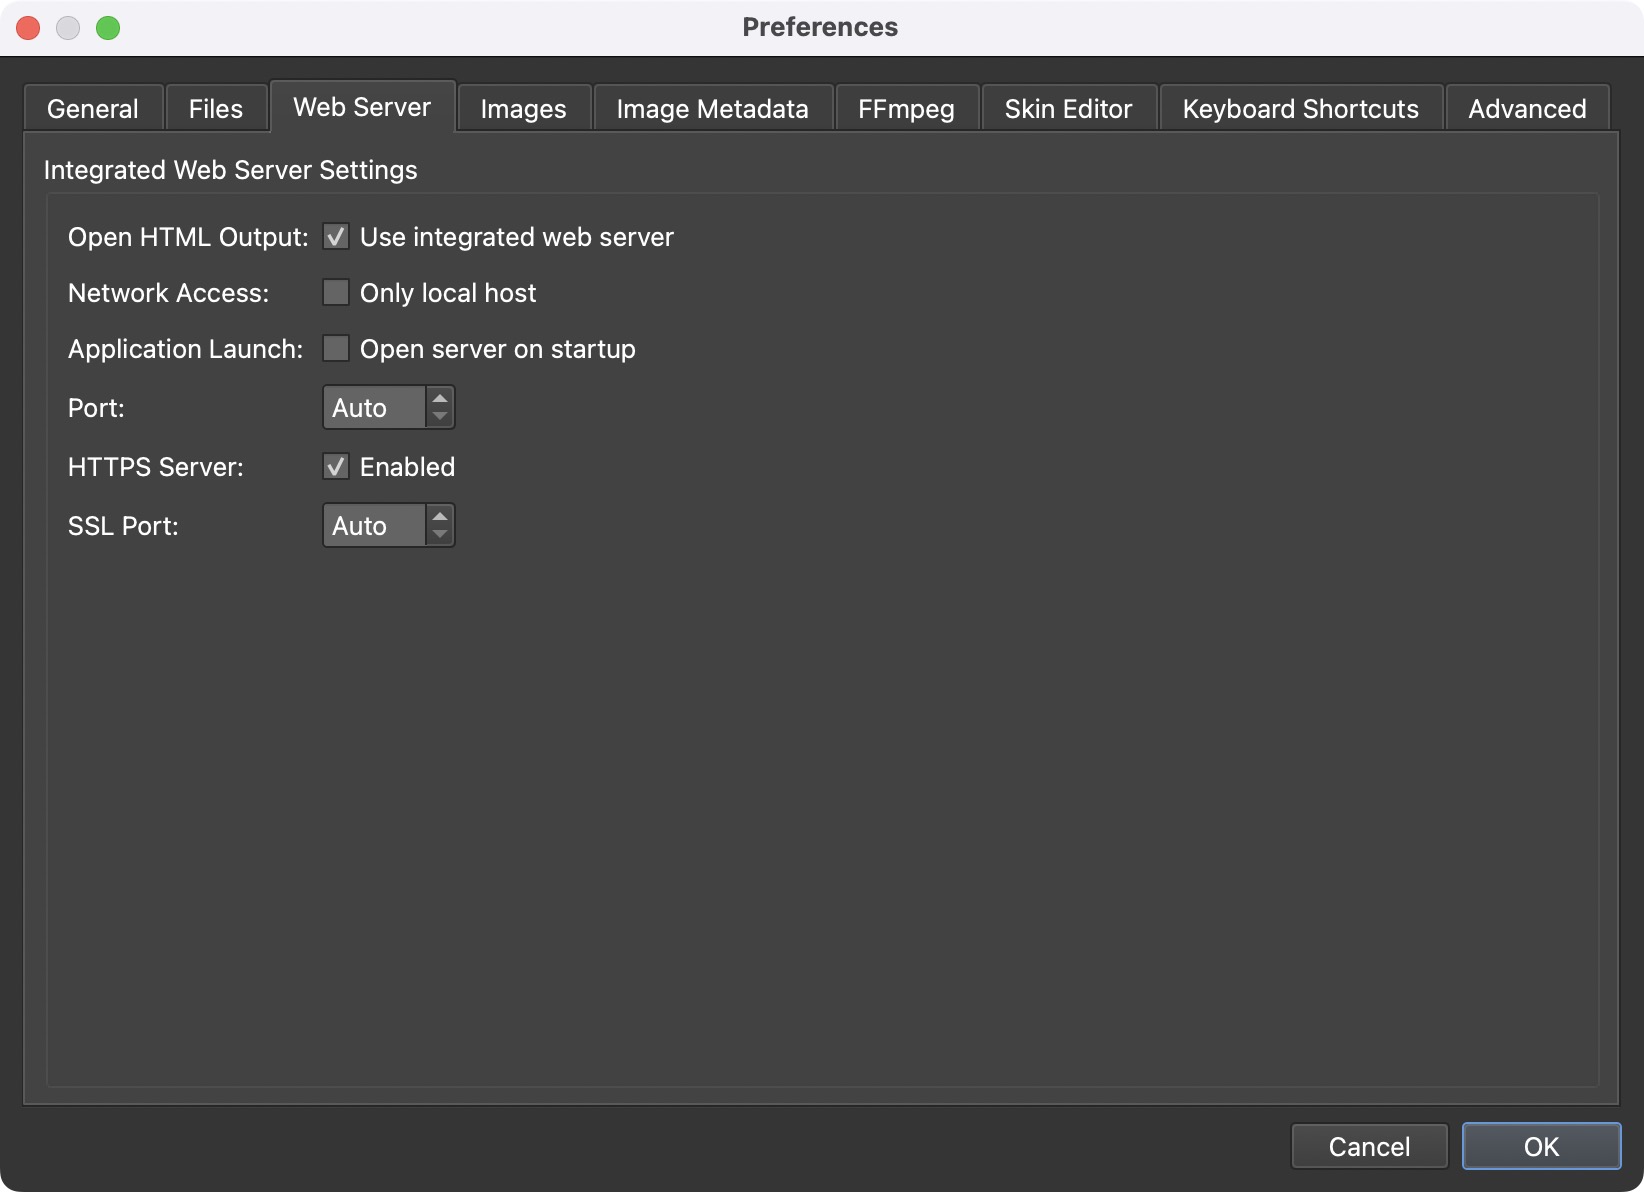
Pano2VR has an Integrated Web Server that lets you view your output locally in a browser.
Open HTML Output
- Use integrated web server – When selected (the default), and Open after creation is selected on the Advanced tab, a new HTML output opens in your browser through the integrated web server.
Network Access
- Only local host – When selected (the default), the web server only answers requests from this computer (localhost). Deselect it to let other devices on the same network, such as a phone or a VR headset, view the output.
Development
- Enable error overlay – When selected (the default), pages served by the integrated web server include an overlay that shows JavaScript errors of the output directly in the browser.
Application Launch
- Open server on startup – Select to start the web server whenever Pano2VR starts.
Port – Enter a port, or leave it at Auto to use a new port number each time the server starts. A fixed port lets you bookmark the page. Ports 8000 or 8080 are common choices. For more information, see the List of TCP and UDP port numbers.
HTTPS Server – Select Enabled to also run a secure web server. Some features only work on a secure site, especially mobile features like the gyroscope.
SSL Port – Enter the port for the secure server, or leave it at Auto. Port 8001 is a common choice. This field is only available when HTTPS Server is enabled.
Images
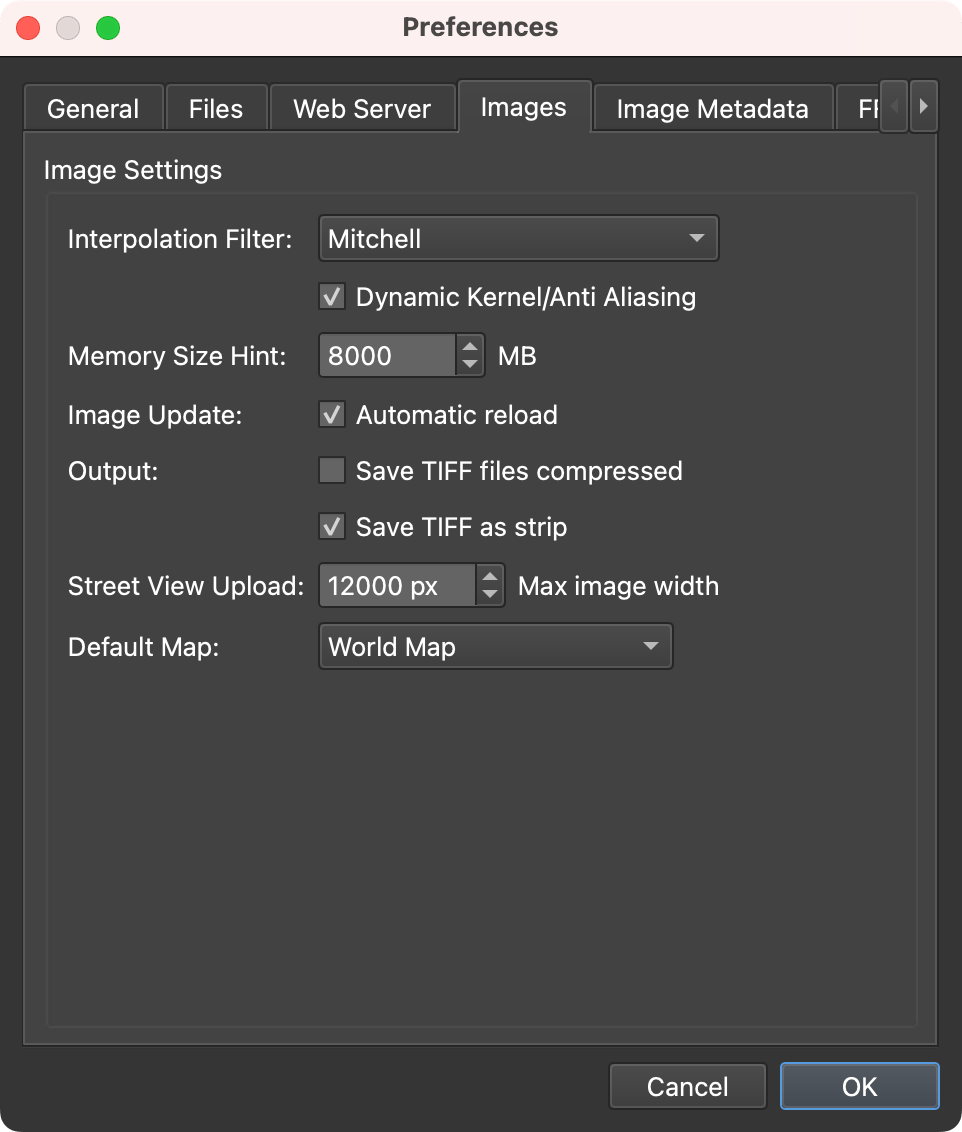
Interpolation Filter – Select the filter that is used for remapping operations. The different filters can sharpen or blur the image. Choose from Box, Triangle, Hermite, Hanning, Hamming, Blackman, Gaussian Blurry, Gaussian Sharp, Quadratic, Cubic, Catmull-Rom, Mitchell, Lanczos2, Lanczos3, Blackman/Bessel, and Blackman/sinc. Mitchell is selected by default.

- Dynamic Kernel/Anti Aliasing – This option is selected by default, allowing for anti-aliased results using a dynamic kernel. This allows for sampling in more than one area of the image. More on anti-aliasing filters.
Memory Size Hint – How much memory, in MB, Pano2VR uses for image data. As memory use approaches this value, Pano2VR moves image tiles out to the image cache on disk. By default this is half of your computer’s physical memory. Raise it if the Overview often reports that memory is being dumped to disk.
Image Update – When Automatic reload is selected (the default), an image that has been edited outside of Pano2VR is reloaded automatically. See Patches Mode.
Output
- Save TIFF files compressed – Choose this if you want TIFF files to be compressed on output.
- Save TIFF as strip – Select to save TIFF files as strips instead of tiles. This is recommended when the images are processed in other applications, like PTGui. Saving as strips disables multiresolution but creates a more compatible and smaller file.
Street View Upload – Max image width sets the largest image width Pano2VR uploads to Google Street View. The default is 12,000 pixels.
Quick Share – Max image width sets the largest width of the panoramic image that Quick Share writes. Social platforms only accept a panoramic image up to a certain size, so a wider panorama is scaled down to fit. The default is 16,000 pixels.
Default Map – Choose the map the Tour Map shows by default: World Map (the default), World Map Topo, or one of the Google Maps layers (Roadmap, Satellite, Hybrid, and Terrain).
Frame Overlays – The list of aspect ratios offered by the
Frame Overlays button below the
Viewer and by Quick Share. The list
starts with 16 : 9, 4 : 3, and 1 : 1. Click the plus button to add an
aspect ratio, double-click an entry to edit it, and click the minus button to
delete the selected entries. Enter a ratio as two numbers separated by a colon,
for example 21 : 9, between 1 : 300 and 400 : 1. The list is always sorted
from the widest ratio to the narrowest, and a ratio that’s already in the list,
even written differently like 32 : 18 for 16 : 9, isn’t added twice.
Image Metadata
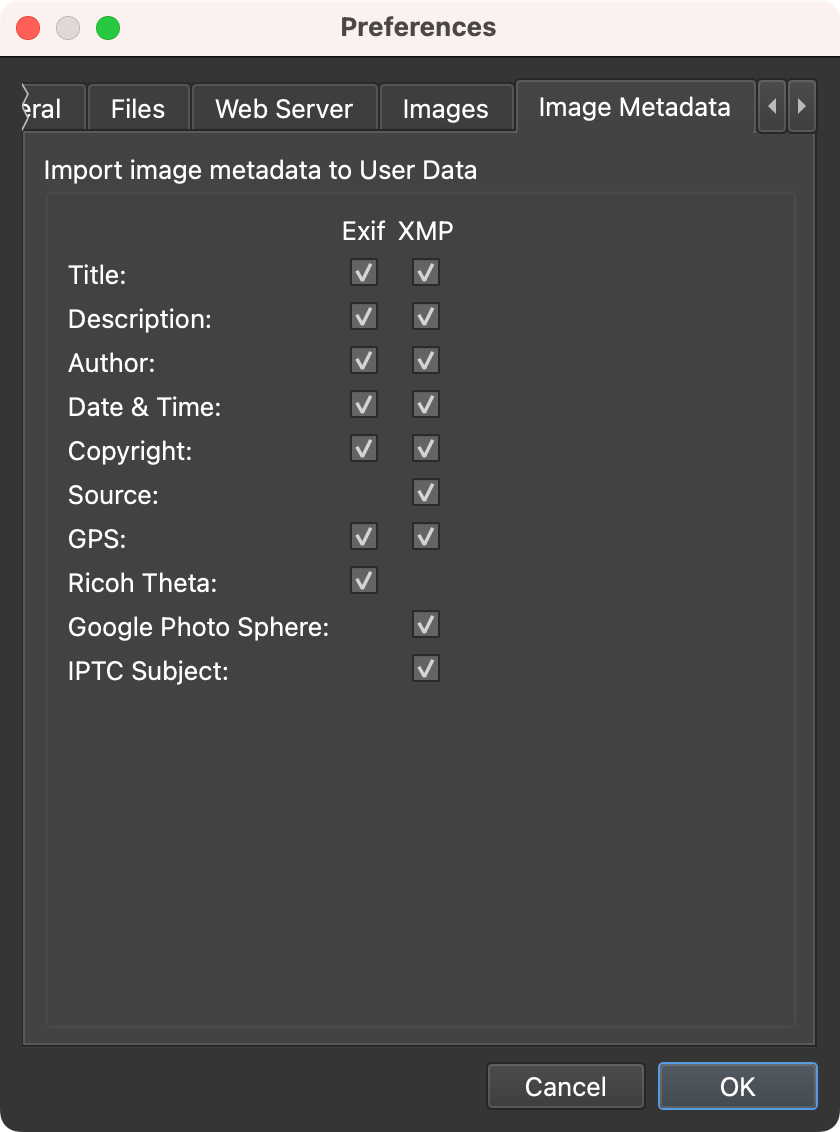
Here you can choose which of the Exif and XMP data you’d like to import from your images.
Import image metadata to User Data – Select the following to import directly to the User Data fields, except for Ricoh Theta and Google Photo Sphere.
| User Data | Exif | XMP |
|---|---|---|
| Title | Exif:DocumentName | title |
| Description | Exif:ImageDescription | description |
| Author | Exif:Artist | creator |
| Date & Time | Exif:DateTime | |
| Copyright | Exif:Copyright | rights |
| Source | source | |
| GPS | GPS | GPS |
| Ricoh Theta | Leveling Data (older Theta models) | |
| Google Photo Sphere | GPano | |
| IPTC Subject | subject codes |
3D Model
Generate Preview Image – Decide whether Pano2VR captures a new preview image for the node when you set a 3D model’s default view:
- Ask – Ask each time the default view of a 3D model changes. Choosing Always or Never in that dialog updates this setting. This is the default.
- Always – Always create a new preview image.
- Never – Never create a preview image.
Optimize Splat Input
- Offer above – When a Gaussian splat model with more splats than this number is added, Pano2VR offers to create an optimized RAD input file for it. The default is 1,000,000 splats.
Skin Editor
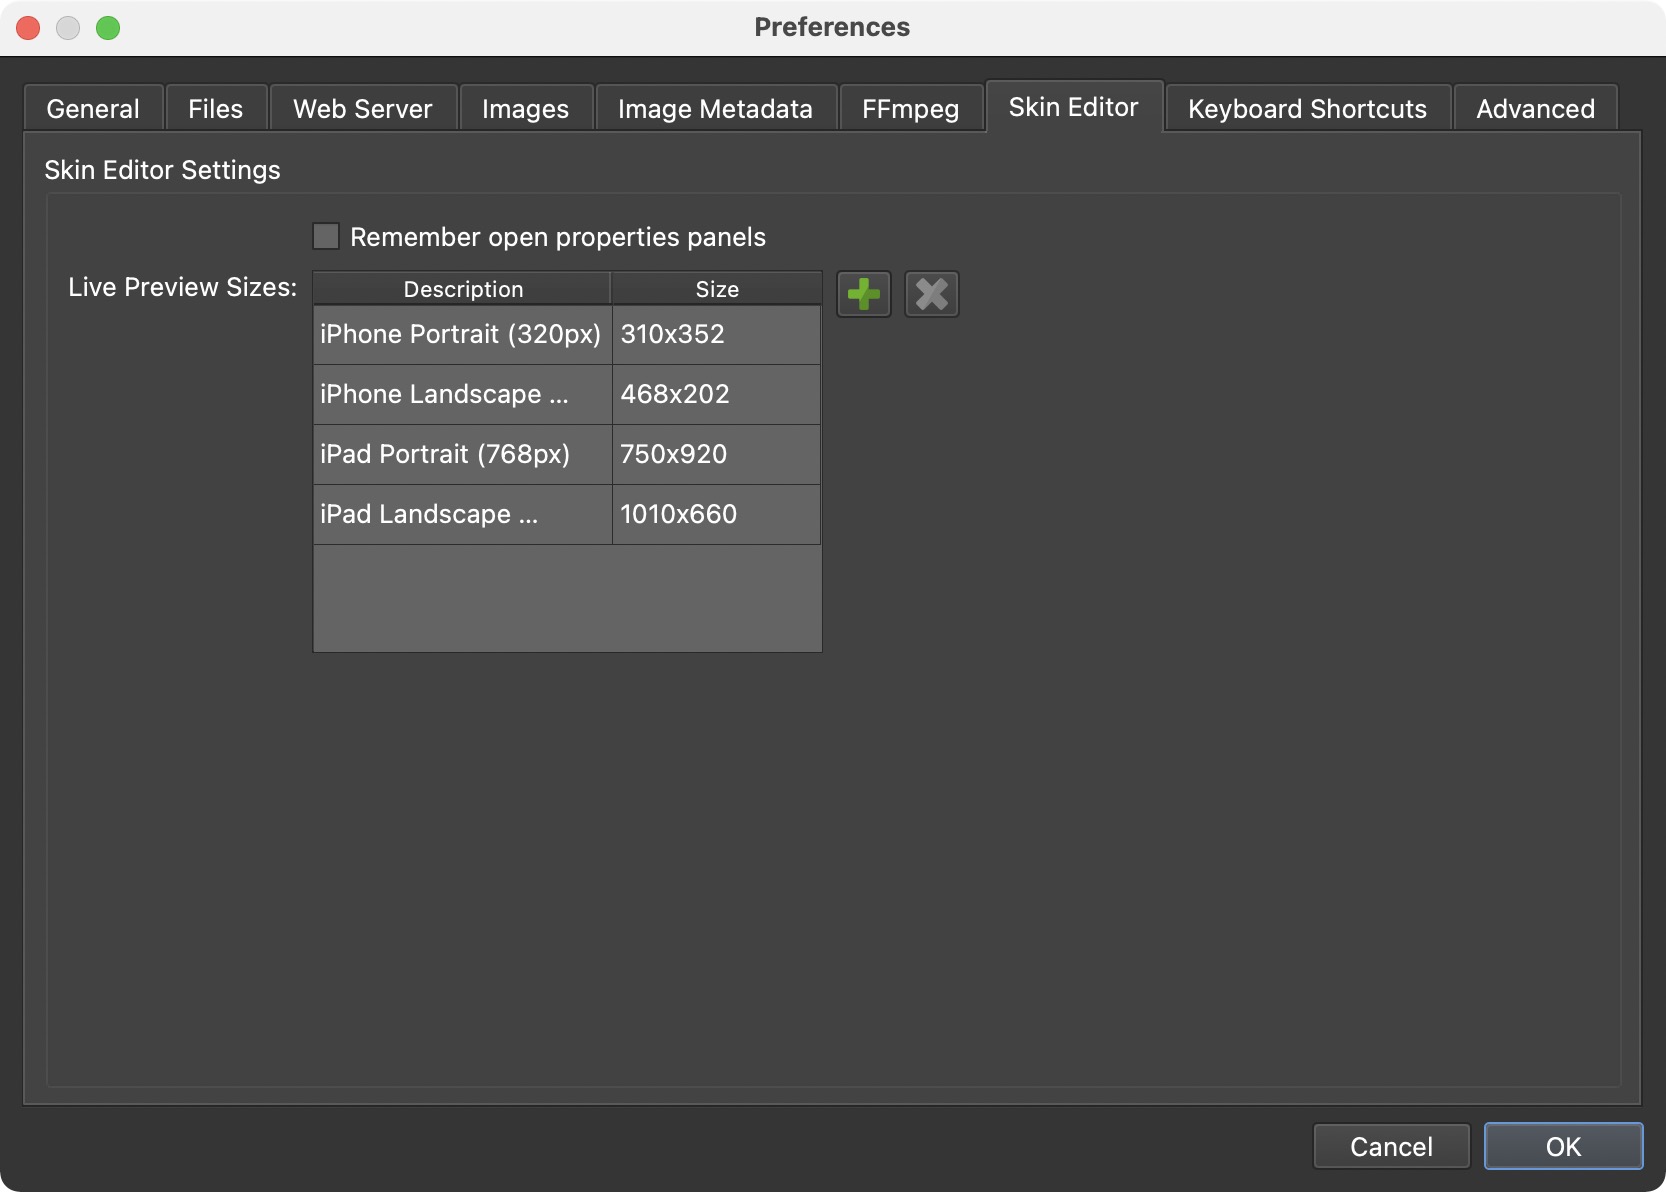
Remember open properties panels – Select to reopen the properties panels that were open in the Skin Editor the last time you used it.
Live Preview Sizes – Define window sizes for the Live Preview. Click the plus button to add a size and the minus button to delete the selected sizes. Double-click an entry to edit its description, width, and height.
MCP
Pano2VR includes a local Model Context Protocol (MCP) server. It lets an AI assistant running on the same computer, such as Claude, VS Code, or Codex, work with Pano2VR: look at your project and skins and make changes to them for you. The server only accepts connections from the same computer, and only from clients you have linked here.
Integration
- Enable local MCP – Select to run the local MCP server. This option is off by default. Linking a client selects it for you.
Application Launch
- Allow linked clients to start Pano2VR – Select to let a linked client start Pano2VR when it isn’t already running. This option is off by default.
Socket, Status, Connected Clients, and Last Error – Diagnostic information: the path of the local connection, whether the server is running and listening, how many clients are connected and how many are linked, and the most recent error. Check these first when a client can’t reach Pano2VR.
Clients – The linked clients, with their status (Linked or Unlinked), when they were linked, and when they last connected. Click Unlink to revoke a client’s access; the client can no longer connect until you link it again. Once a client is unlinked, click Remove to take it off the list.
Link Client… – Opens the Link MCP Client dialog. Choose Claude, VS Code, Codex, Antigravity, or Custom, then click Link. Each linked client receives its own access token. For the named clients, Pano2VR adds itself to that client’s MCP configuration and tells you which file it changed; restart the client (or reload it, for VS Code) so it picks up the Pano2VR server. For Custom, enter a name for the client, and Pano2VR shows the command, arguments, token, and MCP server JSON to enter in your client’s settings.
Copy Custom Config – Asks for a client name, links a custom client, and copies its MCP configuration to the clipboard, ready to paste into your client’s settings.
Keyboard Shortcuts
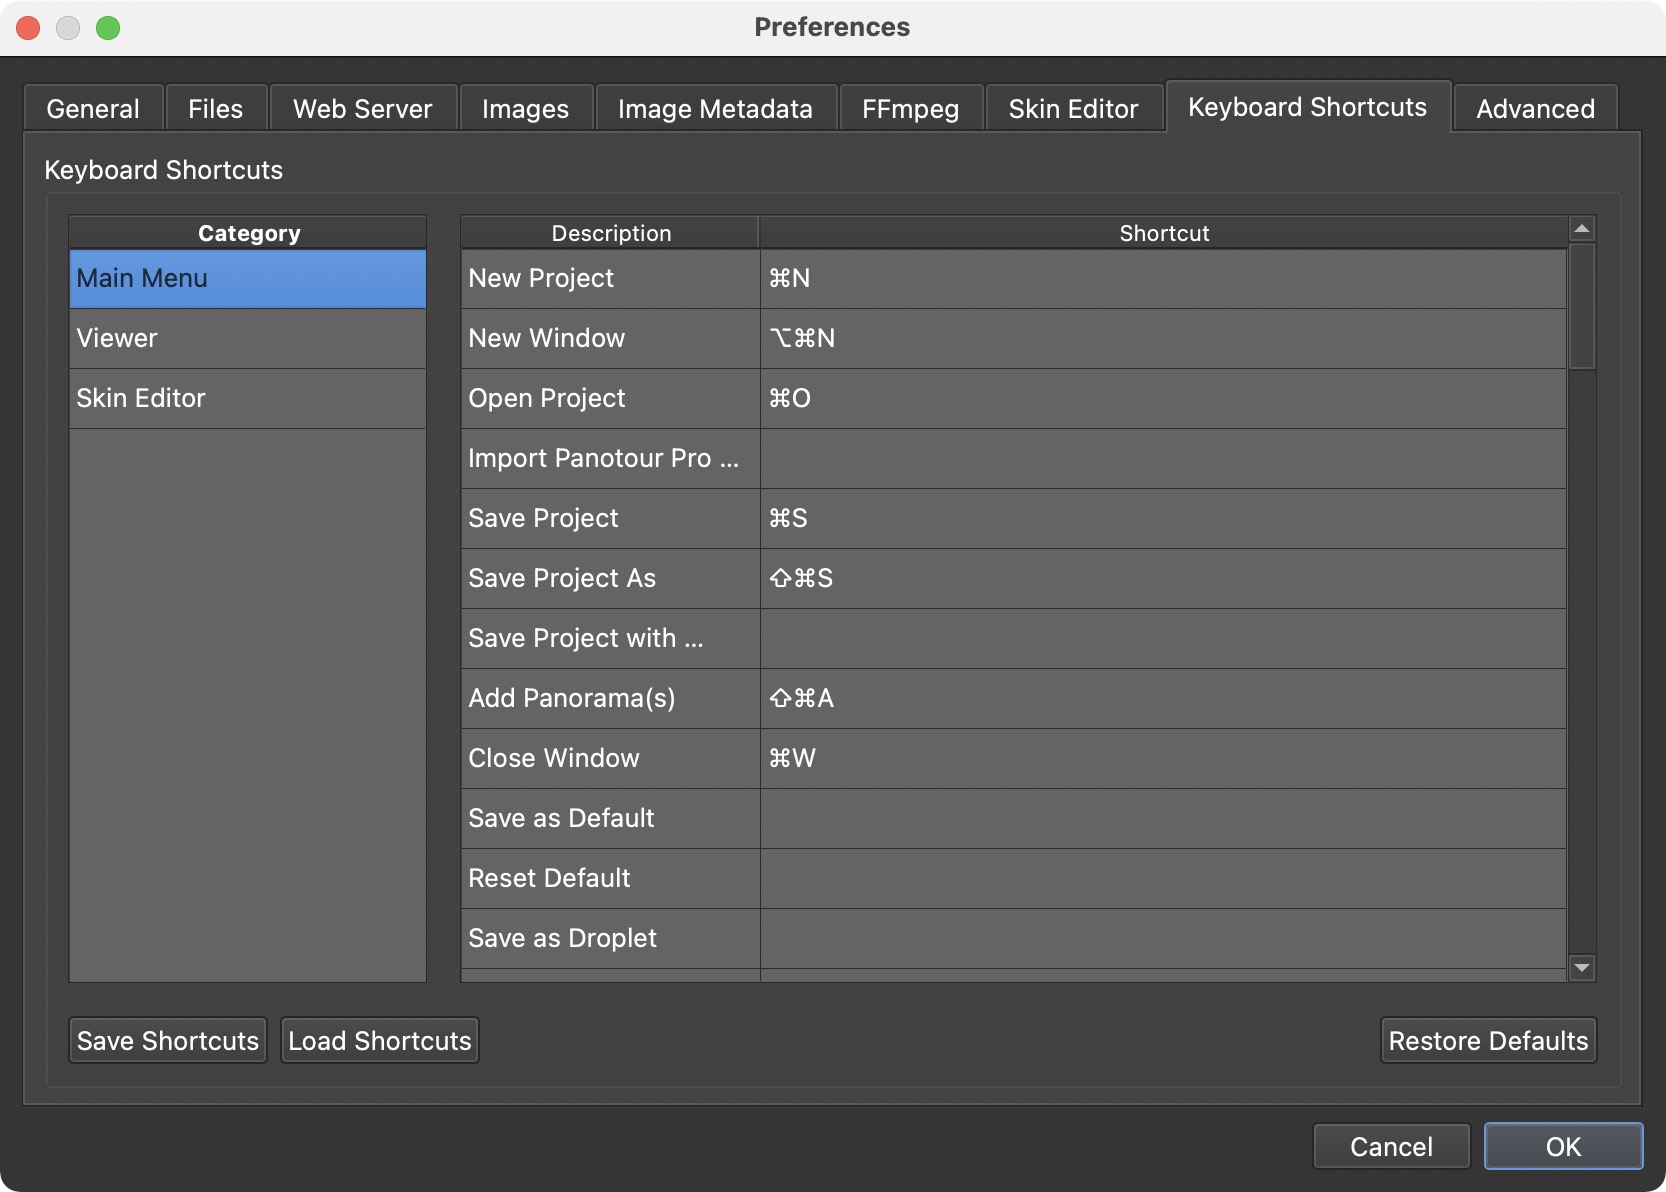
Change the keyboard shortcuts of the main menu, the Viewer, and the Skin Editor. Choose a category on the left to list its commands with their current shortcuts. The default shortcuts are listed in Keyboard Shortcuts.
To change a shortcut, double-click it in the Shortcut column and press the new key combination. Modifier keys can be used. The Viewer shortcuts are single keys without modifiers. If the combination is already used by another command, Pano2VR tells you which one and keeps the old shortcut.
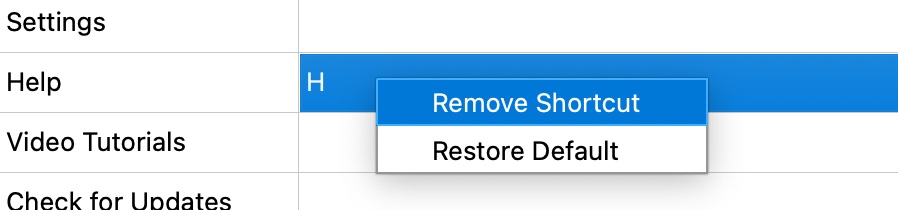
To remove a shortcut, right-click its row and choose Remove Shortcut, or press Delete while you edit it. Choose Restore Default to go back to the default shortcut of that command, or click Restore Defaults to reset all shortcuts.
Click Save Shortcuts to save your shortcuts to an INI file, for example to use them on another computer, and Load Shortcuts to load such a file.
Advanced
Output
-
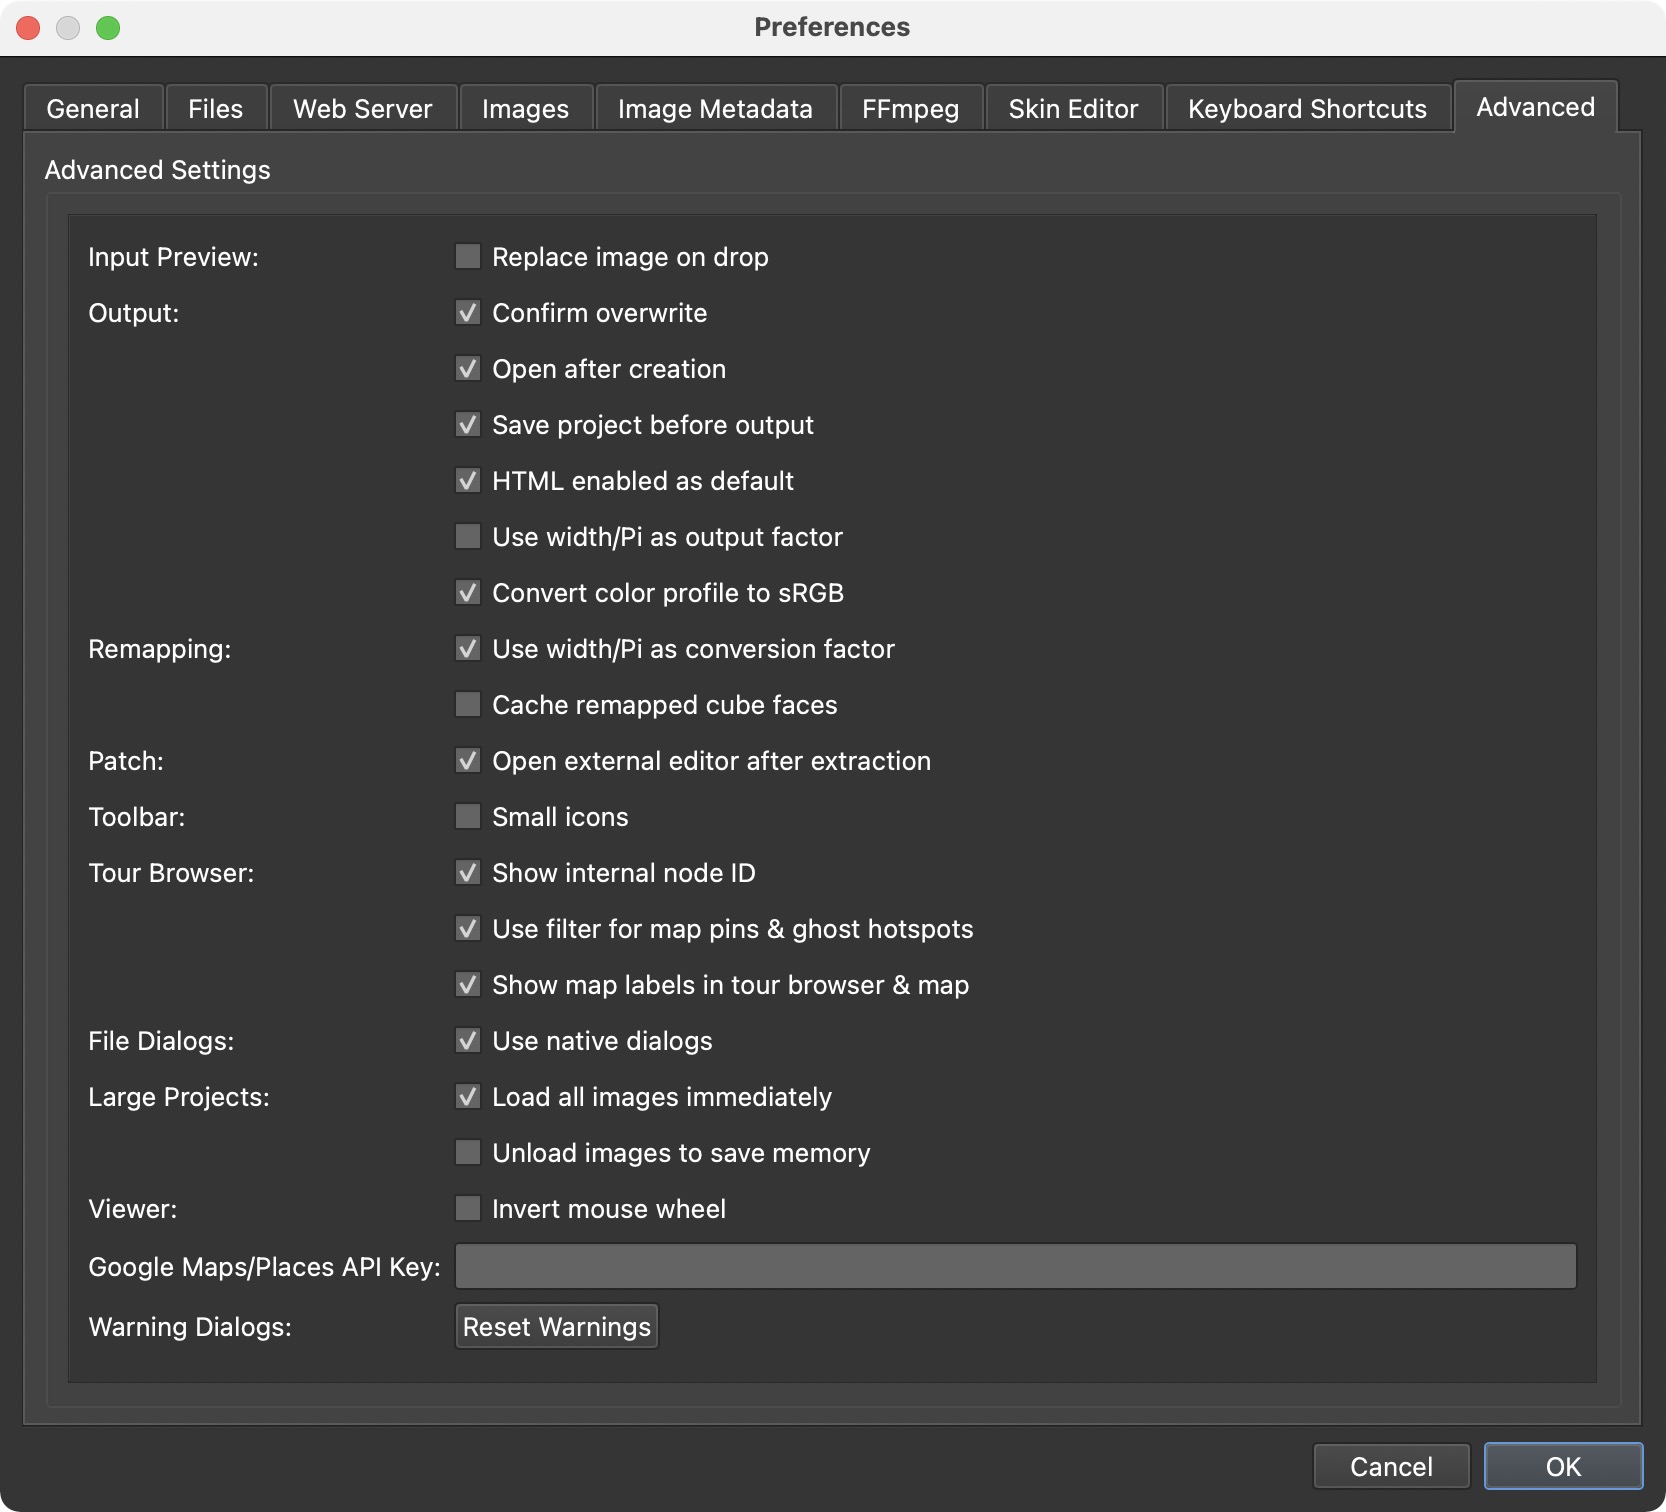
Confirm overwrite – When selected (the default), Pano2VR asks before it overwrites files of an earlier output.
-
Open after creation – When selected (the default), the output opens as soon as it has been created.
-
Save project before output – When selected (the default), a project that has never been saved must be saved before its first output, because the project folder is the base for all output paths.
-
Use width/Pi as output factor – Select to use width/Pi as the output factor. When unselected (the default), width/4 is used. This factor sets the size of the output and of the levels in multiresolution.
Remapping
-
Use width/Pi as conversion factor – When selected (the default), width/Pi is used when converting the input image.
-
Cache remapped cube faces – Select to cache the remapped cube faces, which speeds up the export of single resolution images.
Patch
- Open external editor after extraction – When selected (the default), the extracted patch opens in your external image editor after you click Extract. Edit the patch, save it, and Pano2VR updates the image in the Viewer.
Toolbar
- Small icons – Select to show smaller toolbar icons. Restart Pano2VR to see the changed icon size.
Tour Browser
★ Available in Pano2VR Pro only.
-
Show internal node ID – Select to show a node’s ID in the Tour Browser’s tool tips.
-
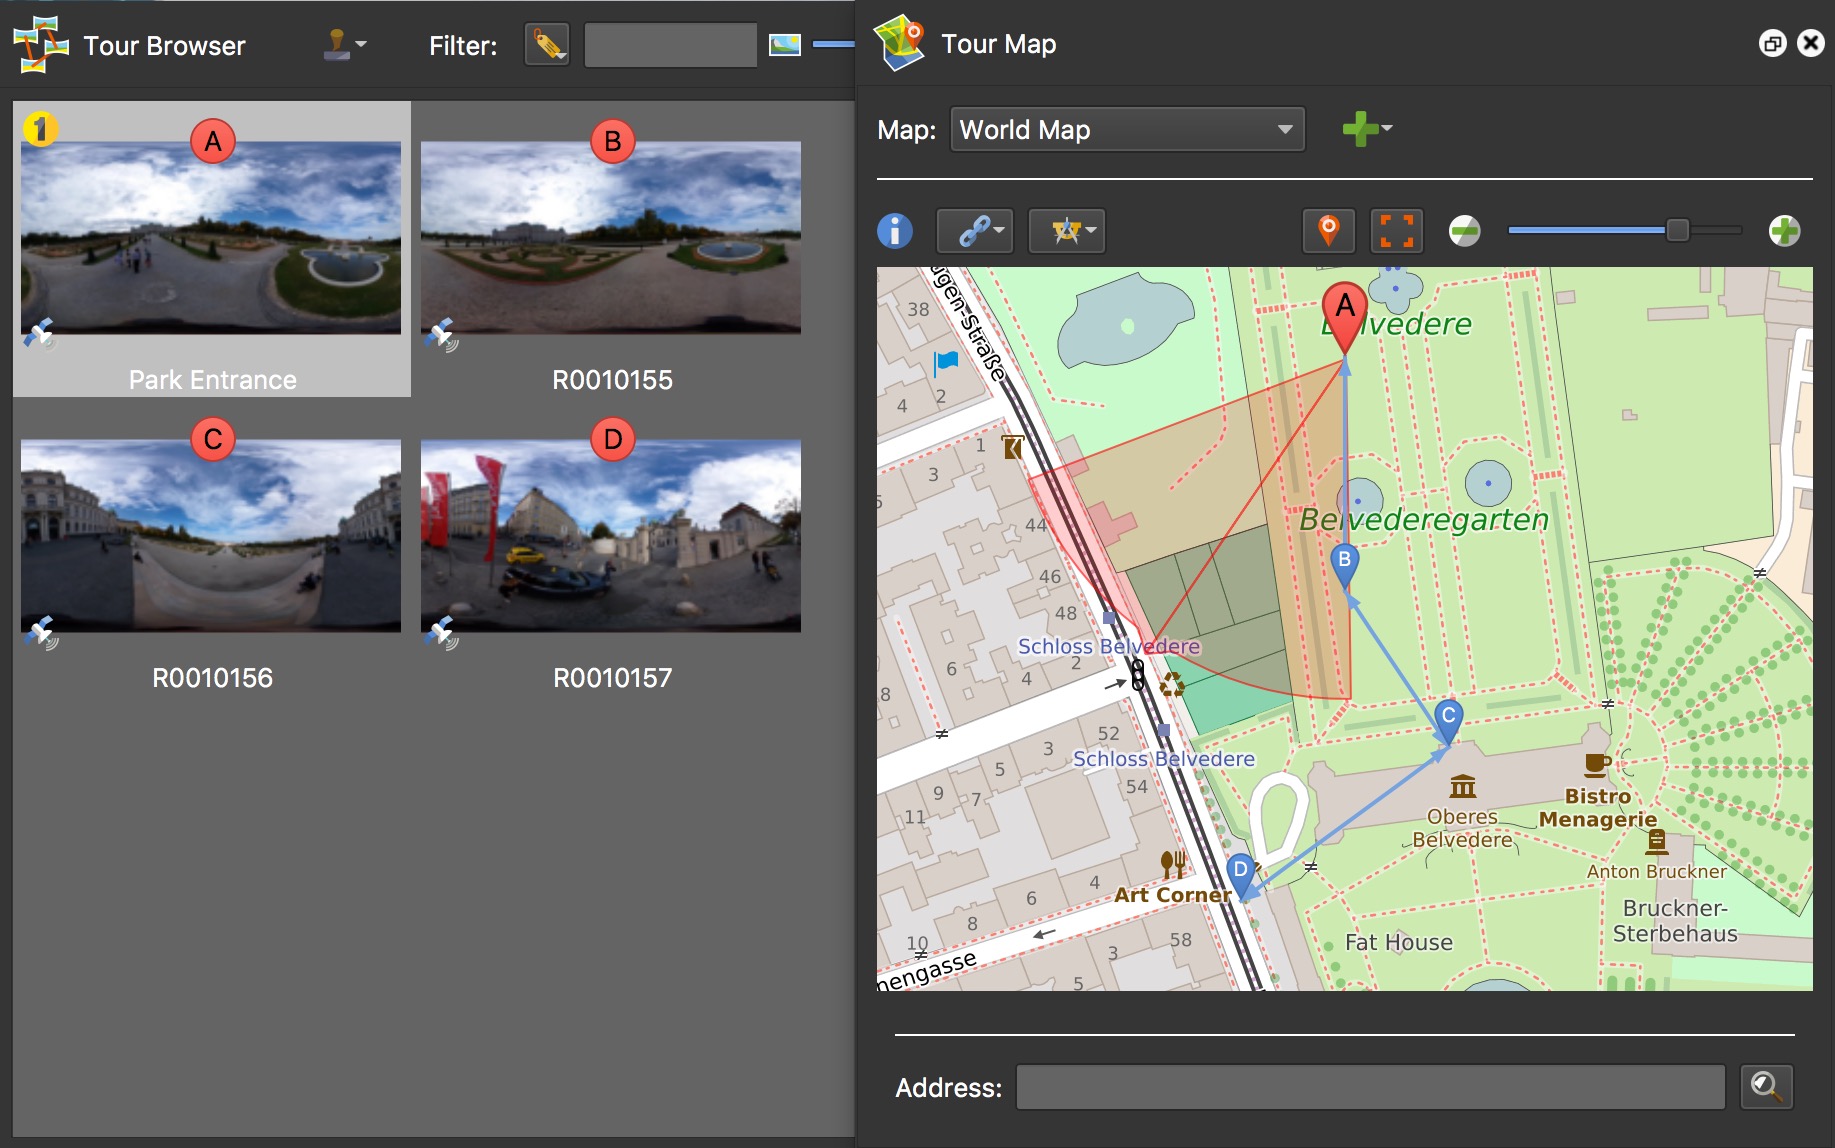
Use filter for map pins & ghost hotspots – When selected (the default), the Tour Map shows map pins and the Viewer shows ghost hotspots only for the nodes that pass the filter in the Tour Browser. With many nodes, this keeps the Tour Map and the Viewer uncluttered.
-
Show map labels in tour browser & map – Select to show matching labels in the Tour Browser and on the Tour Map, which makes it easier to find a node’s pin on the map.
File Dialogs
- Use native dialogs – When selected (the default), Pano2VR uses your operating system’s file dialogs. Deselect to use Pano2VR’s own dialogs.
Viewer
- Invert mouse wheel – Select to invert the mouse wheel direction in the Viewer.
Custom Google Maps/Places API Key
This key is optional: Pano2VR has built-in keys and uses them while this field is empty. Enter your own Google Maps API key here to use it instead for the Google Maps in the Tour Map, the address search in the Tour Map, looking up altitudes, and the place search for Google Street View. Read how to set it up.
Warning Dialogs
Click Reset Warnings to show all warning dialogs again, including the ones you asked not to show again.
The options for loading and unloading images in large projects are set per project, under Large Projects in the project properties.
Tweaking the Settings
Learn how to tweak or customize Pano2VR’s settings. Hopki goes through each tab and explains what settings he changes and why.